
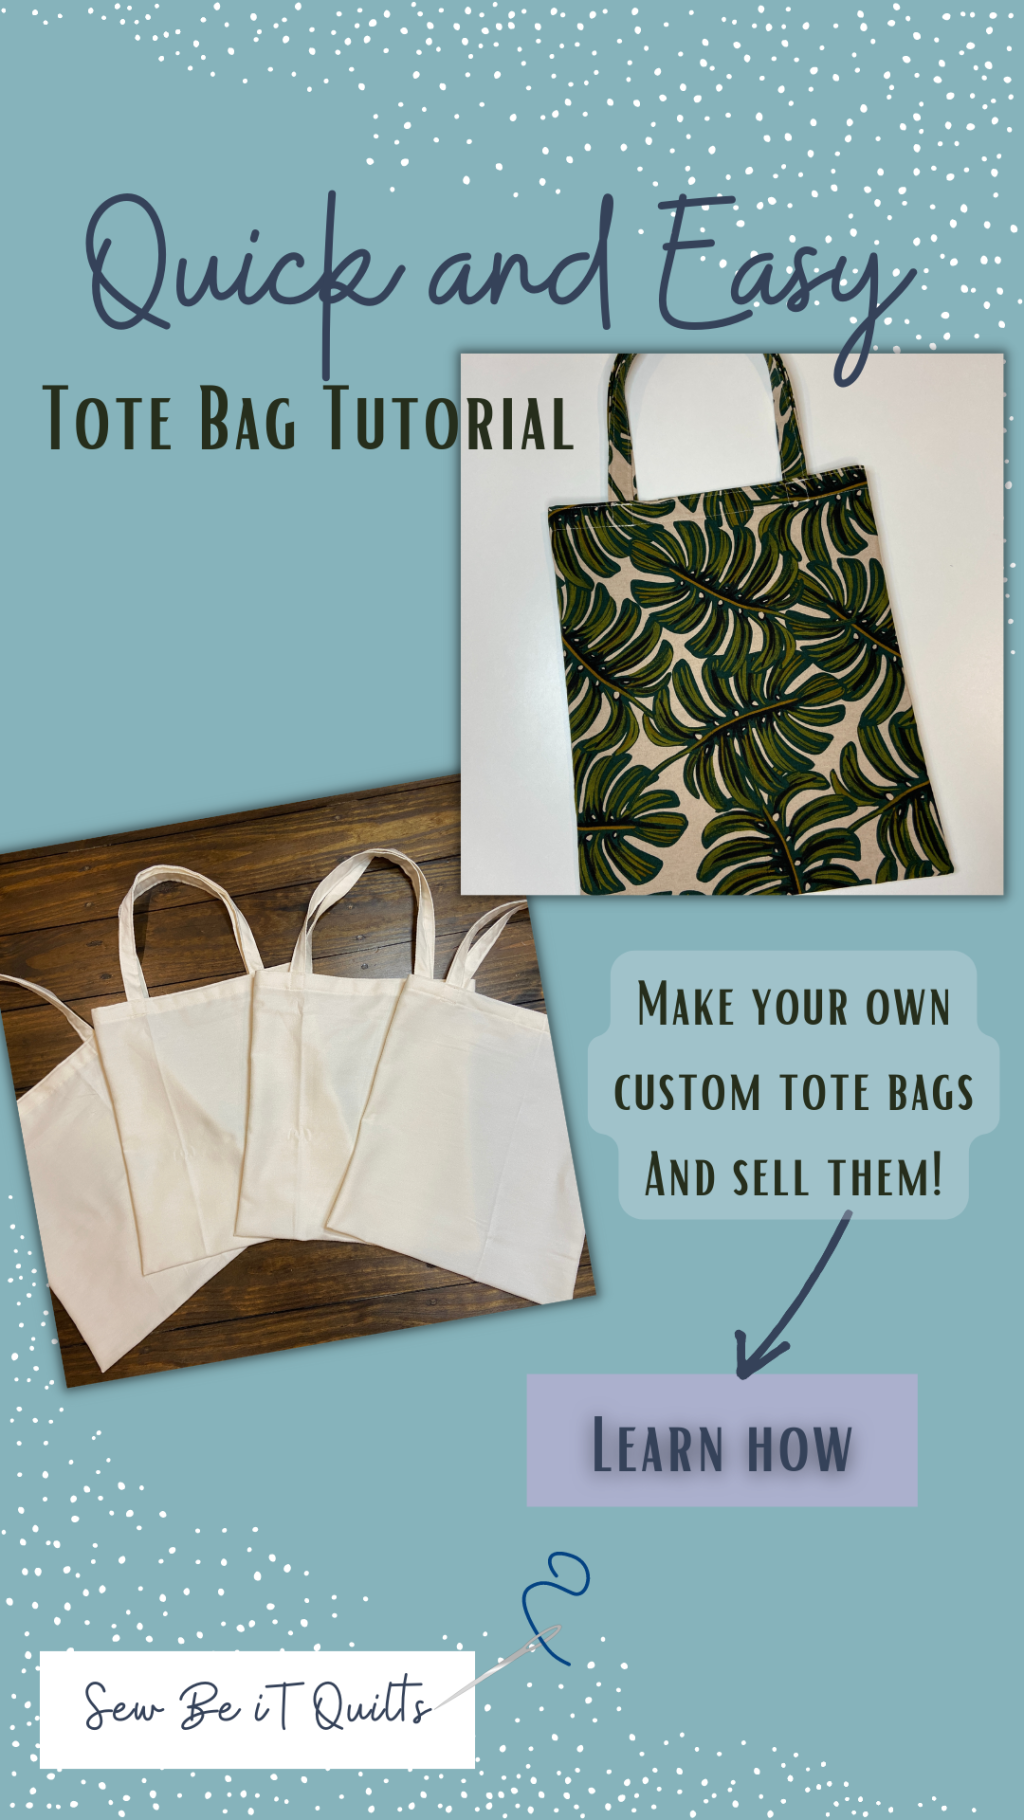
Designing this tote bag happened on a whim. It’s summer, and my daughter and her friend were looking for things to do… inside… because it is a million degrees outside. I had to go shopping and was asked to pick up some plain canvas tote bags for them to paint. Well, Walmart had 1 tote bag in stock and it was around $15. Now, $15 isn’t a horrible price for keeping kids occupied, however, this still didn’t fix the fact that I had two kids wanting to paint a bag, not one. So, I decided to see if they had any canvas yardage in stock. I found a pre cut pack of fabric that would work for their project that was 2 yards for $11.77! Perfect I said to myself grabbing it and throwing it into my cart. When I got home and planned it all out I realized I could get four tote bags! What a deal! As a bonus, these bags also sew up very fast, don’t require a lining fabric, and there are no raw seams!
Before I get into the details on sewing these bags here are the girls finished tote bags! They had so much fun painting them and this project took them a few days to finish!

These bags are a great size for craft projects, gifting, shopping, and stuffing full of items needed for sleepovers!

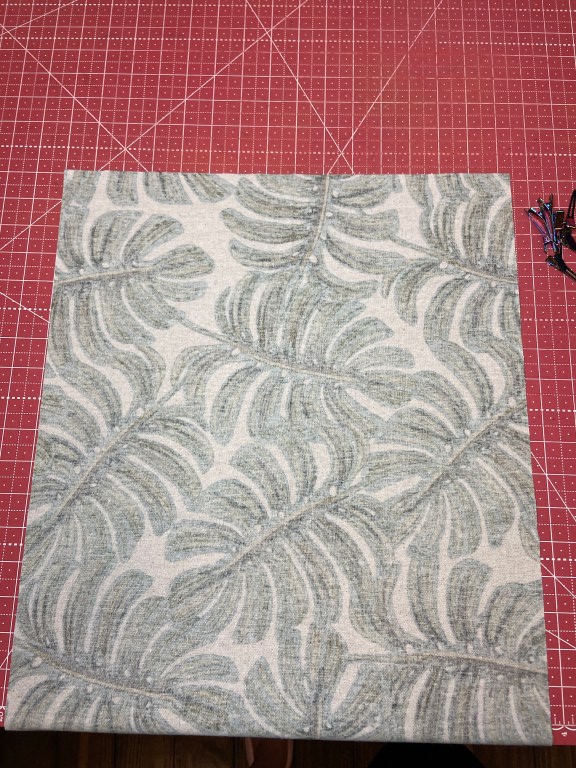
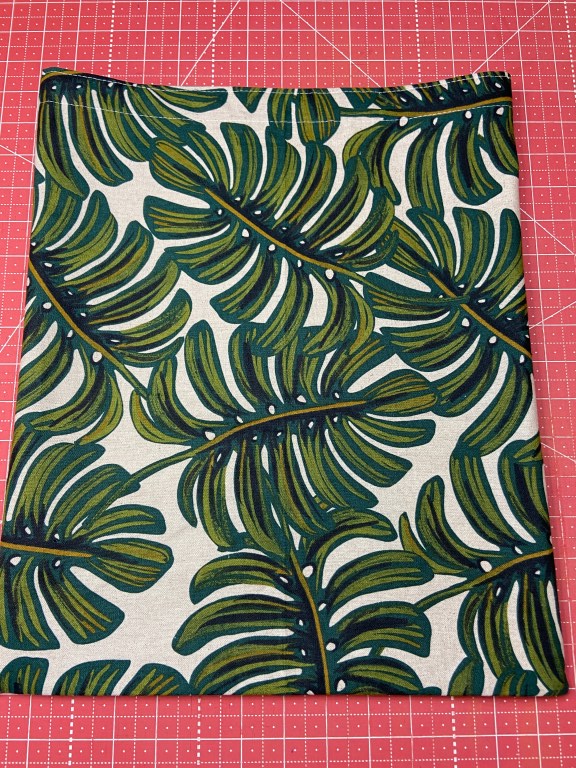
The photos I will be using for the tutorial photos are from some patterned canvas yardage I had. I found that it showed up much better for photos especially when detailing whether I am sewing the right or wrong side of the fabric.
If you like the canvas I am using for the tutorial photos I purchased it from http://www.myhandmadespace.com.
Tote Bag Tutorial
Cutting
To cut the fabric, if purchasing the same size fabric I used, follow the diagram below. Keep in mind you will need 8 handles measuring 4″ wide by the length of handle you prefer. I like to sew my handles at the sizes below then cut them into the 8 segments.

Sewing Bag
To begin, take each bag body and roll a 1″ hem along each short end. Roll the raw edge down 1″ then fold it over 1″ again to hide the raw edge of the fabric. Press the rolled hem and clip it in place for sewing.

Now sew 1/8″ top stitch along both sides of the folded hem.


With wrong sides together sew 1/4″ seam along both sides of the bag.

Turn the bag so that right sides are together and sew 1/2″ seam allowance. This will form a french seam and hide the raw edges.

Turn the bag right side out and clip any loose threads. The bag body is finished!
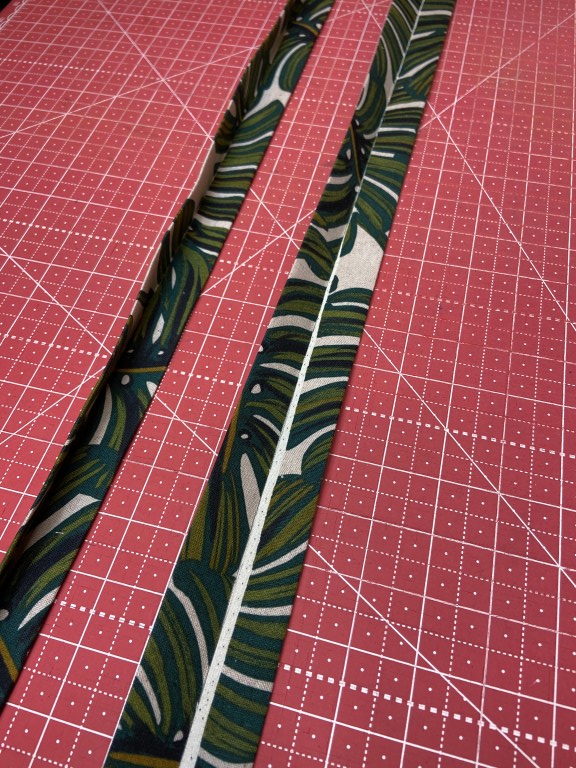
Sewing the Handles
Mark down the center of the handle pieces.

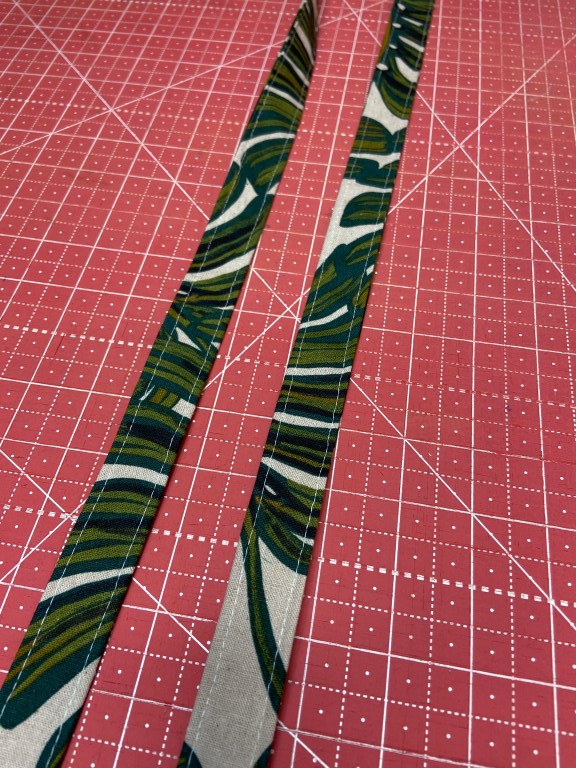
Fold each long edge of the handle fabric to the drawn center line. I like to use the Acorn Precision Piecing Glue to help hold the fabric in place after pressing. Next press the handle in half hiding the raw edges inside.
Use clips as needed to hold the handle in place for sewing.
Sew 1/8″ top stitch along both sides of the handle.

I like to mark 3.5″ from the edge of the bag for handle placement. Mark the inside of the bag 3.5″ away from each side. You will have four marks for handle placement. Place the end of the handle to the outside of the mark with the raw edge of the handle aligned with the top of the bag. Make sure the handle doesn’t have any twists and pin or clip in place.
Sew 1″ down from top of bag to baste handle in place. Trim 1.4″ away from the handle. Then fold the handle up and sew a box securing handle in place. Follow these steps for the end of each handle.


Your bag is now finished!

