
Using the quick star block
To start you will need to make a star block using THIS tutorial.
I made my bag using only one star block and then I used strips on the back. So, if you want to copy my bag completely you just need one star block. If you want the front and back of your tote bag to look the same then make two star blocks.
Why is my bag different on the front and back… well, because I messed up my second star block and I hate ripping seams. So, I decided to pivot and switch things up!

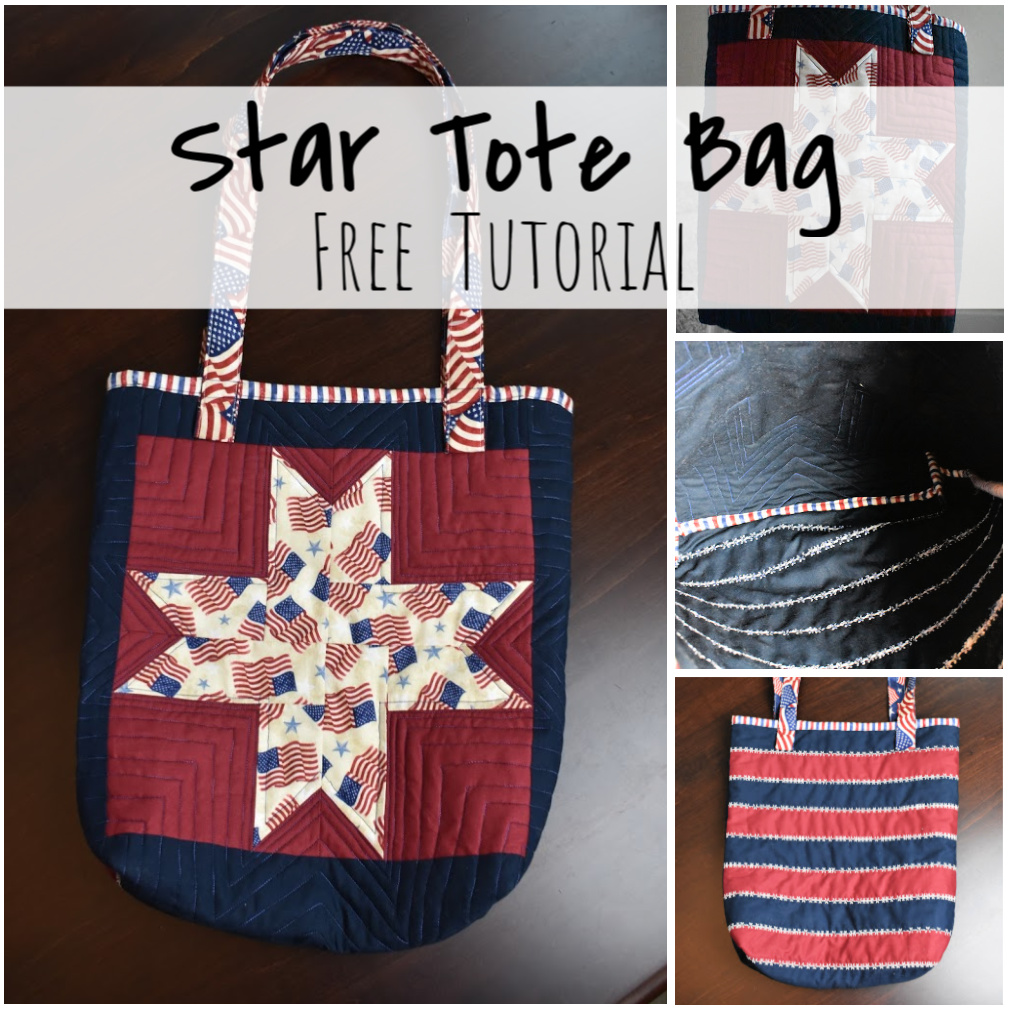
Patriotic Star Tote Bag


To begin you will want to complete the front and back panel of your bag.
I bordered my star with 2.5″ strips on the sides and top. I added a 4″ strip to the bottom because I wanted to box the bottom of my tote bag. If I didn’t add a thicker strip to the bottom of the bag the border wouldn’t look balanced.
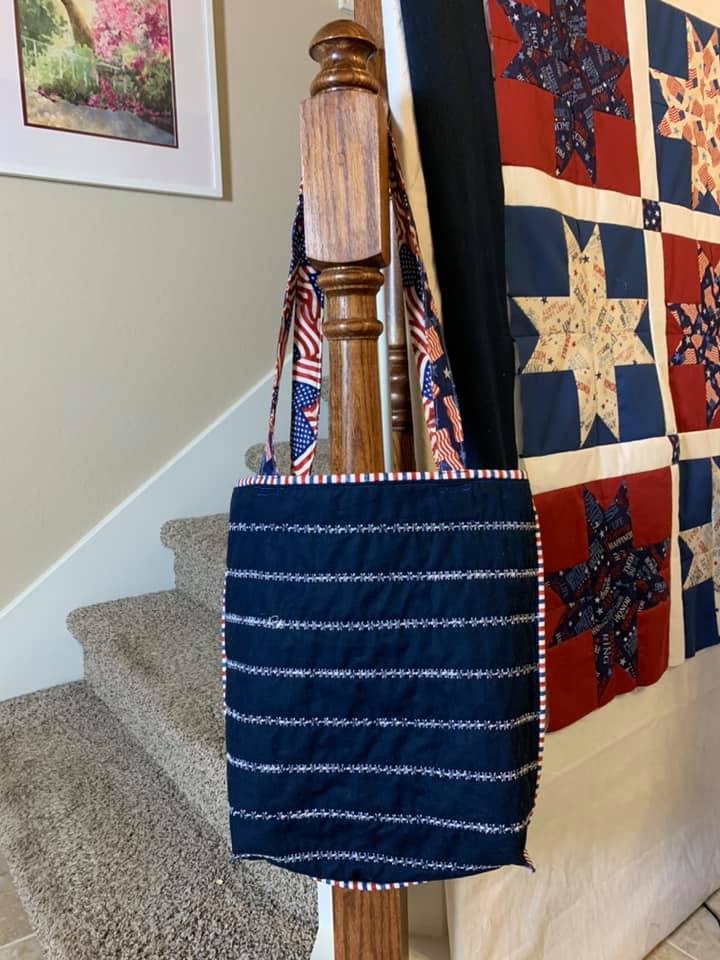
Since my bag is going to have strips on the back… I kept things simple and just sewed jelly roll strips together. I needed 9 strips to get the size that matched my front panel. Trim and square up your panels.
Batting and backing fabric
I am quilting my bag so I went ahead and cut my batting and backing fabric. Cut both at least two inches larger than your panel.
I basted my layers together using pins this time… normally for smaller projects like this I use basting spray.

Quilt
Quilt both of your panels.
Since my panel for the back of the bag is strips of only red and blue I wanted to add some white with my quilting. I used a white star pattern and just followed along all of the seams. This thread design was time consuming, but I love how it turned out! It was very much worth it!

I tried to add a variegated blue thread to the bobbin, but the white still showed through.

For the star panel I followed the design of the star using free motion quilting. I am not the best free motion quilter around, but I ok with that. We all start somewhere and I enjoy the process and seeing my improvement.
I used the same variegated blue thread as the top thread and in the bobbin as well.

The quilting looked great on the back as well!

Trim both panels

Sew panels together
With right sides facing together sew your panels together. I like to use a half inch seam allowance when sewing bags together.
You will sew along both sides of the bag and the bottom of the bag. Leave the top of the bag open.


Box the bottom of the bag
Notch out the bottom corners of your bag so that you can box the bottom of the bag.

I cut out 2″ square.
Here you can sew the corners, but I am going to add binding on the inside seams first. This part is optional, but I just want to give a really beautiful finished look to the bag. If you want to skip this step you can also add a zig zag stitch along the lining seams to help keep the fabric from fraying.
Lining binding

If you would like to add binding to the lining seams of your bag it creates a beautiful finished look. It will also allow your bag to be reversible!
Add the lining after you cut your boxed corners but before you sew them closed!
Complete Boxing the bag

Clip the boxed corners together.

I made sure my seams laid in opposite directions. This not only helps them lay nicely but it lessens the bulk when I go to sew this seam.
Sew 1/2″ seam and then add the binding onto each boxed corner.

I added a zig zag stitch to the edge of each corner binding. If I had the patience I would have tucked the edges in. Or maybe I just needed the forethought to tuck them in! Either way… the zig zag stitch works!

With the binding added to the seams even the inside of the bag looks beautiful!
Bind the top of the bag
Bind the top of your bag! This step you will want to do even if you aren’t adding binding to the lining seams.

Sorry! I forgot to take a photo of just the binding! I was getting excited since the bag was almost finished at this point… and it was looking incredible!
Make two handles
I used 4 strips of jelly roll fabric to make my handles. I like long handles on tote bags, so if you want a shorter handle just trim your strips to the length you prefer.
I used 2 different patterns for my handles so that each side looked different.
I also cut 2 – 1″ strips of batting to reinforce the handles a little more. You will want them to be just a tad short of the length your jelly roll strips are.

I trimmed one set of my jelly roll strips down to 2″ because I thought it would be easier to iron over the batting, but it wasn’t… so I would suggest just leaving them both 2.5″.

Take two jelly roll strips and place a strip of batting down the middle. Work carefully ironing the strip of fabric over each side of the batting meeting in the middle. I use 100% cotton batting so I don’t have to worry as much about over heating my batting. Keep in mind that if you are using synthetic batting it may melt or burn. If that is the case you may just want to skip adding batting to your handles.
Clip or pin as you work.
Take your other two jelly roll strips and iron the end into the center (just as you did with the other two strips, but without the added batting.
Once you finish this step you will place the rough ends of the fabric together, lining up your strips, and clip or pin.


Top stitch along both sides of both handles.

I love the reversible look!
Attach the handles to the bag

When I attach handles to quilted bags I like to lay them hanging down first. I usually lay then just under the binding. Make sure there are no twists in the handle and pin or clip in place.
I measured 3 inches from each side of the bag.
Now sew right along the ends of the handle and 1.5″ from the ends of the handle.
The reason I love this method is because I feel like it makes a really sturdy reinforced handle.

Plus, its an easy way to hide the rough ends of the handle, and I love anything easy!

Fold the handle up and sew two lines following the binding!
Complete these steps on the other side of the bag and then… tada! Your bag is finished!
FINISHED!


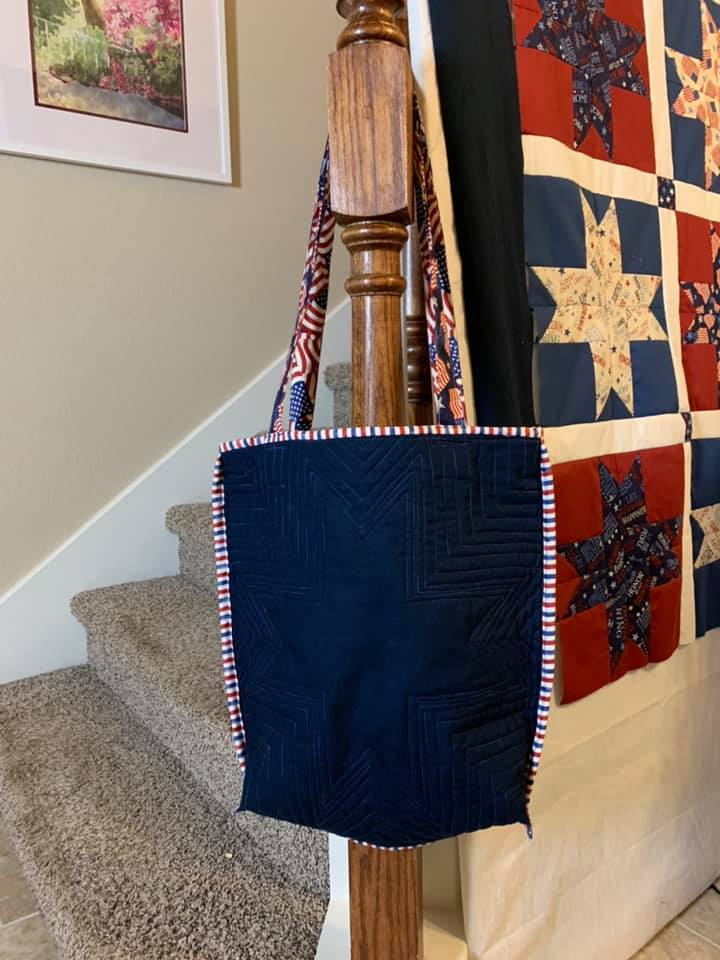
With the binding along the seams on the inside lining of the bag I think the tote also looks great reversed!
What do you think?
Enjoy making your tote bags!
Bye for now.

2 responses to “Patriotic Tote Bag”
They look great! Going to make a couple for grocery/shopping bags. Thank you!!!
LikeLike
Thank you!
They will make great grocery bags!
LikeLike