
I really love working on any quilt project. I love creating large intricate quilts. I love creating large simple patchwork quilts… and I love everything in between. I love them all.
There is something really magical about quick day projects though. There is so much satisfaction that comes from starting and completing a project in the same day. Maybe its because some of my large intricate quilts can take months to finish. Sometimes you just need a mental break from those projects… especially if a lot of seam ripping starts to happen.
This oversized mug rug is just the project you need when you really want to sew, but your brain doesn’t want to think. Why? Well, because, for the most part you don’t even need to take the time to measure straight lines! Making this a great project for beginner quilters and even kids.
So, let’s get started.
What you need
Would it be silly for me to say… whatever you want?
But seriously, Just grab some scrap fabric, or a few fat quarters that look nice together… Whatever….
Here is what I used.

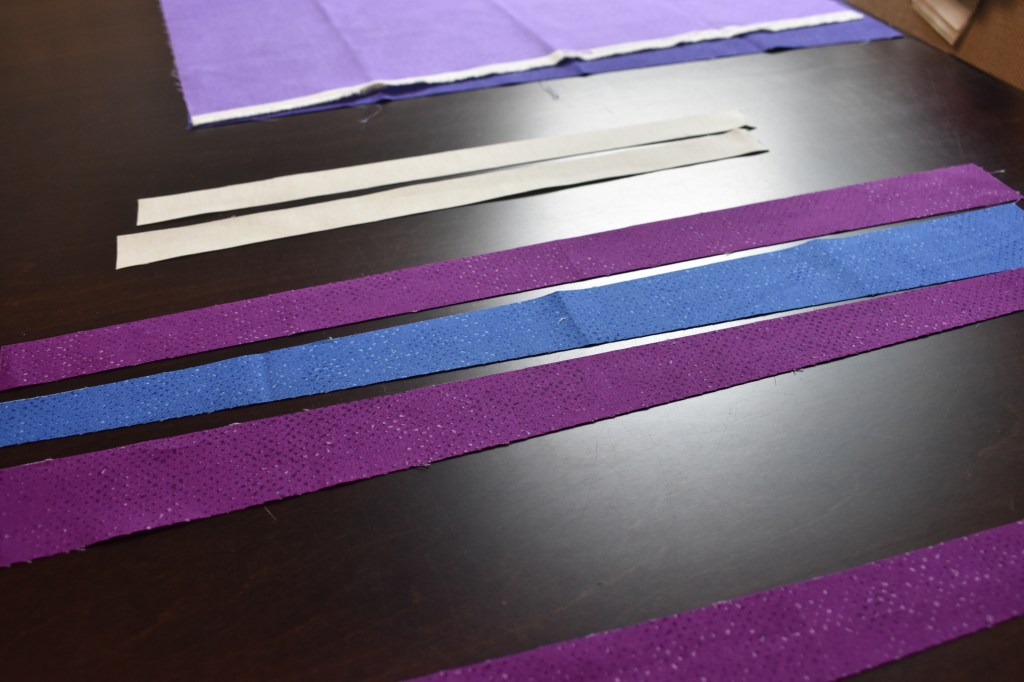
I used four fat quarters and some leftover cream fabric I had lying around from another project.
Cutting
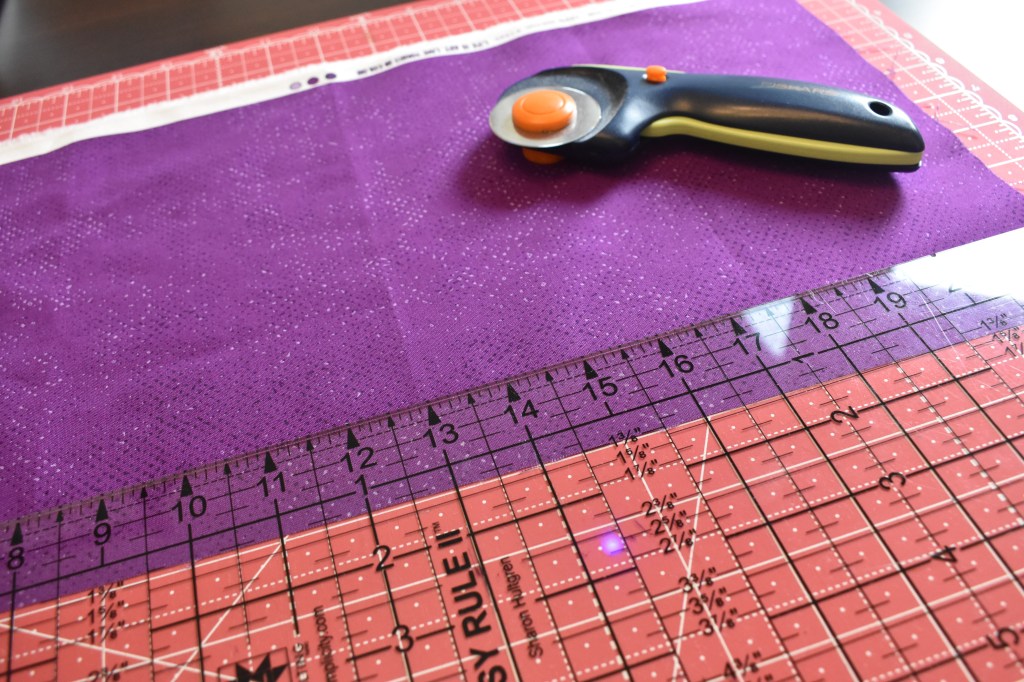
First decide how large you want your mug rug to be. I made mine 8″x14″. You will want to cut your backing 4″ larger than you cant your mug rug to be. To give myself some extra room I cut mine 13″ by 20″.
I cut my cream accent pieces 1″ x 8″ (you want this accent piece to at least be as long as your mug rug).
Now start cutting a bunch of strips from your colored fabrics. Cut them at angles. Have fun with it. You want to at least cut them as wide as your mug rug. I cut mine about 16″. Don’t cut them thinner than 3/4″…. that’s really the only rule since you will likely sew 1/4″ seam you want at least a sliver of your fabric to show.
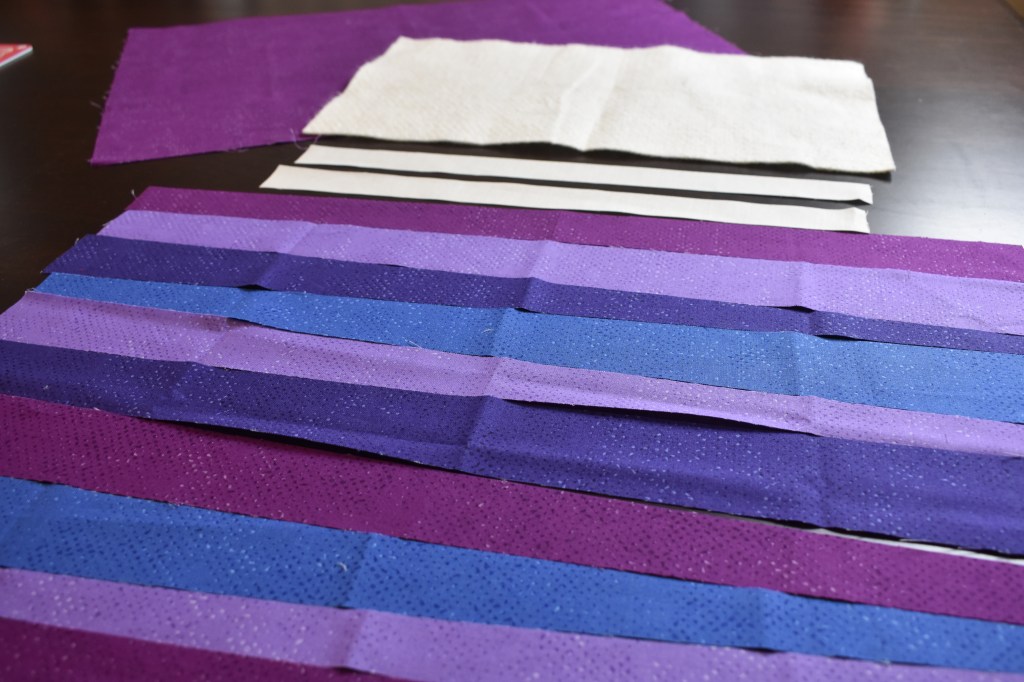
Cut enough strips to make your mug rug as long as you want it. Keeping in mind that your seam allowances will shrink your piece from the layout appearance.
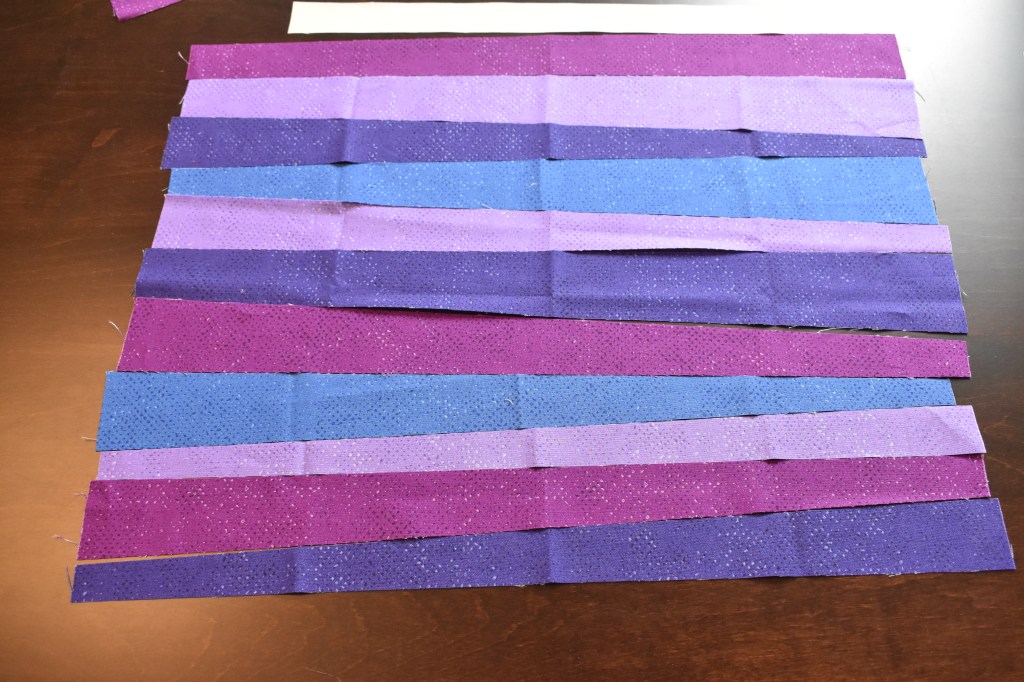
Sew
Once you are happy with your layout sew your strips together. Its just that simple.
Press your seams as you work. This will make it a littler easier to sew.

Keep adding on more strips.

Once you get it to the size you like trim it down if needed.

I used my batting to quickly guide my trimming.
Cut your accent piece
This is where your light colored accent strips join the party. Lay your accent strips out on your mug rug and cut where you think it looks nice.


Flip the middle piece.

Sew
Sew everything together and press the seams.

Trim if needed.
Quilt Sandwich and Baste
Layer the quilt sandwich and baste it using your desired method. For this project, I am self binding, more on that below, but since this is the method I am choosing to bind I need to make sure my quilt top and batting are the same size before quilting. When using the self-binding method you don’t trim your backing fabric even with your quilt top after quilting.
When basting quilts I usually prefer pins, but with a small project like this I sometimes use basting spray.
Basting spray is pretty messy, to me, but I find it is pretty easy to control on small projects like this. Also, it makes quilting much easier since you don’t need to remove pins.
Pin or baste. If you use basting spray just follow your cans instructions.


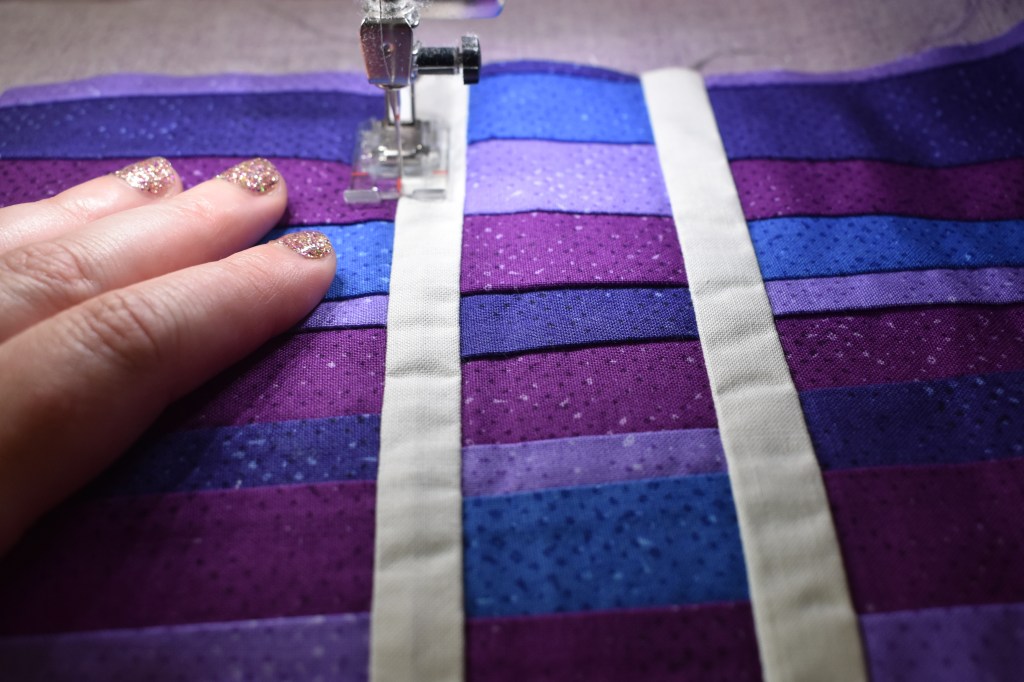
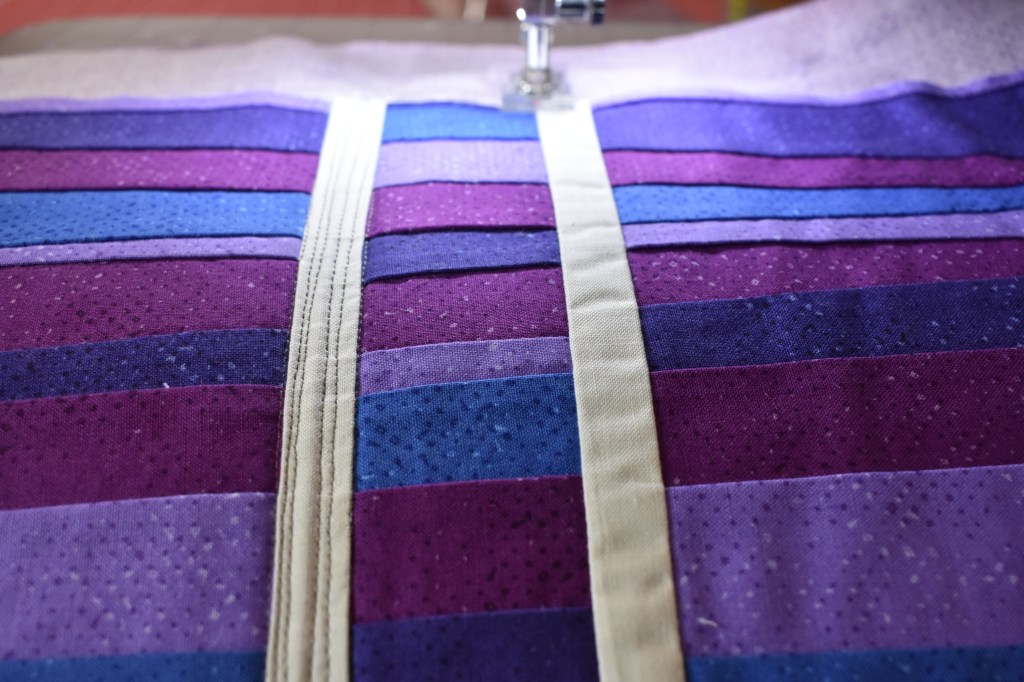
Quilt
Quilt your project in the way you feel comfortable.
I started quilting up and down my accent strips to create interest. Then I quilted along the colored fabric strips right in the ditch. I felt like this method would allow the fun flow of the project to shine!
Bind
This is the perfect project to use the self binding method, which is what I chose to do. If you would prefer to make binding strips and bind the project that way… you of course can!
To self bind, you will essentially carefully fold your backing up onto the top of the quilt.
To start, trim the backing fabric to size. I want a really thin binding for this small project so I am trimming to 1.5″ all the way around.

When I fold my binding I always use wonder clips to hold it in place… always!

If you don’t already have wonder clips you can purchase some here:
Click the image

Since I used cotton batting for this project I can easily use my iron to help evenly fold my backing fabric for self-binding. If you are using a polyester batting you will need to carefully iron just the backing/binding fabric so that you don’t accidentally melt you batting.
Start with one side and fold the backing up once.

If you are happy with this width fold onto the top of your mug rug and wonder clip in place. I chose to fold the binding in half again and then I folded it onto the quilt top then clipped it in place.

In hindsight, I could have just trimmed my backing fabric a little more for a thinner binding… but, we don’t always think things through.

To make your corners fold in as pictured above.
Then fold the binding in half and iron.

Either fold onto the quilt top and wonder clip in place, or, if you chose to before, fold in half again and then onto the quilt top for a thinner binding.

Keep working this way until you have a binding around the entire mug rug.

Sew binding in place
Top stitch around the binding to secure in place.

Finished
Just like that the one day project is complete!
Now you have an oversized mug rug for your morning coffee or tea… and it even has space for your morning treat on the side!


If you would like more quilt tutorials, big or small, then please subscribe to my blog!
Starting next week, Monday April 27th, I will be posting a week of Free Quilt Block Patterns! Come join this quilt-a-long! Let your friends know about it too!
Bye for now.

Create Beautiful Quilts is a participant in the Amazon Services LLC Associates Program, an affiliate advertising program designed to provide a means for sites to earn advertising fees by advertising and linking to Amazon.com. Some links may be affiliate links. We may get paid if you buy something or take an action after clicking one of these links.
