
The Finish Line!
You are really in the home stretch now. And I am positive that you are very excited to see your quilt all complete. You may want to rush to complete your binding, but resist that urge! You will need to go slow and make sure your binding stays nice and even.
There are two tools that I use when I bind my quilt and they both make it much much easier! They are a stiletto and wonder clips. I discuss them HERE and there are also links to purchase them if you are interested.
To start, you will want to trim your backing fabric even with the top of your quilt. I like to use my rotary cutter and an acrylic ruler, but you can easily use your fabric scissors here as well.
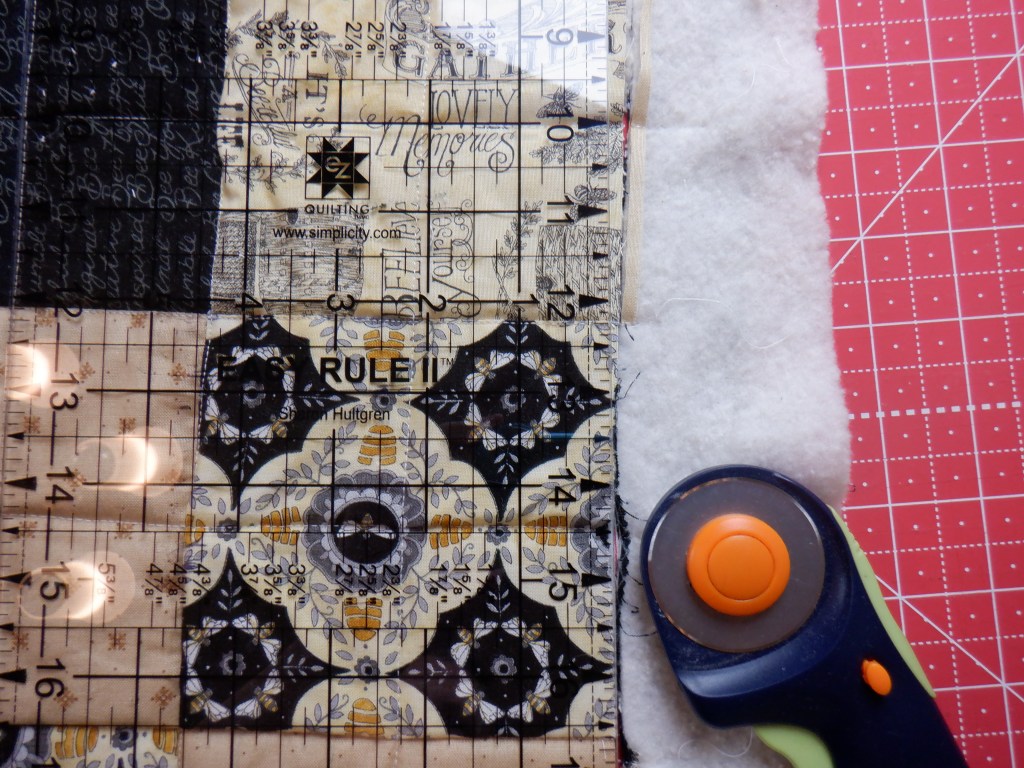
Trim! 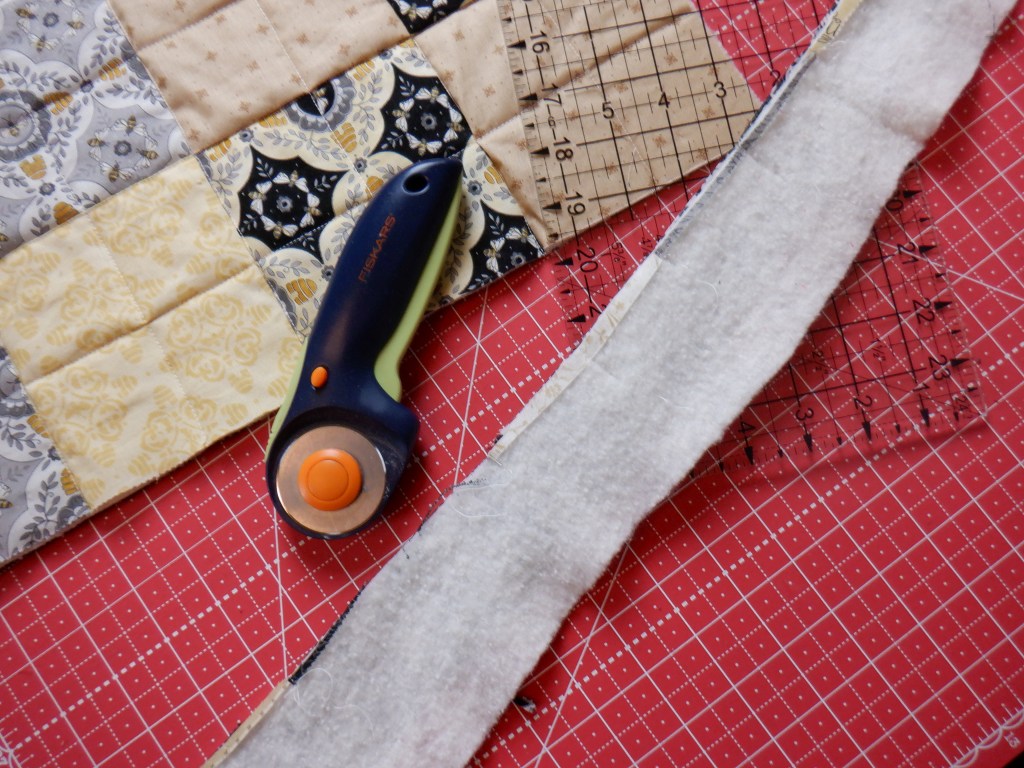
Trim all sides. 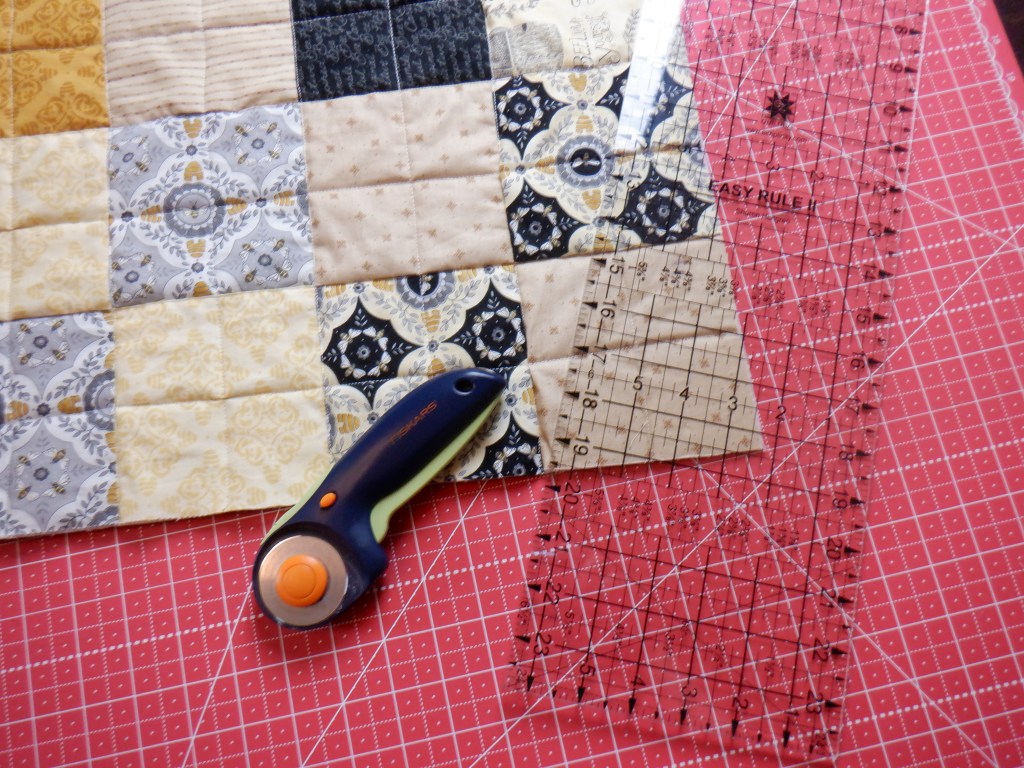
Nice and even!
After trimming up your quilt you will need to get your binding strips ready. I am going to use the same fabric that I used for the back of my quilt. I almost always match my binding strips with the fabric I chose for the back of my quilt. That is just my personal preference.
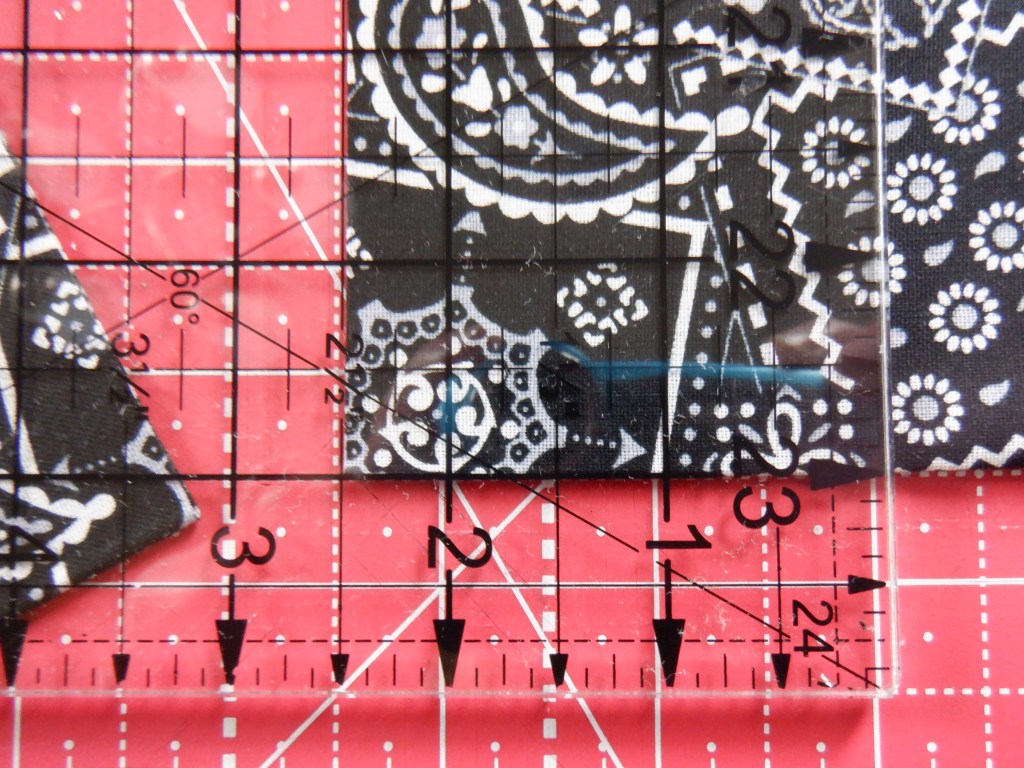
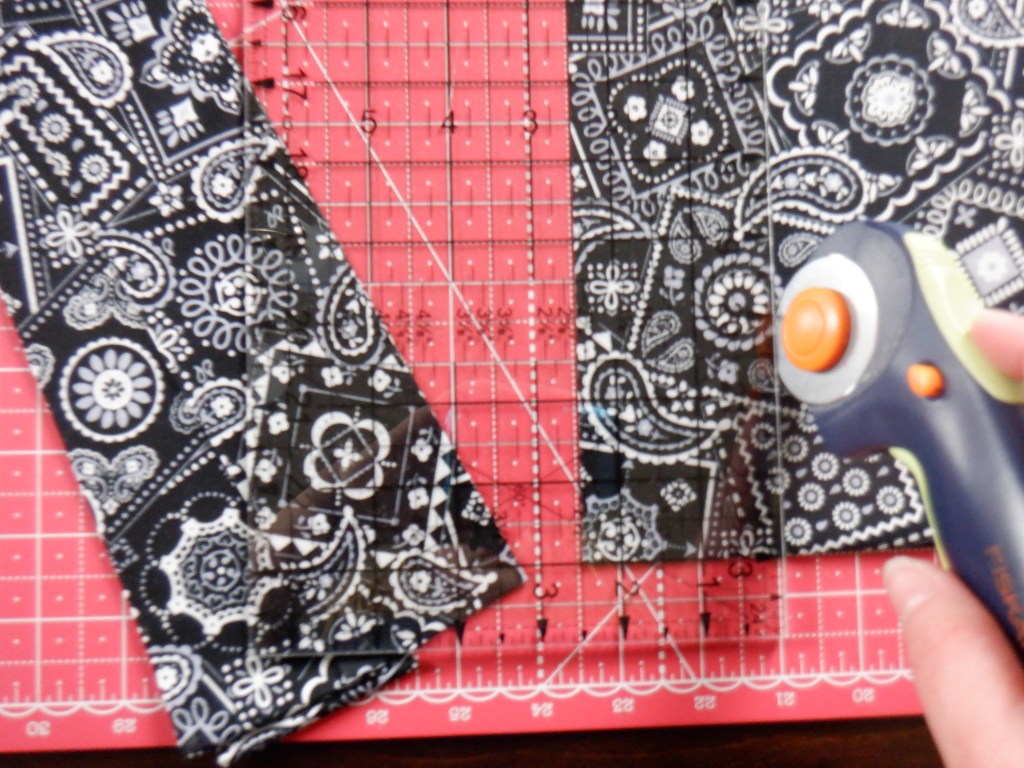
Before you cut your fabric you will need to iron it! Then it’s time to cut your strips. I always use 2.5″ binding strips by the width of my fabric. First, I fold my fabric and lay the folded end along a straight line on my cutting mat. I will then cut and even up one side of the fabric. I then turn my mat and even up the selvage end of the fabric (this will be the side opposite the folded end of the fabric). Then I turn my cutting mat where the squared up ends of the fabric are to my left, since I am right handed. Now I am ready to cut my 2.5″ by width of fabric strips.
Note: If you need more detailed directions on cutting fabric with a rotary cutter you can find a video tutorial at the bottom of this post!
For my quilt I am cutting 8 strips of binding. If you made a quilt that is a different size than mine then you will need to figure out how many binding strips you need by adding up the length of all sides of your quilt. (My quilt is 54″x72″, so 54+54+72+72=252. The width of my fabric was 42″, so if I divide 252 by 42 I get 6, which means I would need 6 strips of binding for my quilt… Wait? I said I am cutting 8 right? Remember, we are going to be sewing these strips together so there are seam allowances needed. And, I like to give myself some extra wiggle room… just in case!)
After I cut them all I will sew them together in one long strip, end to end, with a 1/4″ seam allowance. Don’t forget to sew right sides together!
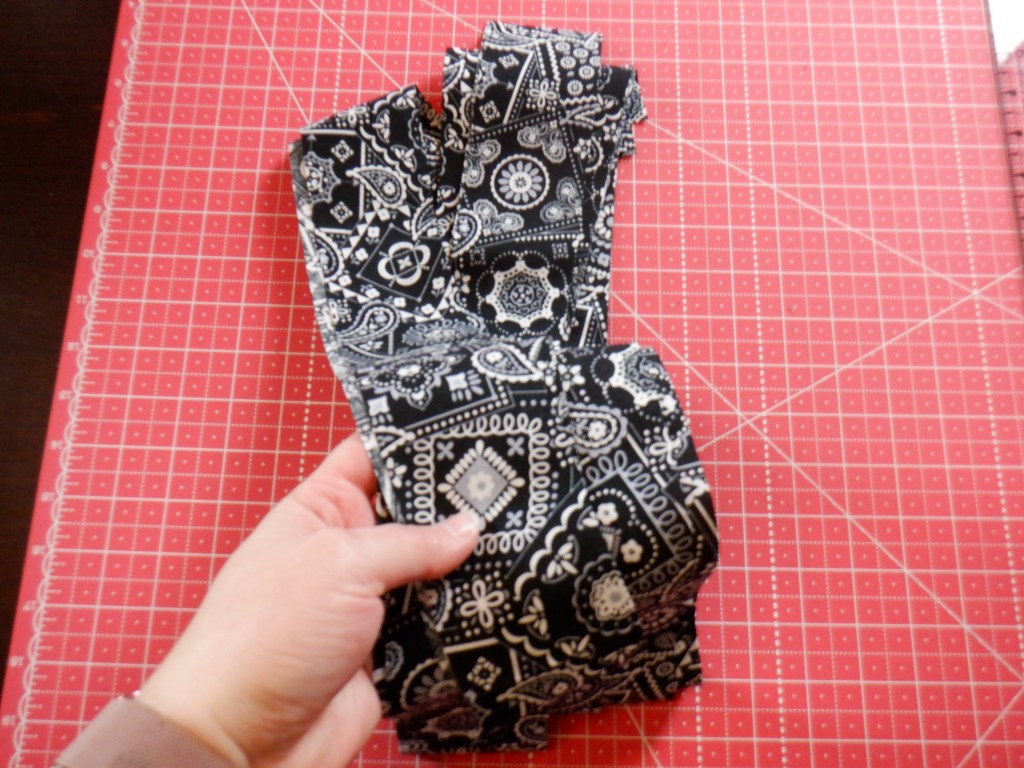
8 strips of binding. 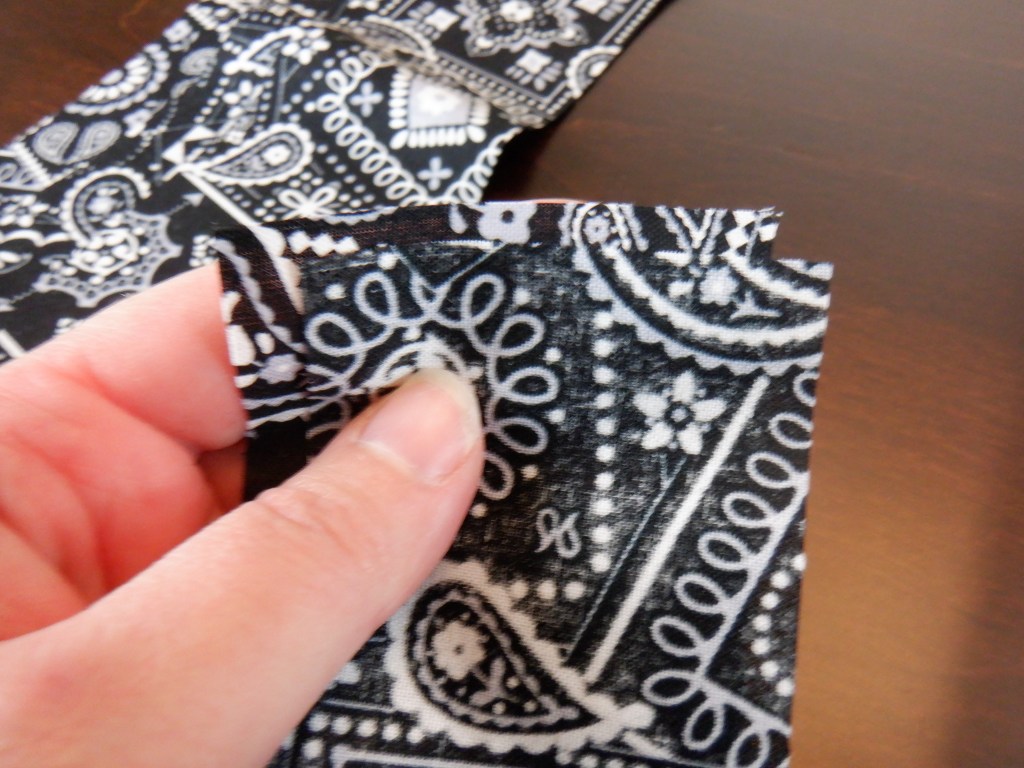
Face right sides together and sew. 
Sew strips end to end with 1/4″ seam allowance.
Once you have an insanely long strip of binding sewn together you will want to press your seams open, then fold the binding in half with right sides facing out and press with your iron.

Long strip of binding. 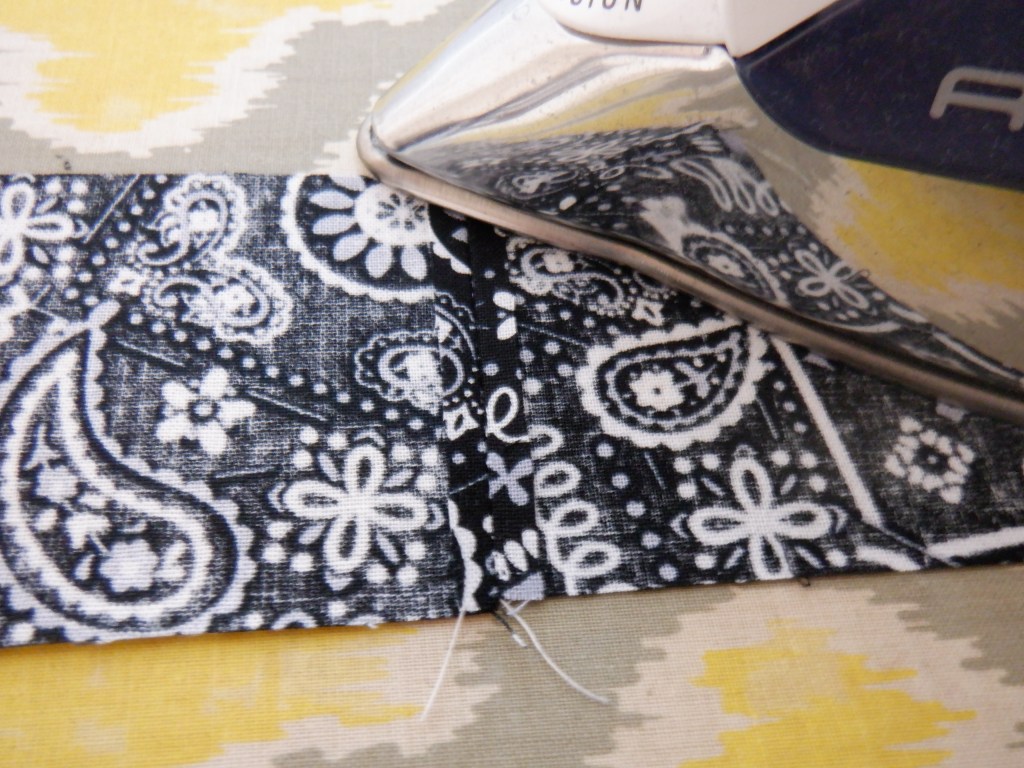
press all seams open. 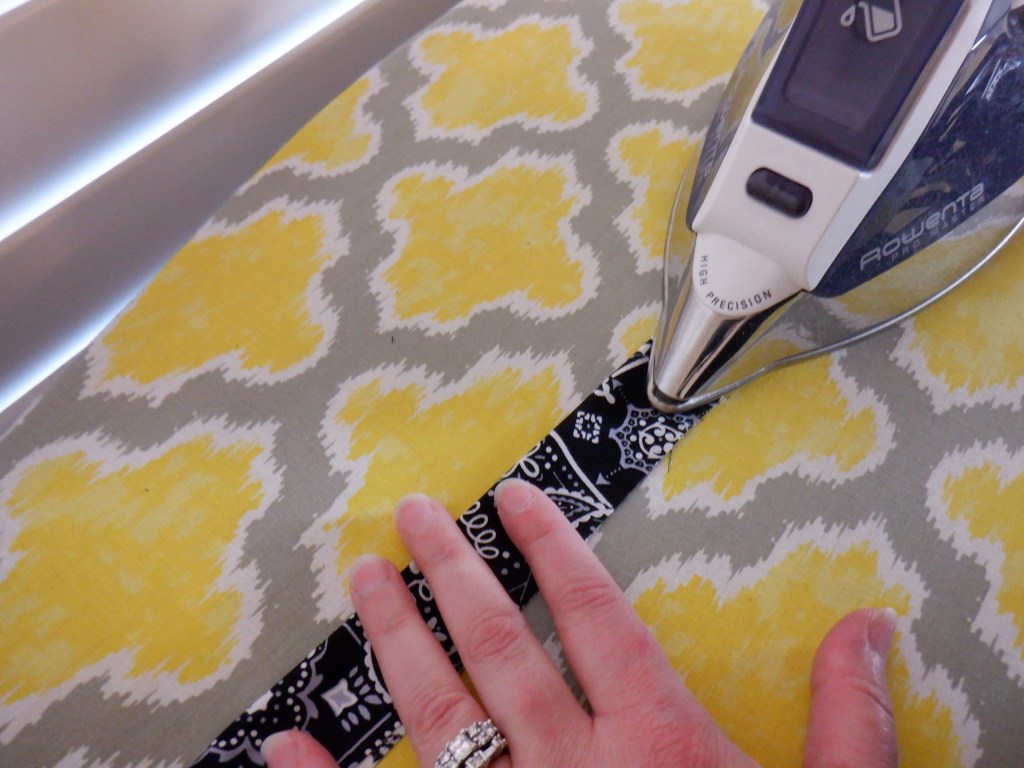
Fold binding and press. 
I like to roll up my binding to keep it all together when I get ready to sew.
Now that your binding is all ready you can start sewing it onto the back of your quilt! YAY! We are seriously so so close!
Time to attach the binding to your quilt
Now that we made our binding we need to attach it to our quilt. First the binding is sewn to the back of the quilt… Sounds weird right? Then you will flip the binding over the rough edges of your quilt sandwich and sew it to the top of your quilt. It sounds pretty complicated, but we will get through this together!
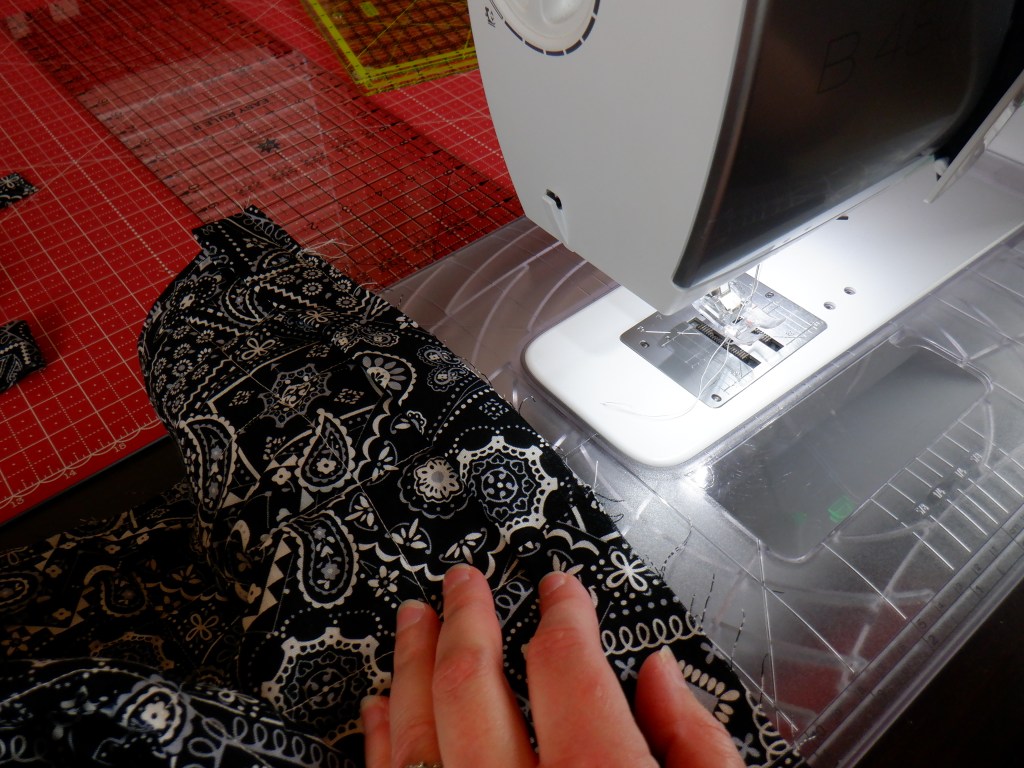
First, you will want to lay the rough side of your binding along the rough side of your quilt.
Tips:
- Don’t start sewing right at a corner
- Don’t start right at the end of your binding. Leave at least a foot of binding before you start sewing. This is so that you can sew the two ends of binding together when you get all the way back around to where you started!

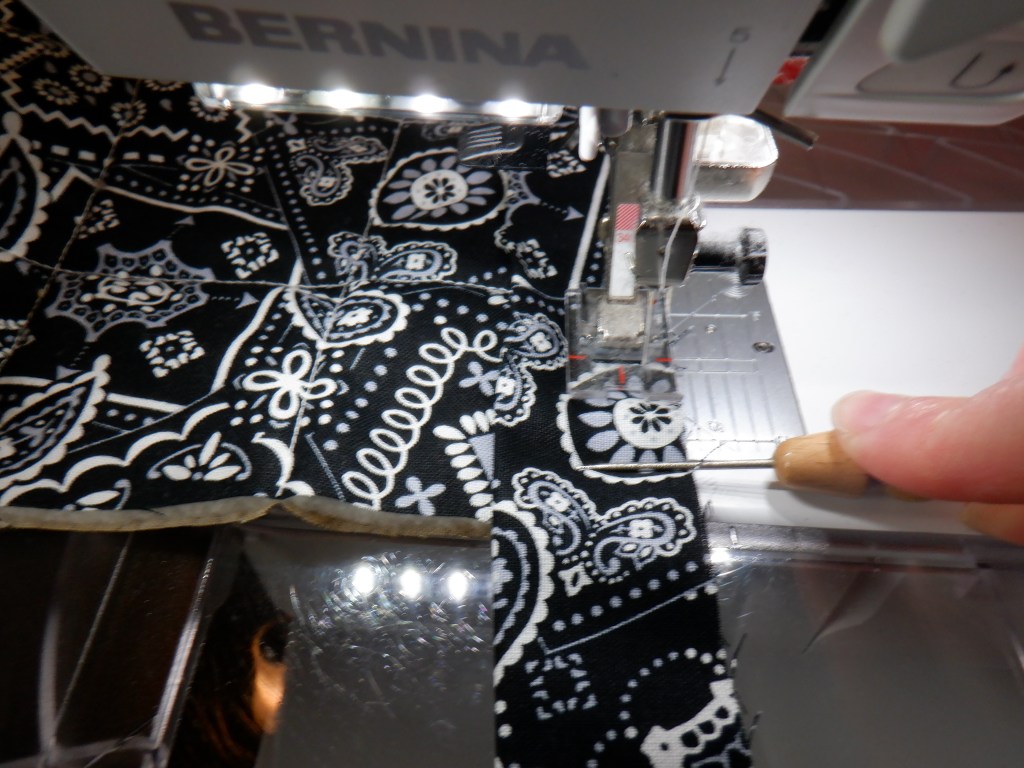
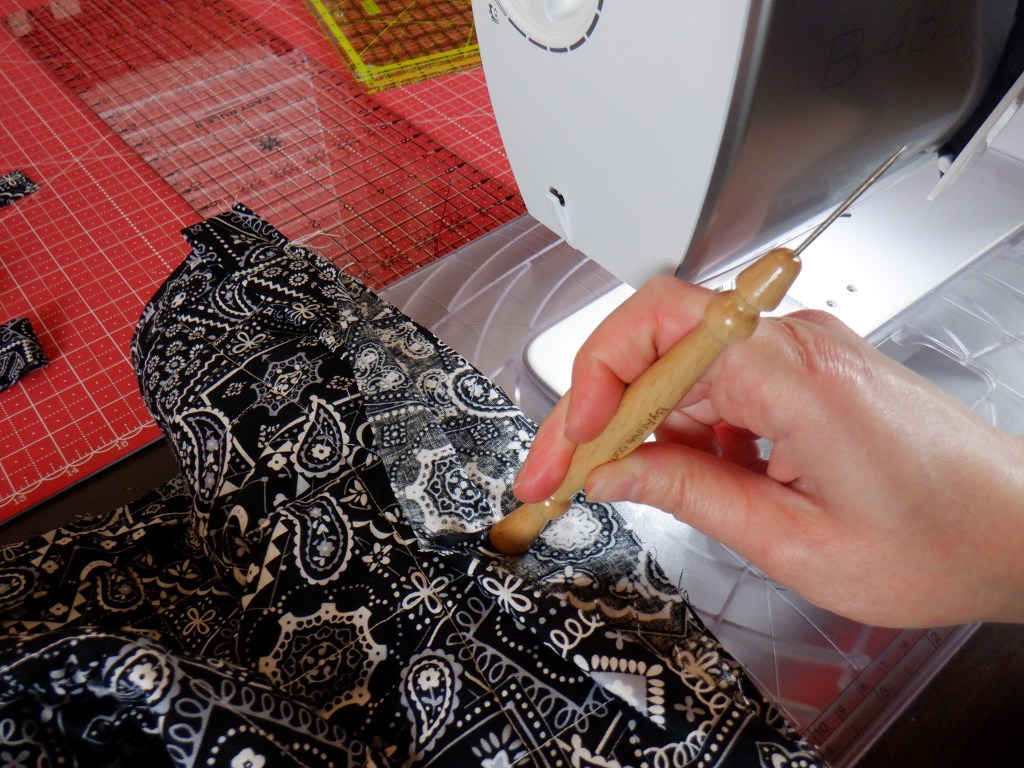
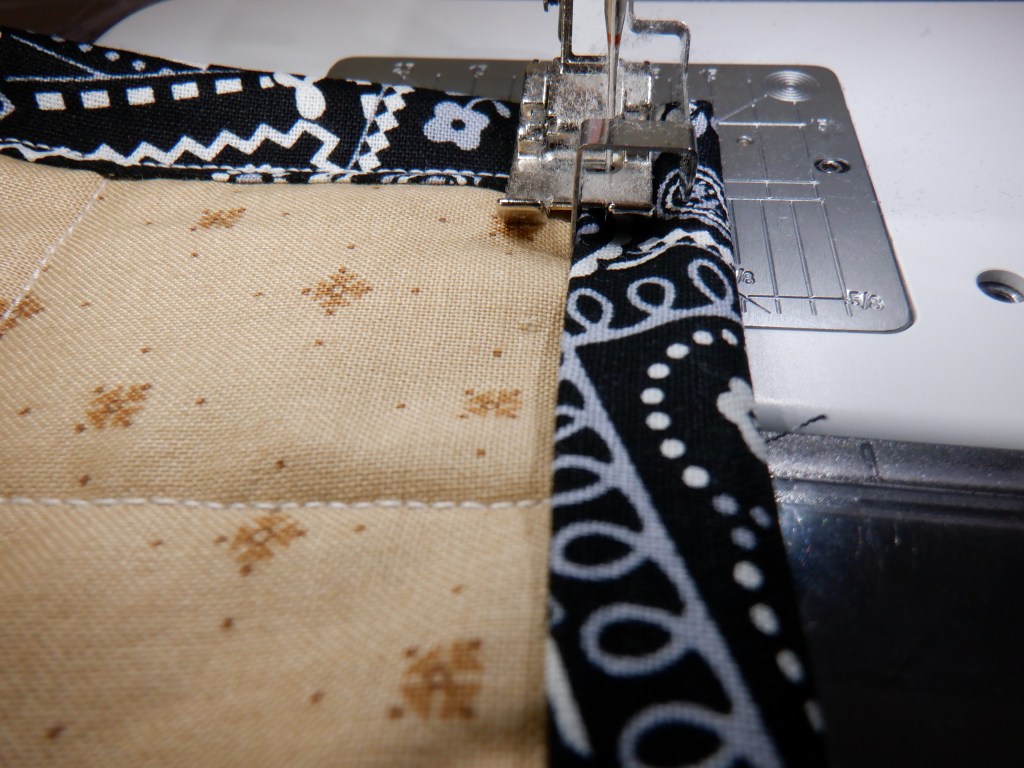
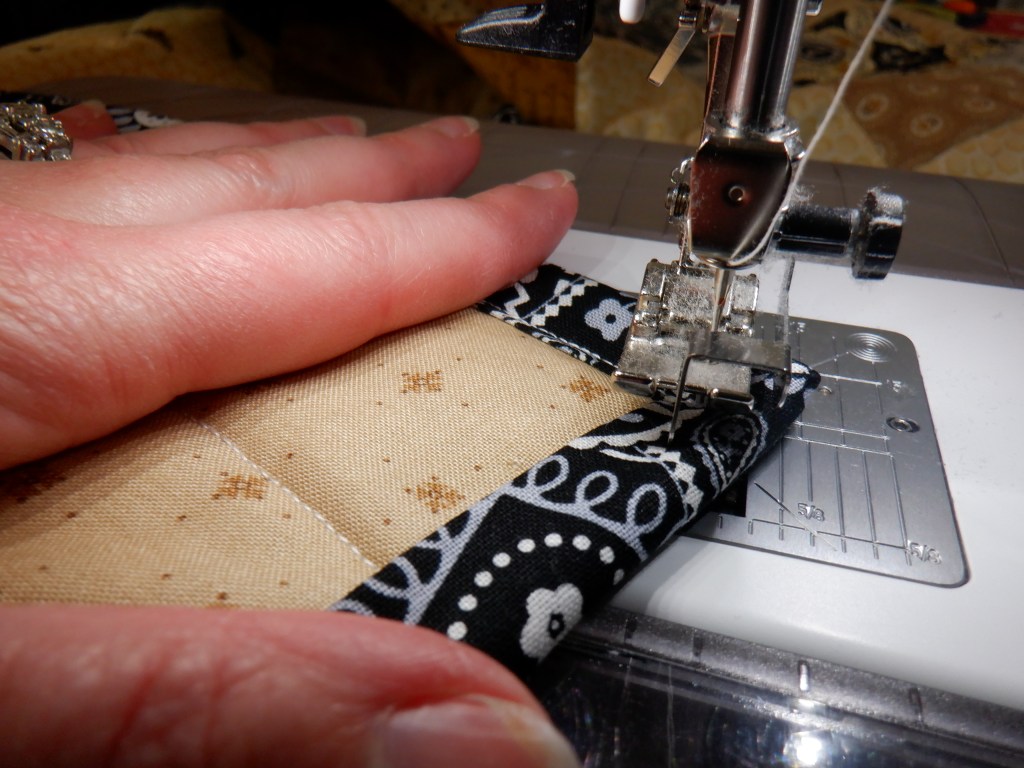
When you start sewing the binding on to the back of the quilt You will want to keep the binding nice and even as you feed it through your presser foot. I like to use a stiletto for this! But using your fingers works just as well!
When you get to the corners of your quilt you will want to follow these steps to achieve beautiful edges to your binding!
- Stop sewing 1/4″ from the end of the quilt.
- Lower your needle.
- Raise your presser foot.
- Turn your quilt so the corner of the quilt is facing you.
- Now sew at a 45 degree angle to the corner.
Sew 1/4″ from edge. 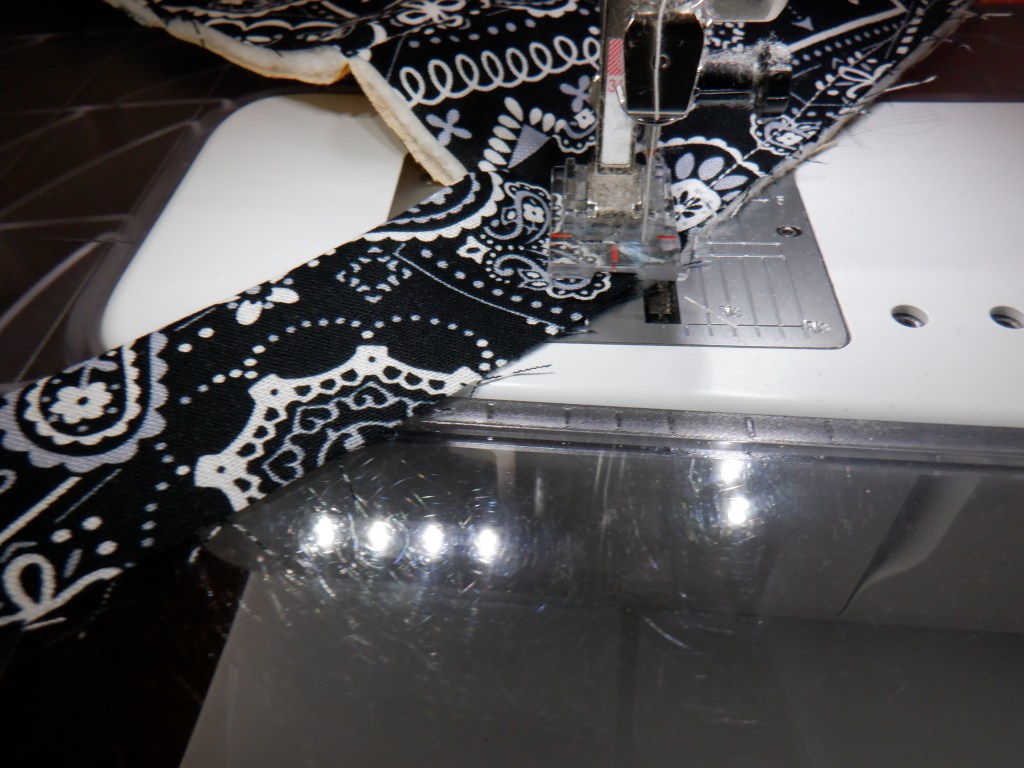
Lower your needle, raise your presser foot, and turn quilt so you can sew straight to the corner.
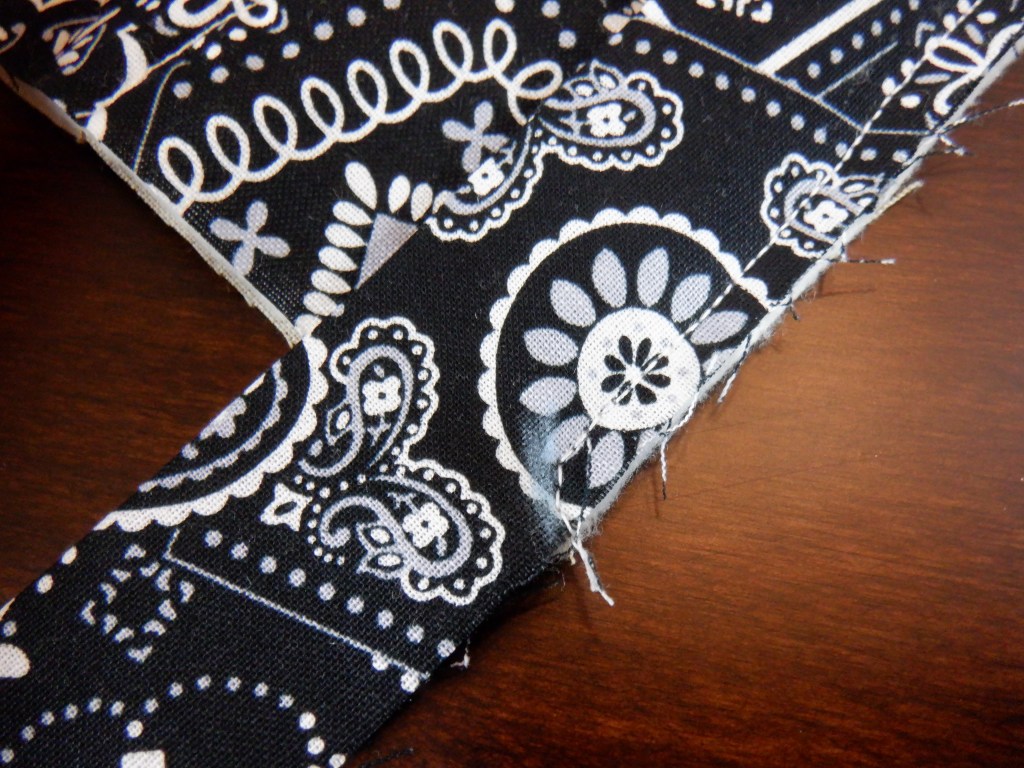
Now we will need to turn the binding up and then fold it down so it is running right along the next side of the quilt. Make sure the binding is nice and even along the corner. This will help you get nice a nice corner.
Fold binding up keeping a 45 degree angle as pictured. 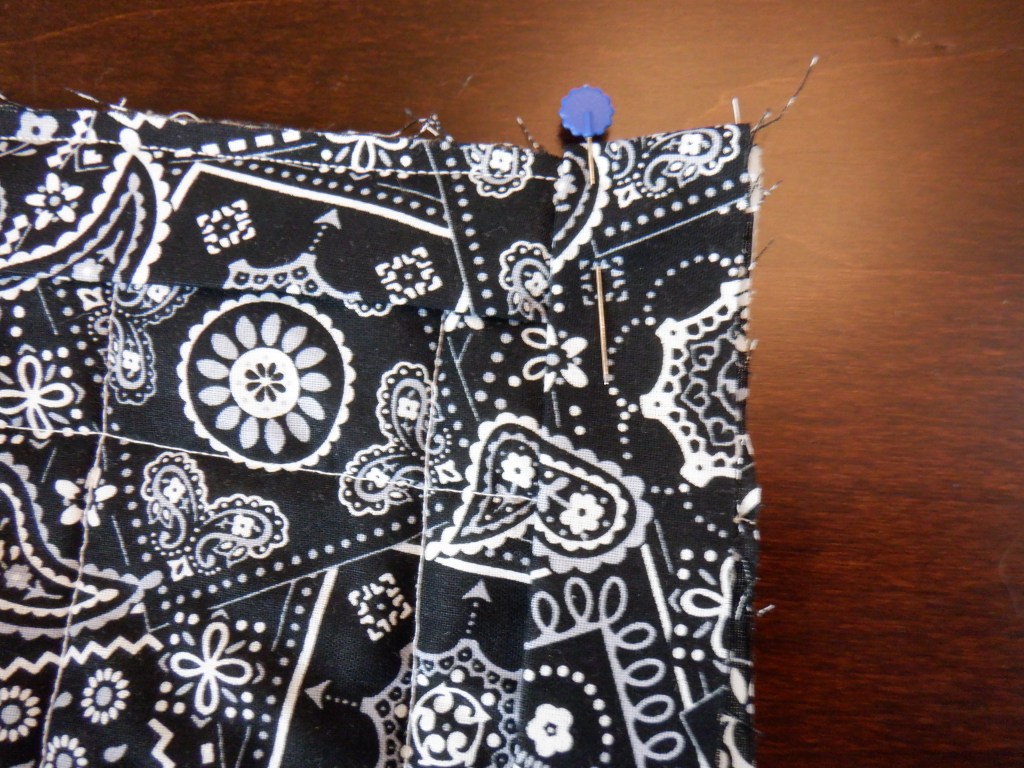
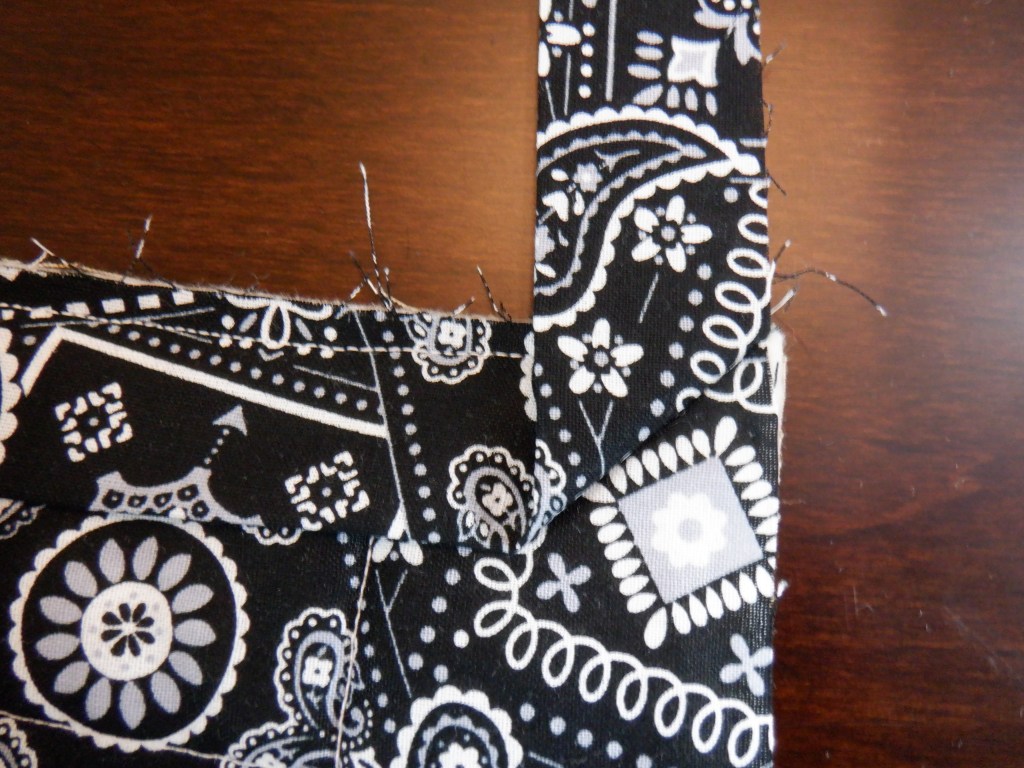
Now fold binding straight down so rough edges of binding match the rough edges of quilt. Place a pin if needed.
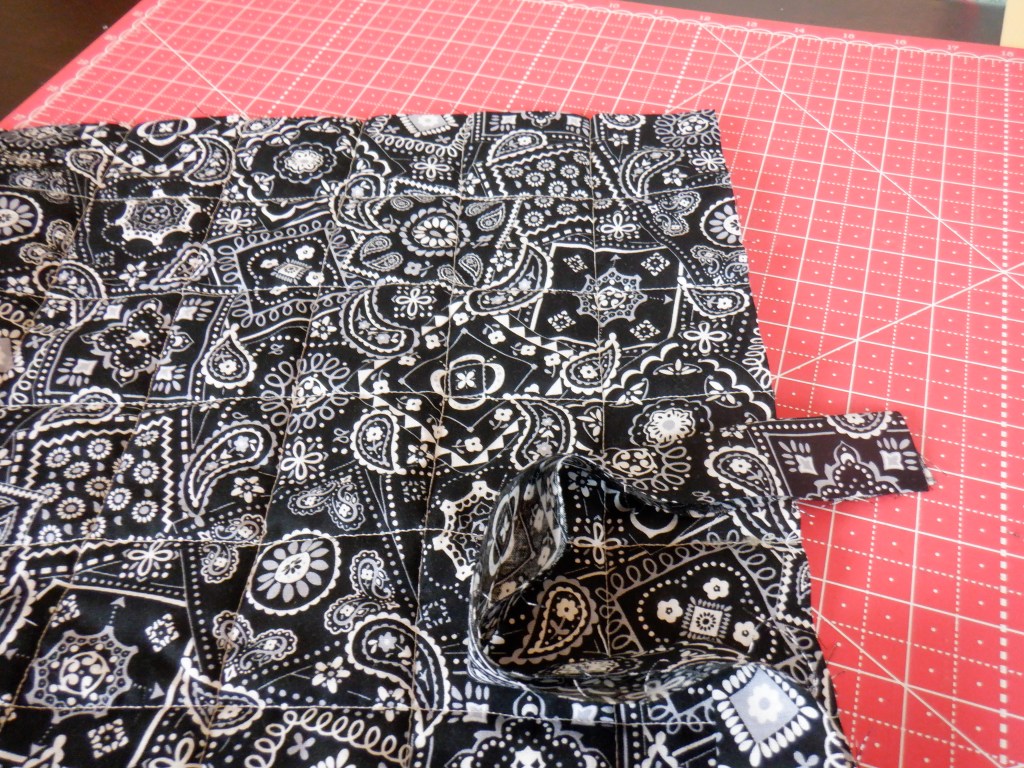
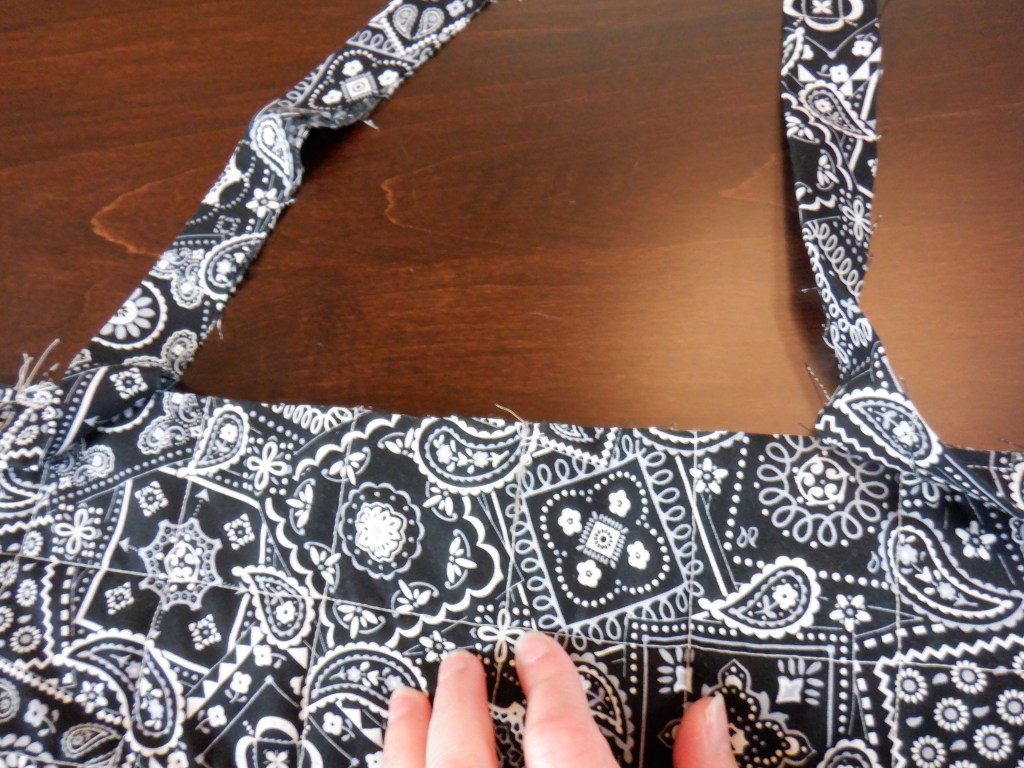
Continue along with your binding following the above steps until you get back to where you started. Stop sewing about a foot before you get to where you started sewing your binding on.
Trim your binding strips so only 1/2′ overlaps each side (Why 1/2″? We are leaving only 1/2″ because we are sewing them together with 1/4″ seam allowance. Once the binding ends are sewn together it should lay flat along the quilt so we can finish sewing). Once the binding is trimmed you can match up the ends of your binding, right sides together, and sew 1/4″ seam.
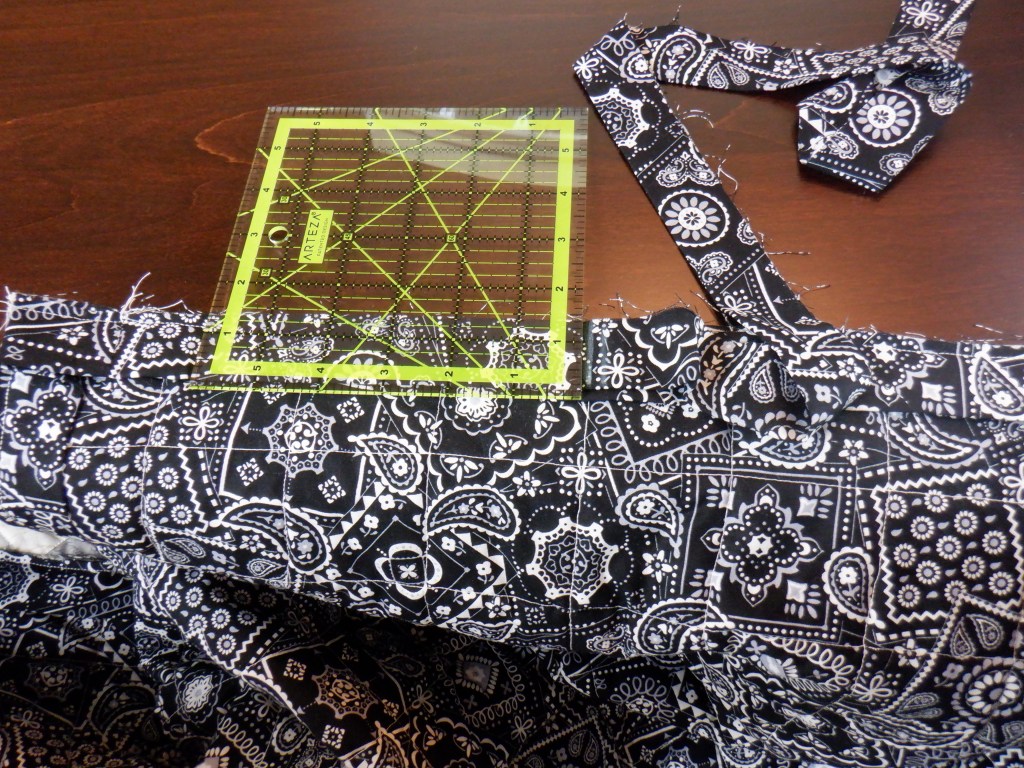
Measure 1/2″ overlap. 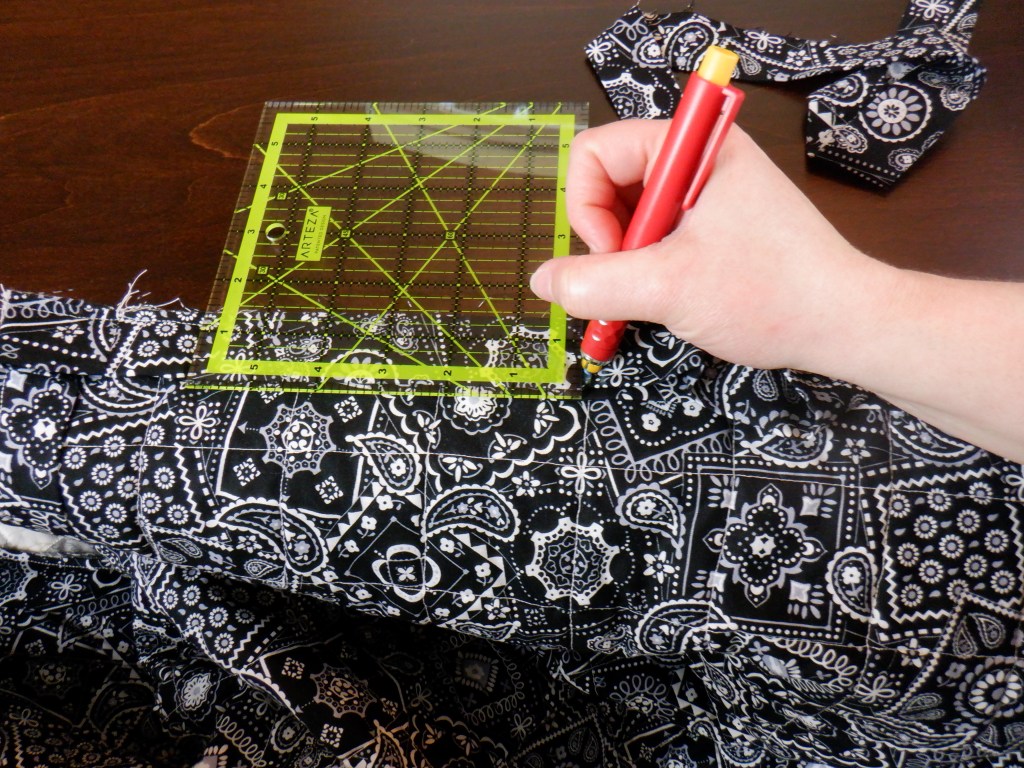
Mark where 1/2″ is. 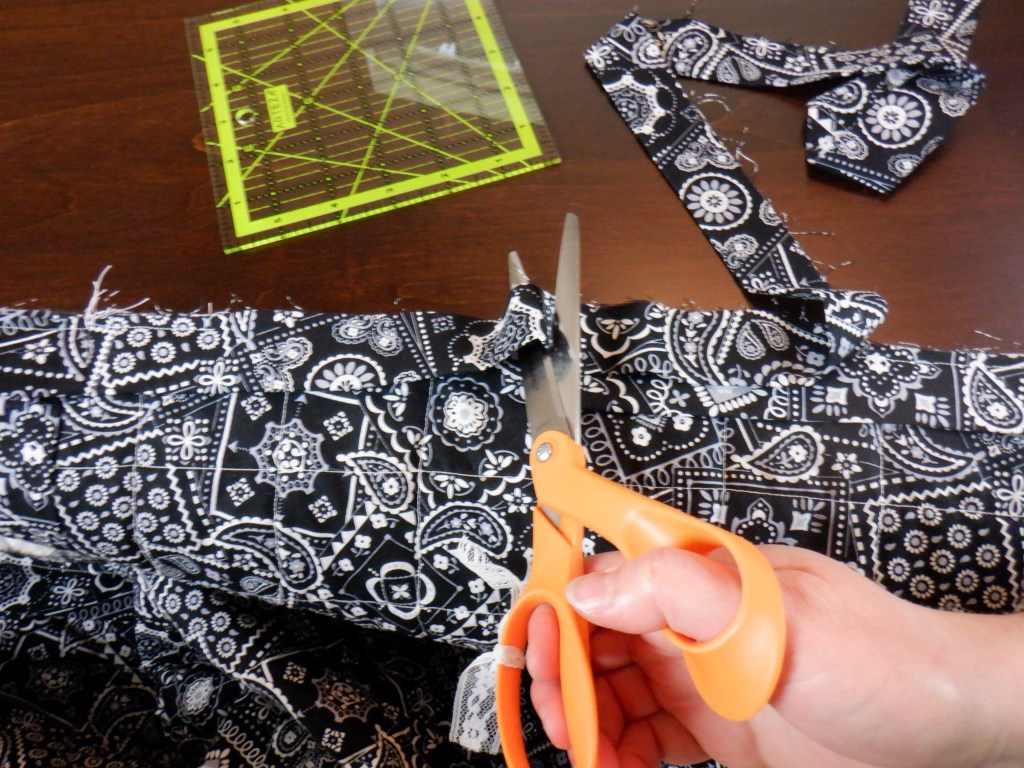
Trim the binding. 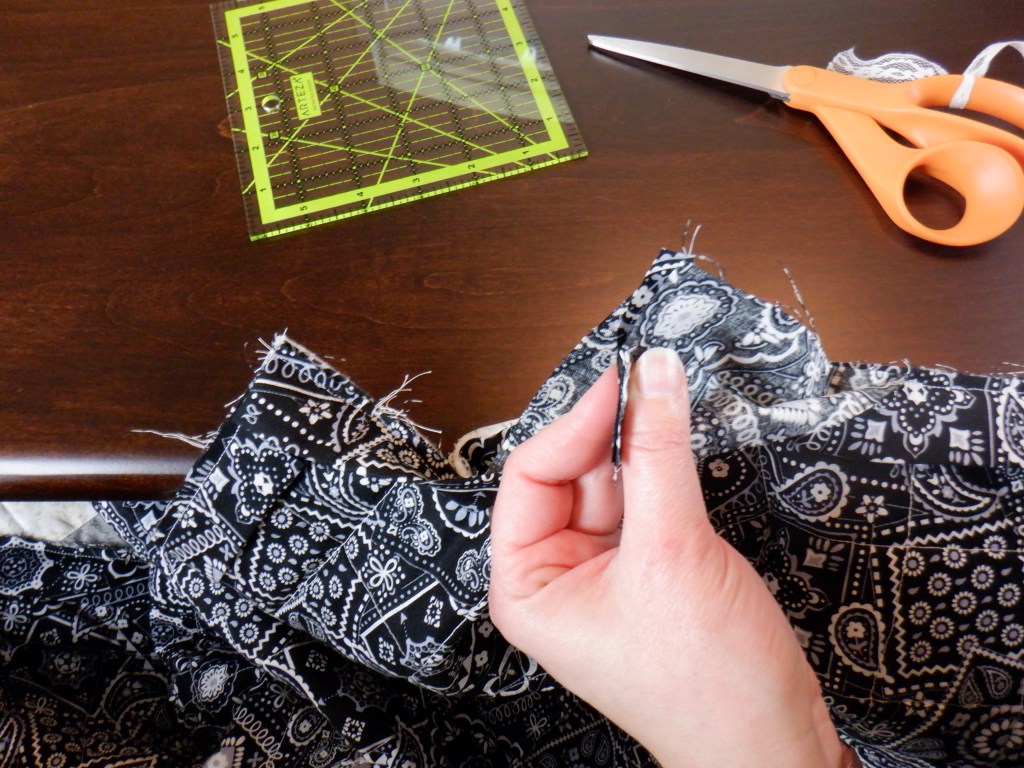
Match up the ends of your binding right sides together, then sew 1/4 seam.
It can be really tricky sewing your binding ends together at this point. This is why it is so important to NOT sew your binding onto your quilt really closely at this point. Give yourself plenty of room!
Once you sew the binding together you will want to press that seam open. You can use your iron, finger, or if your stiletto has a seam press you can use that.
Now you can fold your binding closed and finish sewing the binding onto the quilt!
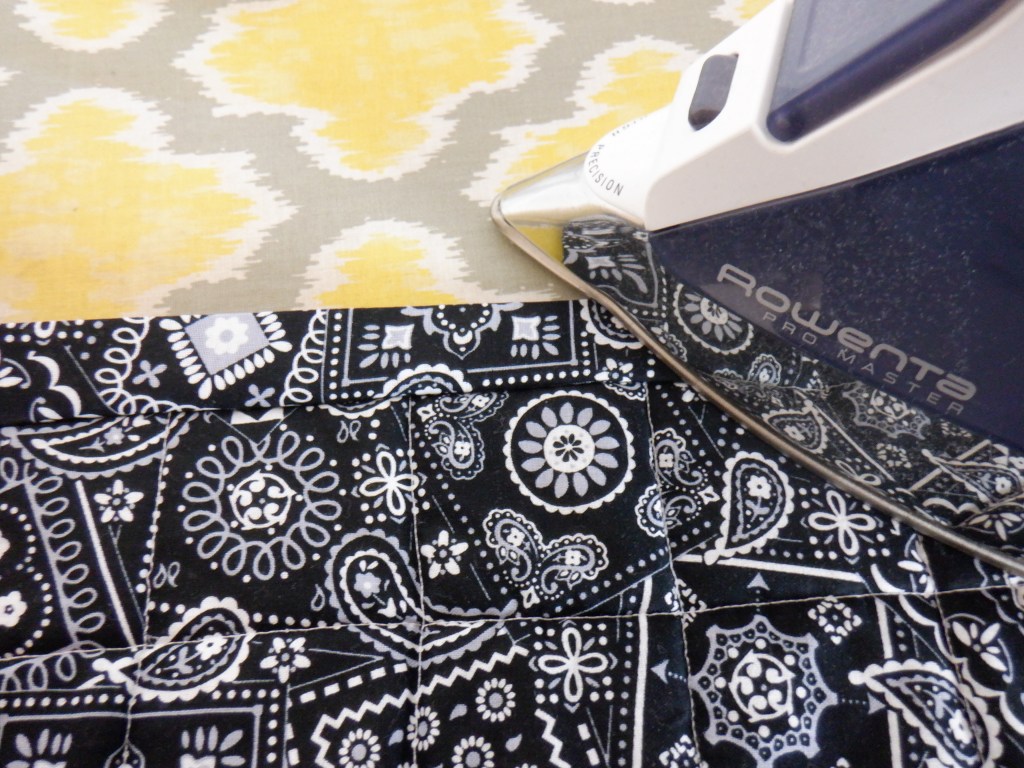
After your binding is sewn onto the back of the quilt we are going to head to one of the most important place in a quilters home! The ironing board!
We are going to iron open the binding on the back of the quilt. I find this to be a very important step for me to get my binding to lay flat. This step is not necessary for all quilters though. If you are struggling with your binding then you might want to give it a try!
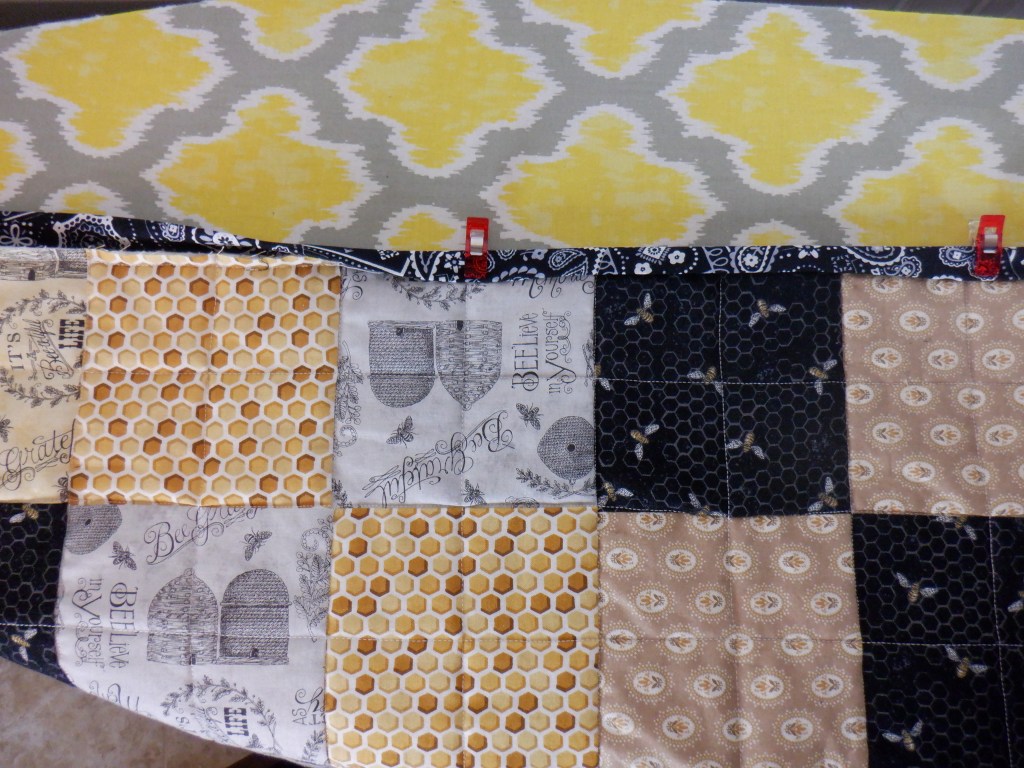
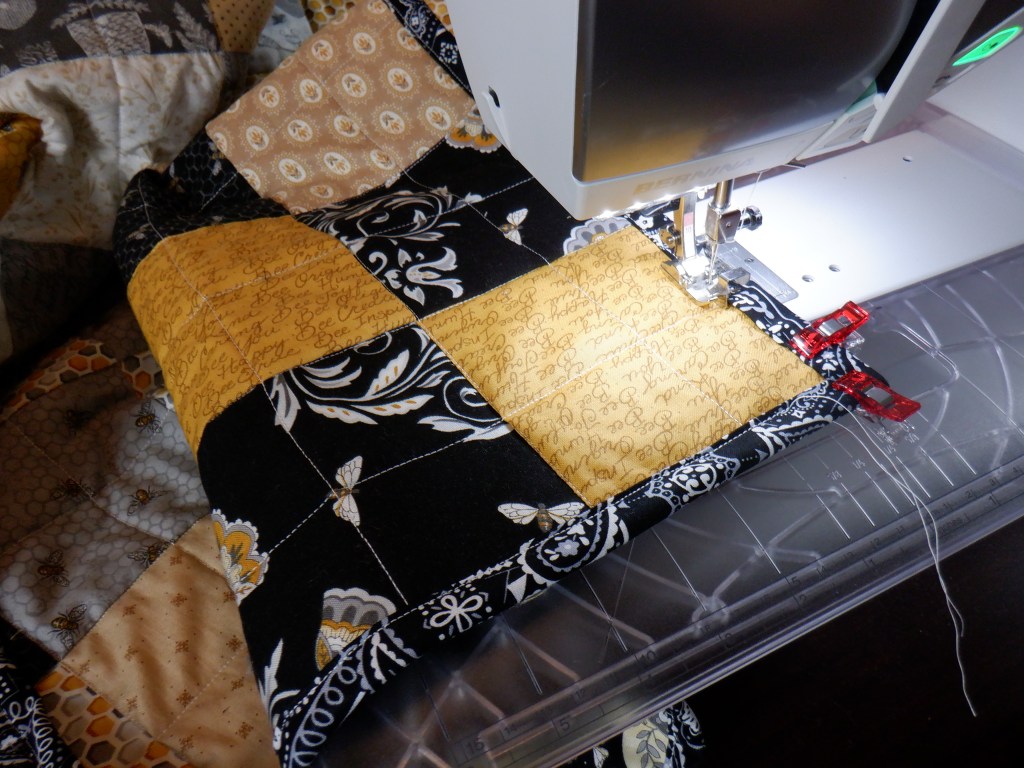
Once you iron open your binding we will flip the quilt over. Your quilt top will now be facing up. Start folding the excess binding down over the quilt top. Press with your iron if needed and start placing wonder clips to hold the binding in place. If you don’t have wonder clips you can purchase them here. Or just use pins. I prefer wonder clips because they are faster and hold the binding nice and flat.
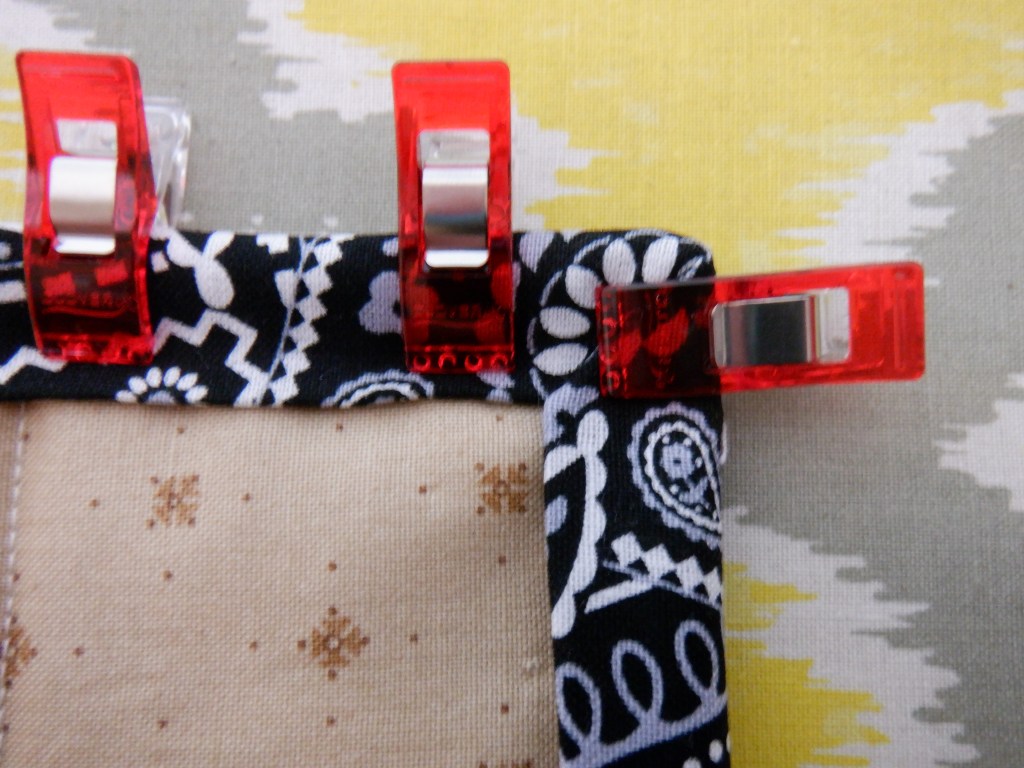
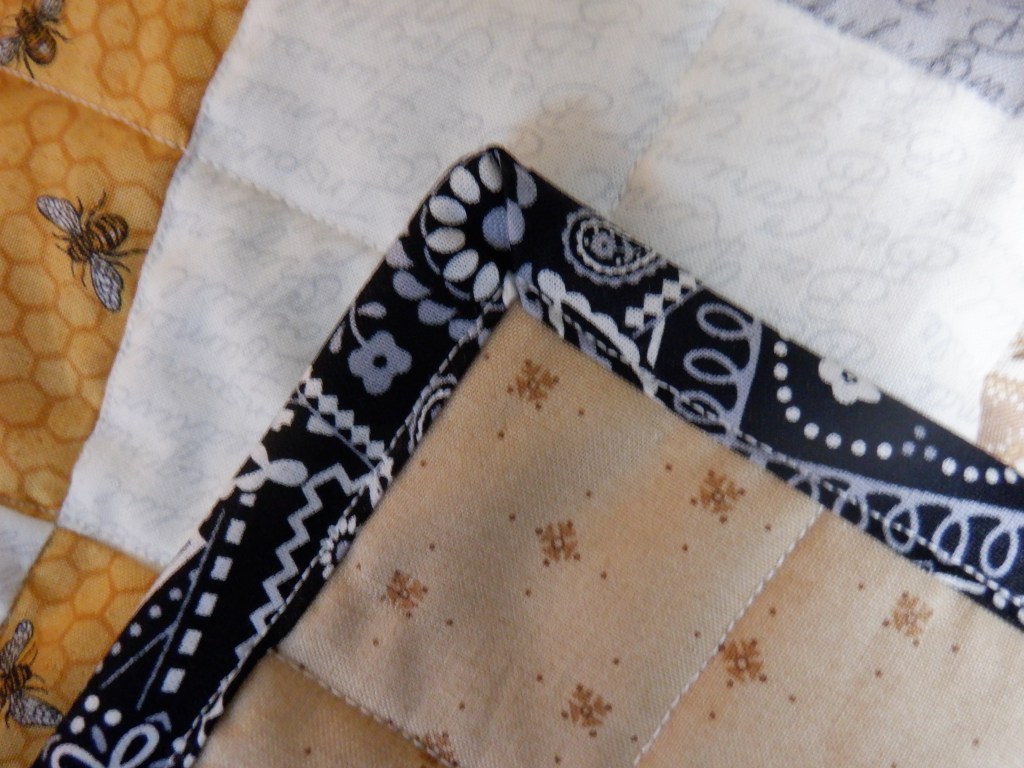
Once you get to the corners of the quilt you will want to iron down the top strip to the corner of your quilt. Then you will fold the right side over meeting the inner edges of the corner. Place a few wonder clips to keep it all in place.
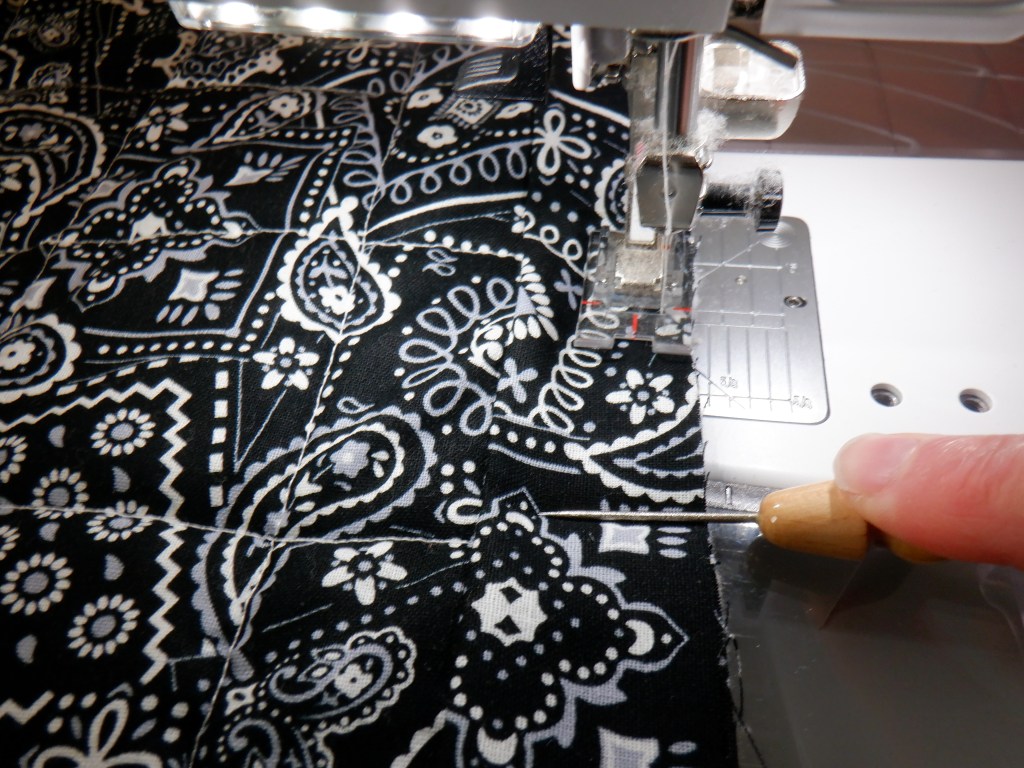
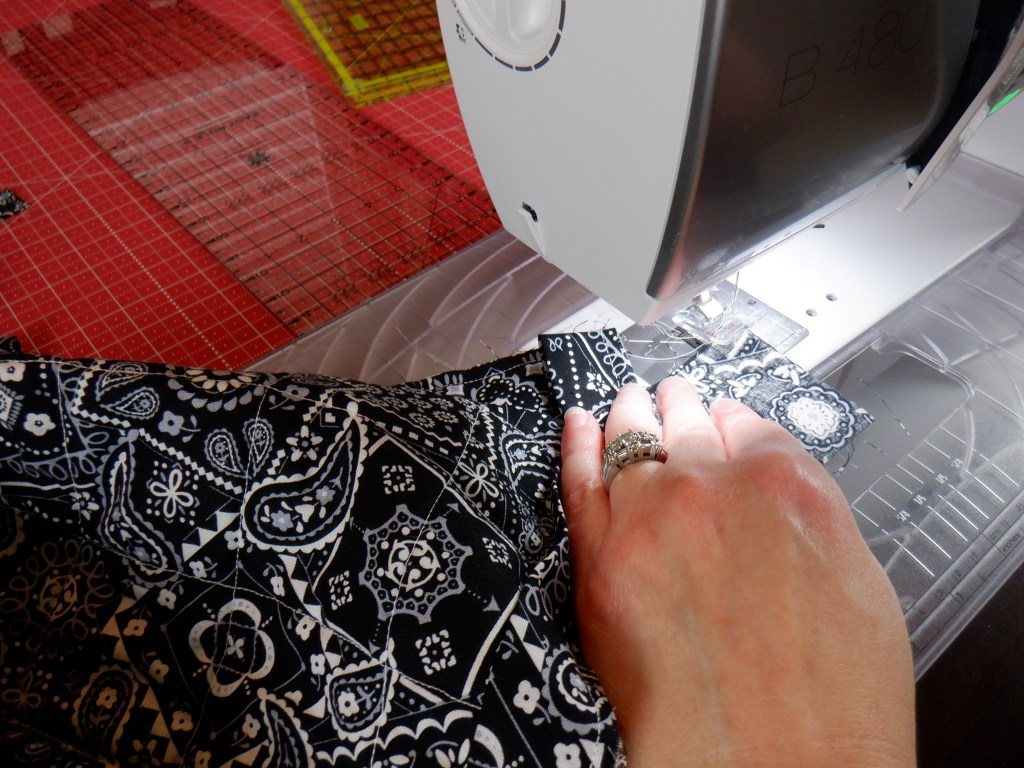
Once you get the binding around your entire quilt in place it is time to sew again! Sew right along the edge of the binding closest to your quilt top. Get your stitches as close as you can to the inner edge without letting them fall off onto the quilt top.
When you get to the corners sewing this side of your binding it will be much easier! I promise!
Sew until your reach the corner. When your needle first comes down on the folded 45 degree angle of the binding strip you will want to make sure your needle is in the down position, lift your presser foot and turn your quilt so you can start sewing along the next side of your quilt.
With needle down and presser foot up, turn your quilt. 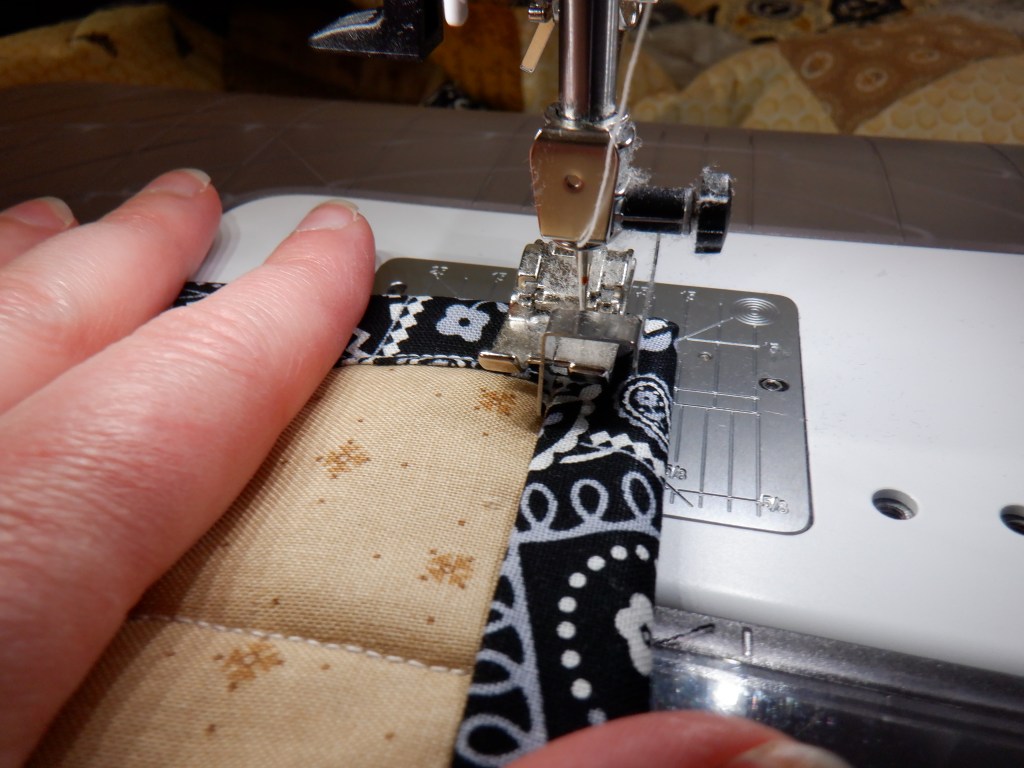
Start sewing in the new direction!
Sew all the way around the binding of your quilt!
Once you finish sewing completely around your quilt you will need to trim your loose threads and then… You are done!
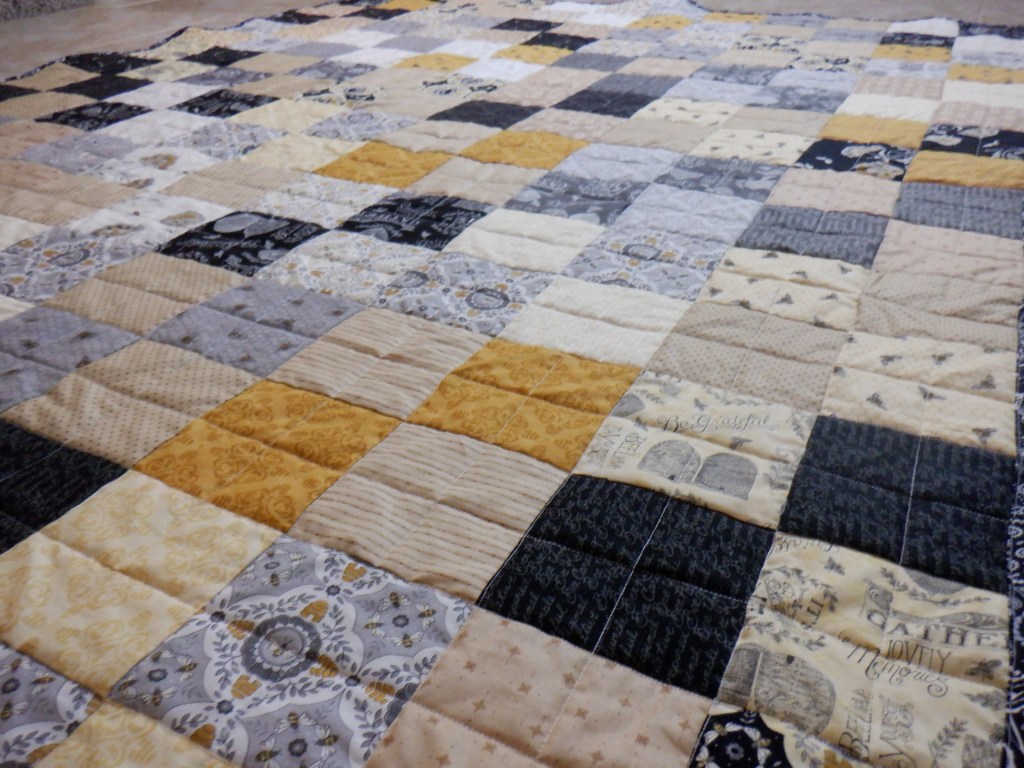
Celebrate!
Admire your quilt.
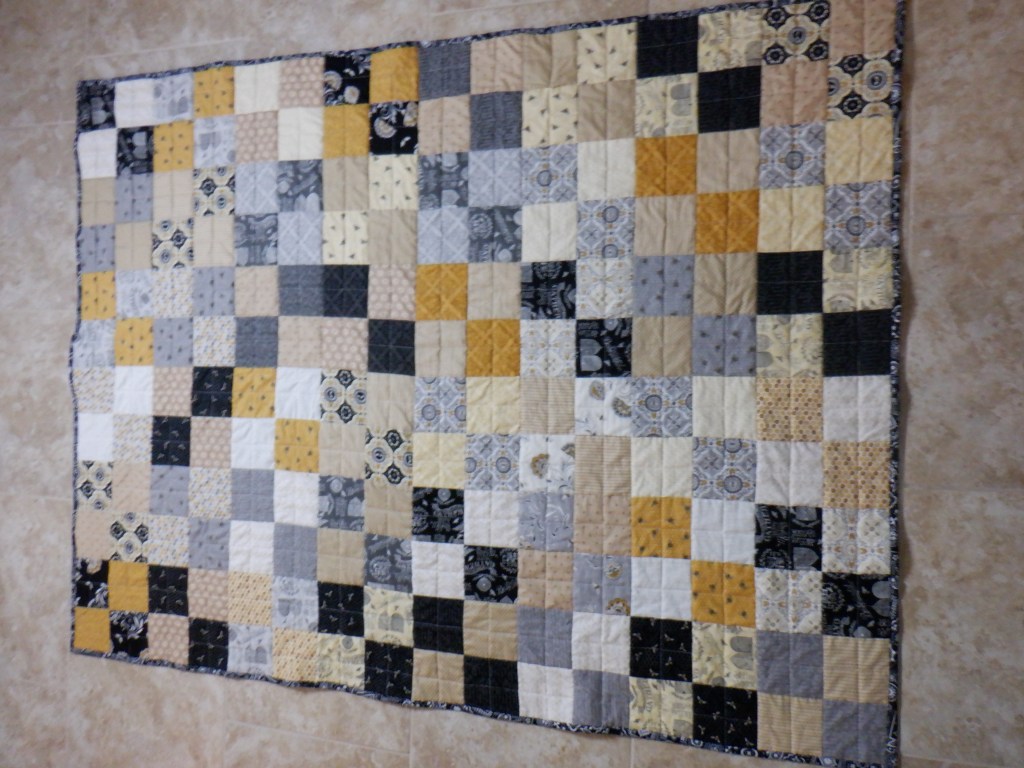

I hope you enjoyed this 5 part beginner quilt tutorial!
I would love to hear from you in the comments below! Are you going to start making a quilt like this one? Have you already started?
Stay tuned for more tutorials!
Bye for now.
