
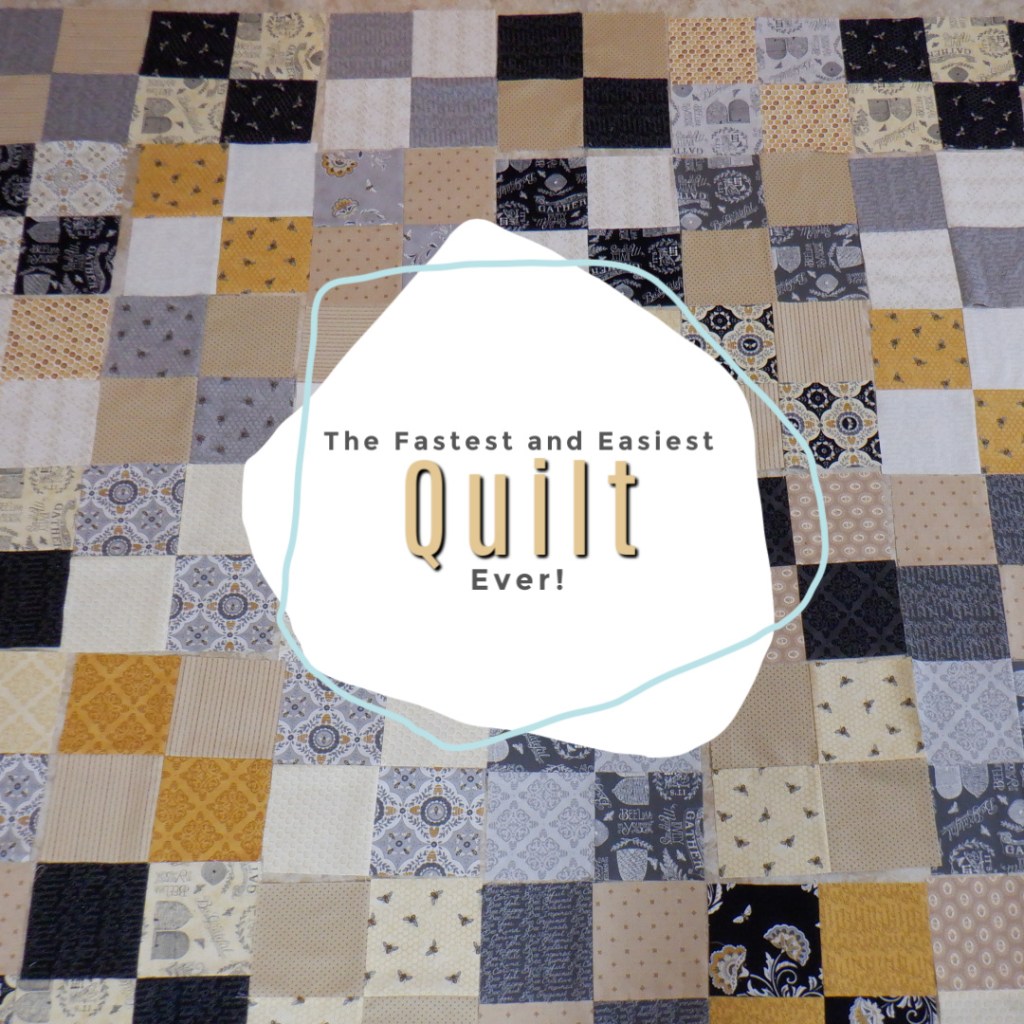
Piecing Together the Top of Your Quilt
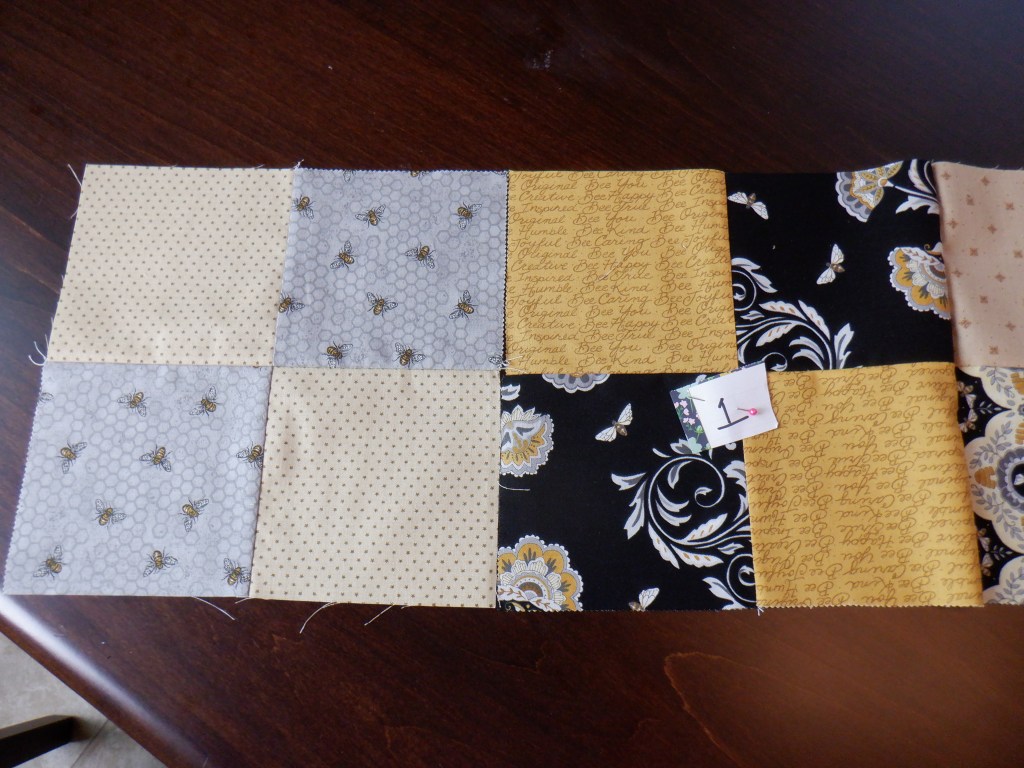
Now that you have all of your blocks sewn together you will want to organize these blocks into rows so that you can see how they look. You will want to move them around, stand back, and take a look. Make adjustments as needed. This step may take time… You may need to move blocks around a lot, and that’s ok. It is better to make those adjustments now rather than after it is sewn together! No one likes ripping seams.

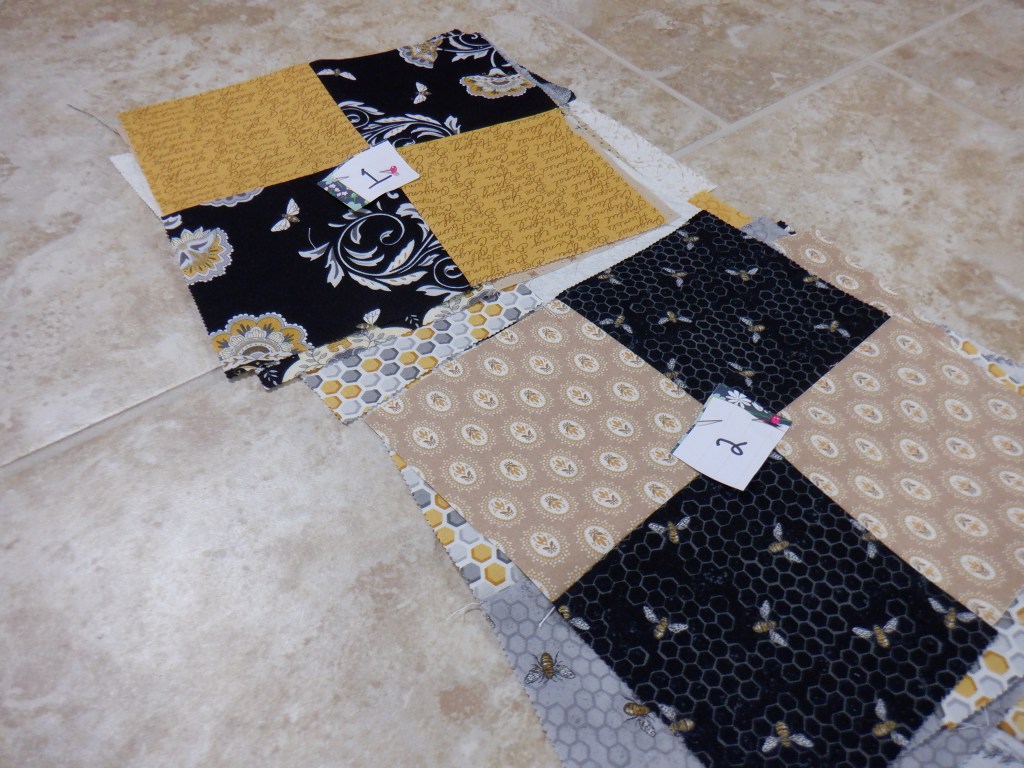
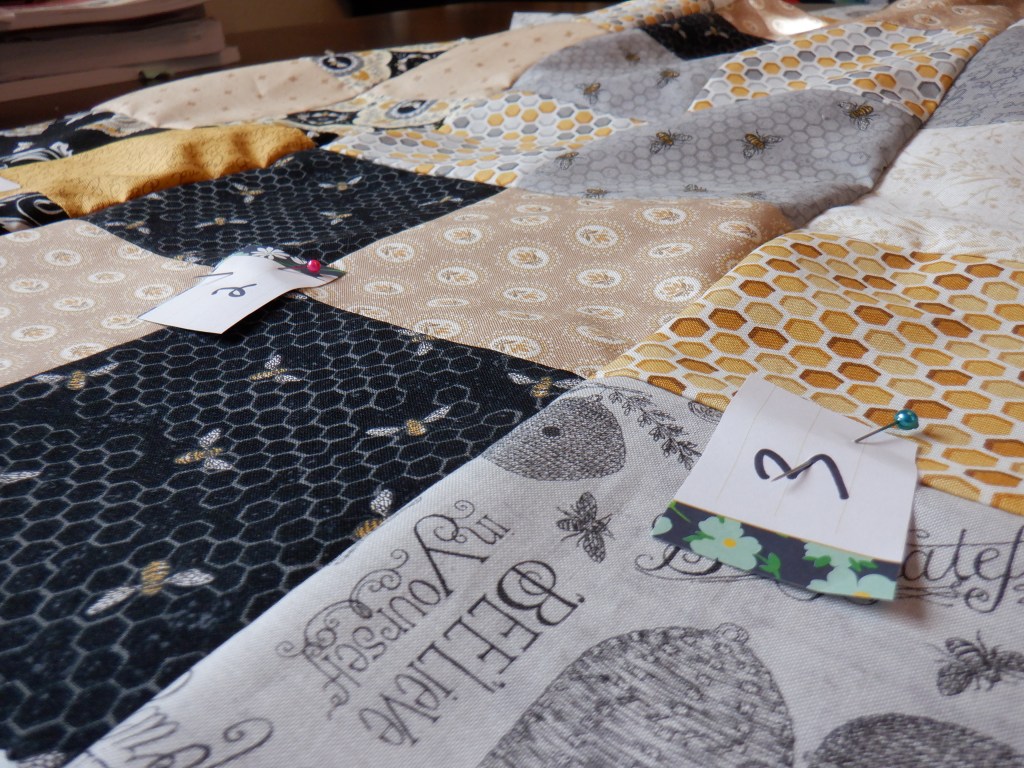
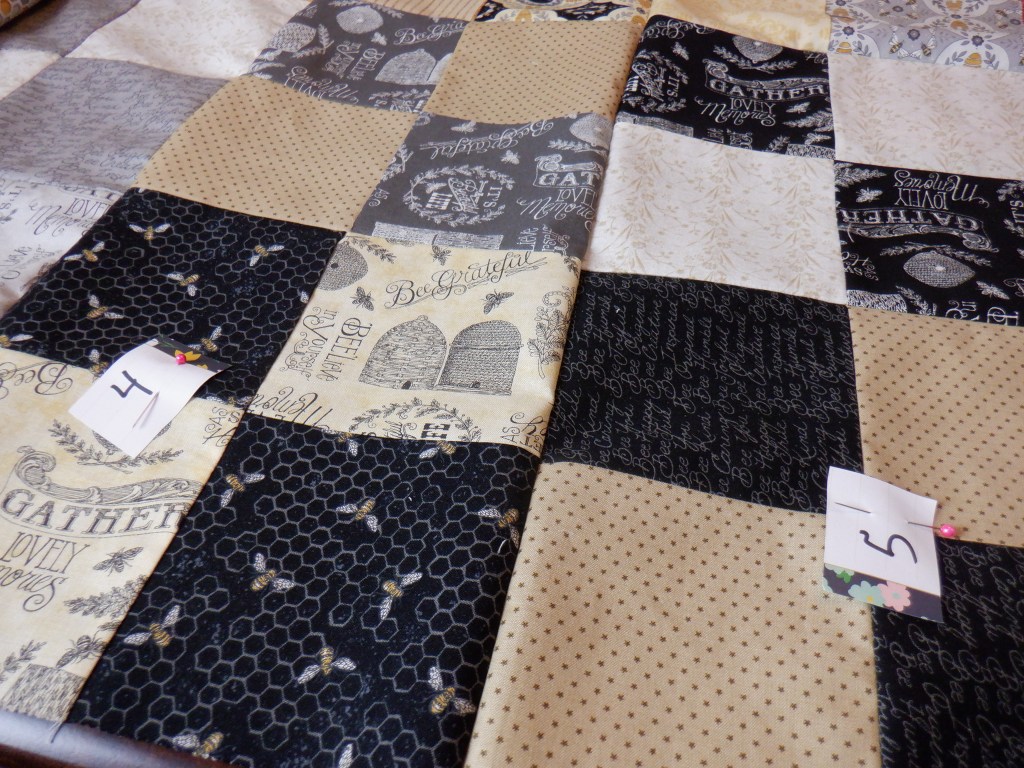
Once you are happy with the placement you will want to pin a number marker on the first block of each row. What I usually do is just cut pieces of paper (with regular scissors! NOT my fabric scissors) and number each piece according to how many rows I have. So, for this quilt I will have 8 markers.

Once I have each number pinned to the first block of each row I can stack them.
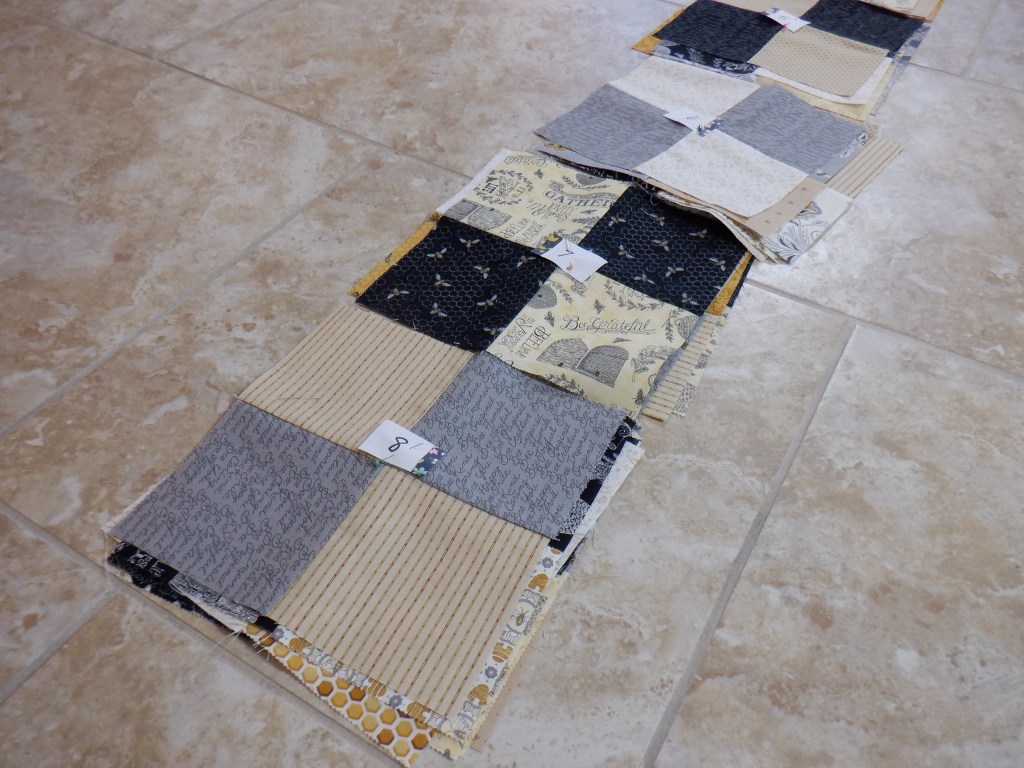
To stack each row you will want to take the first block of that row (the marked block) and set it on top of the next block in that row. Then you take those two stacked blocks and set them on the third block in that row. You will continue that process along the entire row until you have 8 stacks and your markers 1-8 should be on top of each stack.
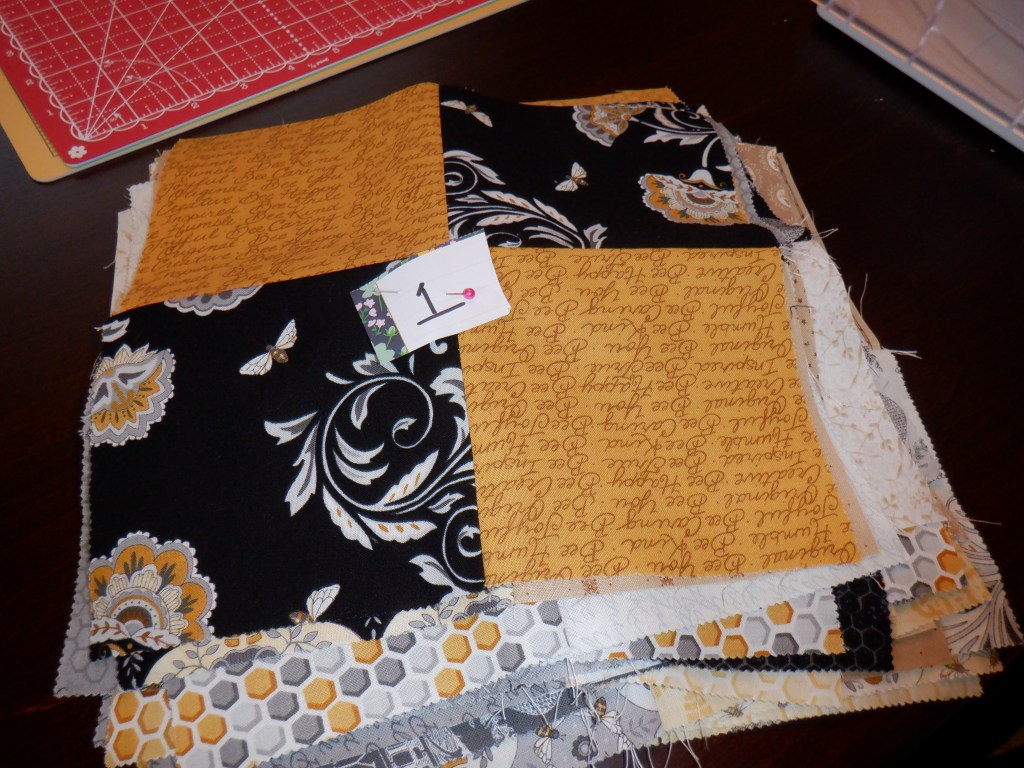
If possible, I like to have all of my quilt blocks by my sewing machine so I can quickly piece a quilt together. And this method of quilting is perfect for that! To get one stack of quilt blocks to bring to the sewing machine you will now take your row 1 stack and place it on the row 2 stack. Then take those two stacks and place them on the row 3 stack… Continue this process until you have one stack of quilt blocks with the row 1 marker on top.

I know this process is tedious, but it will make the sewing process much faster because you won’t have to walk back and forth from the sewing machine to where your blocks are laid out.
Now it is time to sew your rows together! Don’t forget, we are sewing with a 1/4″ seam allowance so set your sewing machine accordingly.
Sewing the rows of this quilt together is seriously the easiest thing ever… especially since we took the time to set ourselves up for success! So, take the first block on your stack and face it right sides together with the second block on your stack. Make sure contrasting blocks are facing each other and then pin your seams. You will then sew 1/4″ seam along the pinned side of the blocks.
First block. 
Right sides facing each other. 
Pin seam. 
Sew 1/4″ seam.
OK, that wasn’t hard at all now was it!? Now we will take the third block on the stack and sew it to the row we started. Since the first block in our row is marked we know to NOT sew the third block next to that side! See, we set ourselves up for success, just like I said. So, take block 3 and face it right sides together on block 2 in the row. Pin along the seam and sew. (Don’t forget to make sure contrasting blocks are paired together before sewing!)
Never place the next block in a row on the left side of your marked row. 
Always place the next block on the right side! 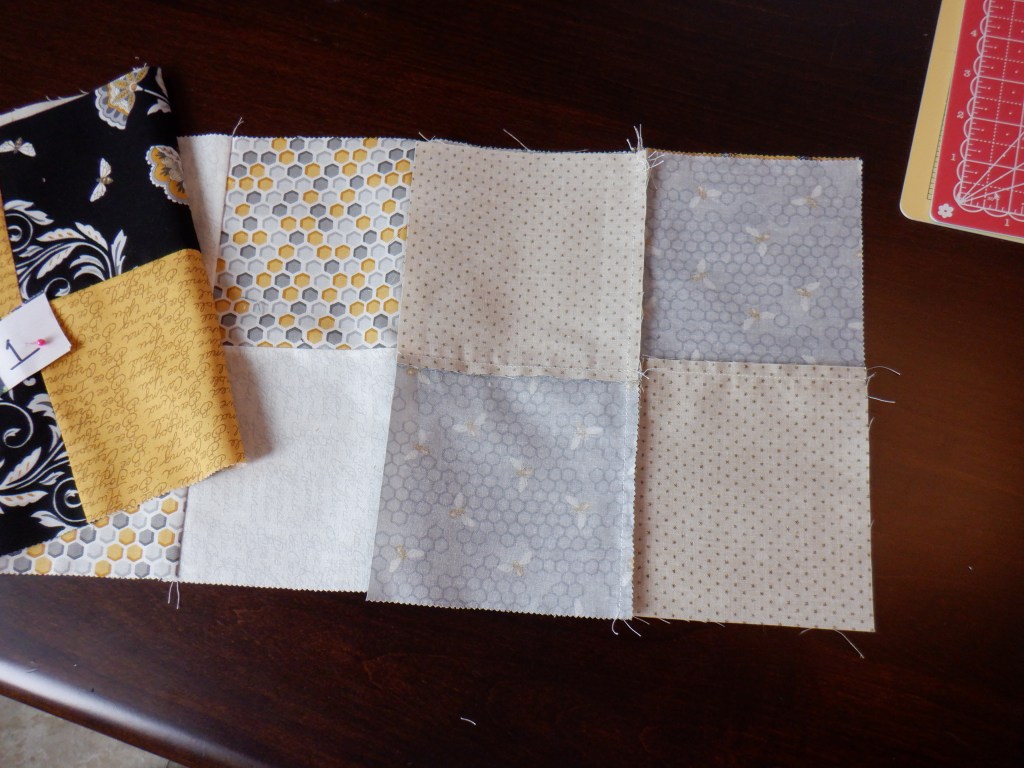
Right sides facing together.
You will continue sewing your row in this manner. Keep adding the next block in the stack onto the end of your row. Face the right sides facing together, pin the seam, and then sew a 1/4″ seam allowance.
Why am I always saying to pin the seam? Pin the seam… why can’t you just place a pin anywhere? Well, this is just what works for me and I am pretty positive it will work for you as well. I actually started it just recently and I am so happy that I did! So happy that I need to share it a million times with you until you just do it! It has been the only way I get perfectly aligned blocks. And nothing is more beautiful than that! If you don’t pin the seams the fabric seems to shift and pull and your seams may not meet up.

Ok, ok… So, when do you know row 1 is finished? Since you (hopefully) listened and set yourself up for success you will know row one is finished when the top block on your stack says row 2! Tada! QUILT MAGIC!

Time to start row 2! 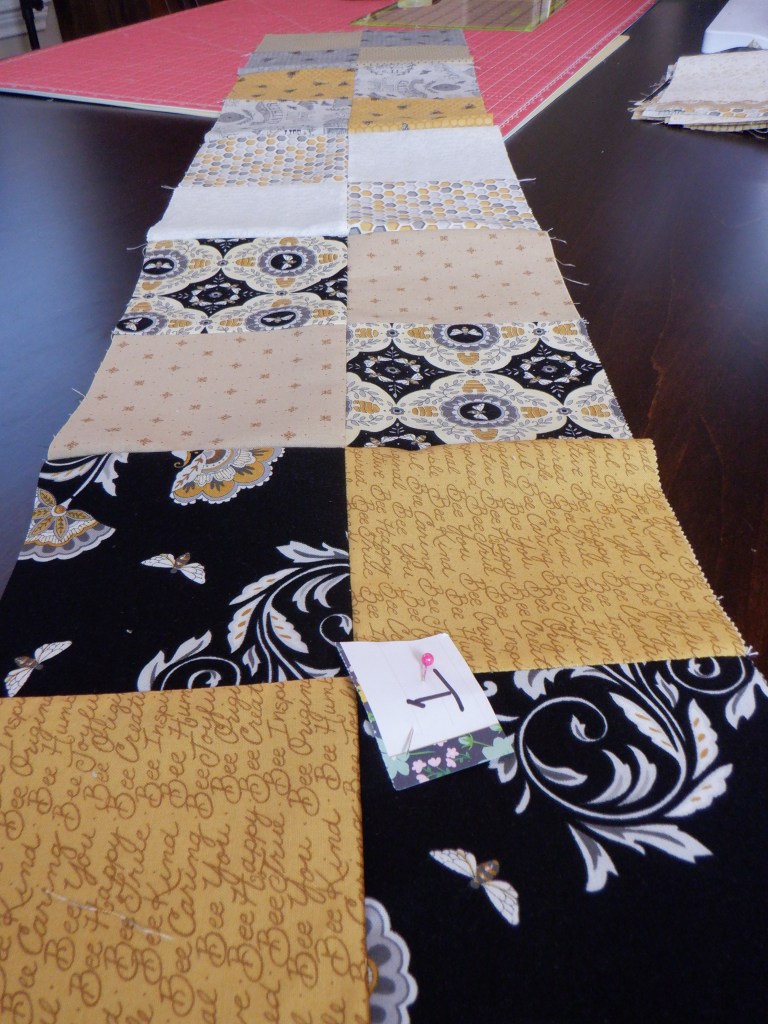
Finished!
Since you are super smart and a sewing genius now… I bet you already figured out what happens next. You just finish the same process we followed for row 1 with the rest of the rows! Easy Peasy!
Once you are finished with all your rows you will head to the ironing board and press all those seams!
After we finish ironing the seams on all of the rows we sewed together we shall meet again on the floor (or wherever you are able to lay out your rows). I like to lay all the rows back out in order and make sure I sewed everything together ok. I hope no one forgot to make sure contrasting blocks were facing each other! Ripping seams is no fun!

If everything looks good I just pick up all the rows and drape them over the chair next to my sewing chair. Again, I like everything I am sewing to be close to me whenever possible. When I get in a sewing groove I just want to sit there and go! I don’t want to have to get up and go get more pieces to sew. And, just like before, the rows are all marked so as long as I check the marker numbers I am good to “sew”. (punny right!?)

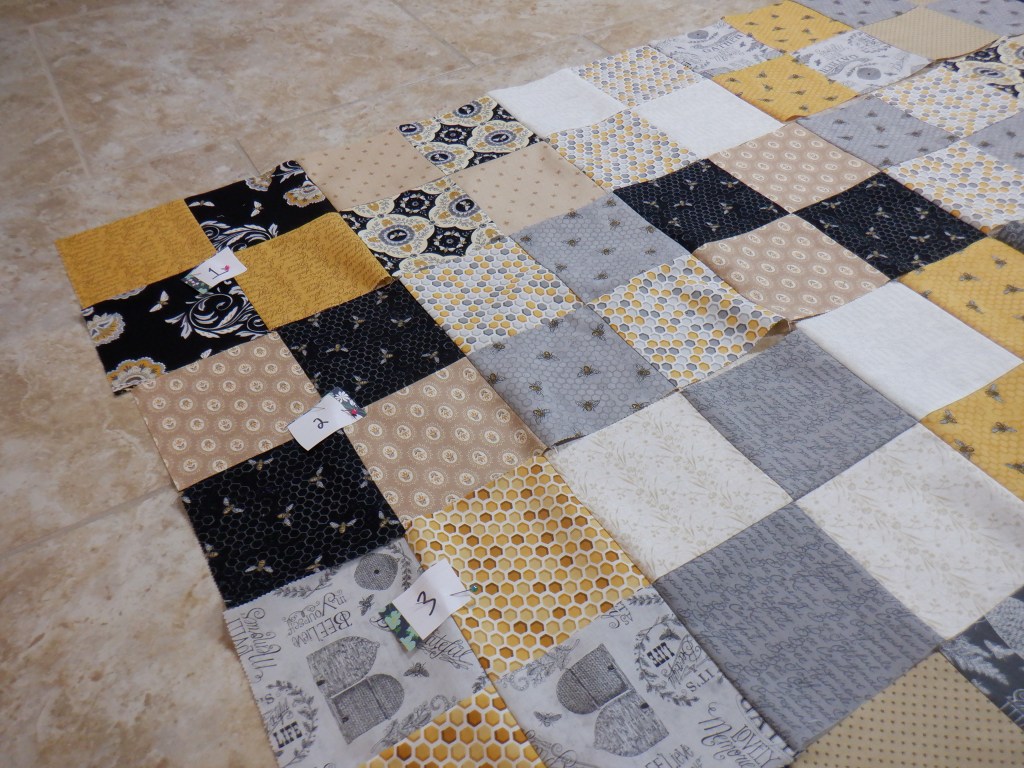
Now you are sewing all your rows together. This part is so fun because you really see the quilt come together. This part will take a lot of pins because you are going to want to pin along each seam so that you ensure they all meet perfectly.

After you sew row 1 and 2 together you can add on row 3 and so forth. Your quilt will really come together quickly at this point. The most time consuming portion will really be pinning all of the seams.

After you sew all of your rows together head to your ironing board or mat and press all the seams you just sewed!
Lay out your quilt and admire your work so far!

Make sure you purchase some batting, some fabric for the back of your quilt (and if you want your binding to match the back of your quilt purchase some extra), and some curved safety pins (they are usually in the sewing section at Walmart or found in any craft stores that carrying fabric). Our next step will be creating our quilt sandwich… ugh, now I am hungry!
Be sure to subscribe to my blog so that you are notified when Part 3 is posted! Basting the quilt.
Bye for now.

2 responses to “Part 2 – Layer Cake Quilt”
great beginner quilt — your fabric is gorgeous!
LikeLiked by 1 person
Thank you! I love the fabric so much! I was so excited to see it in my subscription box!
LikeLike