

Basting Your Quilt
Confession time. Every time I say I am going to baste my quilt I question if I used the right word! Why? Because it reminds me of Thanksgiving and basting a turkey. The English language is so fun!
There are a few ways to baste a quilt, but in this tutorial I am going to go over my preferred method which is pinning. Some people like to spray baste a quilt, but I find it 1. messy and 2. expensive.
No matter which method you use for basting your quilt you will need to create your quilt sandwich first. (wow, no wonder I get so hungry when I quilt… there are so many food references!)
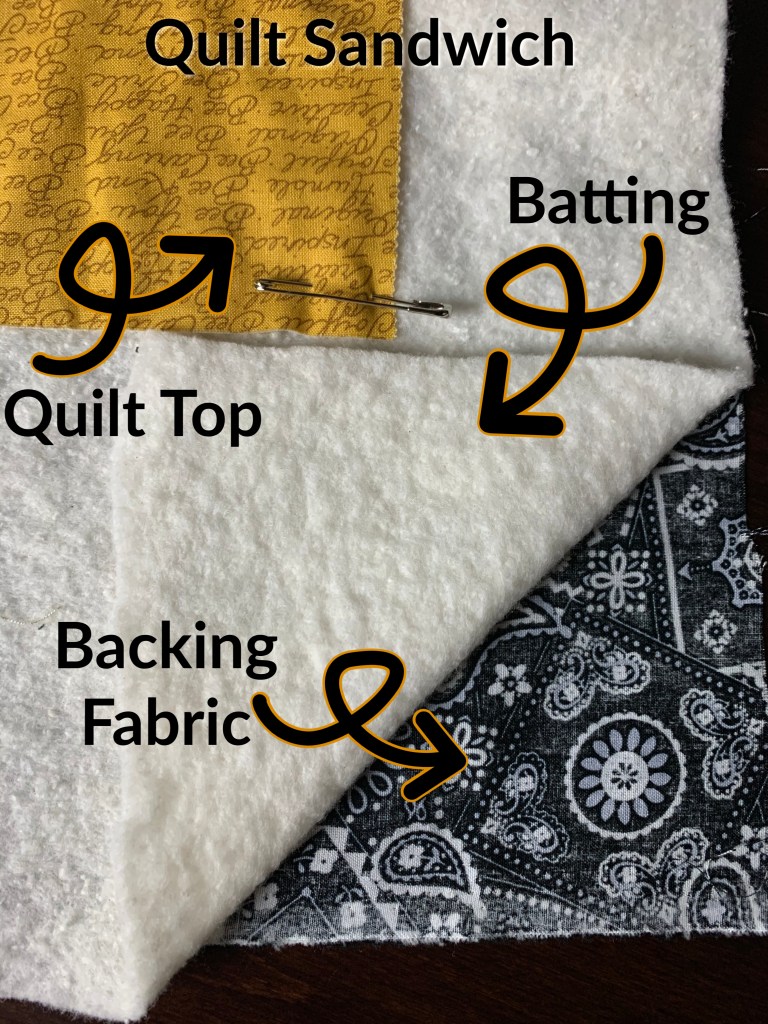
What is a Quilt Sandwich?
A quilt sandwich is the order in which you layer your quilt.
You will need to start here before you even worry about whether or not you prefer basting your quilt with pins or if you want to spray baste.
So, here are the steps:
- Lay the backing fabric on a surface that allows your quilt to lay flat. I usually assemble on the floor, or a 6ft portable table when possible. (saves my knees!). Make sure the BACK of the fabric is facing UP. So if your fabric has a print design make sure that side, the right side, is facing the floor or table and the wrong side is facing up. I mean, you of course want the pretty side of your fabric showing when you are done right!? If you are using a solid material then you are good to go because both sides are the pretty side!
- If you are assembling on the floor then I highly recommend using some painters tape to keep your backing fabric in place. Nothing will frustrate you more than your fabric moving every which way when you try to place your batting on. Start with one side and tape your quilt down, then jump to the opposite side of the fabric and tape the other side to the floor. You will want to use one of the wider versions of painters tape to make sure it sticks to your floor and fabric without coming undone. Also note, you will want to pull your fabric flat and even as you work, taping all sides, but you don’t want to stretch your fabric taunt. There is a fine balance here. Option 2b. You can also lay your backing fabric over a table that is unobstructed on all sides. I use a 6ft portable table. I let the backing fabric drape over the table, evenly on all sides, and let gravity do its work. You can also use clamps if that makes you feel more comfortable! You would work the same way with clamps as described with tape. Start on one side of the table and place the clamps. Smooth out the fabric and then clip the opposite side.
- Tape (or clip) all sides of the backing to the floor or table, making sure to smooth out all of the wrinkles.
- Now you will want to place the batting on top of the backing fabric and trim it to fit if necessary. Your backing fabric and batting should be roughly the same size. (If your batting is a foot longer on one side then trim that sucker up… you won’t want the added bulk when you head to the sewing machine to quilt!). Also note: you will want your backing fabric and batting to be at the very least 2″ larger on all sides of the quilt top, but if this is your first quilt 4″ may be a good start. Why? because as you quilt your quilt top may stretch and move to one side as you smooth and work along. You need that extra space to ensure your beautiful quilt top still has some backing fabric behind it if this happens.
- Place the pieced quilt on top of the other two layers and smooth it out.
- Tada! You have completed your Quilt Sandwich! Step back and admire it then quickly grab a snack before we start basting!
Here are some of my favorite products to help assemble a Quilt Sandwich:
(Click the image to view product details)


Let’s Start Basting – our quilt not a turkey…
I hope you enjoyed your snack! Now its time to start basting the quilt sandwich! Ok… let me just warn you now. This part really isn’t fun. If you are pinning you will likely poke yourself a lot! Plus, you will want to place a million or so pins to keep all the layers you worked so hard on in place. I place a pin about a fist apart from each other. Like I mentioned in my Quilt Supplies blog post, I really really really recommend curved safety pins here. It really makes the process much easier because the curved end wants to come back through the top, you can close the pin so you don’t poke yourself as you quilt, and best of all, they lay nicely and don’t pucker your fabric.
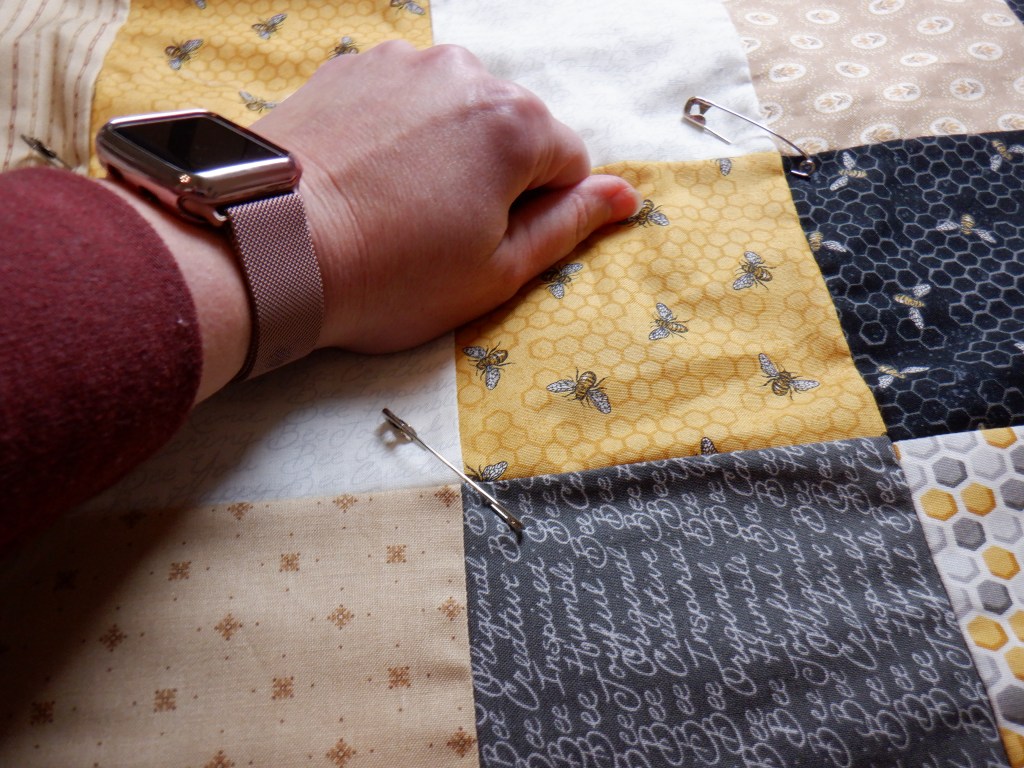
Place pins no more than a fist width apart. 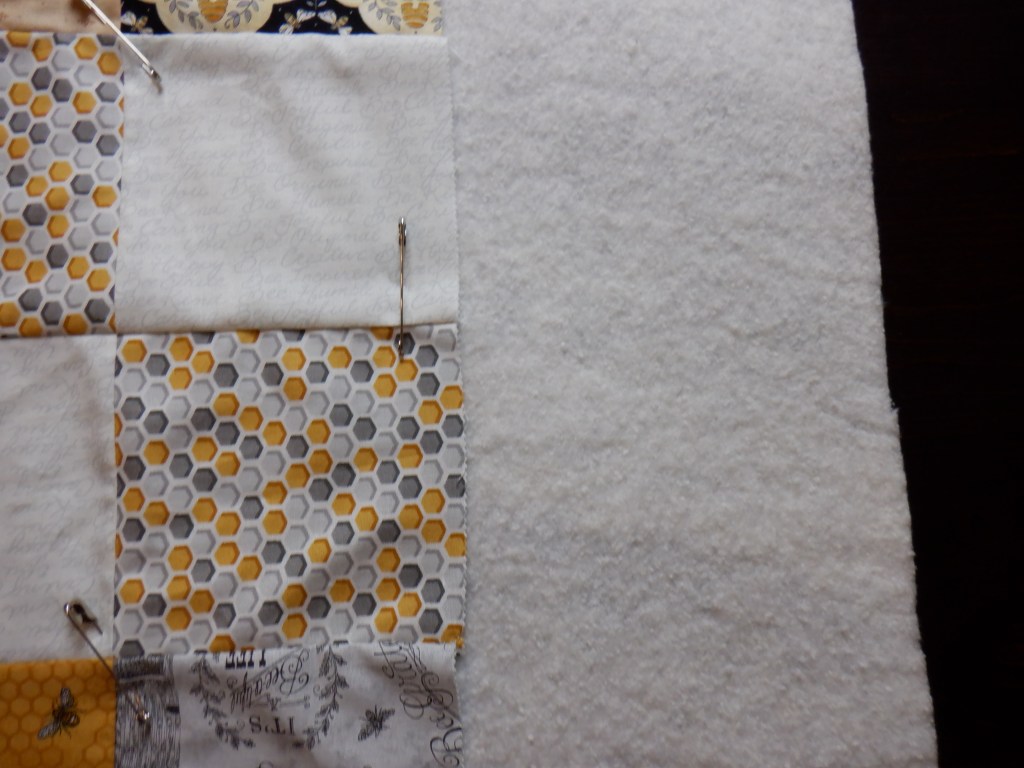
Be sure to place some pins along edge of quilt top. 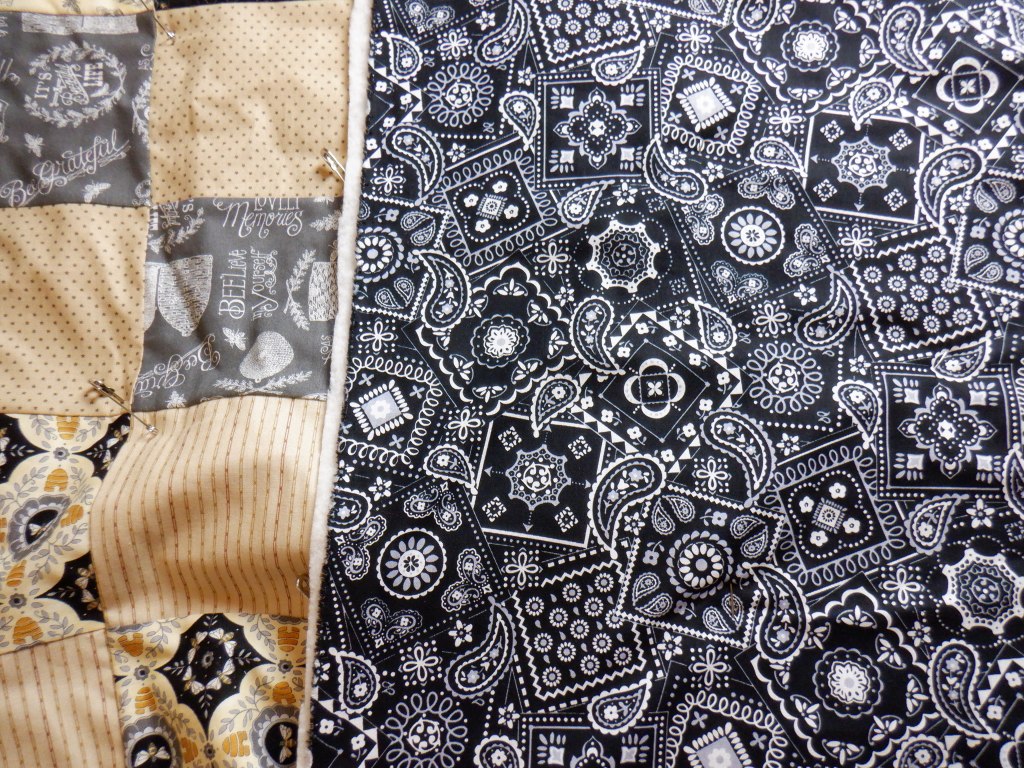
Make sure your pins are going through all three layers of your quilt sandwich! 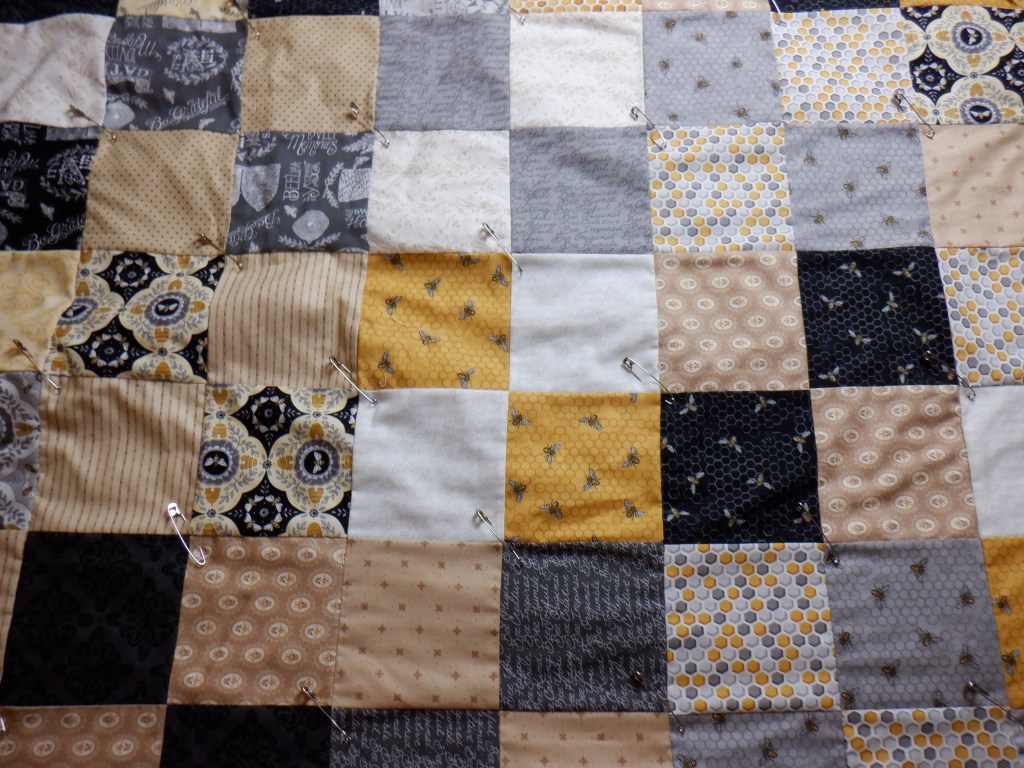
Covered with pins!
If you need to purchase some curved safety pins then click the image below for more information.

Once you are finished basting your quilt you can begin quilting!
For this project I am choosing to quilt by sewing straight lines. If you are more familiar with quilting then free motion quilting is also an option and you can really create some pizazz to a simple quilt by using this option… But, let me warn you, free motion quilting will take some patience and perseverance to learn. This is why, for this beginner quilt project, we will be quilting in straight lines, which is much more comfortable to start with.
We will be quilting in Part 4, so finish up with your quilt sandwich and basting and grab some coordinating thread!
Bye for now.

2 responses to “Part 3 – Layer Cake Quilt”
Another great tutorial! I plan to order the clamps — I too use a fold up table when basting — I live in Florida and do most of my basting outside. I do spray baste my smaller projects!
LikeLike
I grew up in Florida! But have since moved all over! California, Michigan, and now Texas.
I do spray baste smaller projects as well. Usually tote bags and potholders. It is much easier for me to control those projects.
LikeLike