

If you have never made a quilt before then you came to the right place. This quilt is so easy to make. And, as a bonus it also comes together very quickly. If you can sew in a straight line on a sewing machine… then you can make this quilt with ease.

The easiest way to start this quilt is to purchase a layer cake. I am using the layer cake that came in my monthly Pre Cuts Quilt Box, Which is $55 a month. Here is the layer cake I am using. It is called Bee Joyful! And it is so adorable.
Here are more layer cake options on the PreCutsQuiltShop website. You of course don’t have to purchase your fabric from this website. Walmart even has layer cakes sometimes!
A layer cake is essentially 10″ squares of fabric in a variety of patterns that have already been coordinated for you, of course, you can cut 10″ blocks from any fabric you like.
I sew my quilts with a quarter inch seam. So each block we end up with in this quilt during this step will be 9.5″. But, when we finally finish the top of the quilt each of these blocks will be 9″. Keep these measurements in mind so you know how many 10″ squares you need to get the size of quilt you want.

Sizing Ideas
Square throw blanket: 6 blocks across and 6 blocks down = 36 squares (Need at least a layer cake with 36 – 10″ squares). The final dimensions would be about 54″ x 54″.
Rectangular throw blanket: 6 blocks across and 8 blocks down = 48 squares (need at least 48 – 10″ squares) Note: this is the blanket size I made. My layer cake only came with 40 squares so I cut extra squares from my fabric stash. The final dimensions would be about 54″ x 72″.
Let’s Get Started
Once you have your 10″ blocks ready place two contrasting blocks right sides together. To allow things to move along in an efficient fashion, I like to get all of my squares organized all at once. So, I will have a pile of squares right sides together when I am finished pairing them all.

Choose two contrasting squares. 
I usually choose one light and one dark fabric that look nice together. 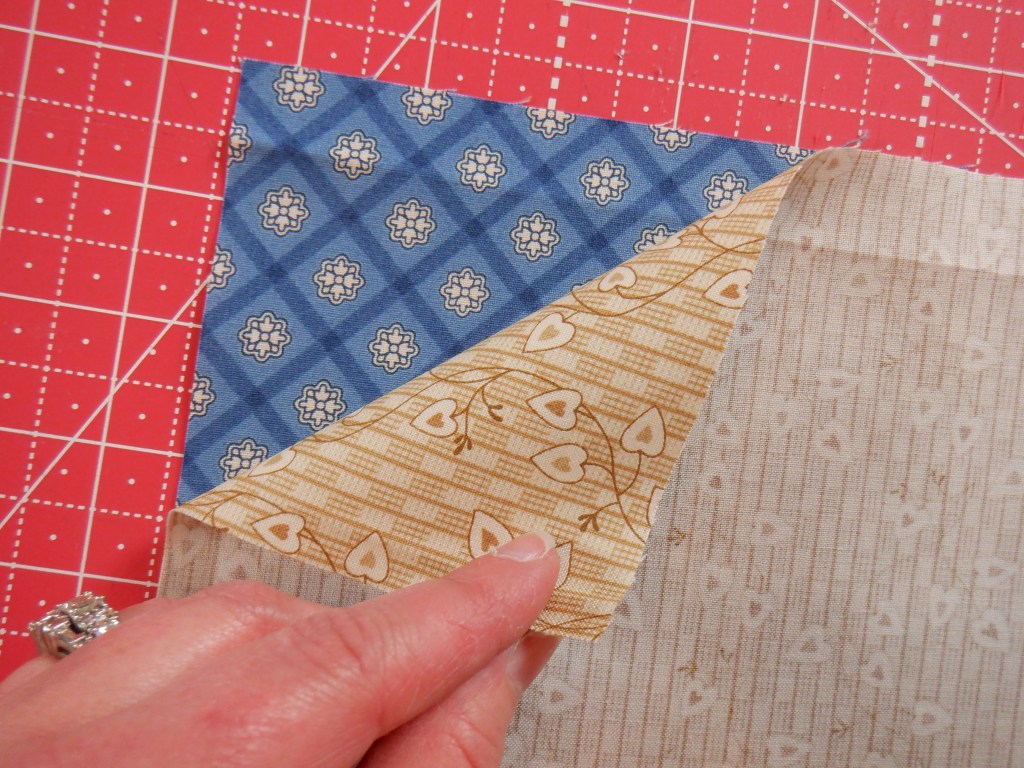
Place them right sides together. 
Line them up nicely. Go through all your fabric squares and pair them together before moving on to the next step.
The next step will require a fabric marker. I like to use chalk when I mark my fabric. Mark the center of each pair of blocks. Since our blocks are 10″ the mark will be at exactly 5″. After I mark the block I like to place a pin on either side of the line. Mark each set of squares before moving on to the next step.

Mark the center of each block. 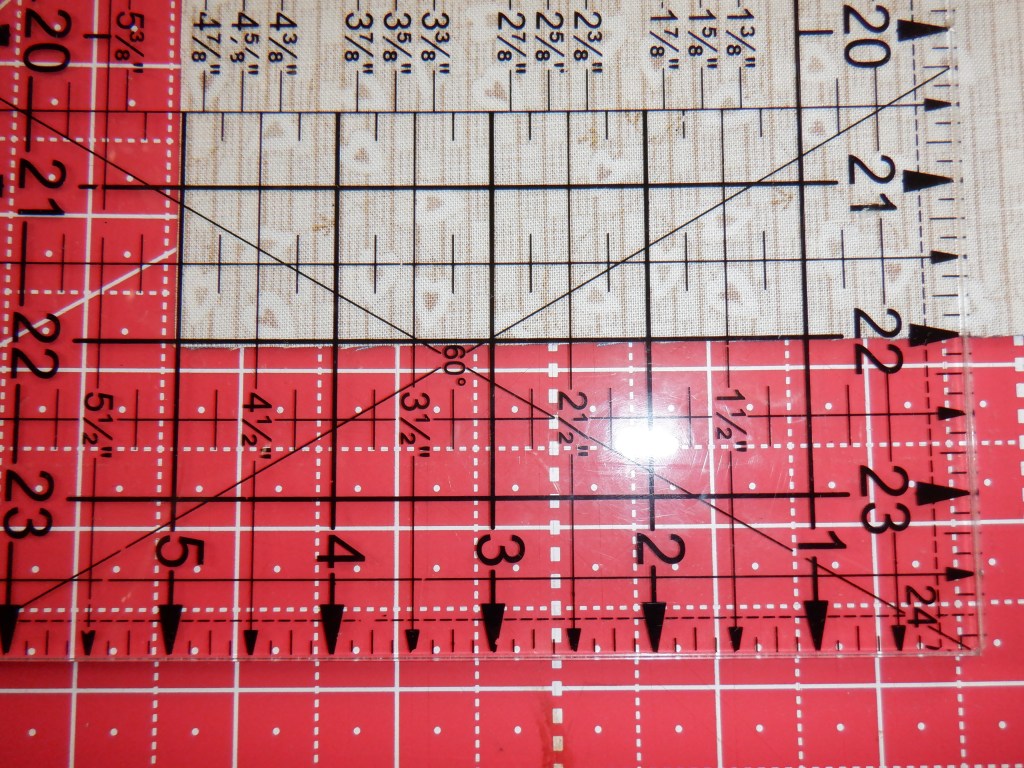
5 inches. 
I use a chalk marker. 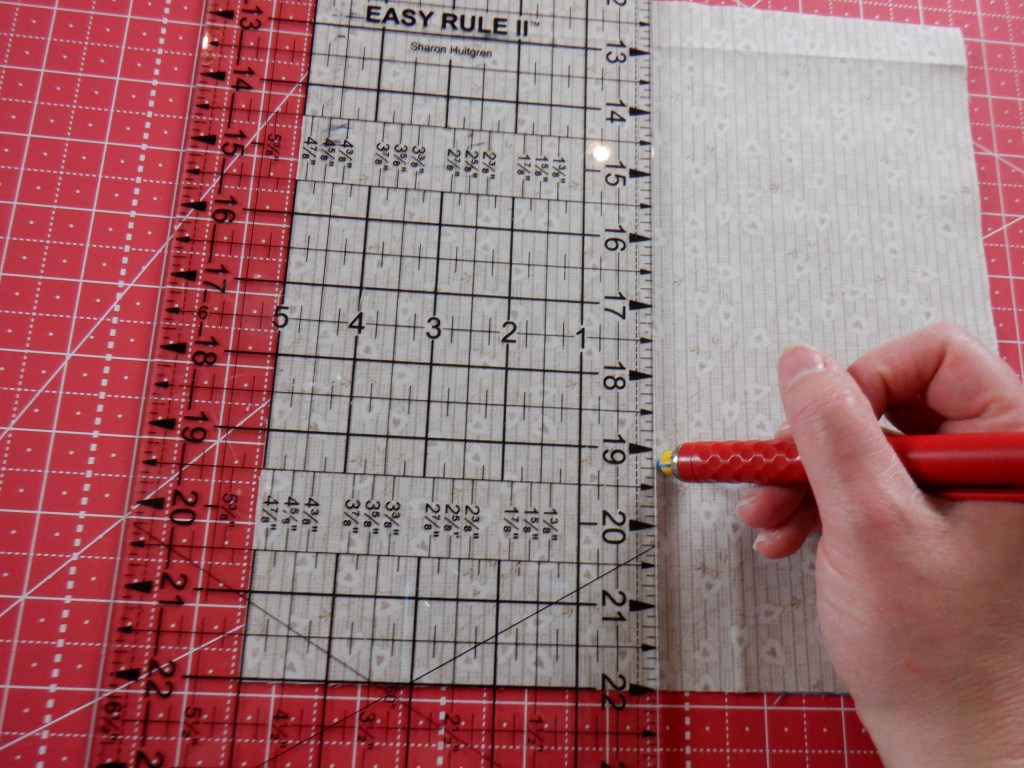


Place pins on each side of marked line.
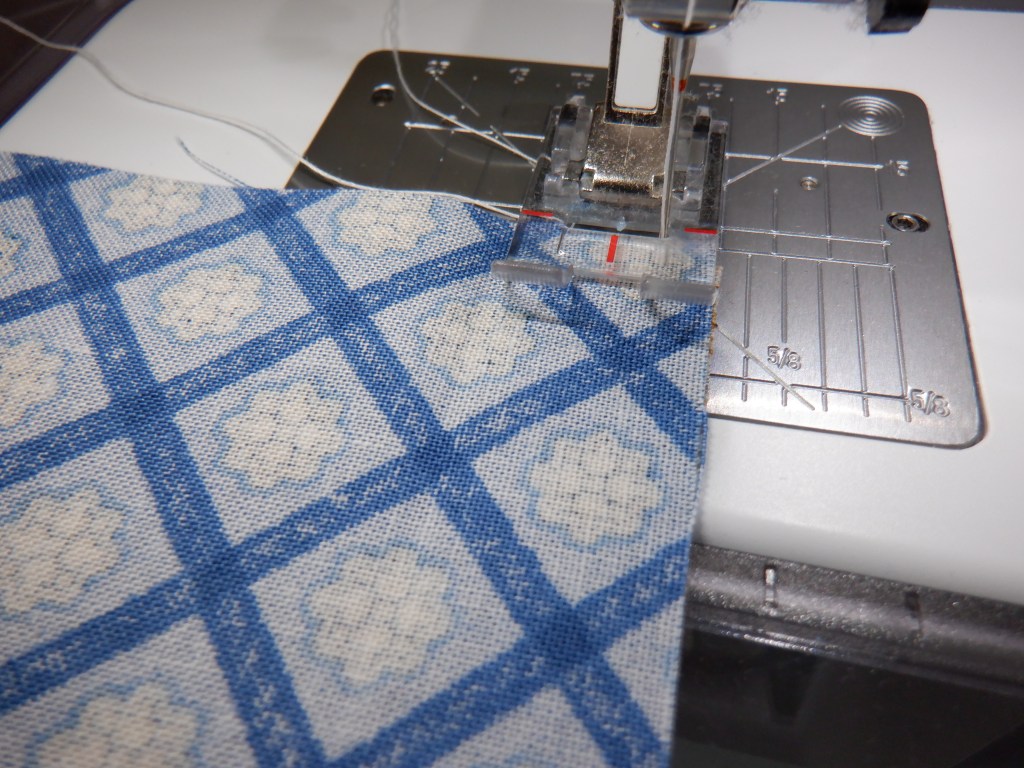
Now you will sew a 1/4″ seam next to the line you marked. You will sew along both sides of the line. Complete this step with all of your marked squares before moving on to the next step.
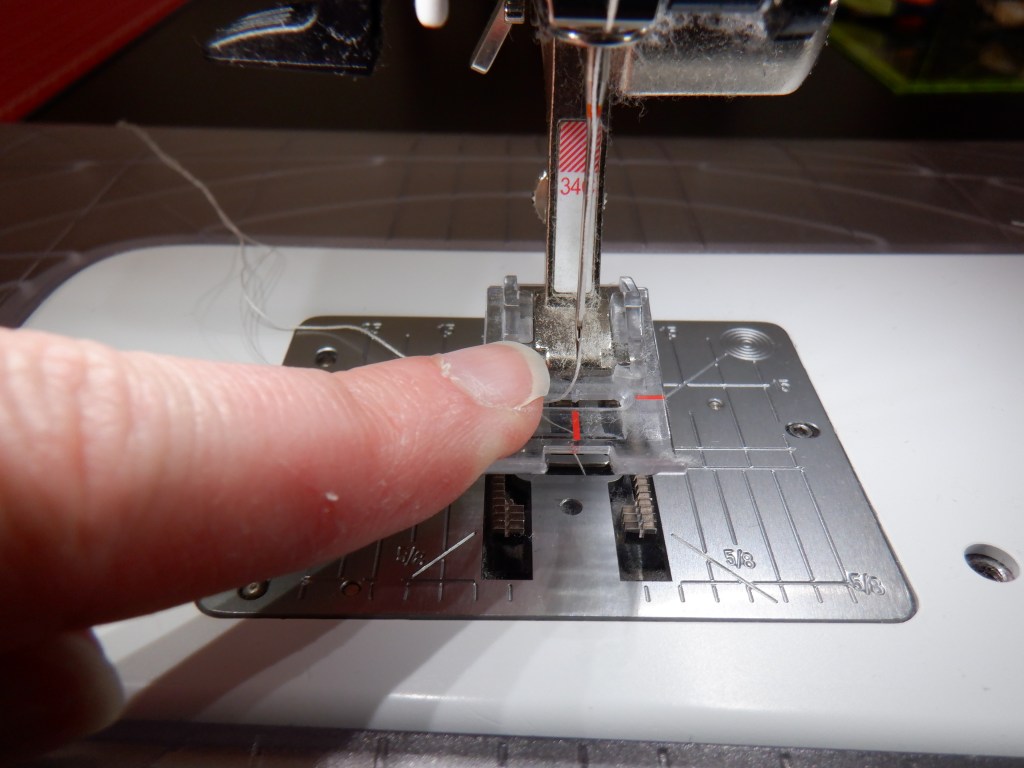
Needle position in the middle. 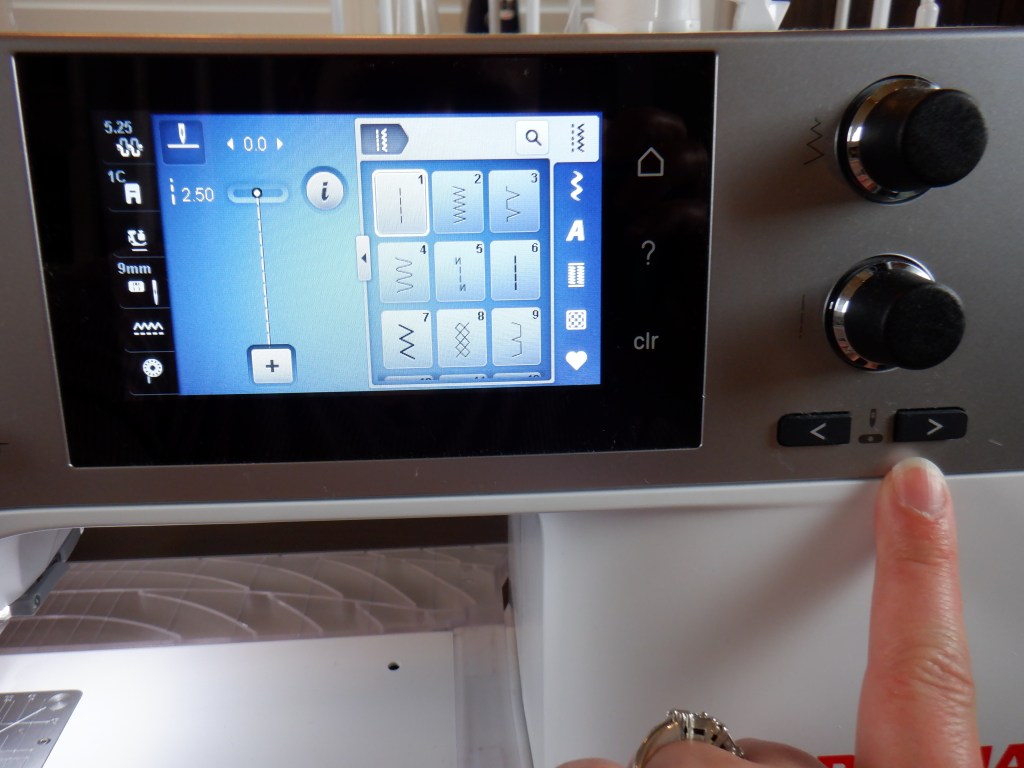
Button to move needle position to the right. 
Needle position all the way to the right. 
See! Needle moved! 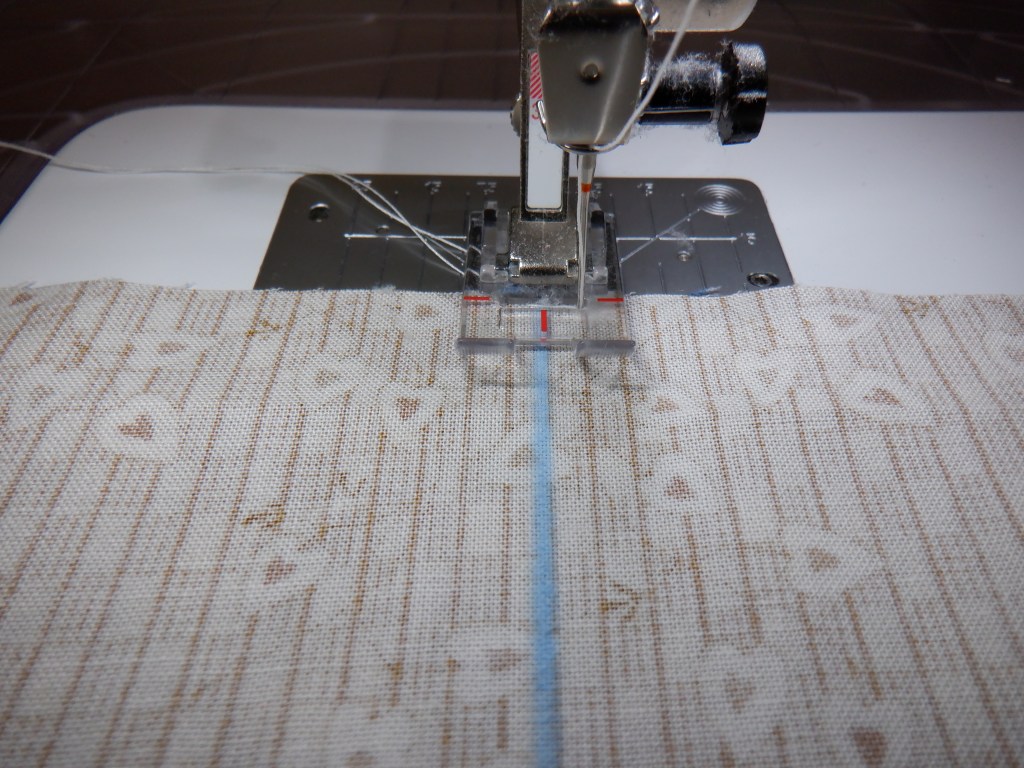
I line up my marked line with the red line in the middle of my presser foot. 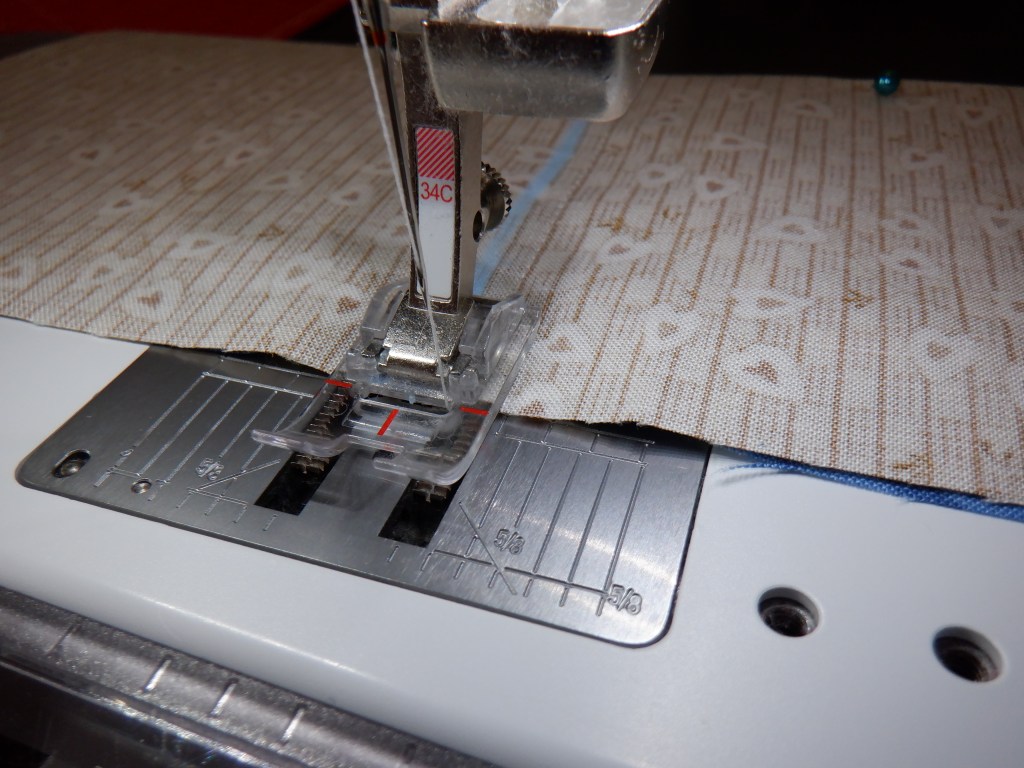
Sew to the end of the block. 
One side is done so turn the fabric and sew again. 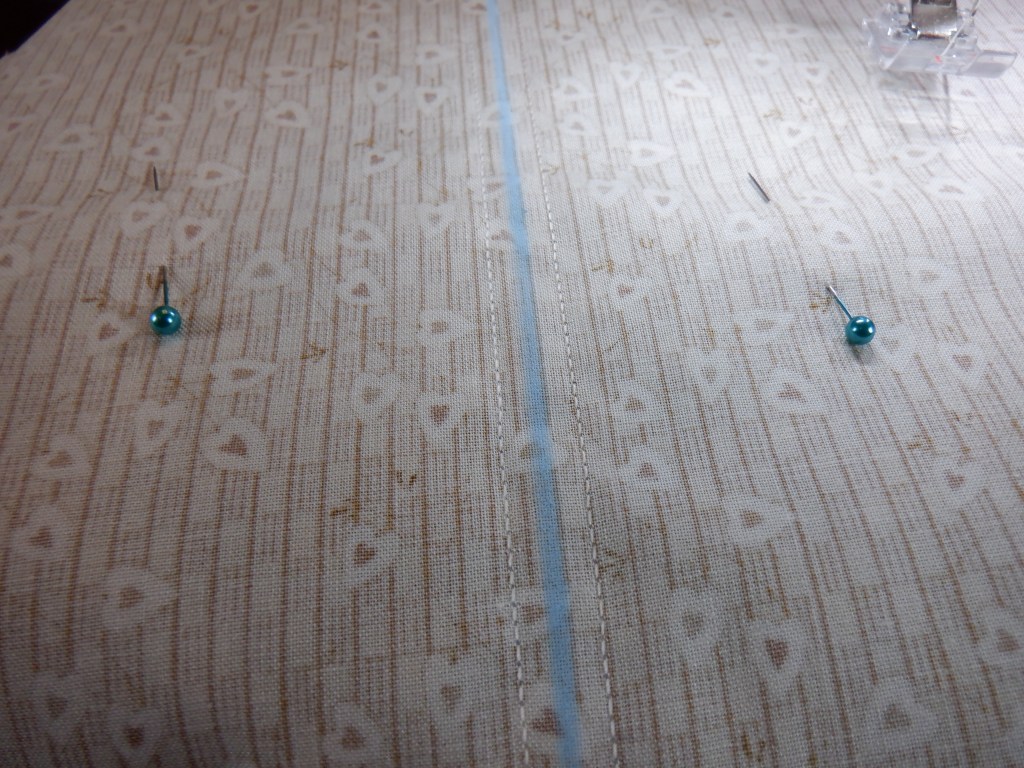
All done. 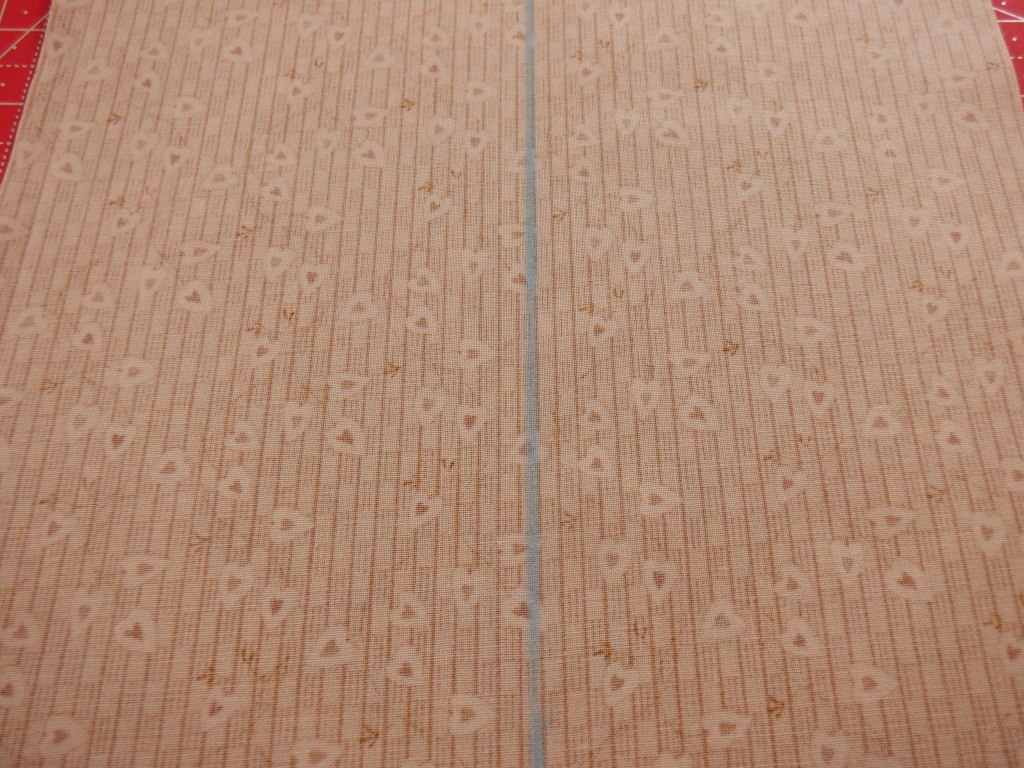
Now both sides of the marked line are sewn 1/4″ from the mark. 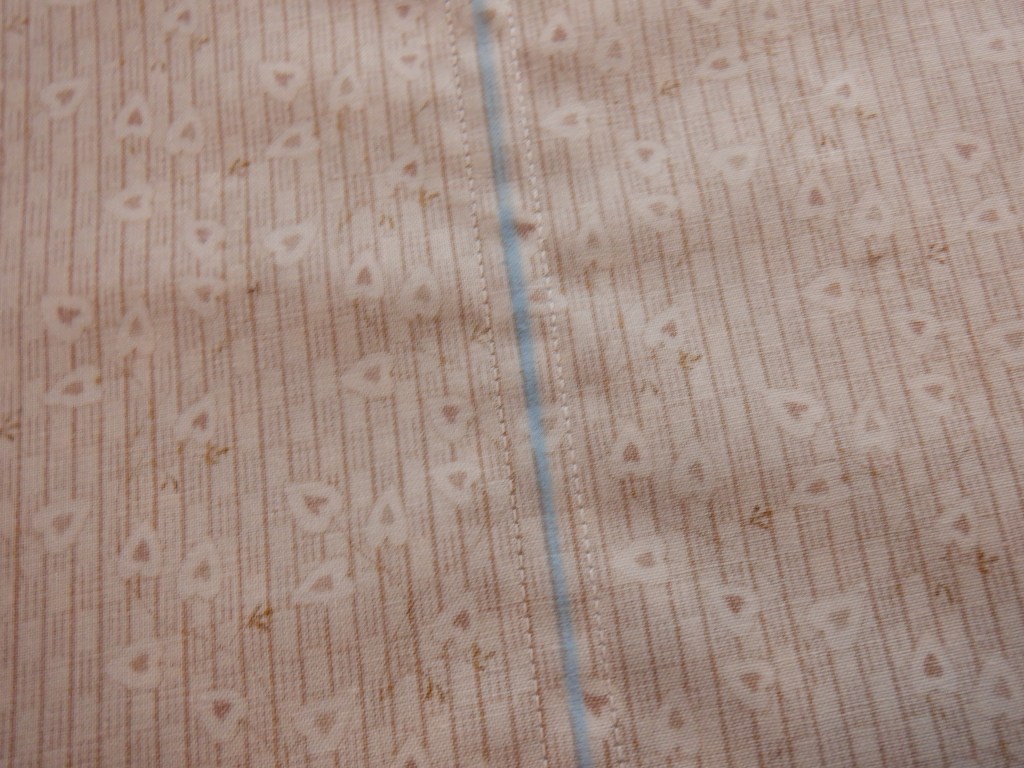
Complete this step with all your pairs of blocks.
After you are done sewing all the blocks, you will cut down the marked line on each square. Complete this step with all the blocks before moving on to the next step.
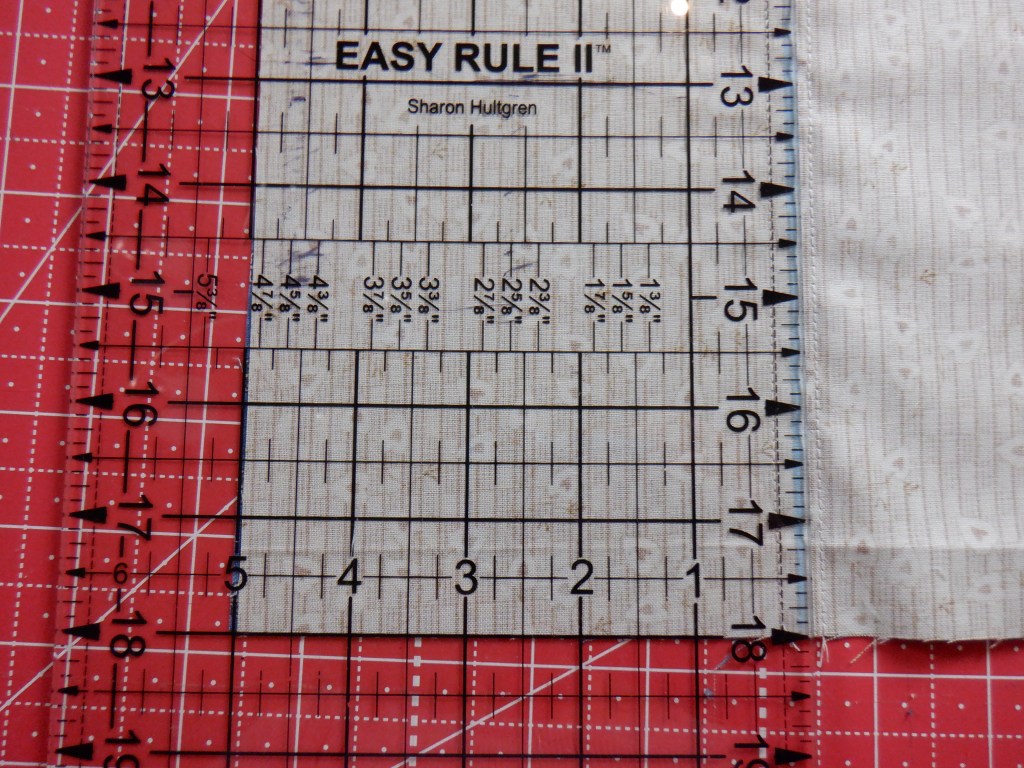
Line up your ruler on the marked line. 
Cut down the marked line with your rotary cutter. 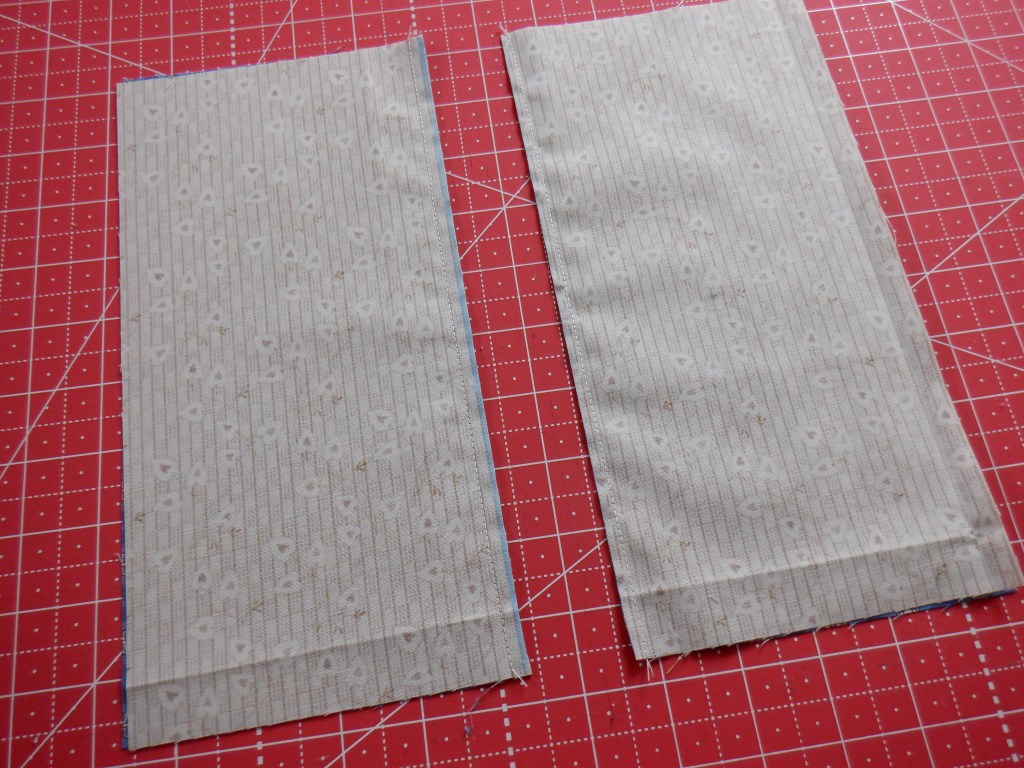
Now you have two blocks! 
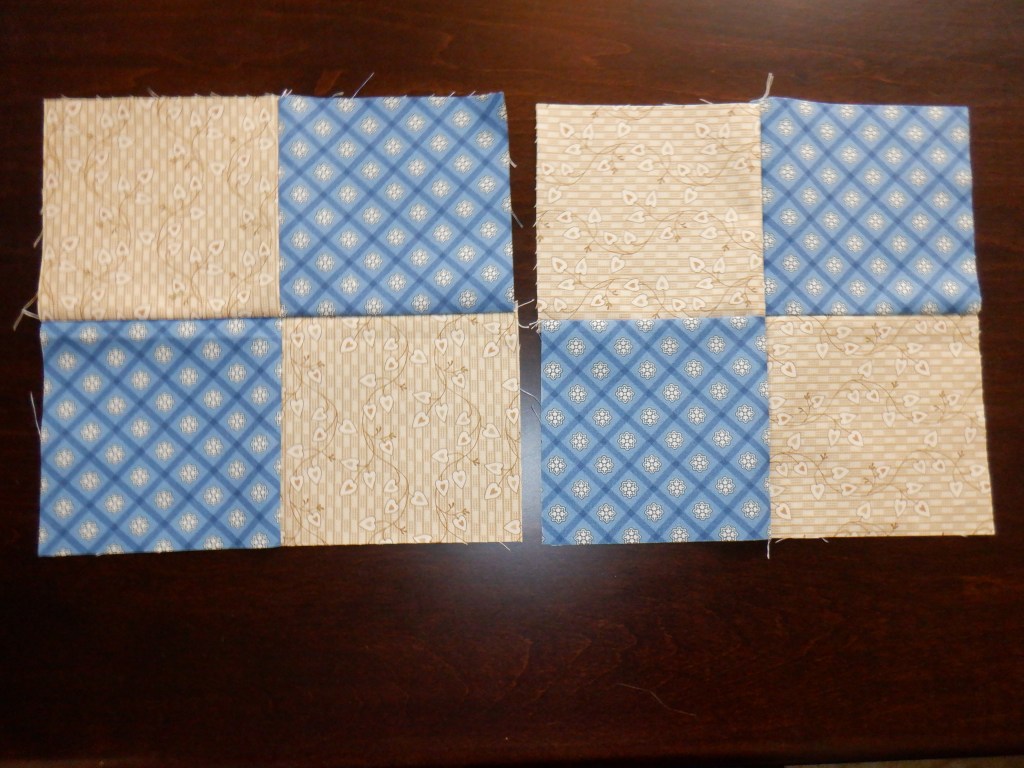
Here is what your two blocks will look like open!
You are now going to press all your seams and cut all of these squares in half. You will be cutting at the 5″ mark on your acrylic ruler. Again… I suggest completing this step before moving on to the next step.

Press your seams. 
Iron the blocks. 
Cut each block in half. 
Your new quilt blocks will look similar to this!
Now you have a pile of rectangles with contrasting fabric squares! I love this method! Everything comes together so quickly.
Now we are going to pair our rectangles together with right sides facing each other. We are going to make sure contrasting fabrics are facing each other. I like to pin along the seams to make sure they stay together when I sew during the next step. Pin all your rectangles together before heading to the sewing machine!

Contrasting squares. 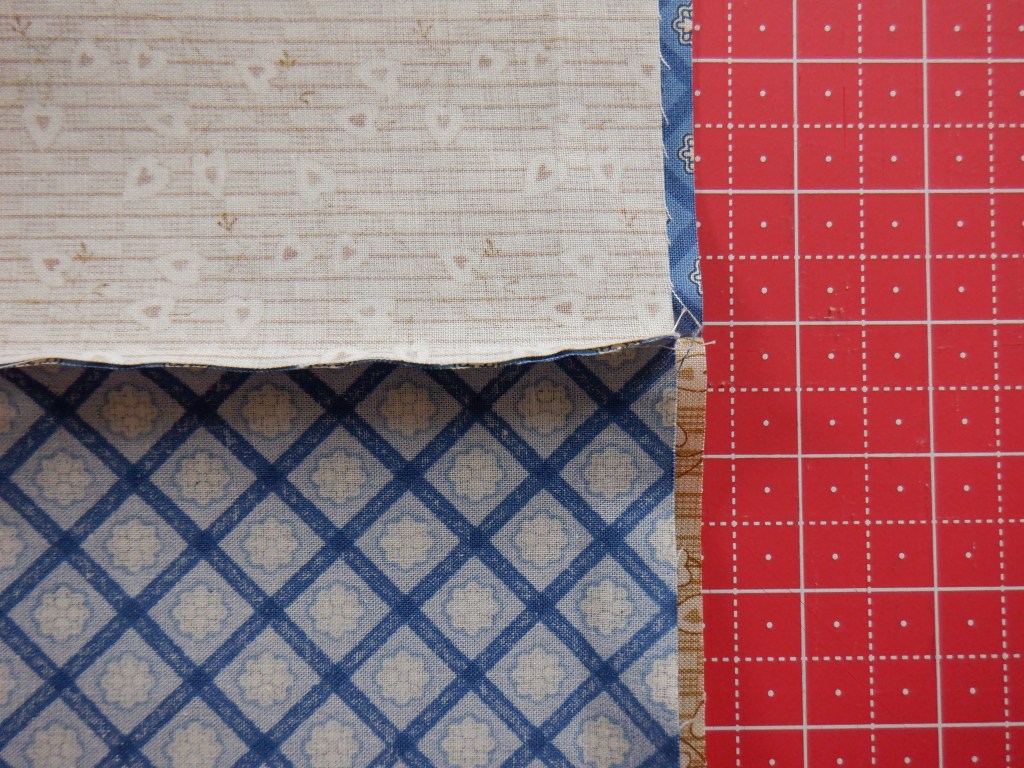
Place blocks right sides together. 
Pin the seams. 
Pin the seams of all your blocks!
Now we are going to head back to the sewing machine and sew a 1/4″ seam down the side of the fabric that is pinned. We are getting “sew” (I am so punny) close to the finish line of this part 1 tutorial!
Sew 1/4″ seam along the pinned side of the fabric. 
Sew all your blocks!
You will soon notice that a huge part of quilt making is pressing seams after you sew. Now that you have finished sewing all your new blocks head to your ironing board and press your freshly sewn seams. (Say that 10 times fast!)

Iron Iron Iron. You will learn to love your iron when you make quilts!
After you iron all your seams you can sit back and admire your work! Look at how close you are to finishing a beautiful quilt!


So tell me, what do you think of this method for putting together a quilt?
Leave me a comment if you have tried this method before or if you look forward to trying it!
I hope to hear from you.
Be sure to subscribe to my blog so you get a notification when Part 2 of “The Fastest and Easiest Quilt Ever” is posted.
Bye for now.

2 responses to “Part 1 – Layer Cake Quilt”
[…] If you need a recap on how to assemble your blocks you can find the post HERE. […]
LikeLike
[…] the floral squares together I used the same process as in the Fastest and Easiest Quilt Ever found HERE. After I finish the process I will have 30 four square […]
LikeLike