

I can’t believe it is already Friday! I hope you all had a wonderful week so far.
This has been so much fun, and I am already thinking about more blocks I could create tutorials for!
Before we get started, I want to let you know that I did design some of the squares to be a little big and they will need to be cut down after sewing. This is because I tend to sew triangles together a little uneven. So, if I give myself a little wiggle room then I can just cut them down and square them up to fit perfectly.
So, let’s get started.
What you need
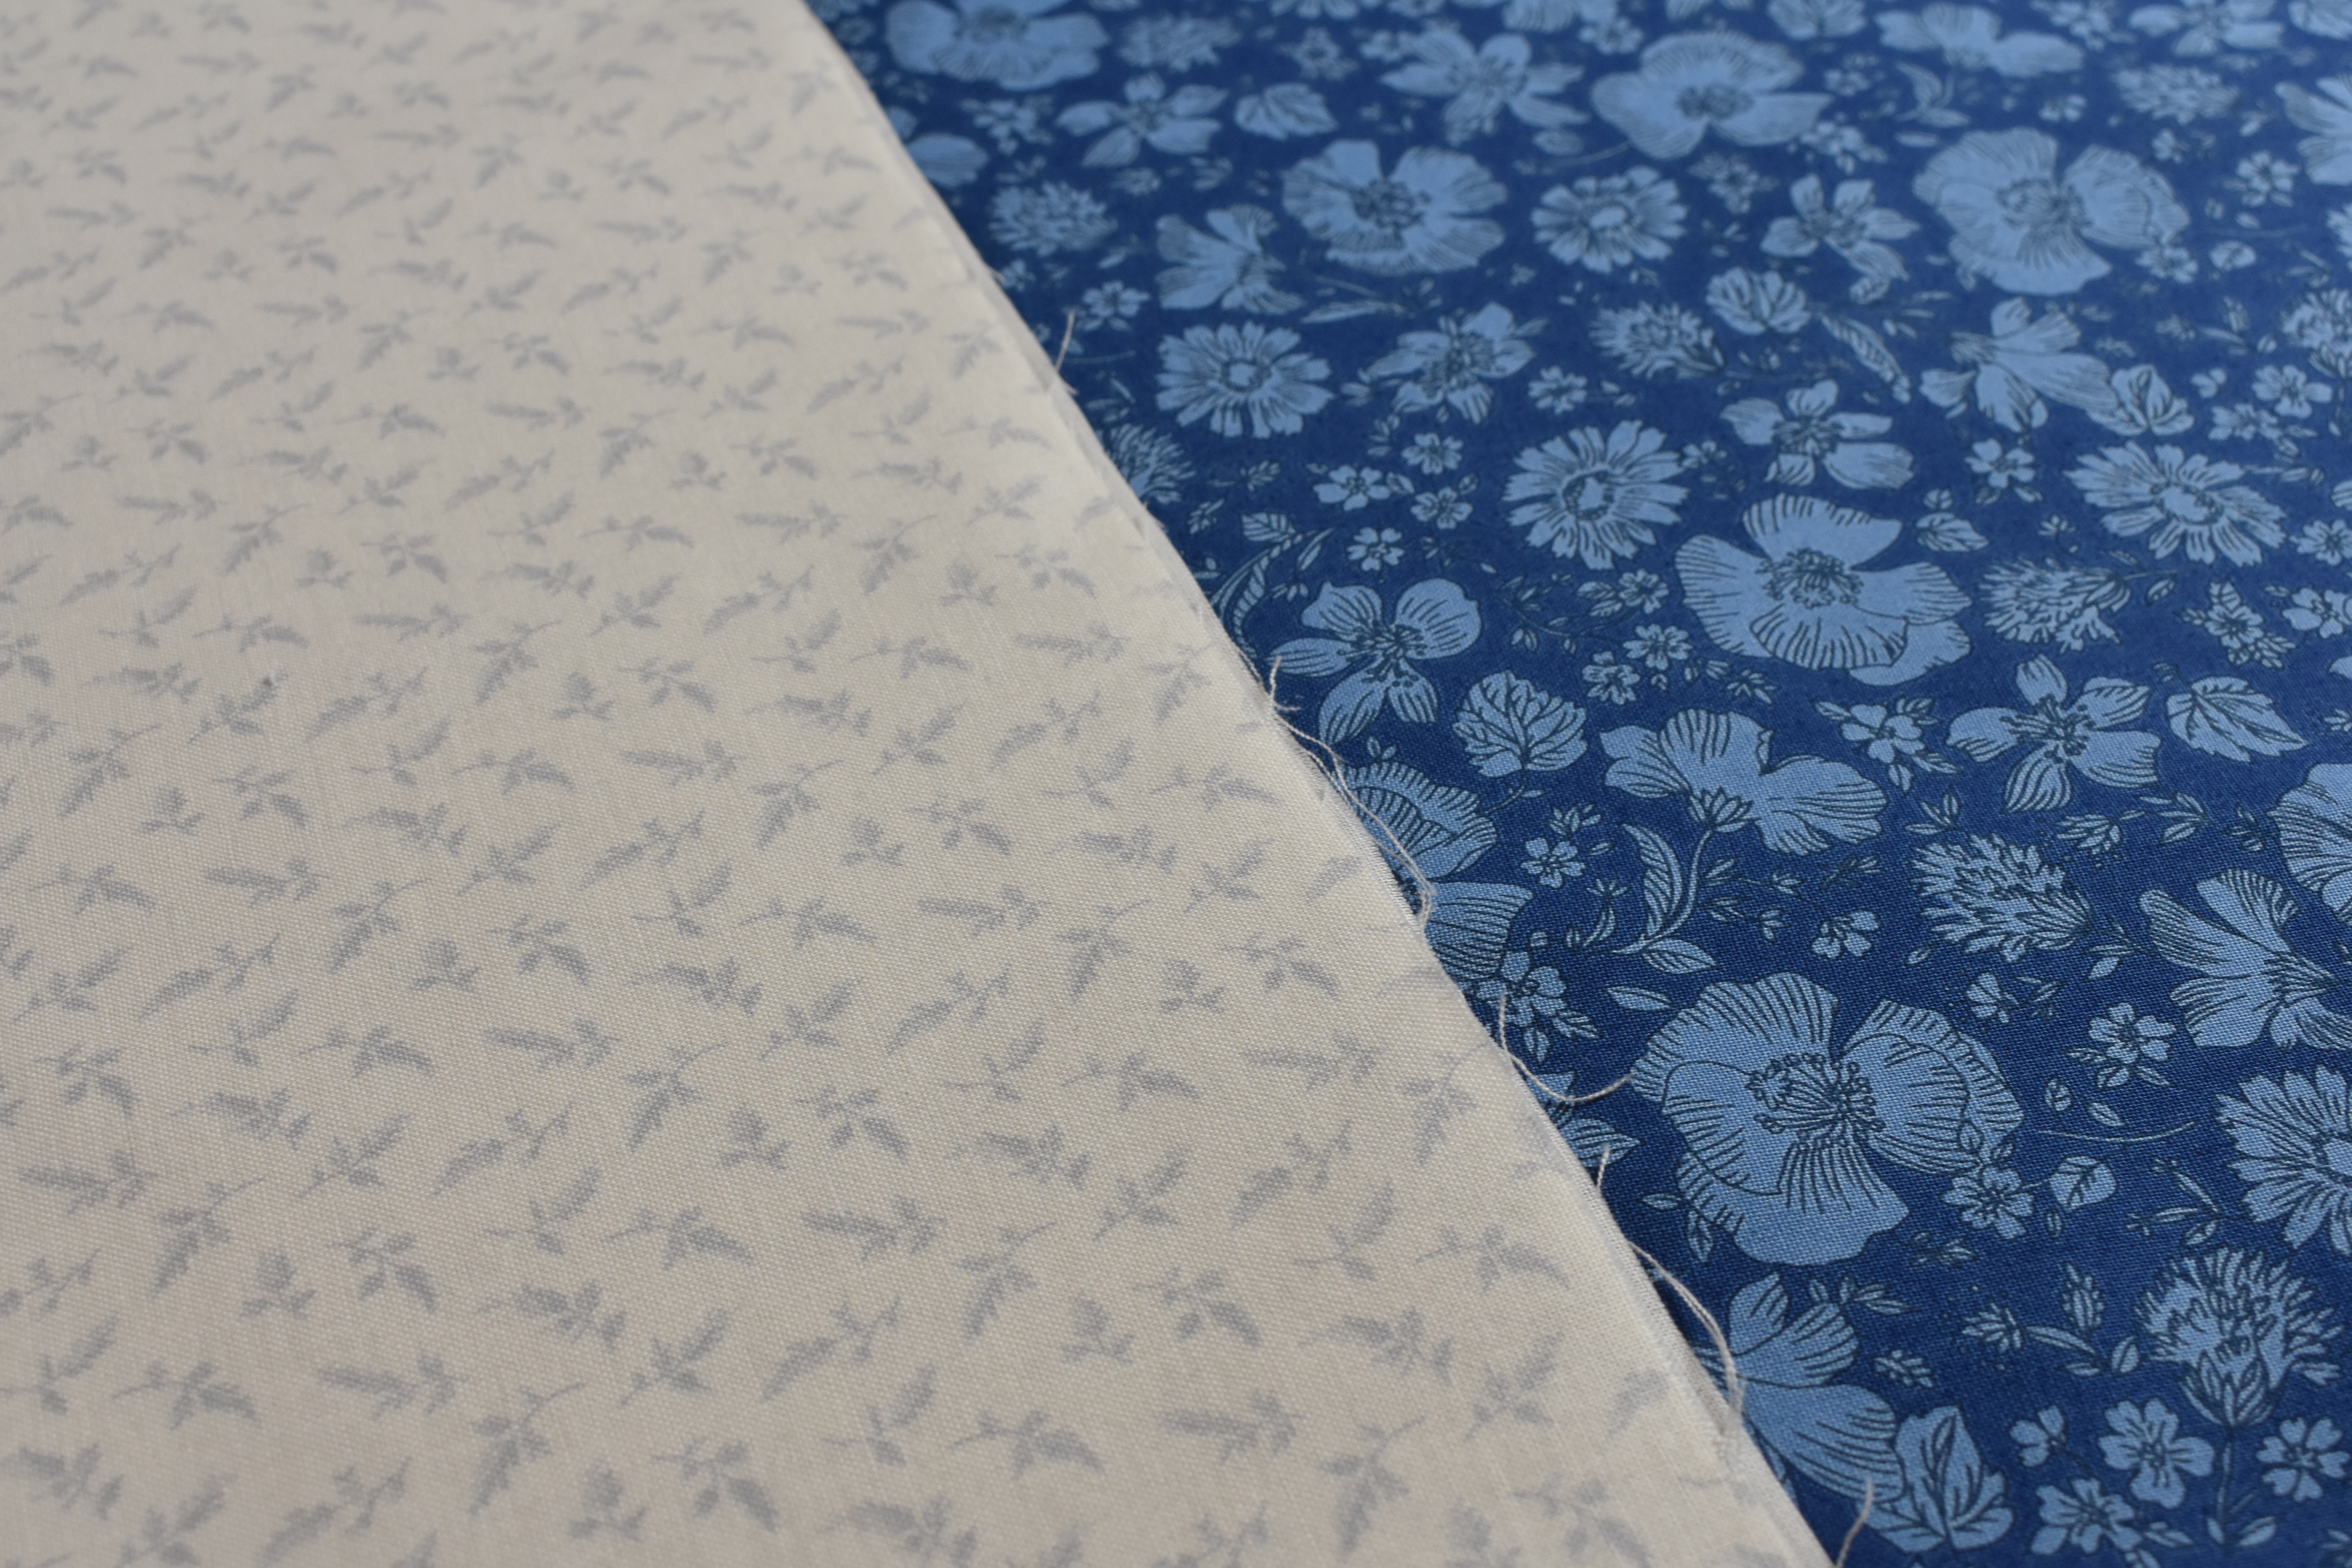
To make one block you will only need two different fabrics. To make this design really stand out I suggest you find two fabrics that have a lot of contrast. I chose a very light fabric and a dark fabric.
Here is the fabric I am using.
Cutting
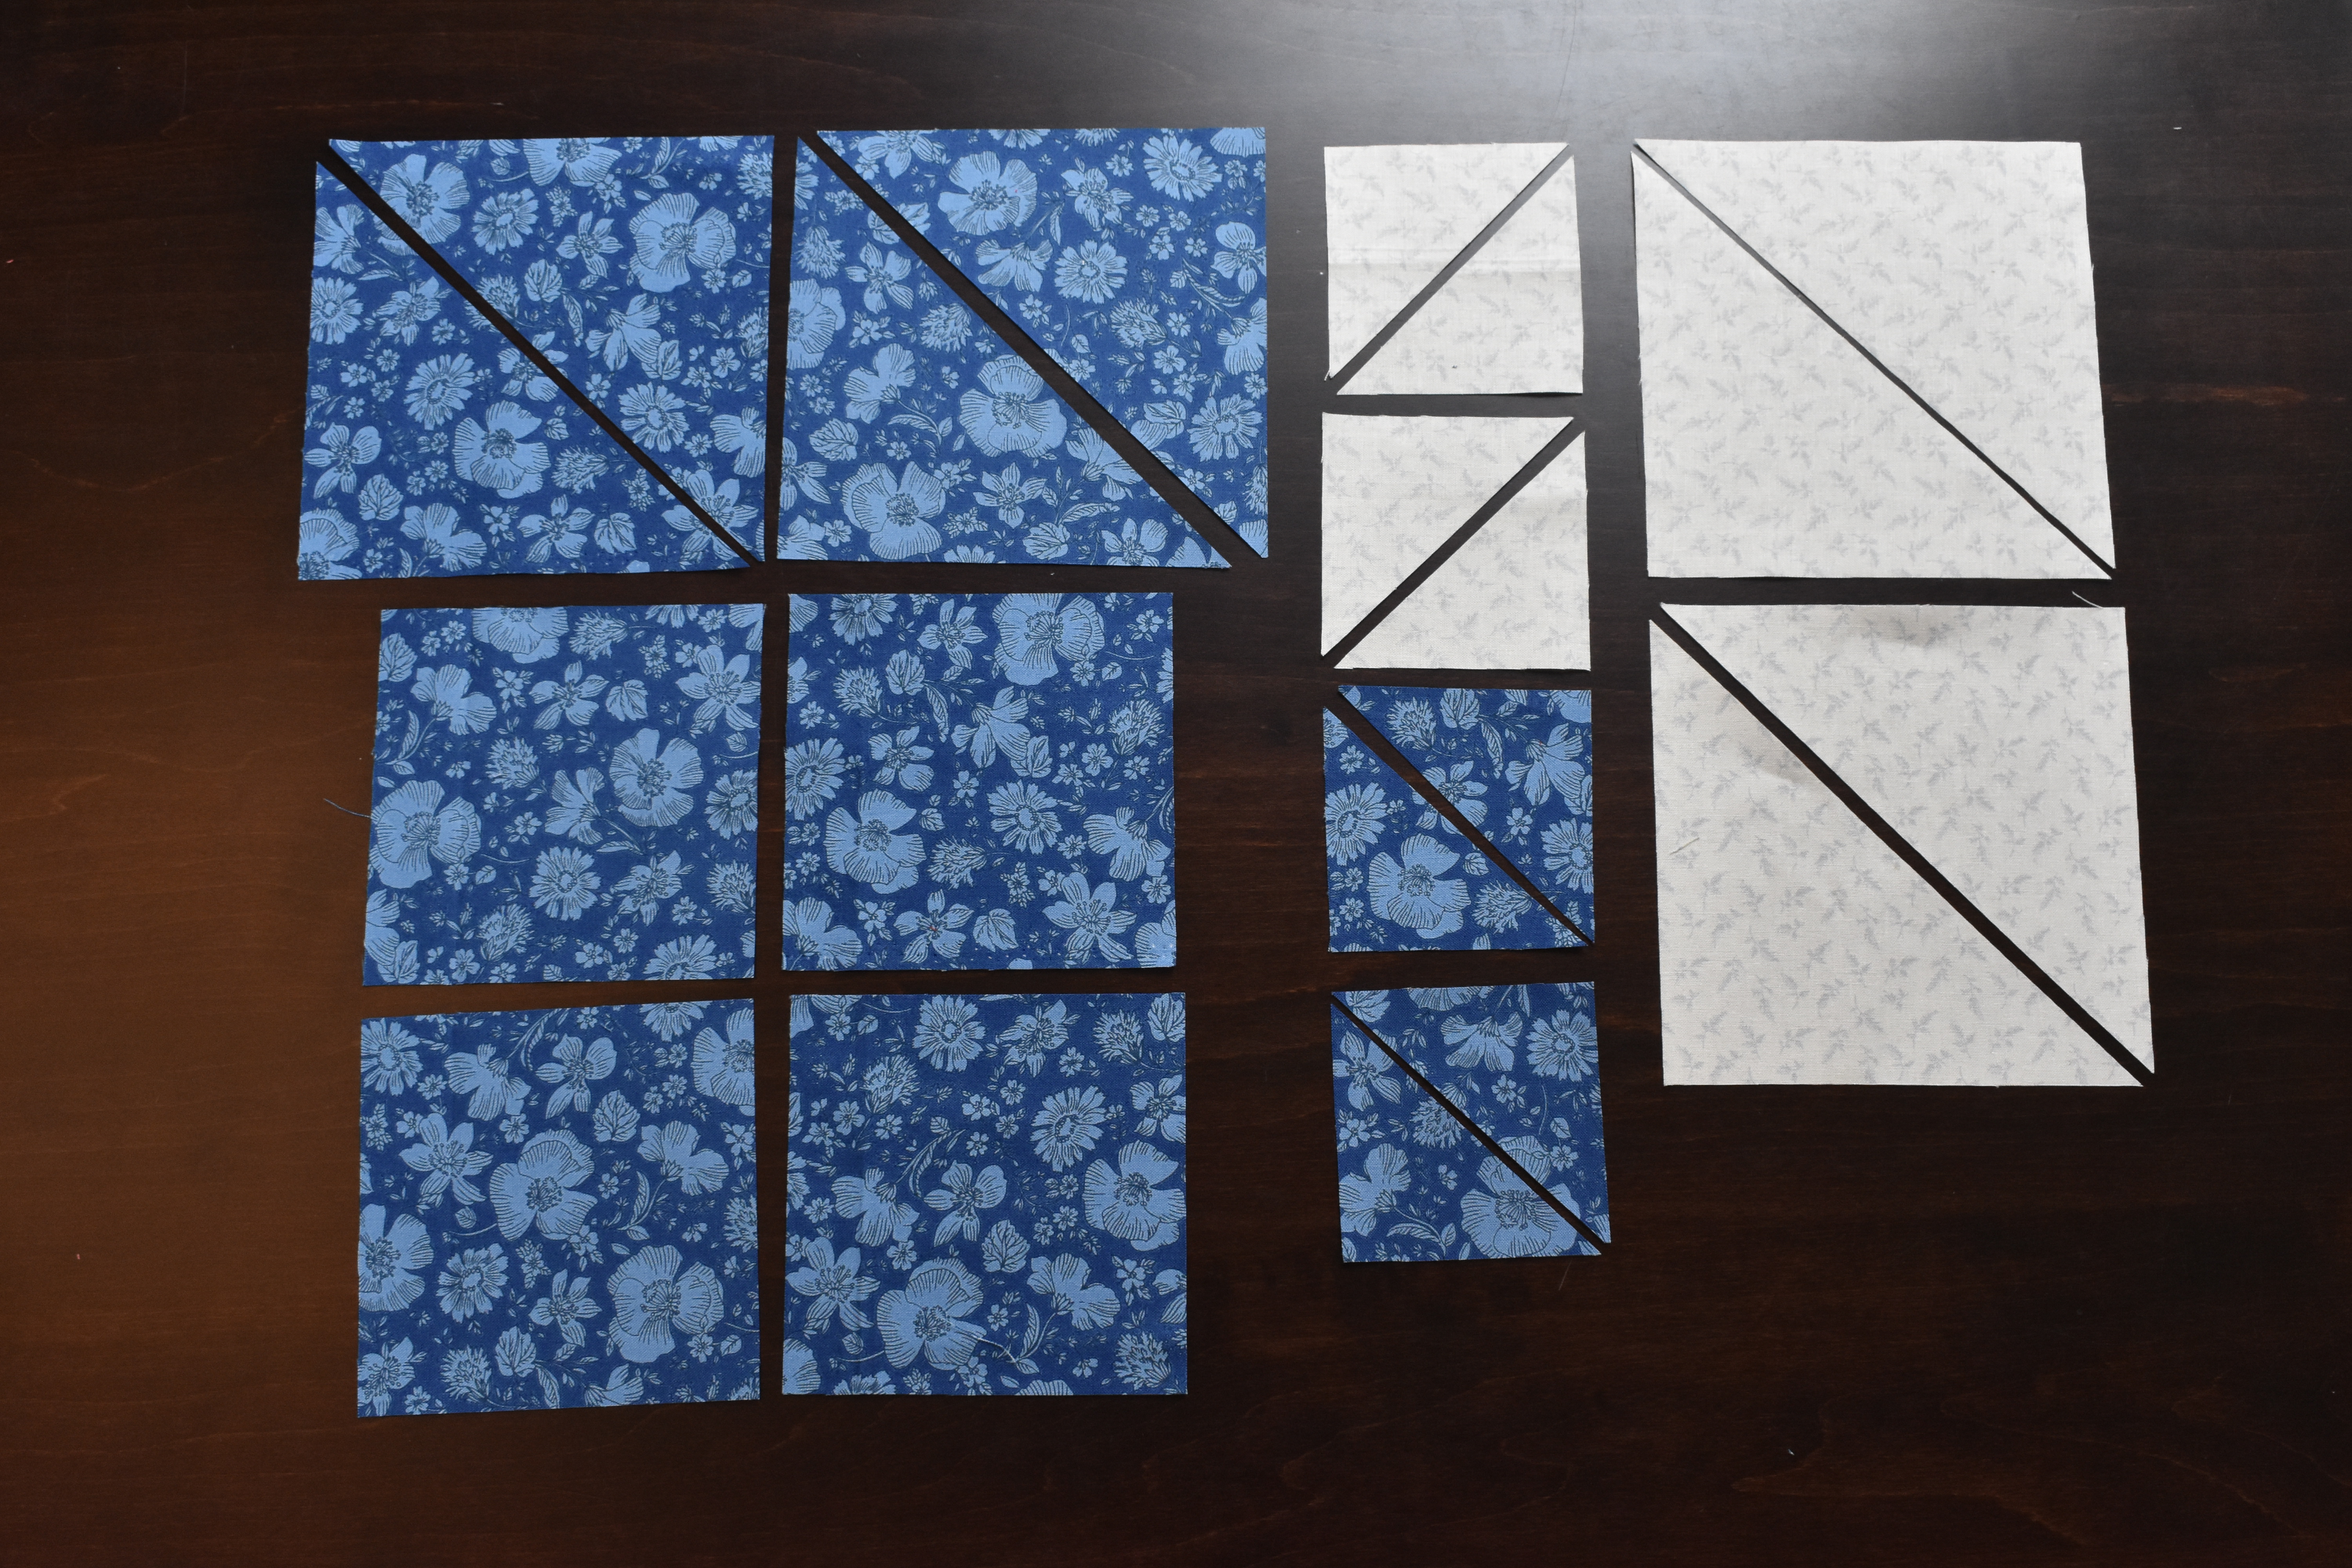
To make just one block you will need to cut the following:
- From your light fabric
- cut 2 – 3″ squares that you will then cut corner to corner into triangles
- cut 2 – 5.5″ squares that you will then cut corner to corner into triangles
- From your dark fabric
- cut 4 – 4.5″ squares
- cut 2 – 3″ squares that you will then cut corner to corner into triangles
- cut 2 – 5.5″ squares that you will then cut corner to corner into triangles
Organize and sew
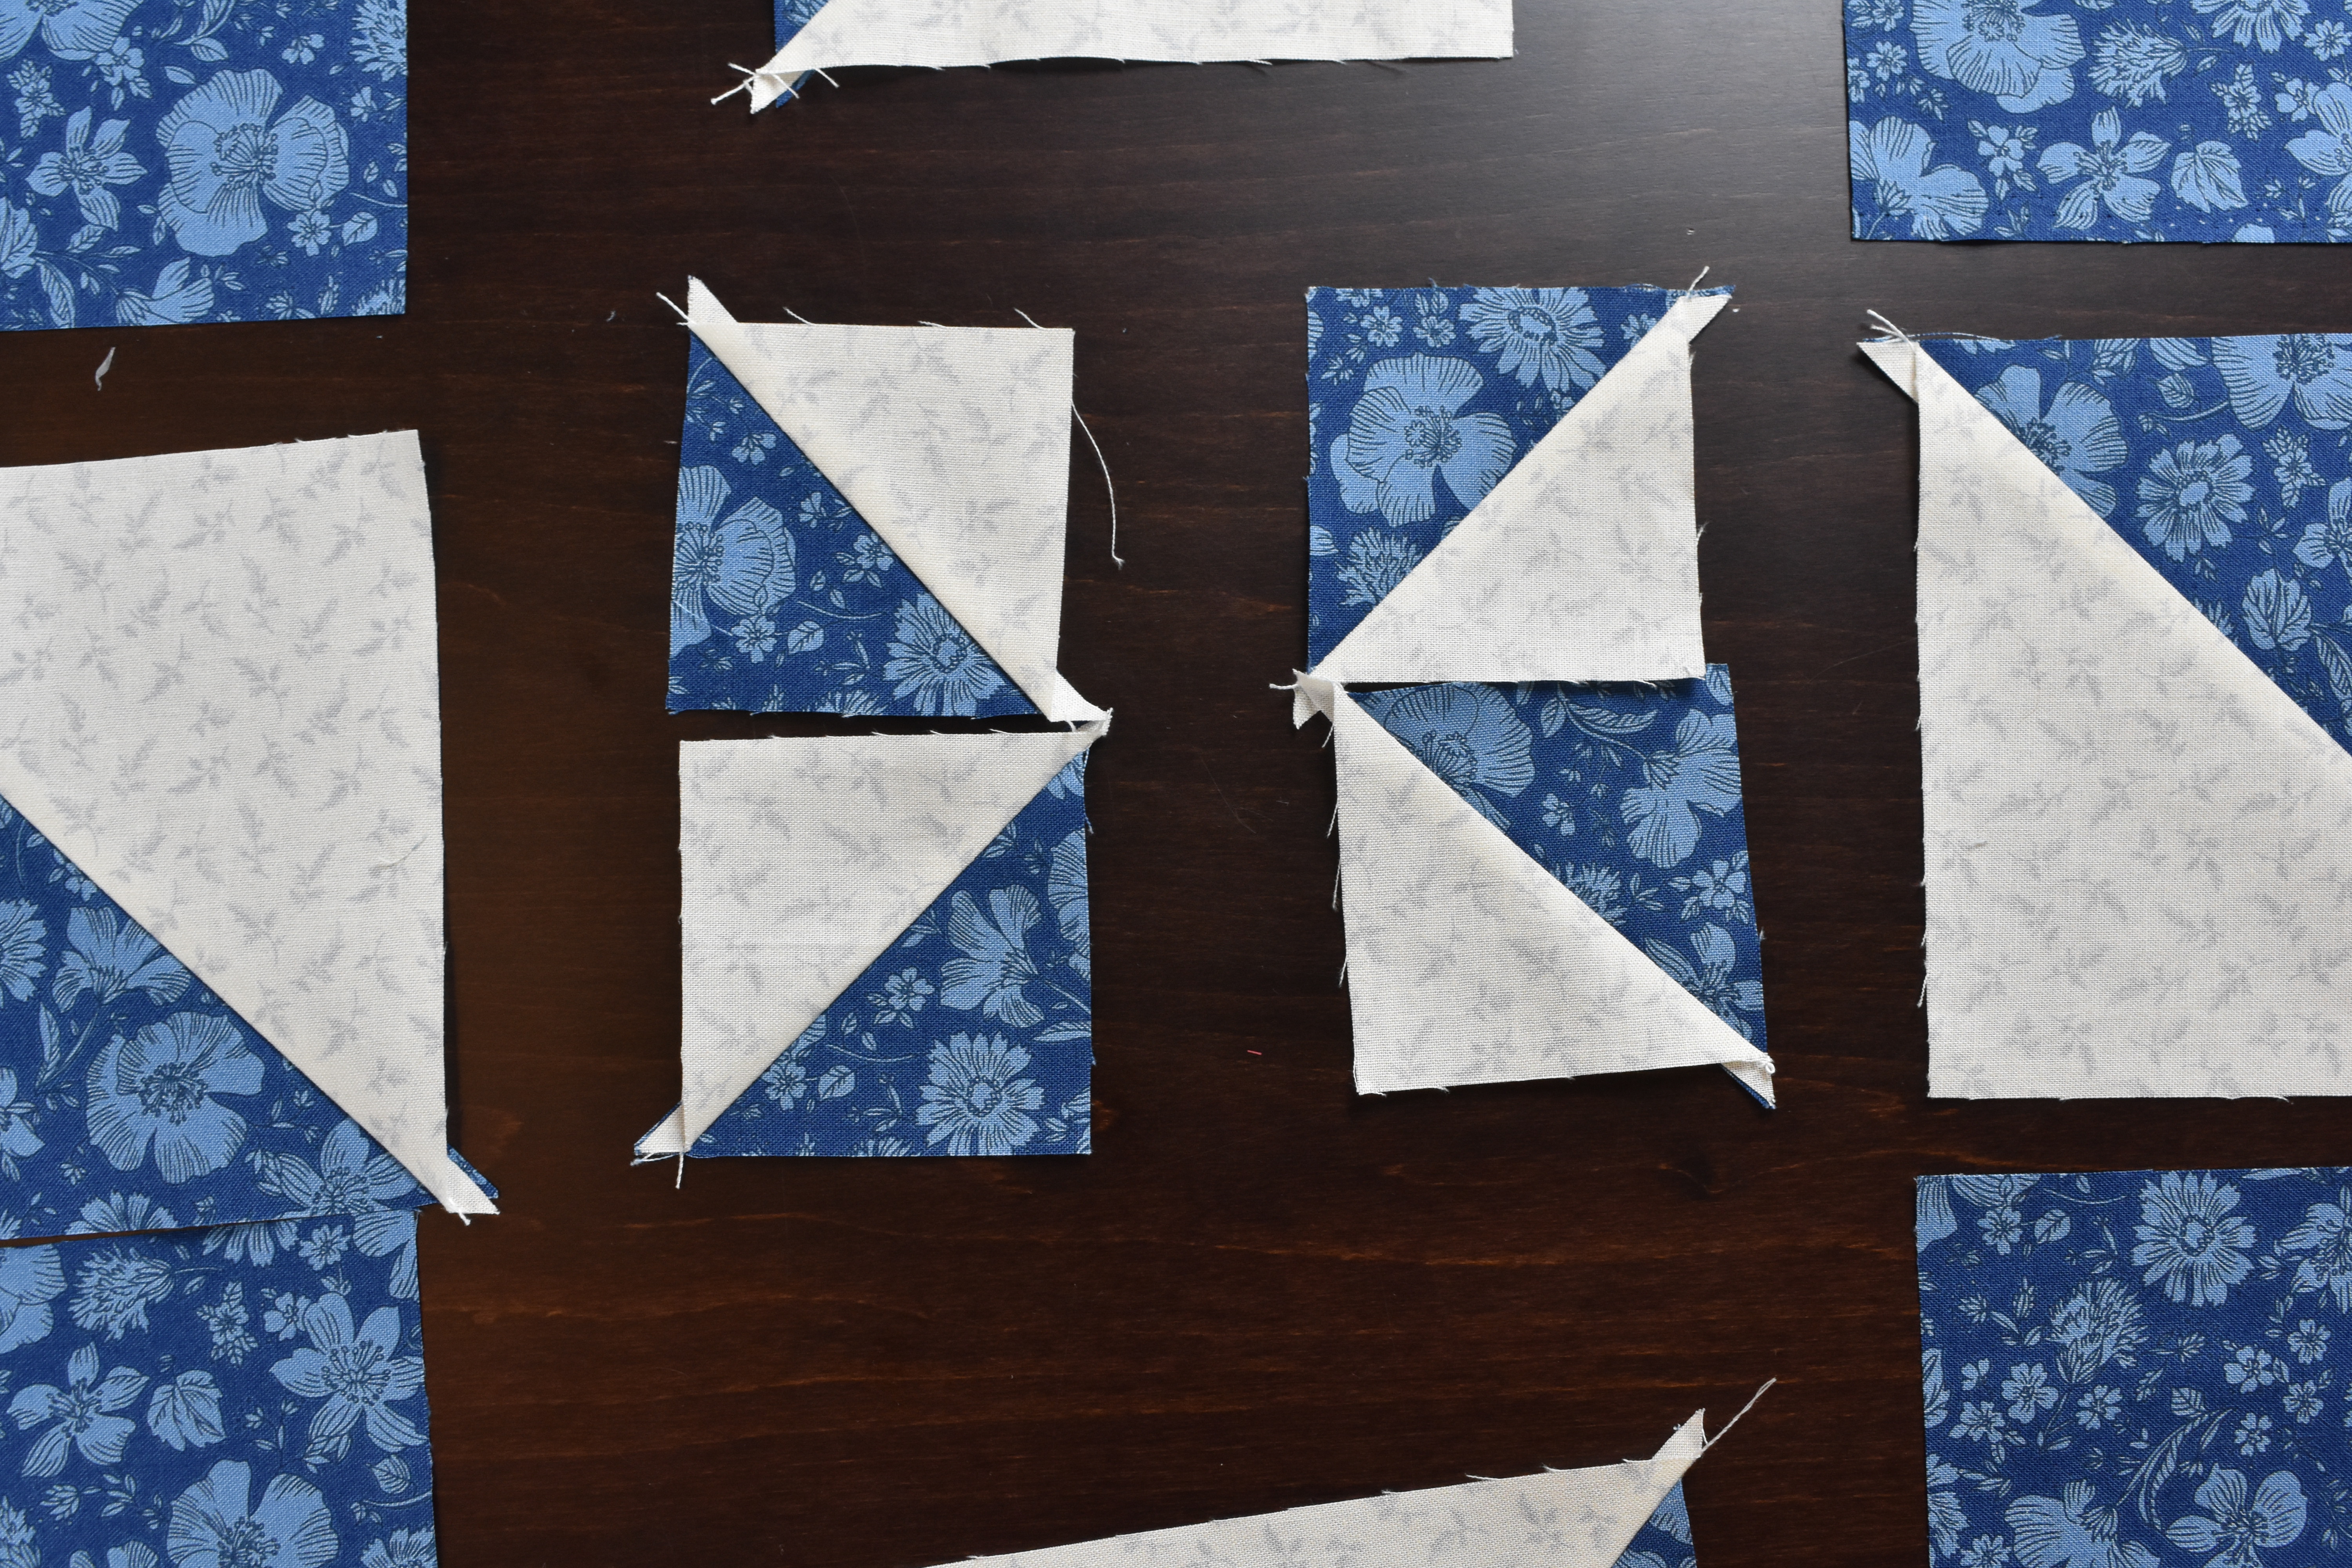
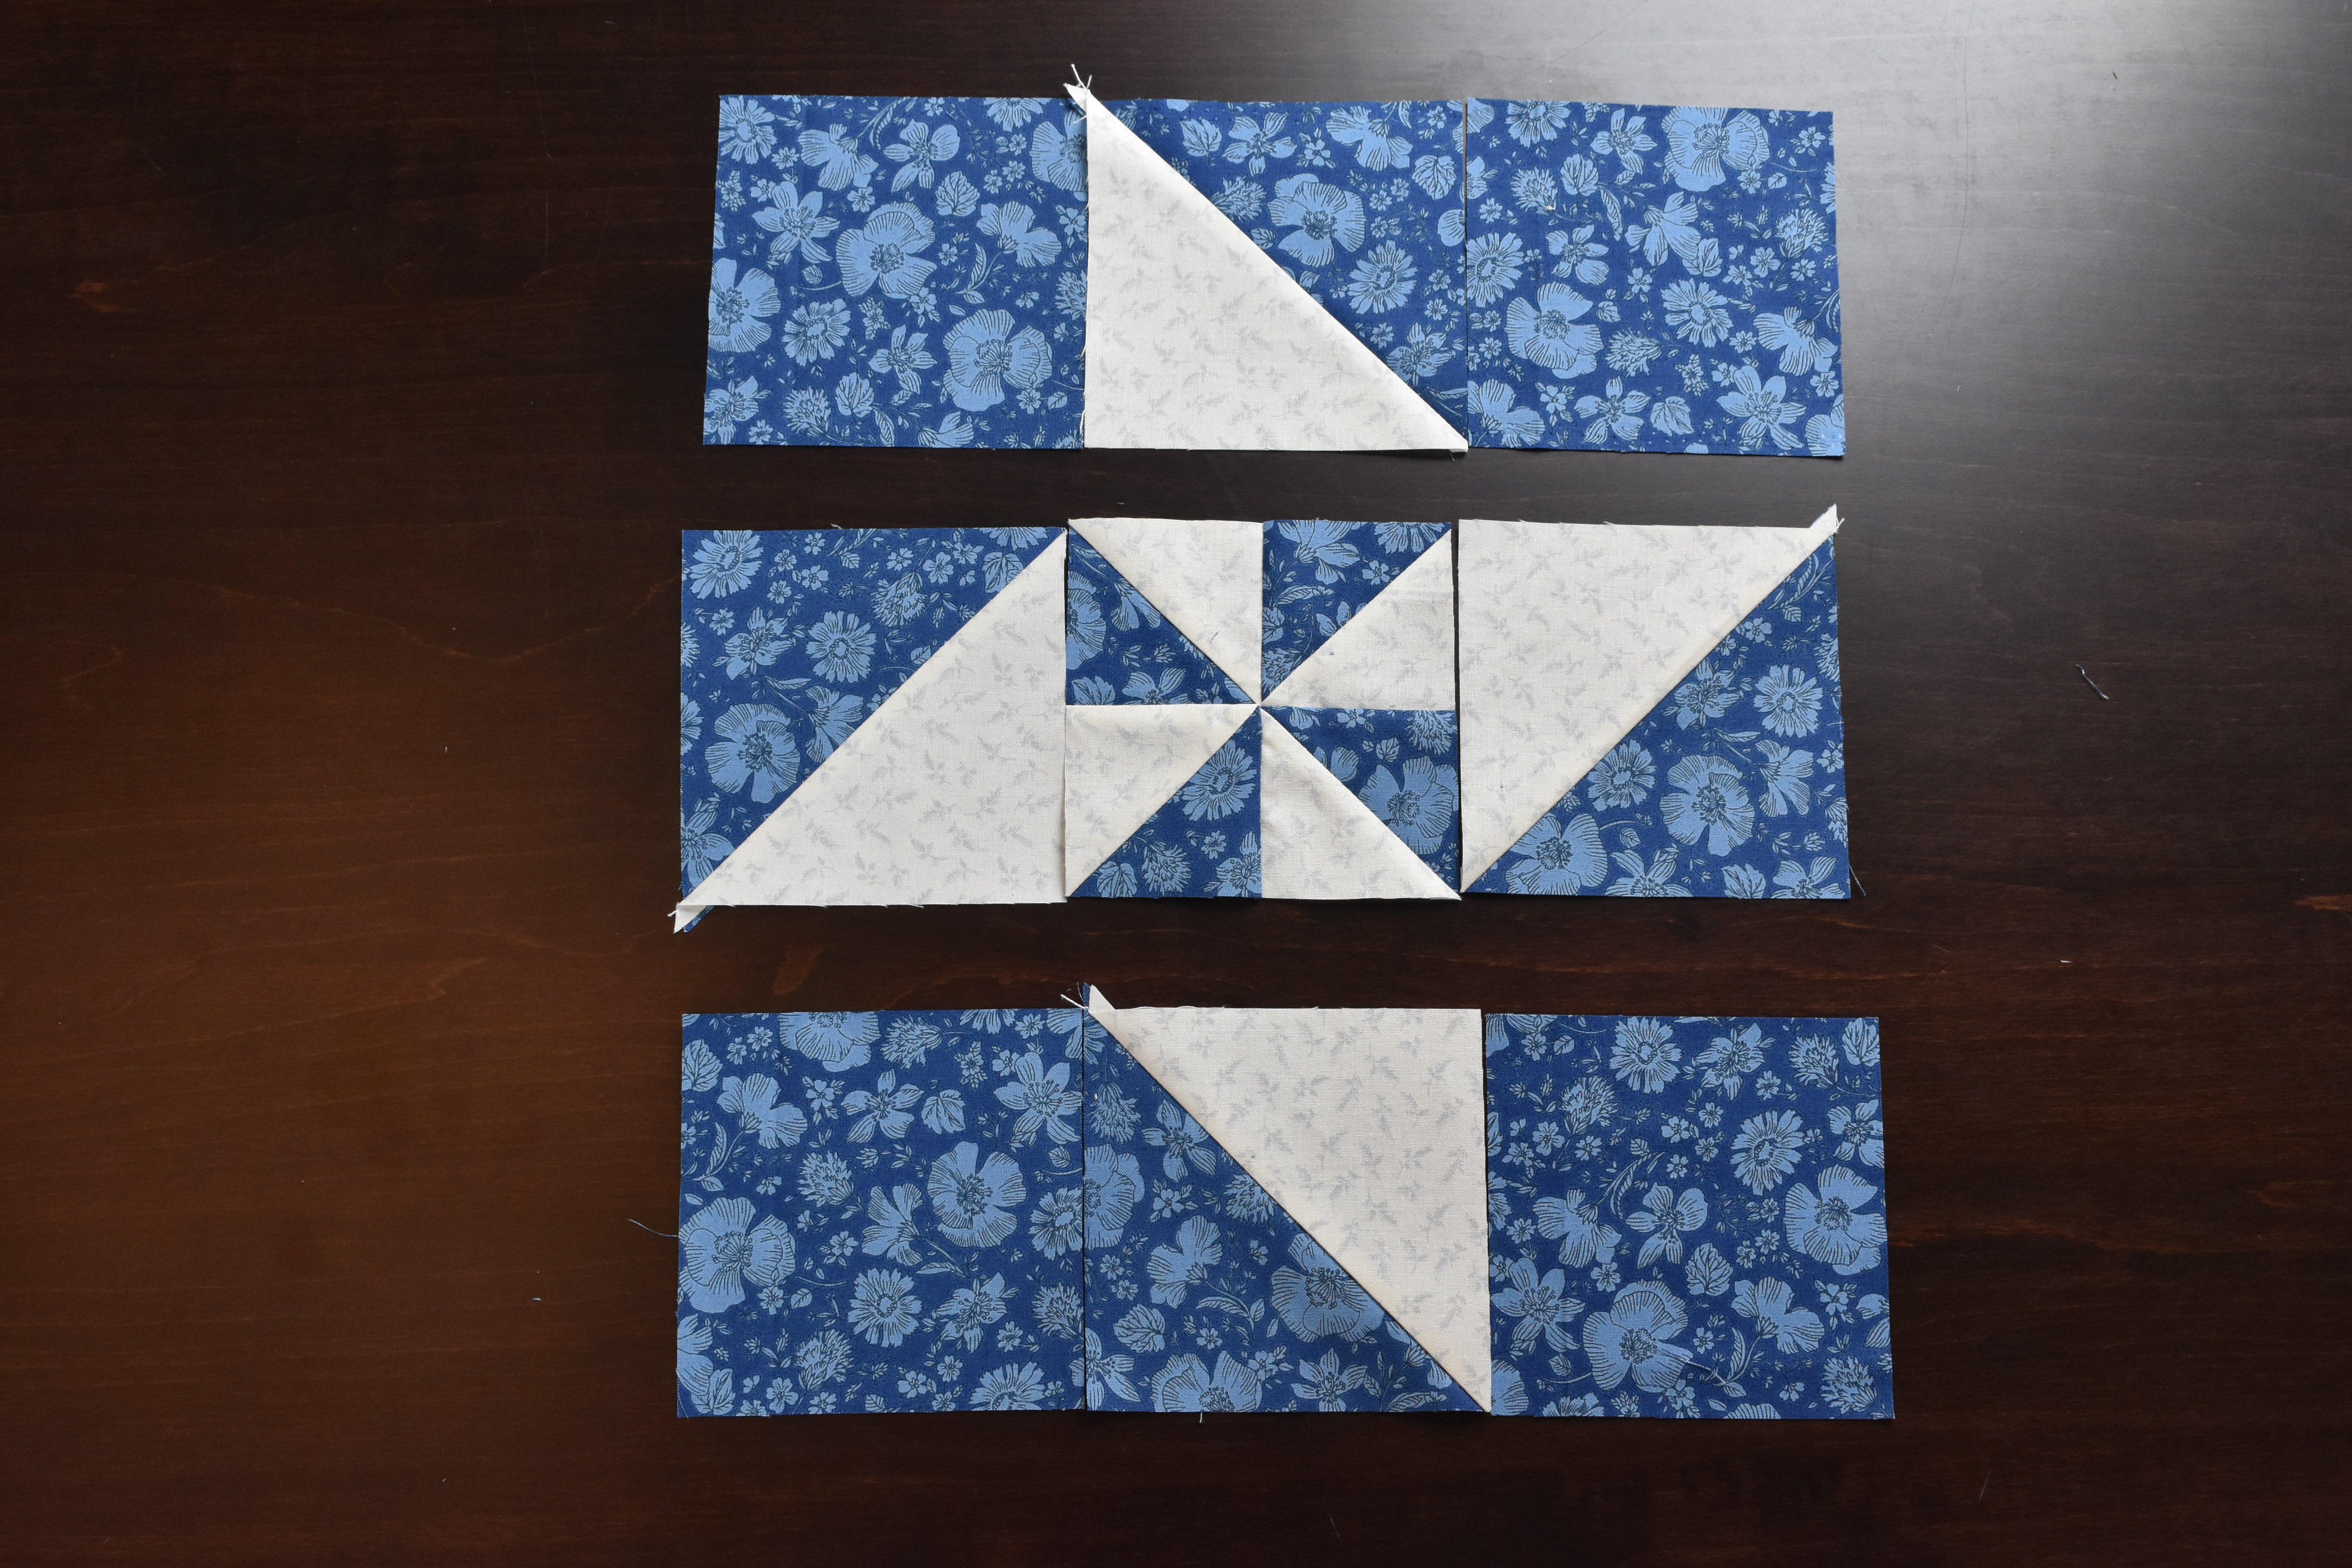
Lay the pieces out as shown in the photo below. This will help you keep everything organized.
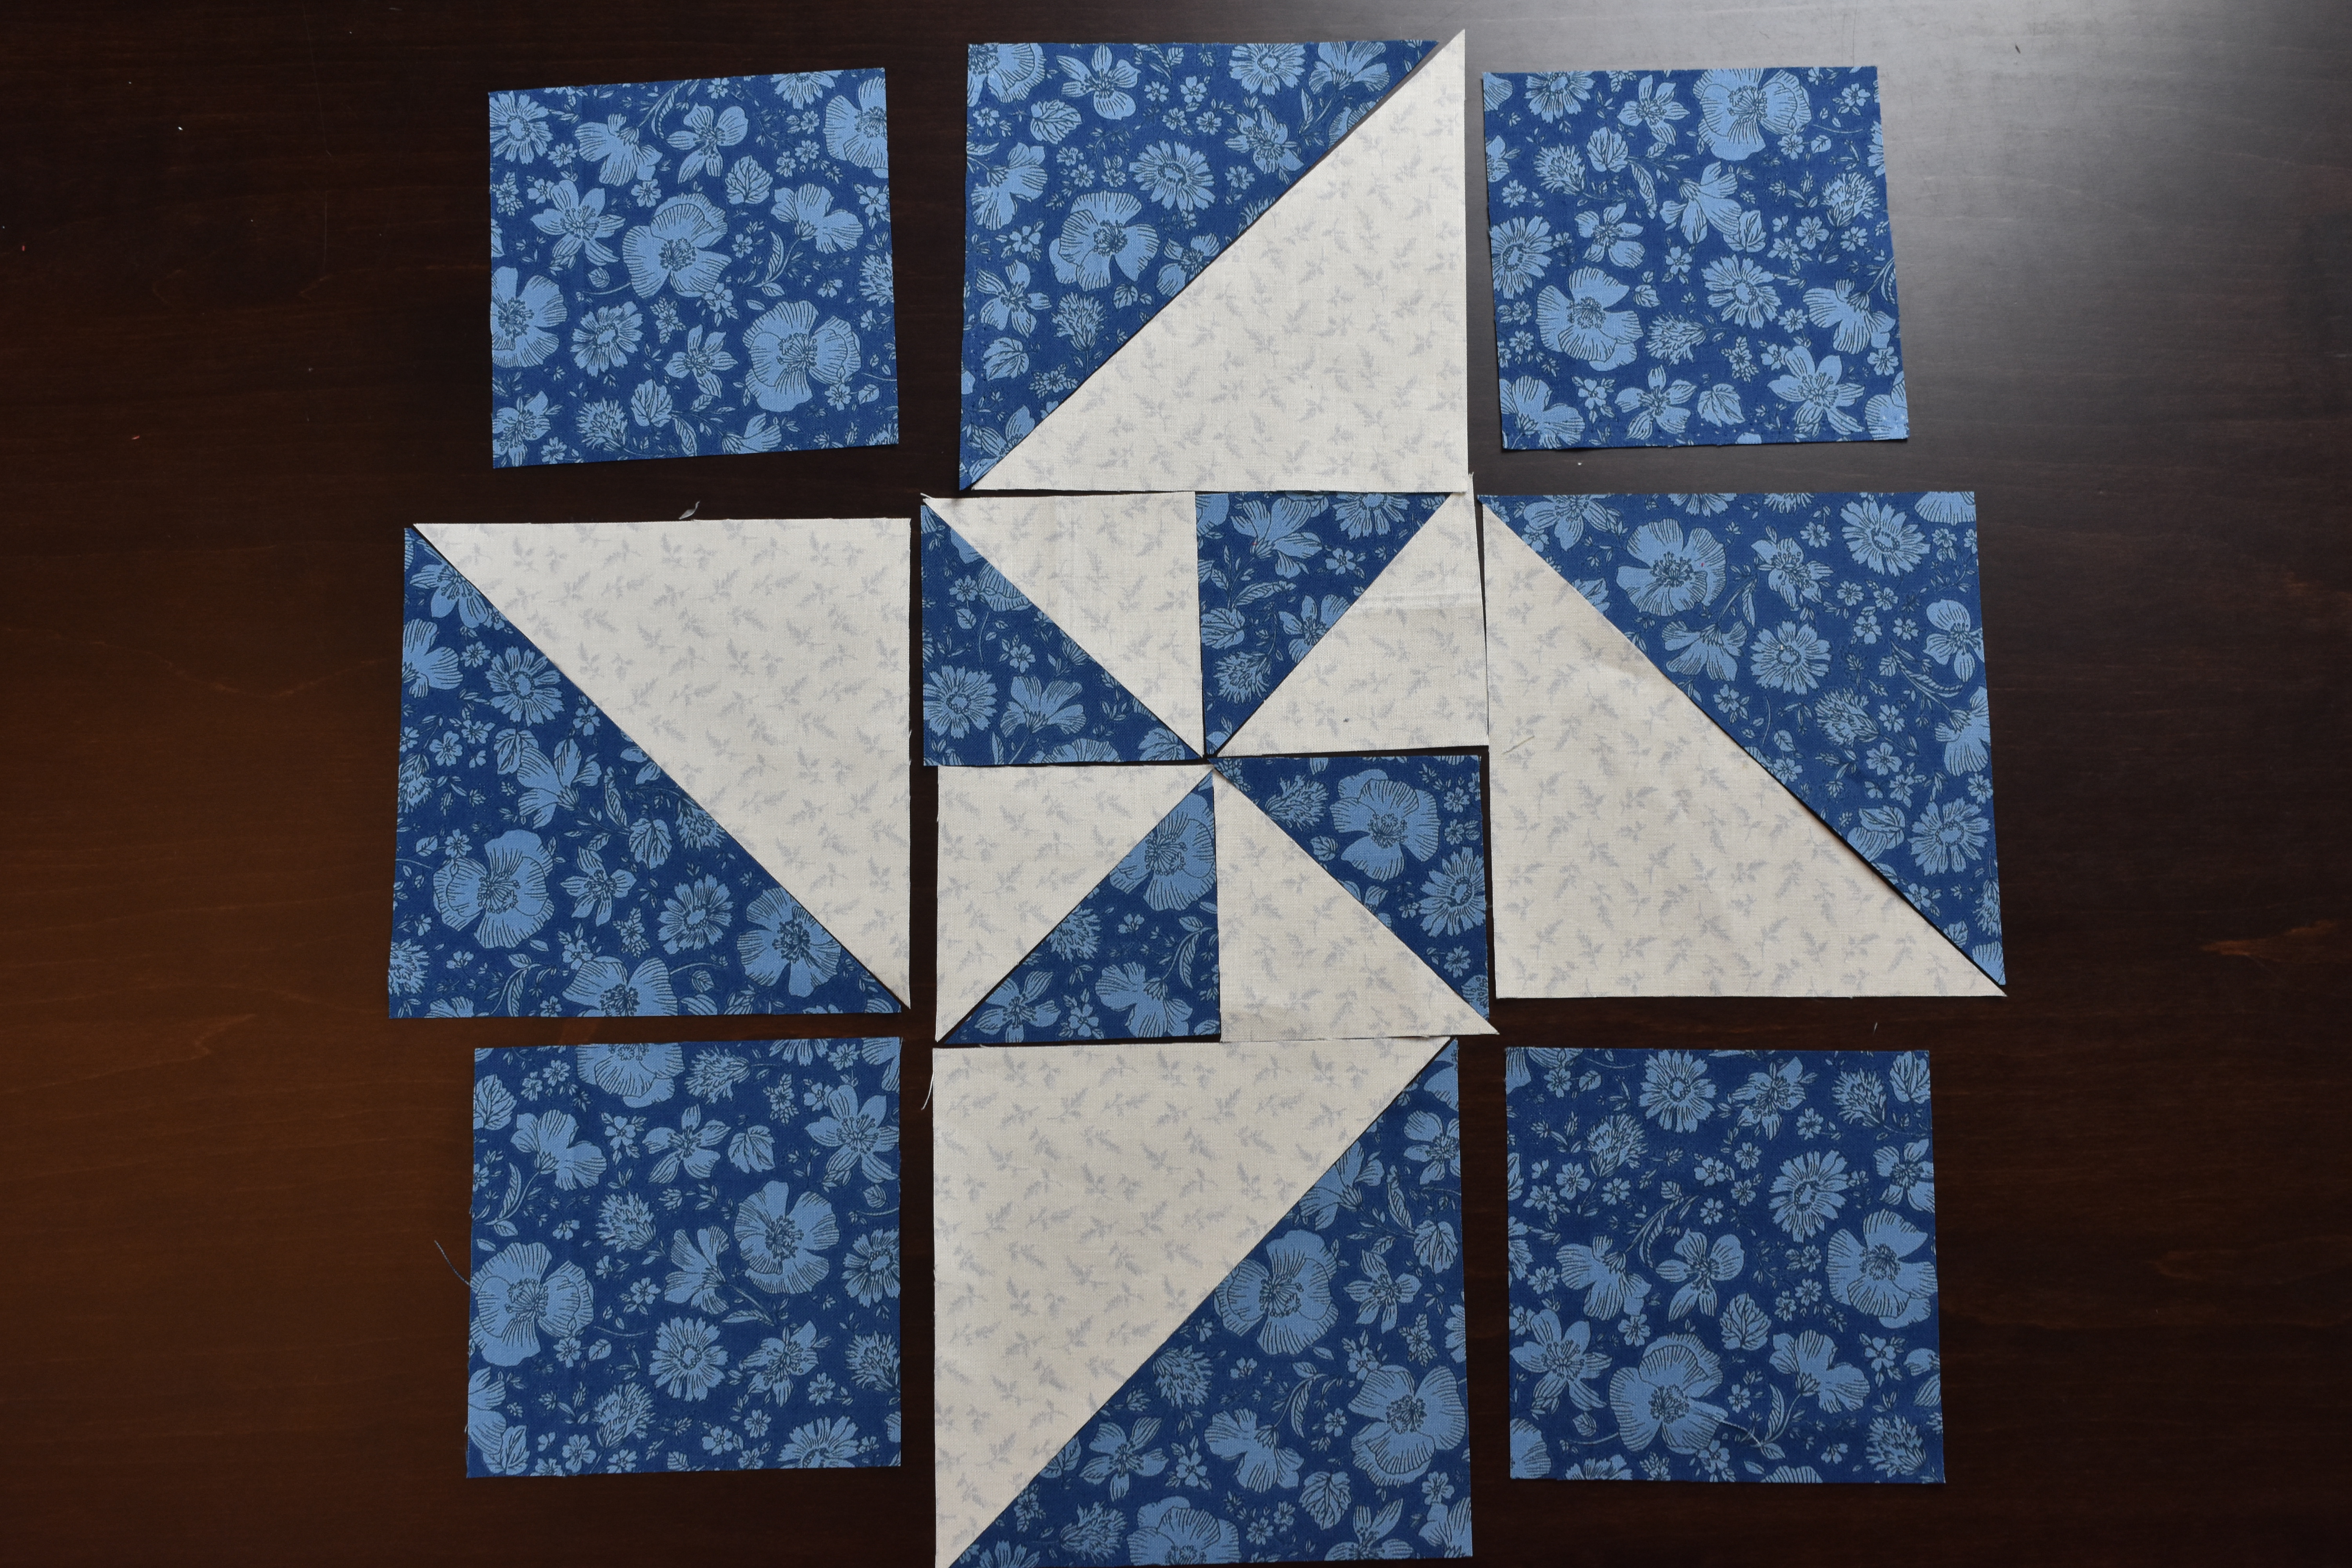
The following photo will show which triangles you will want to sew together to create squares.

Sew and then press your seams.
You will then sew your four small center squares. Make sure you keep everything lined up correctly! Sew, then press your seams.
Keep in mind, the trick to less bulk and maintaining nice points on these triangles is to nest your seams. I have a blog post you can find HERE about nesting seams.
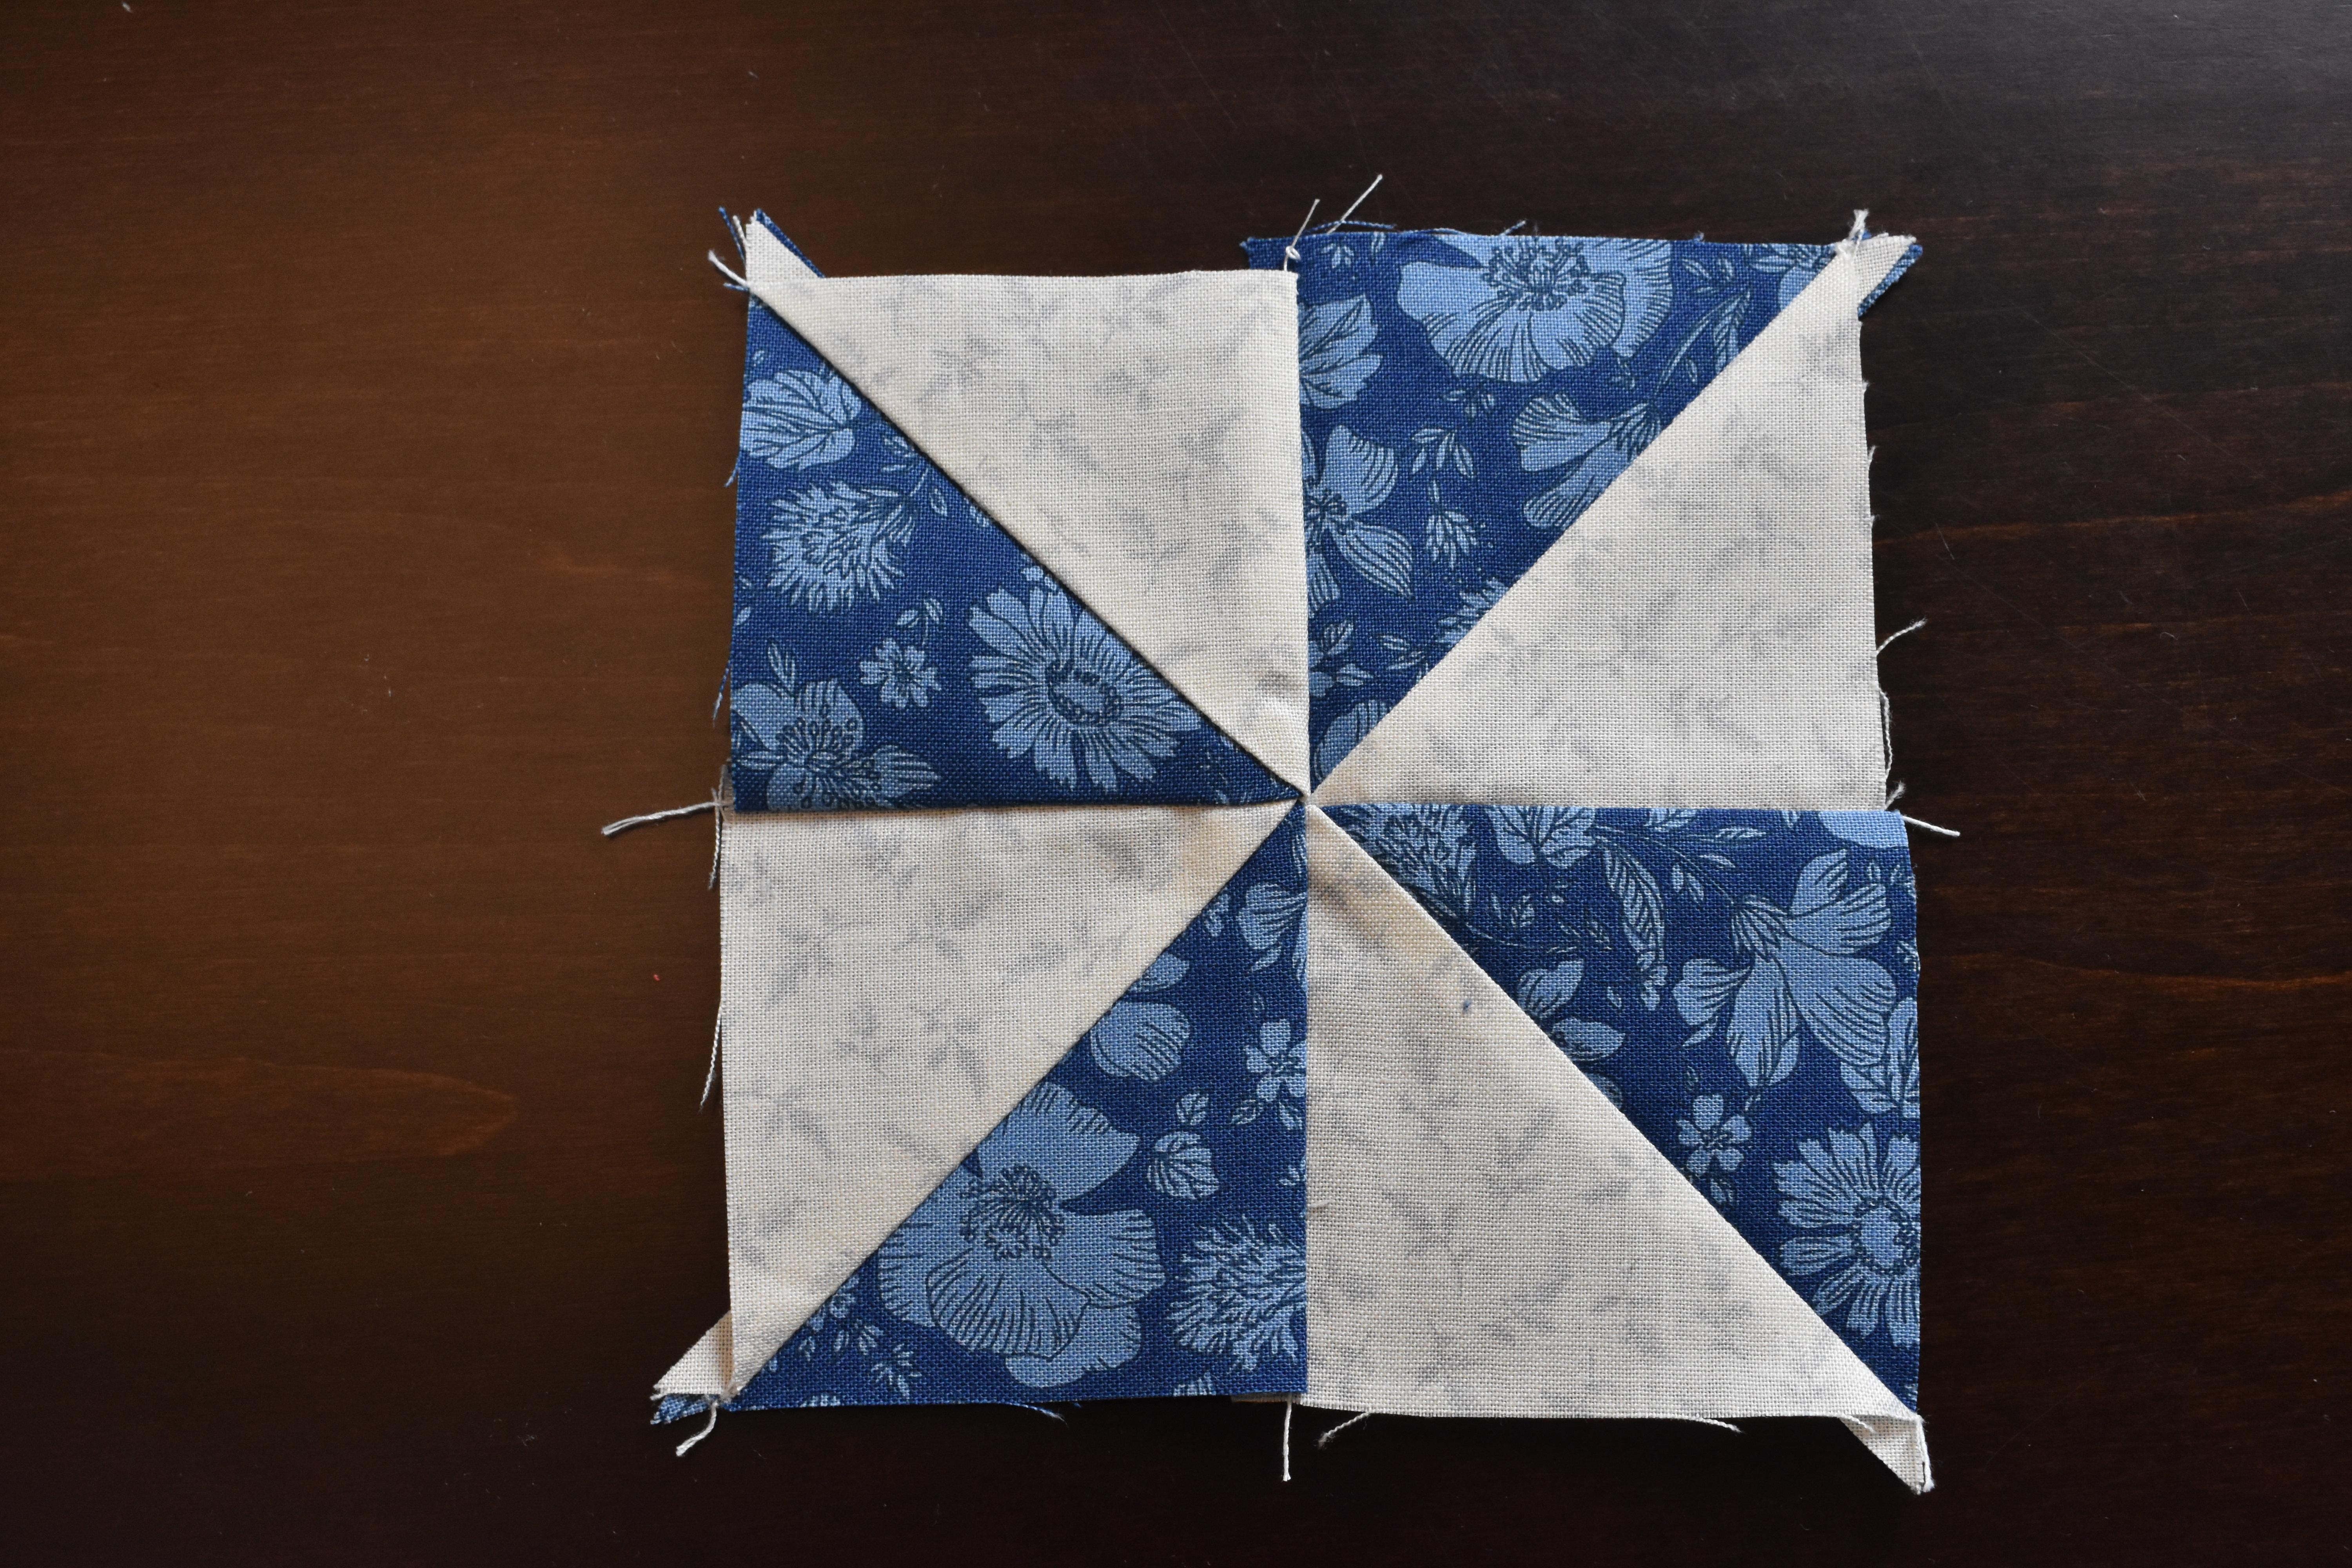
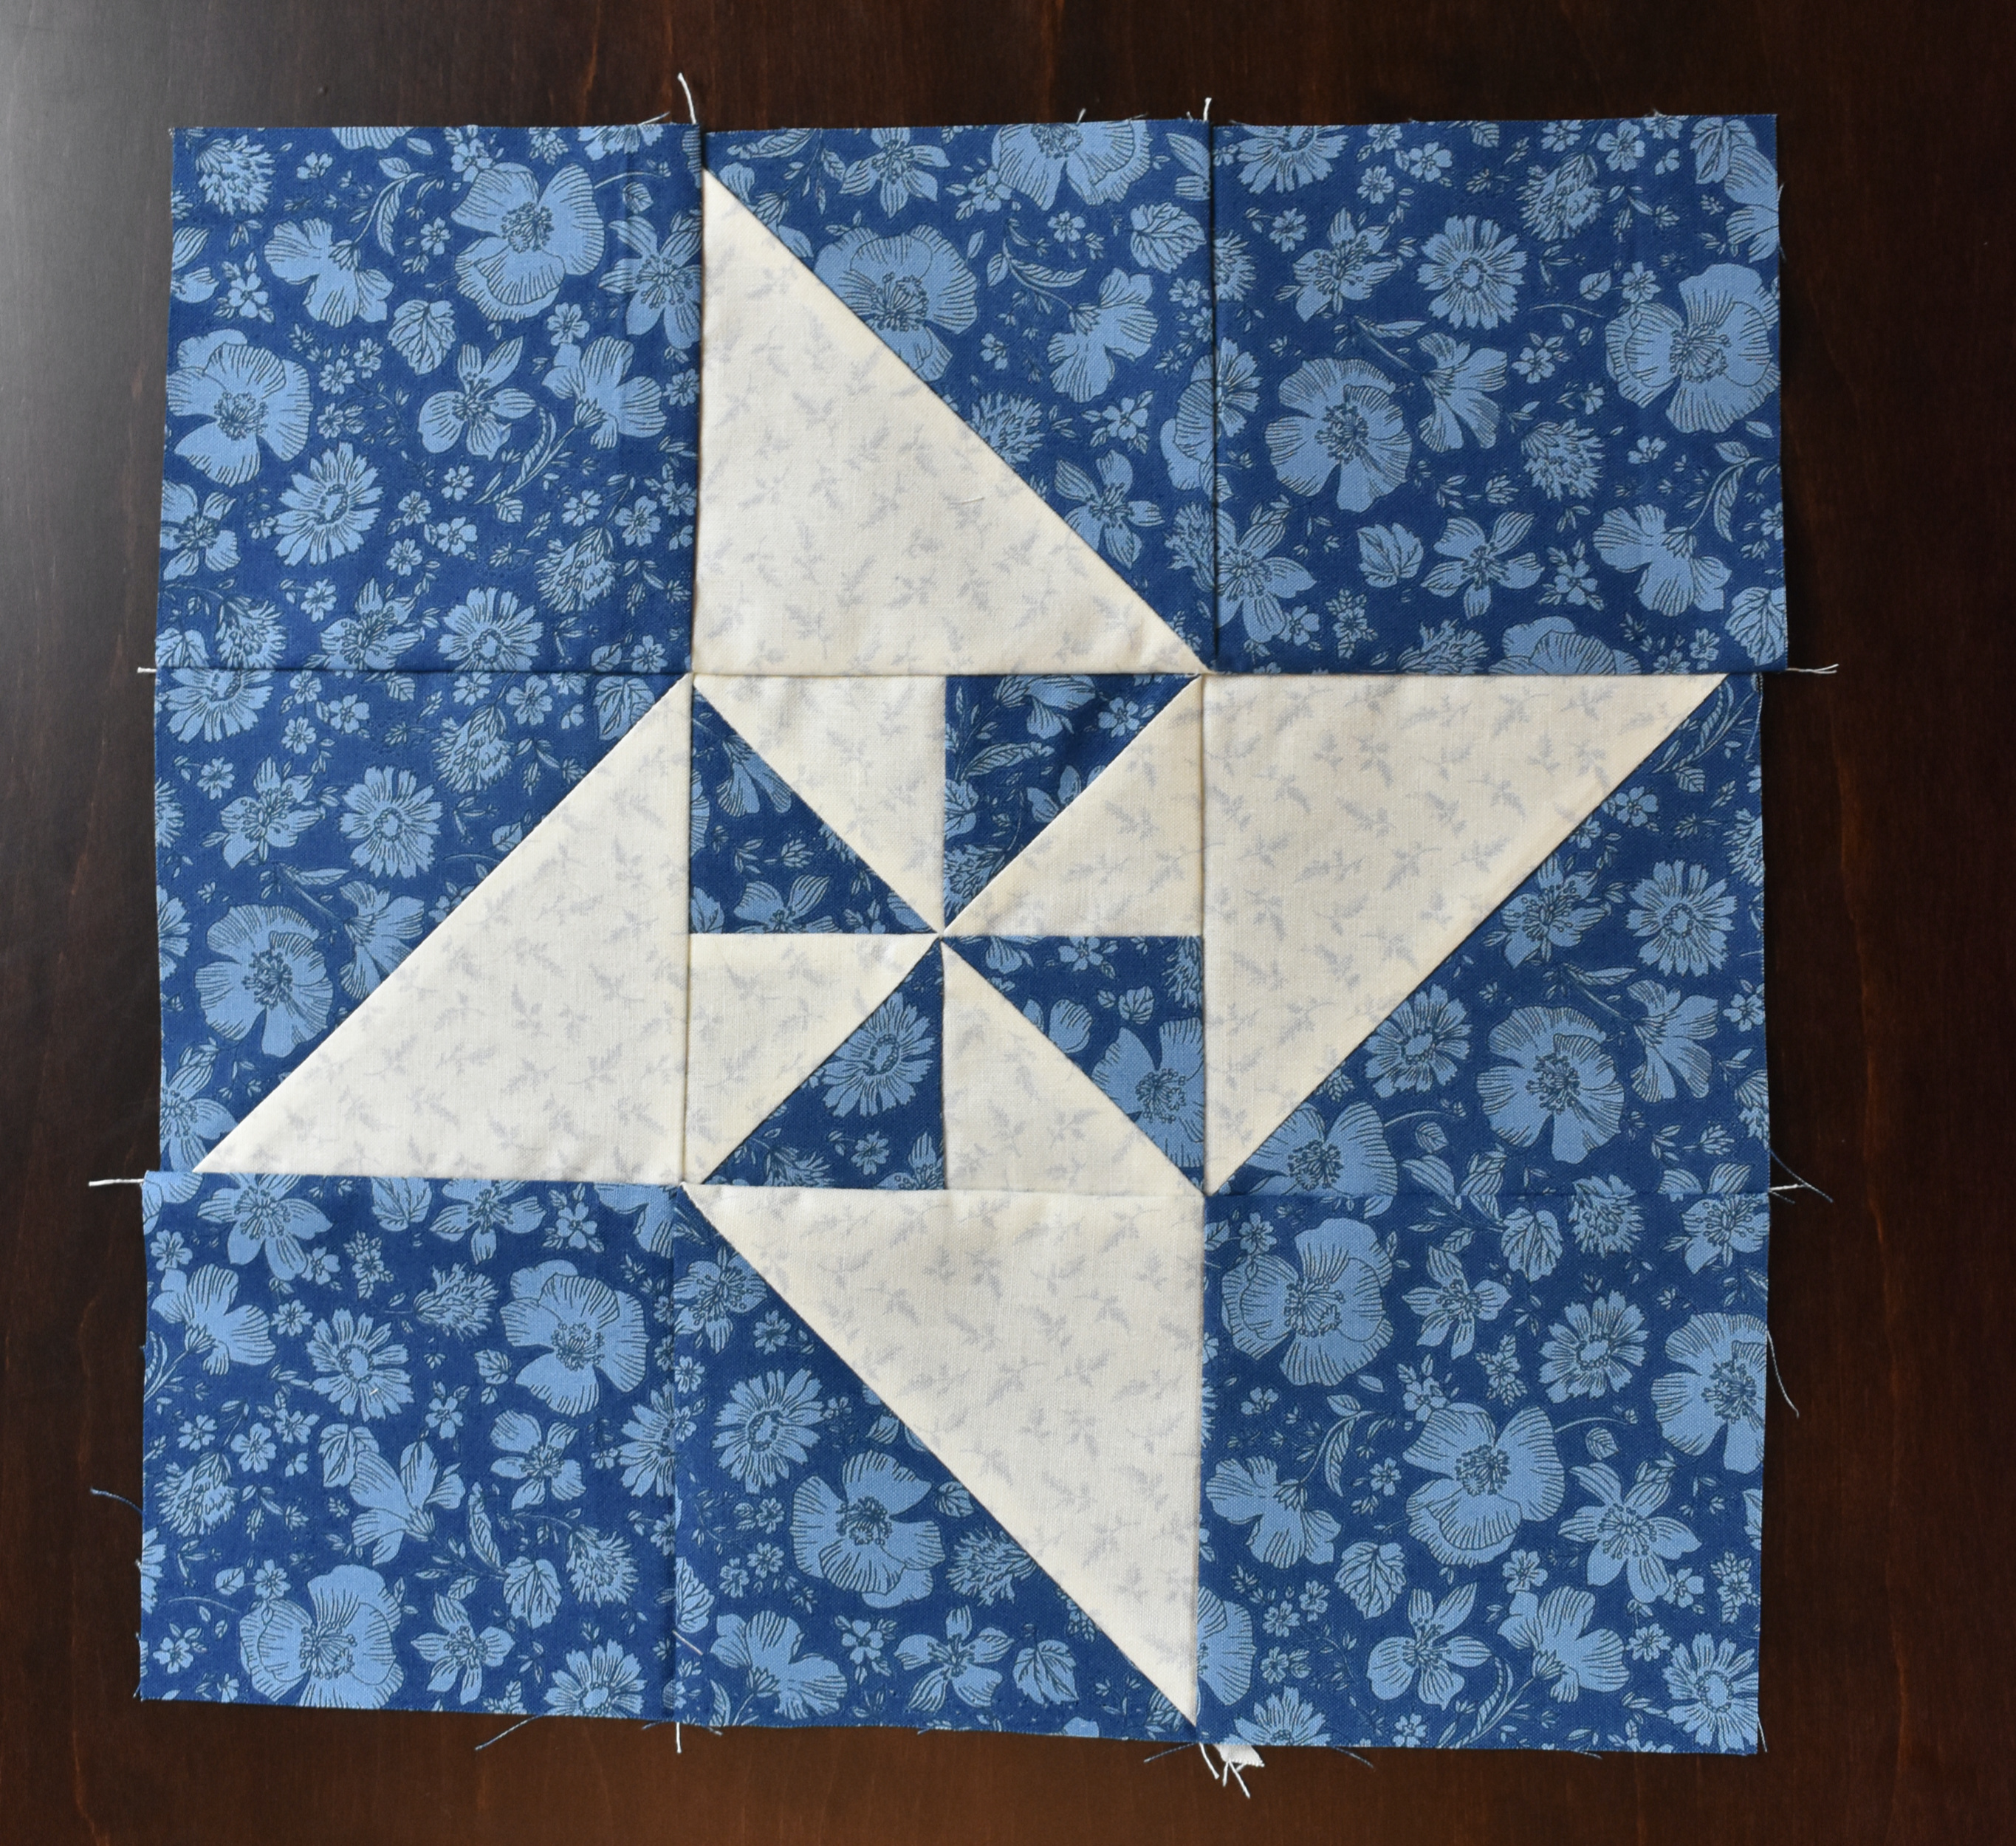
Here is how your center block should look after it is sewn together.
We will need to cut our center block down to size as well as our half square triangles.
Trim
Let’s start with our center block.
We will need to trim it down to 4.5″. So, I lined up my 2.25″ line on my ruler along the center of the square and trimmed each side.
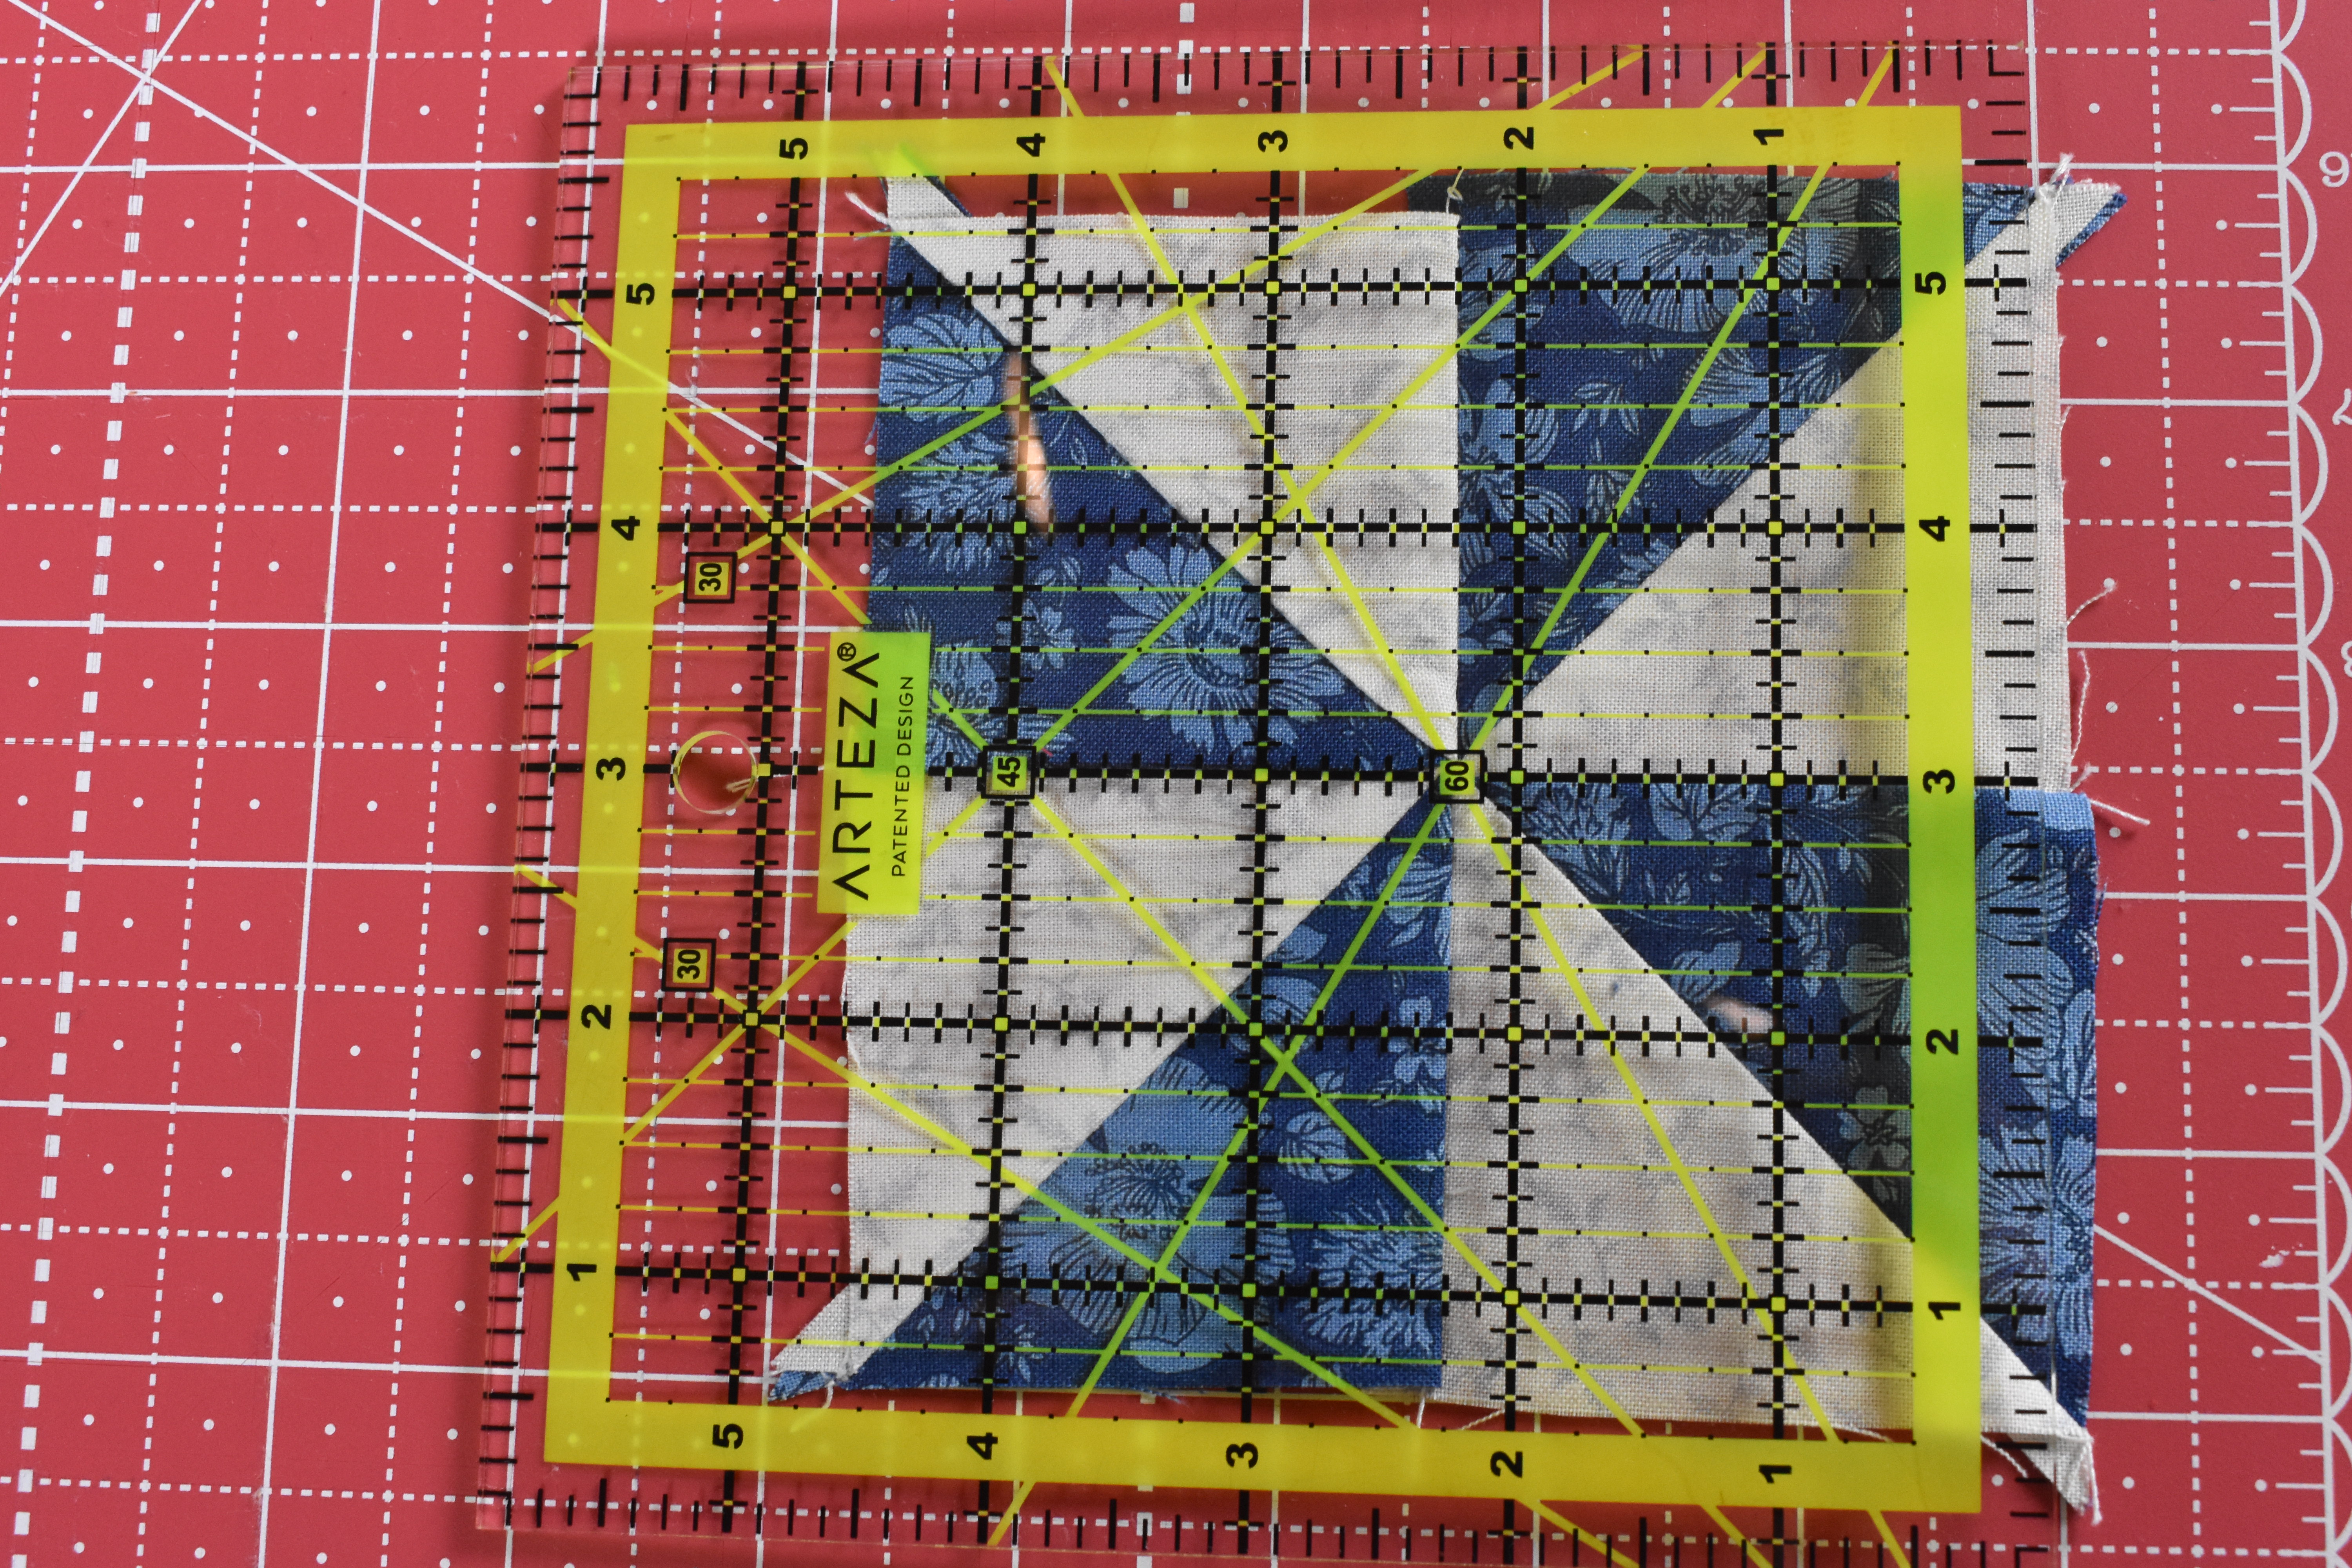
Make sure you trim along each side. If you try to take a short cut and trim off the excess on only two sides your point where all the triangles meet won’t be in the center of your square.
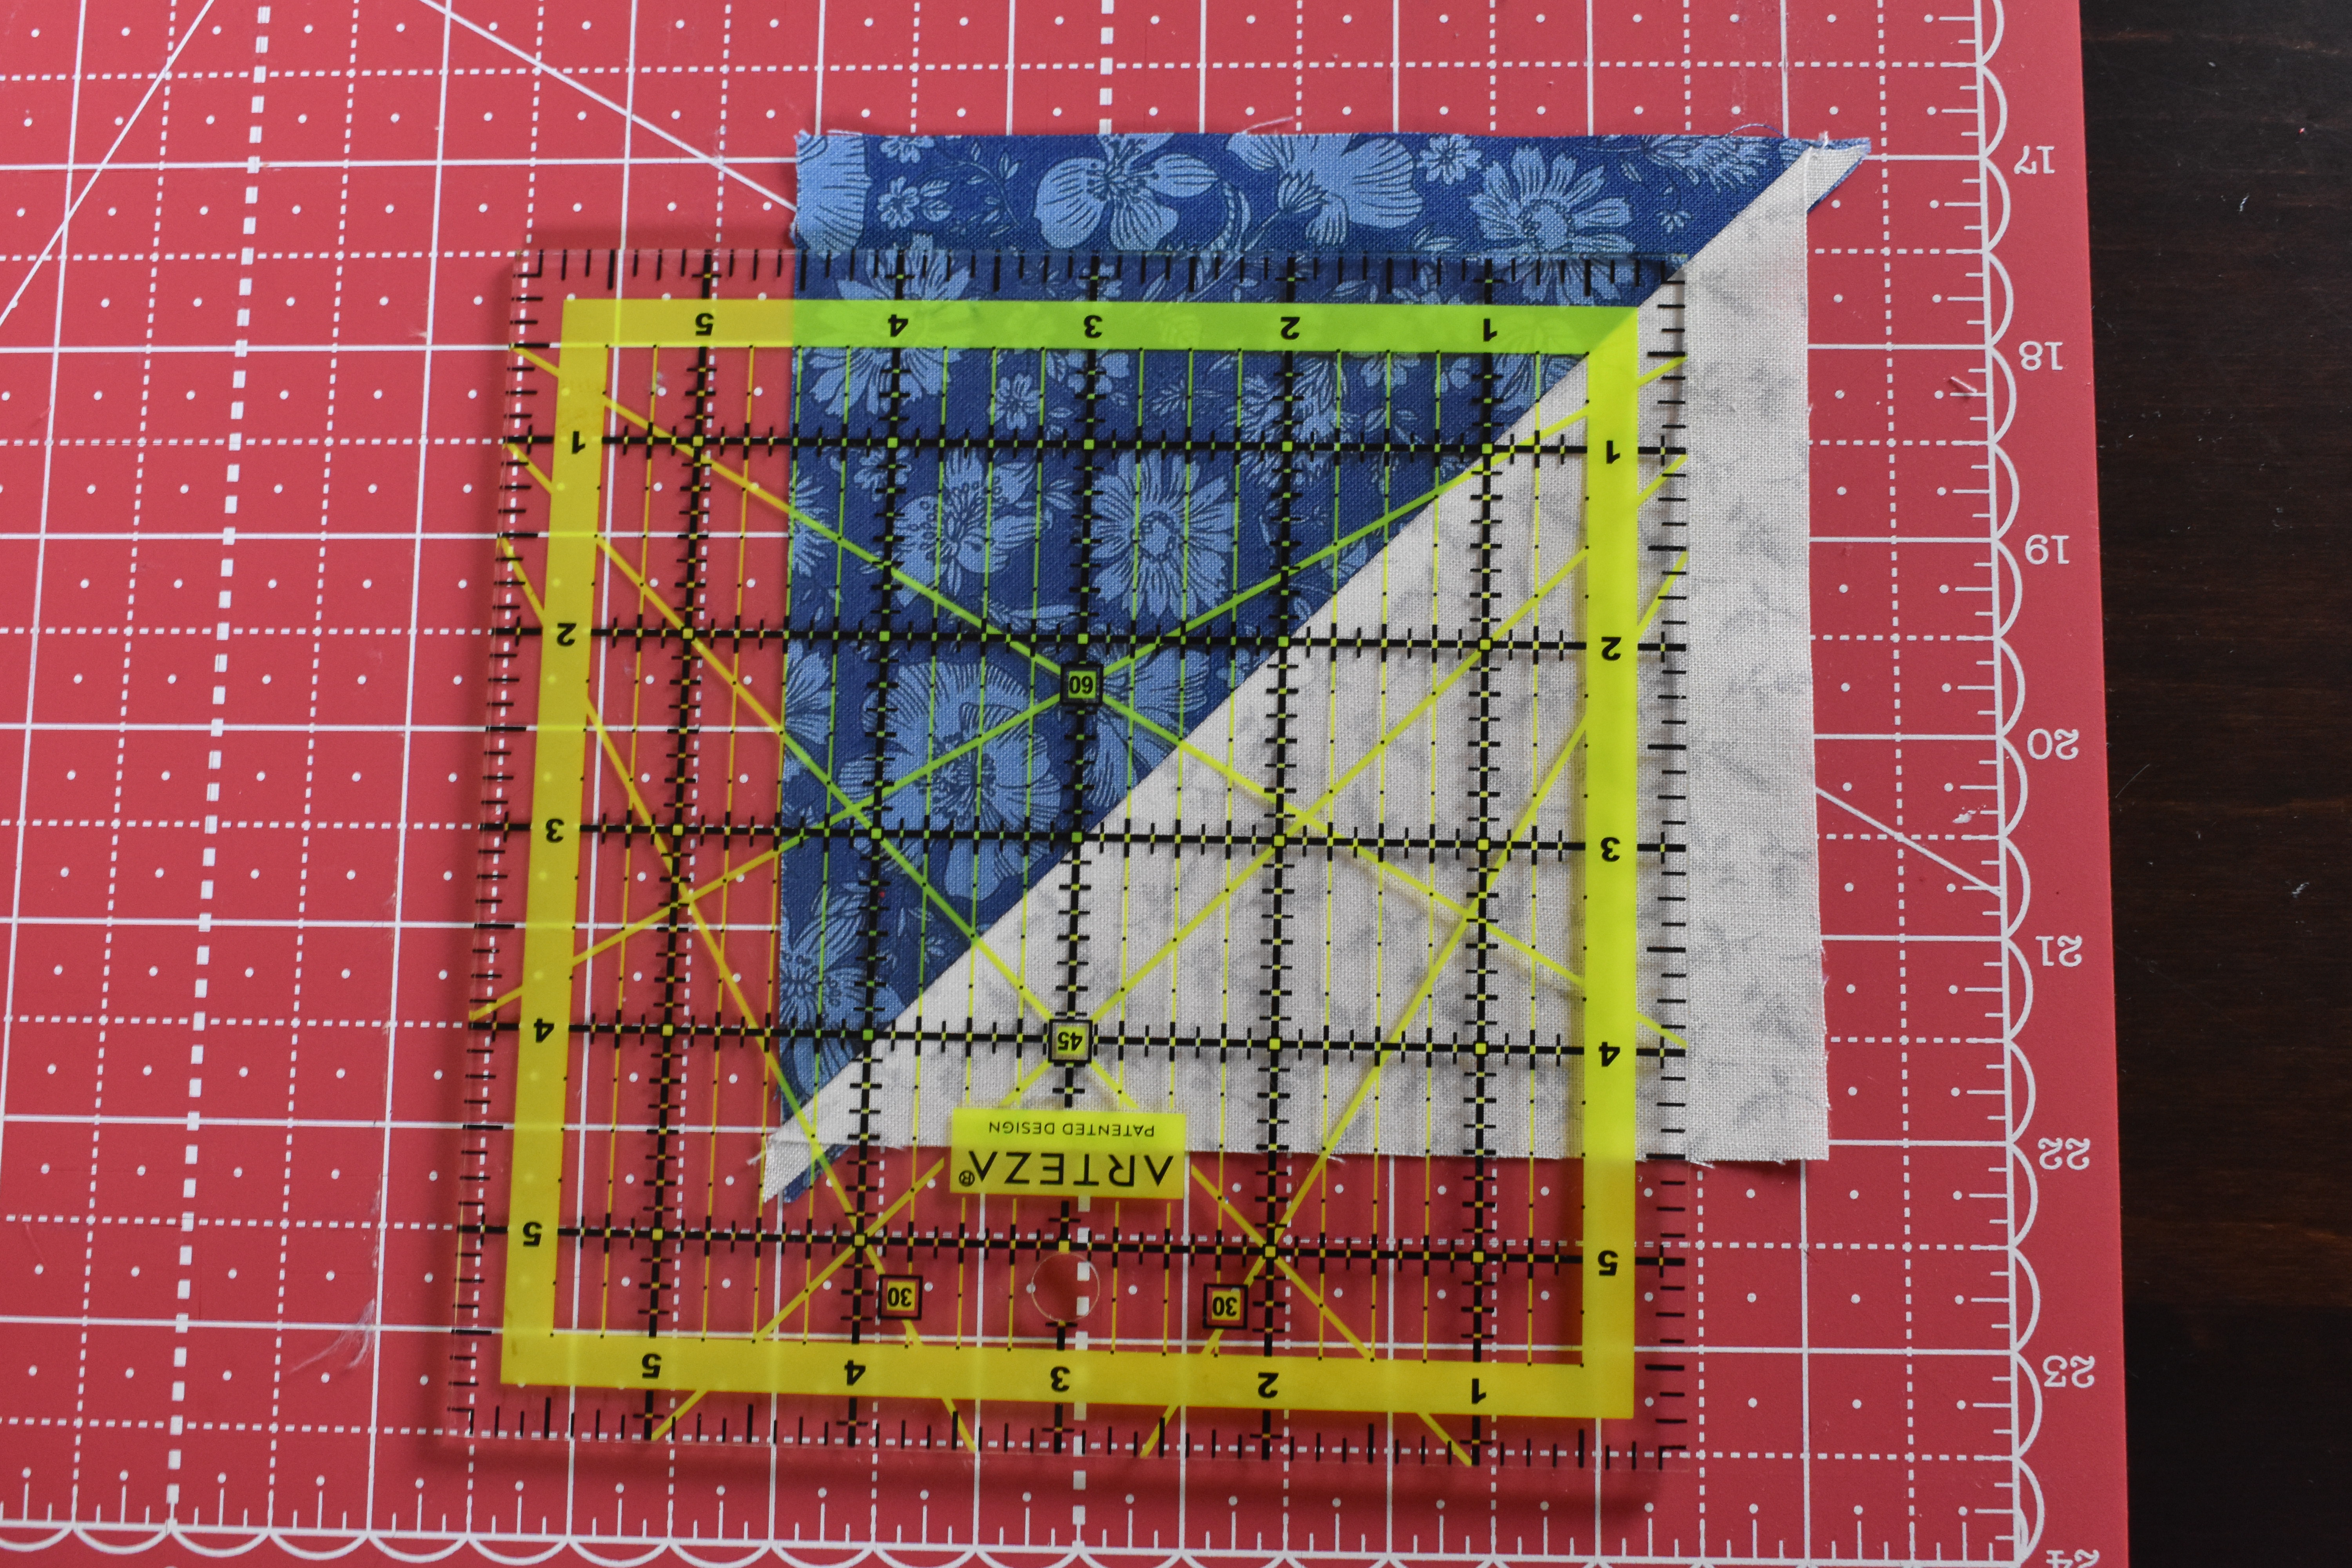
Alright, now let’s trim the half square triangles.
I lined up two sides of my square at the 4.5″ mark on my ruler then trimmed off the excess. When trimming make sure you are trimming off both the light fabric and the dark fabric. Line your ruler up as picture below!
I know someone who trimmed off only the dark fabric. Ok ok. It was me! Don’t be like me!
Organize and sew
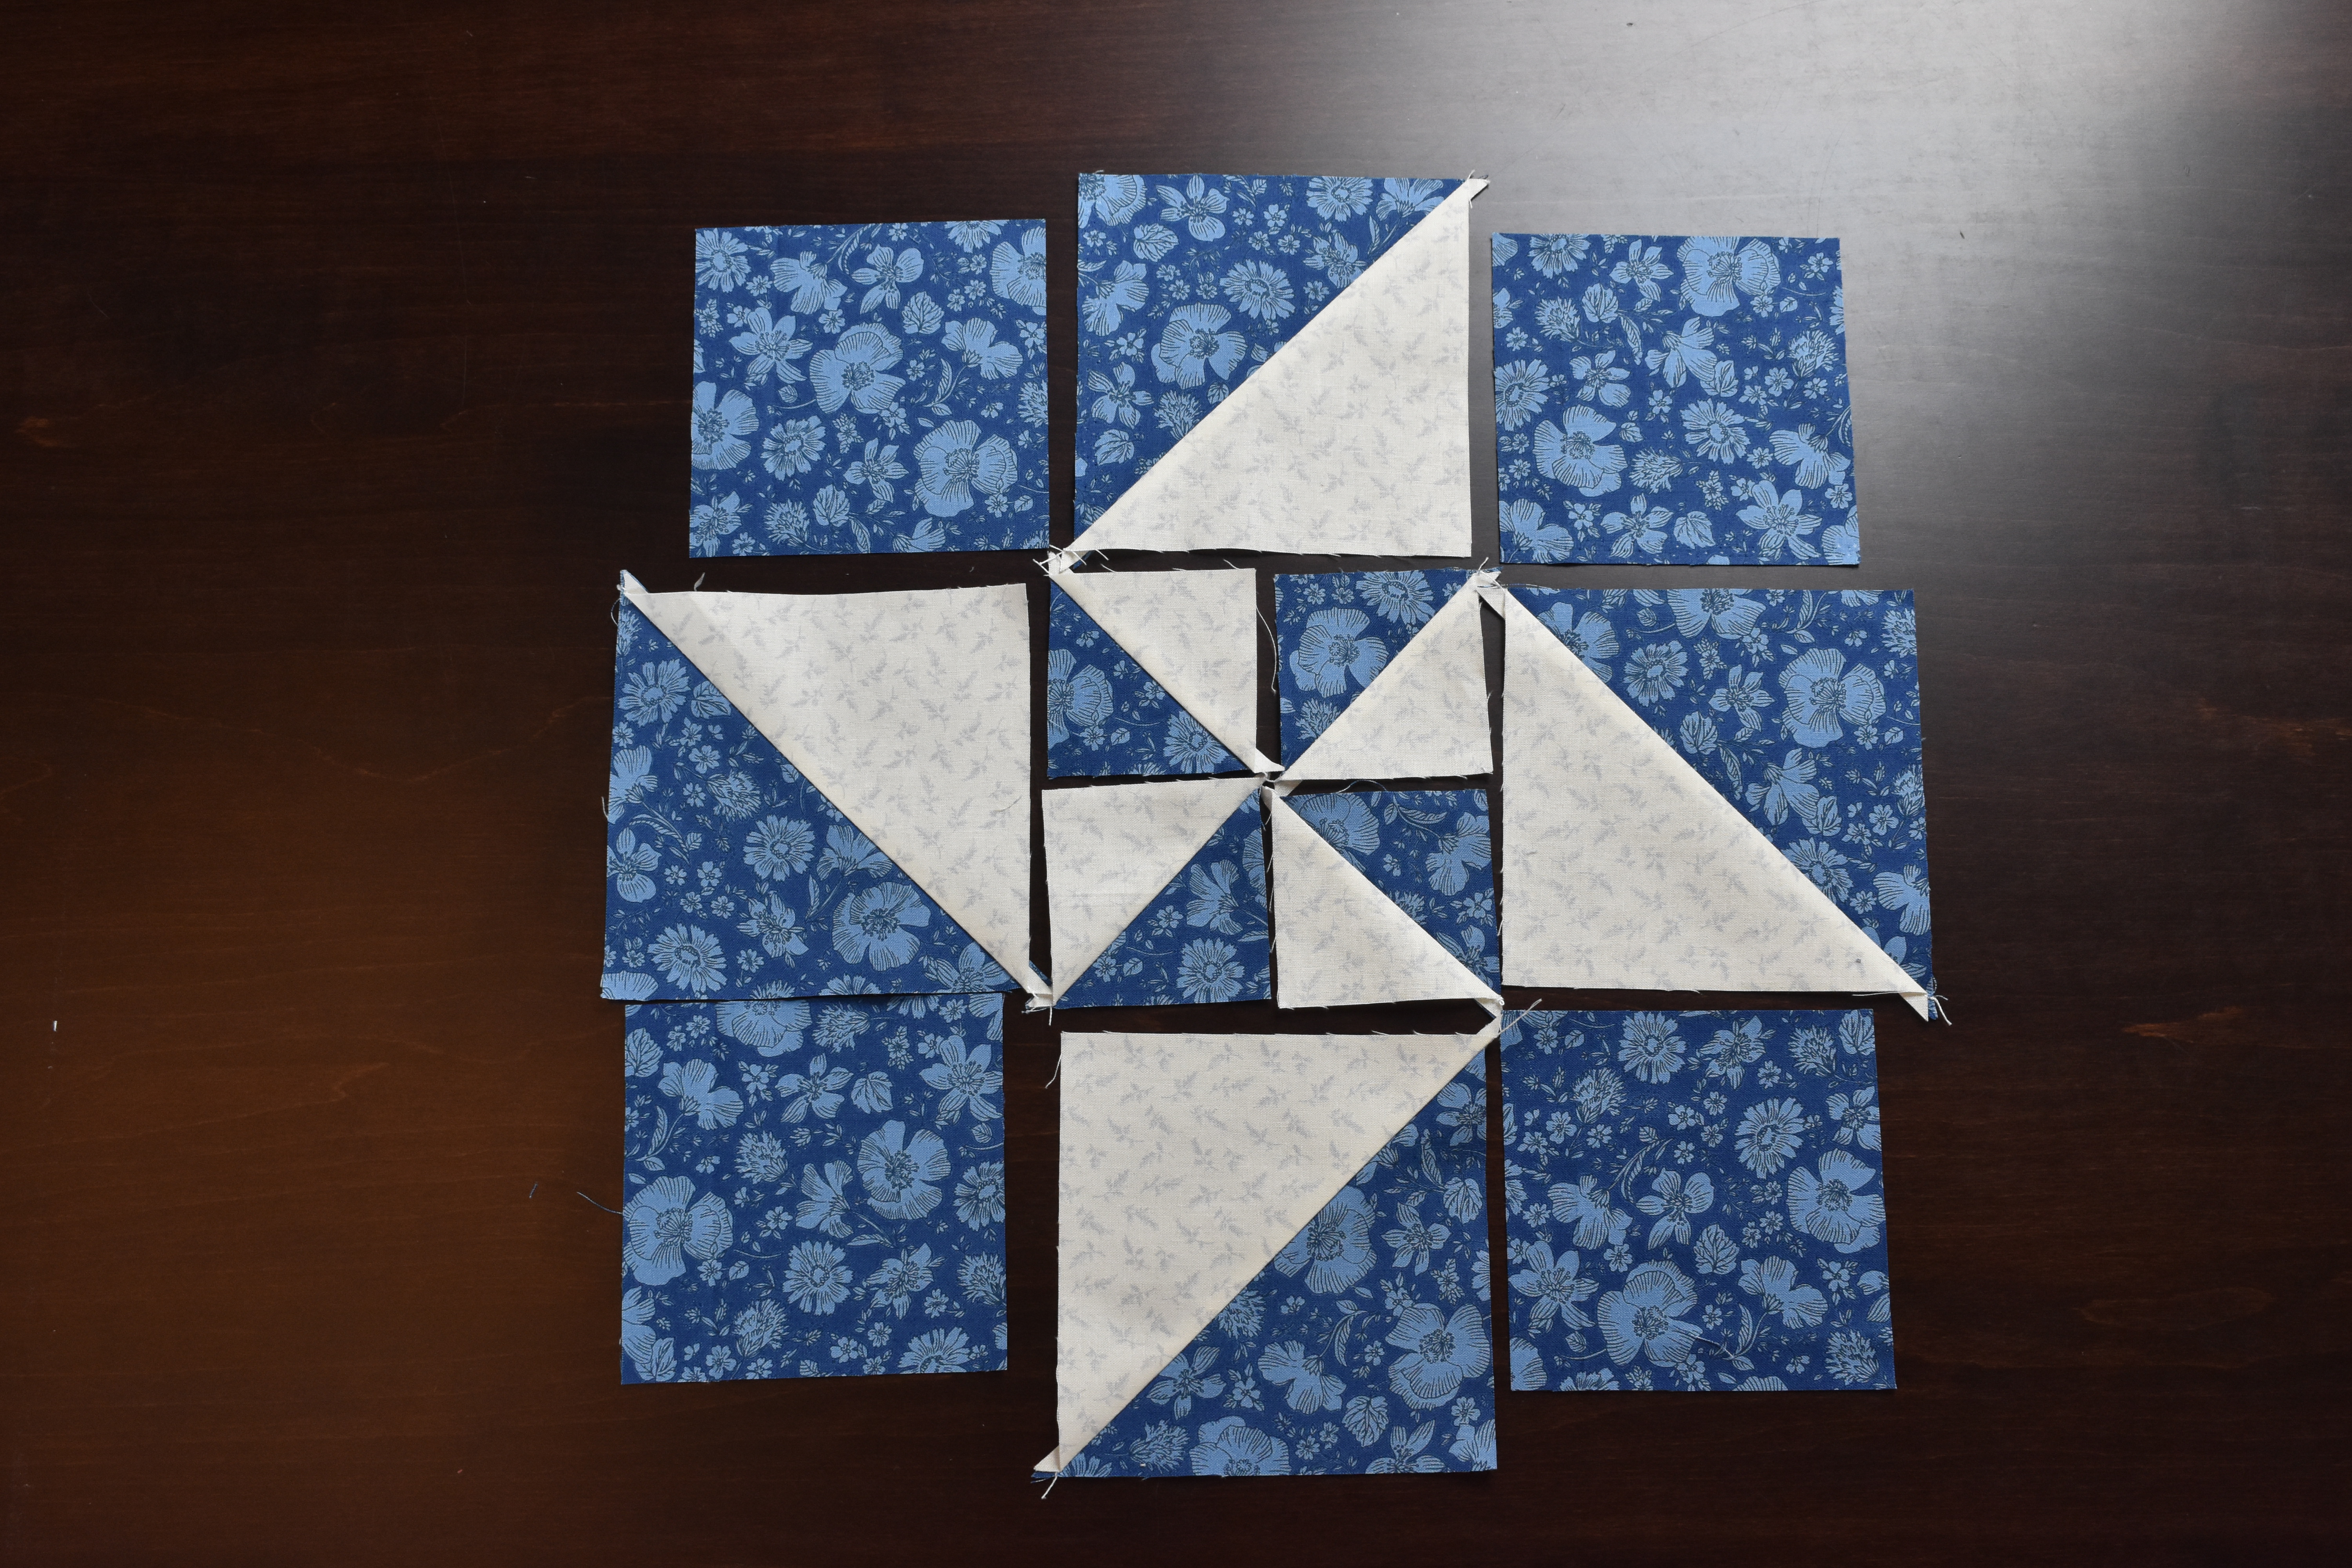
Now that all 4 of your half square triangles and your center block is trimmed down to size lay everything out again.

You will see everything finally fits nicely!
First we will sew together rows and then press our seams. To nest the seams I press my top and bottom rows seams to the left and the middle rows seams to the right.
Sew all three rows together and press the seams!
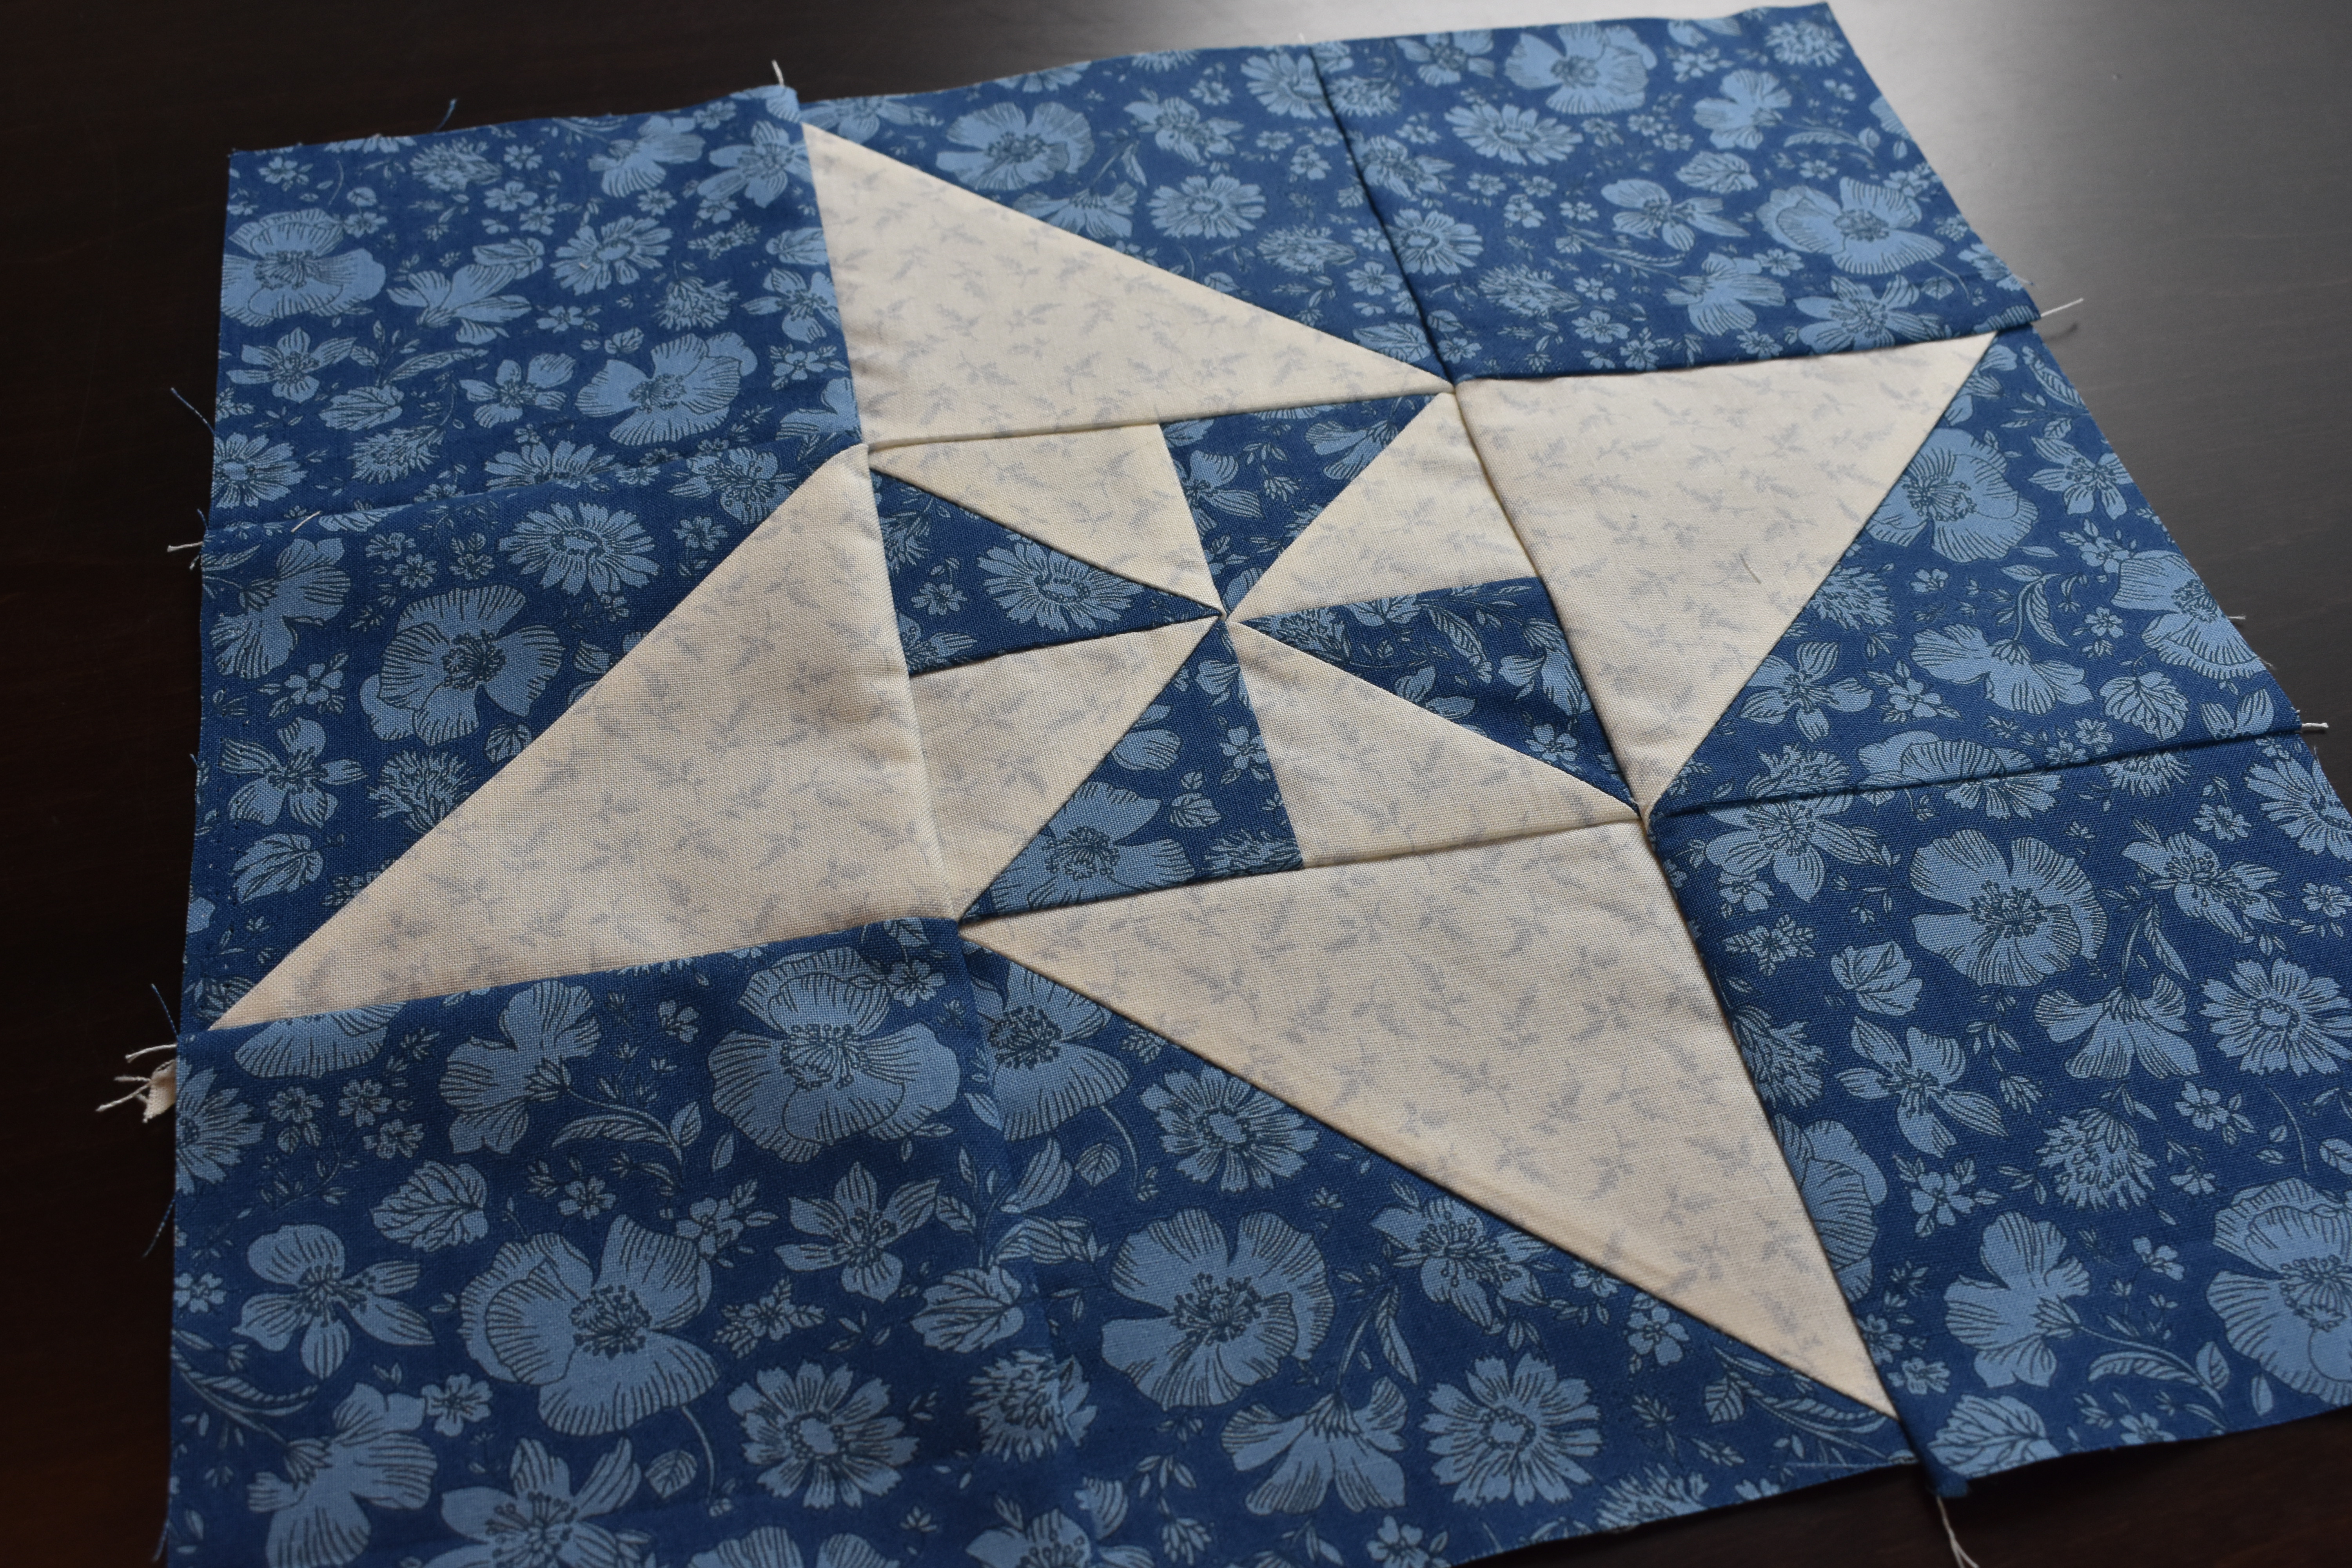
Finished!
your final block will measure about 12.5″
I hope you have fun making this block!
Be sure to subscribe to my blog so you get each block this week!
Bye for now!

2 responses to “Turning Pinwheel”
Click the following link if you would like to share photos of any of the blocks you create!
LikeLike
another cute block…your instructions are very clear!
LikeLike