

I hope this post finds you all well.
I am personally trying to find a shift in the way I feel right now. It is so easy to look at the news, social media, or even talk on the phone with someone and find yourself fall into a funk. There is so much negativity going around right now. And while I completely understand it… I just want no part of it. I am trying to savor the small things. Focus on the positives. It can be hard. But I am trying.
I have found myself doing a lot of bread baking between homeschool sessions and sewing projects. I used to bake a lot. In fact, I used to make most of our food from scratch. Homemade crackers were some of my kids favorite treats. I canned jam! That was so much fun! When we moved from Michigan to Texas I kind of fell away from all of that. We were in a corporate housing situation for awhile and since I didn’t have any of my cooking gear we relied on quick meals. This slowing down season we are in right now might hopefully get me back on track with creating intentional meals.
Pictures is a Rosemary Focaccia bread I made a few days ago. I studded it with roasted garlic. It was so delicious! Nice and airy. Not one bite of it was diet friendly and I savored every one of those calorie filled bites!


Alright. Perhaps I rambled enough. Let’s get to quilting!
Sometimes, when quilting, you will come across blocks in patterns where there seems to be a lot of waste. I hate waste. So I try to find ways I can repurpose at least some of it. So, after we complete this block I will show you a few ideas I came up with to utilize some of the scraps you will cut off.
What you need
For one quilt block you will want at least 3 different fabrics. We will be cutting 2.5″ strips so fabric from a jelly roll will work well here and allow for faster piecing.
Here is the fabric I am using.

Cutting
To make just one block you won’t need to cut a lot of strips from each piece of fabric. Cut 2.5″ strips then cut them into 13″ long strips. You will cut 4 strips of each fabric if using 3 different fabrics. You will also need to cut 2 – 2.5″ squares from 2 of your fabrics then cut them in half, corner to corner to make triangles.

Organize and sew
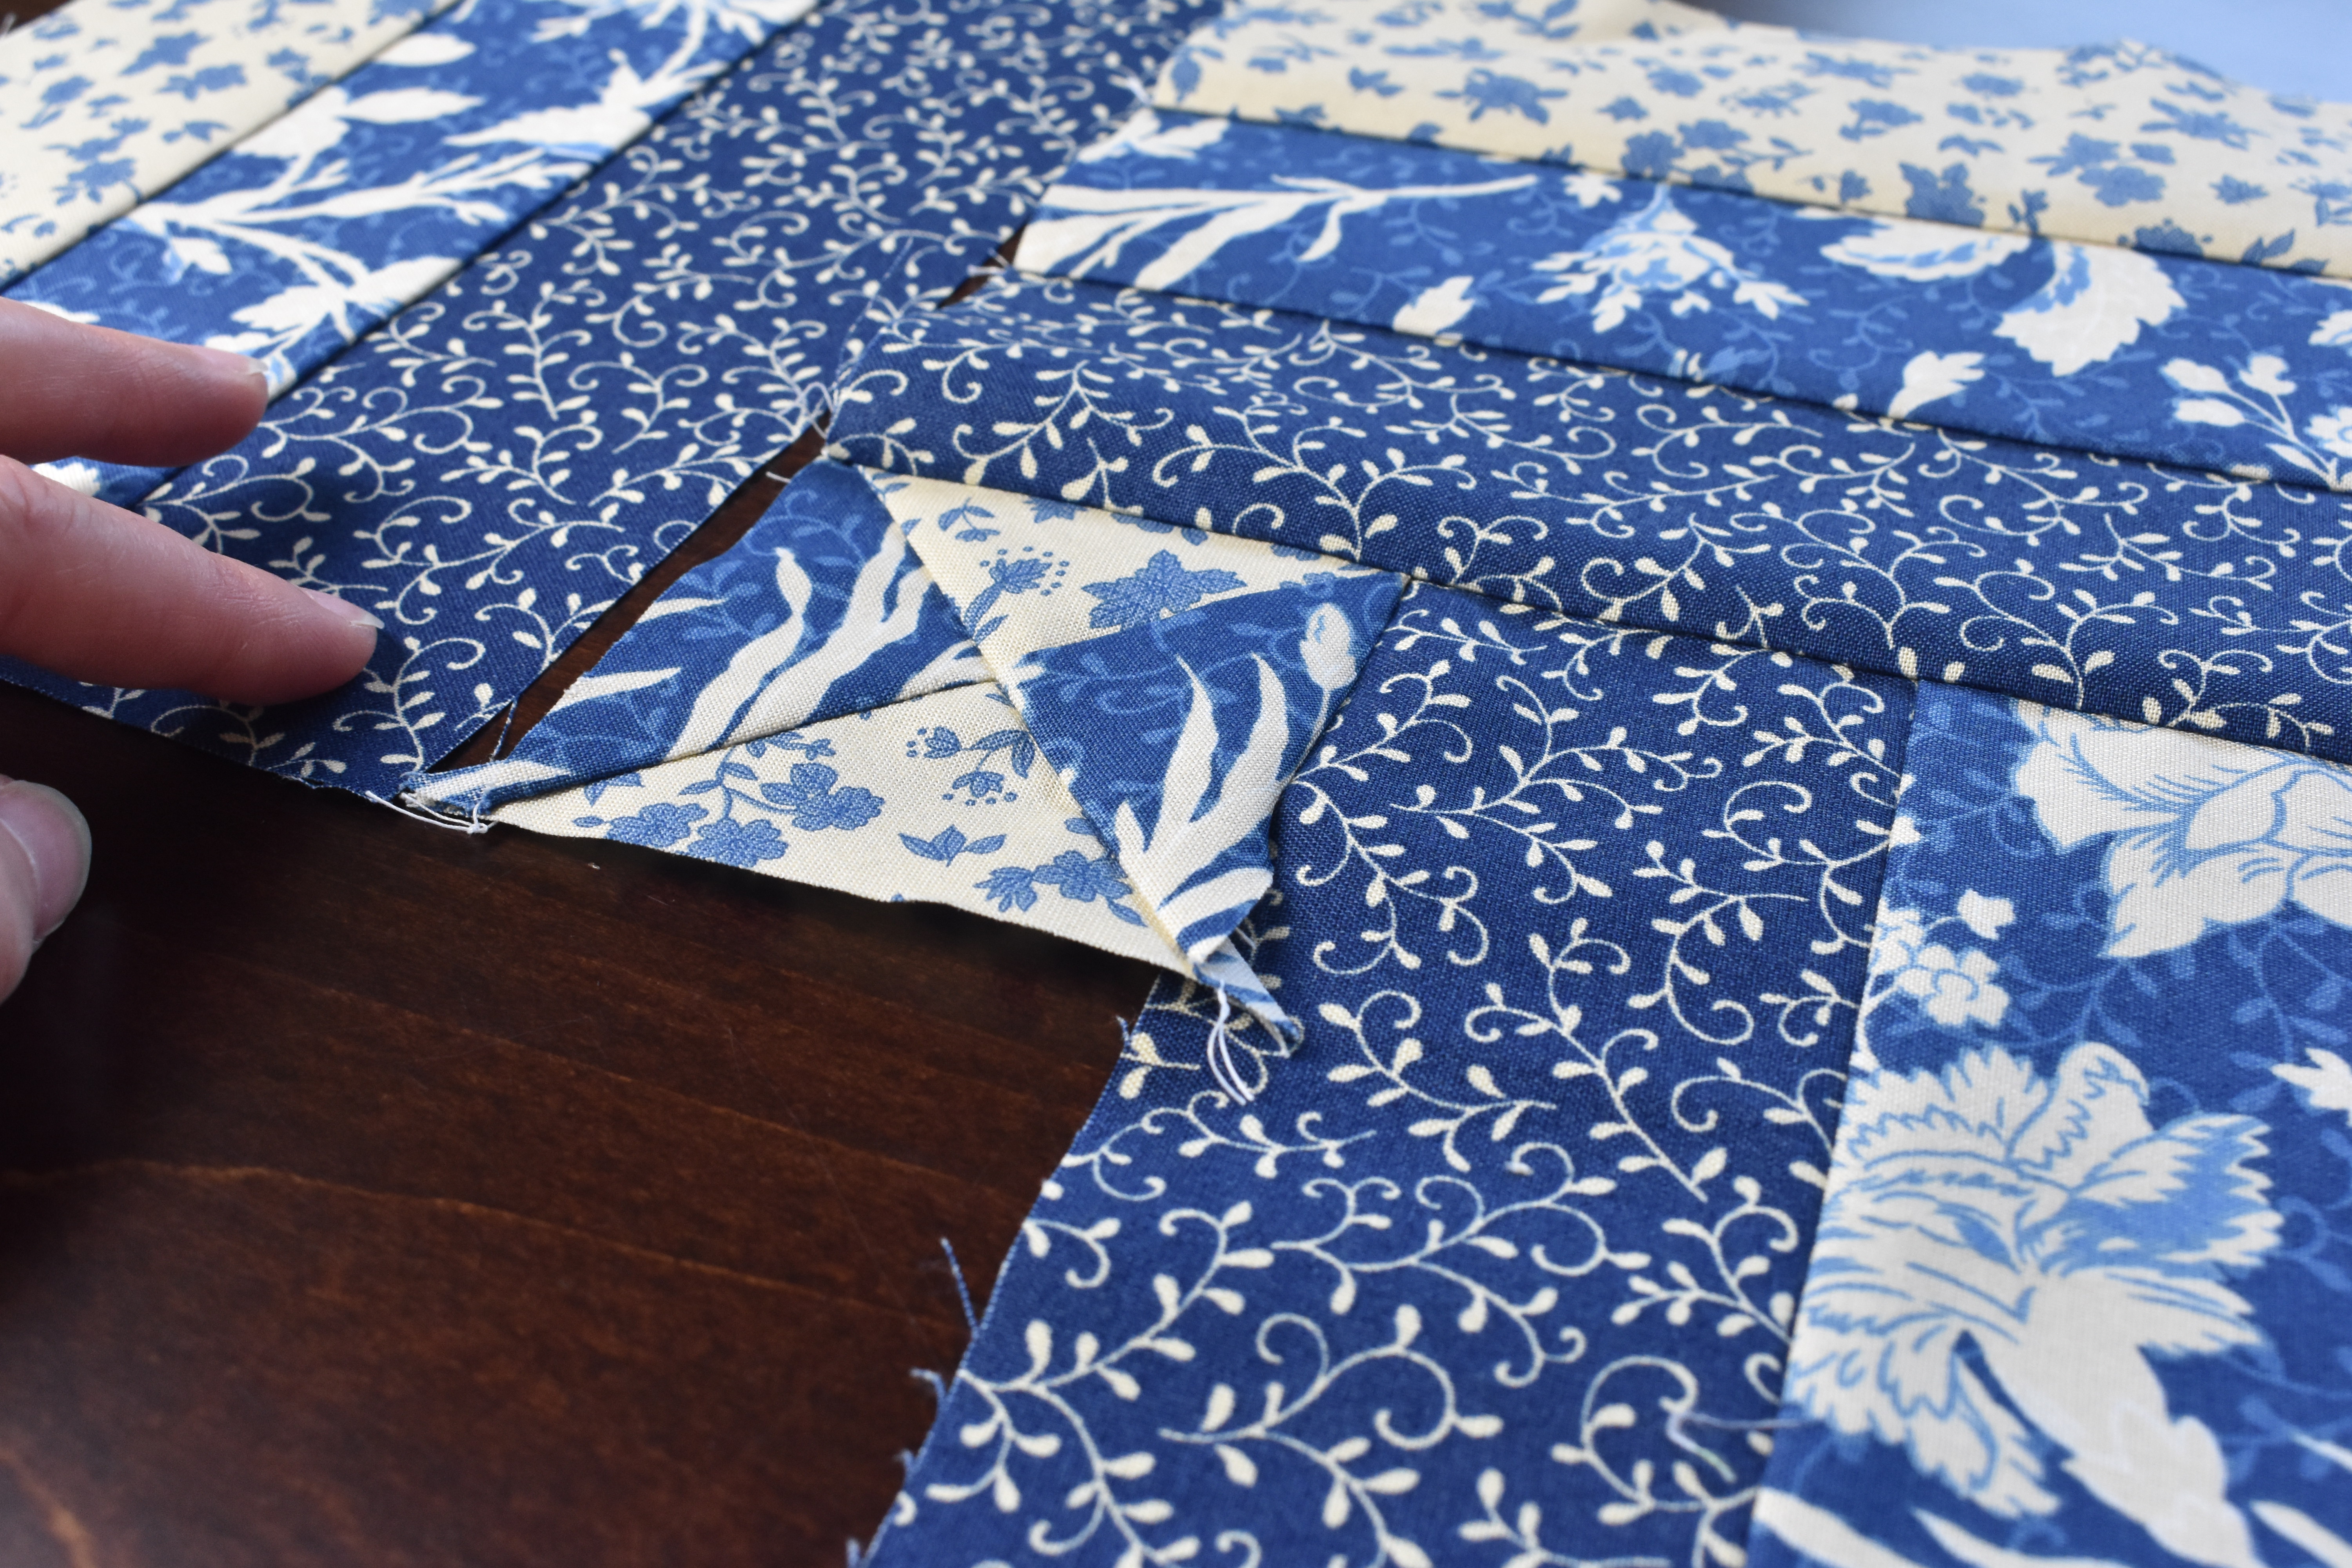
Lay out your strips, in a way that is pleasing to you, so that you sew them together in the correct order.
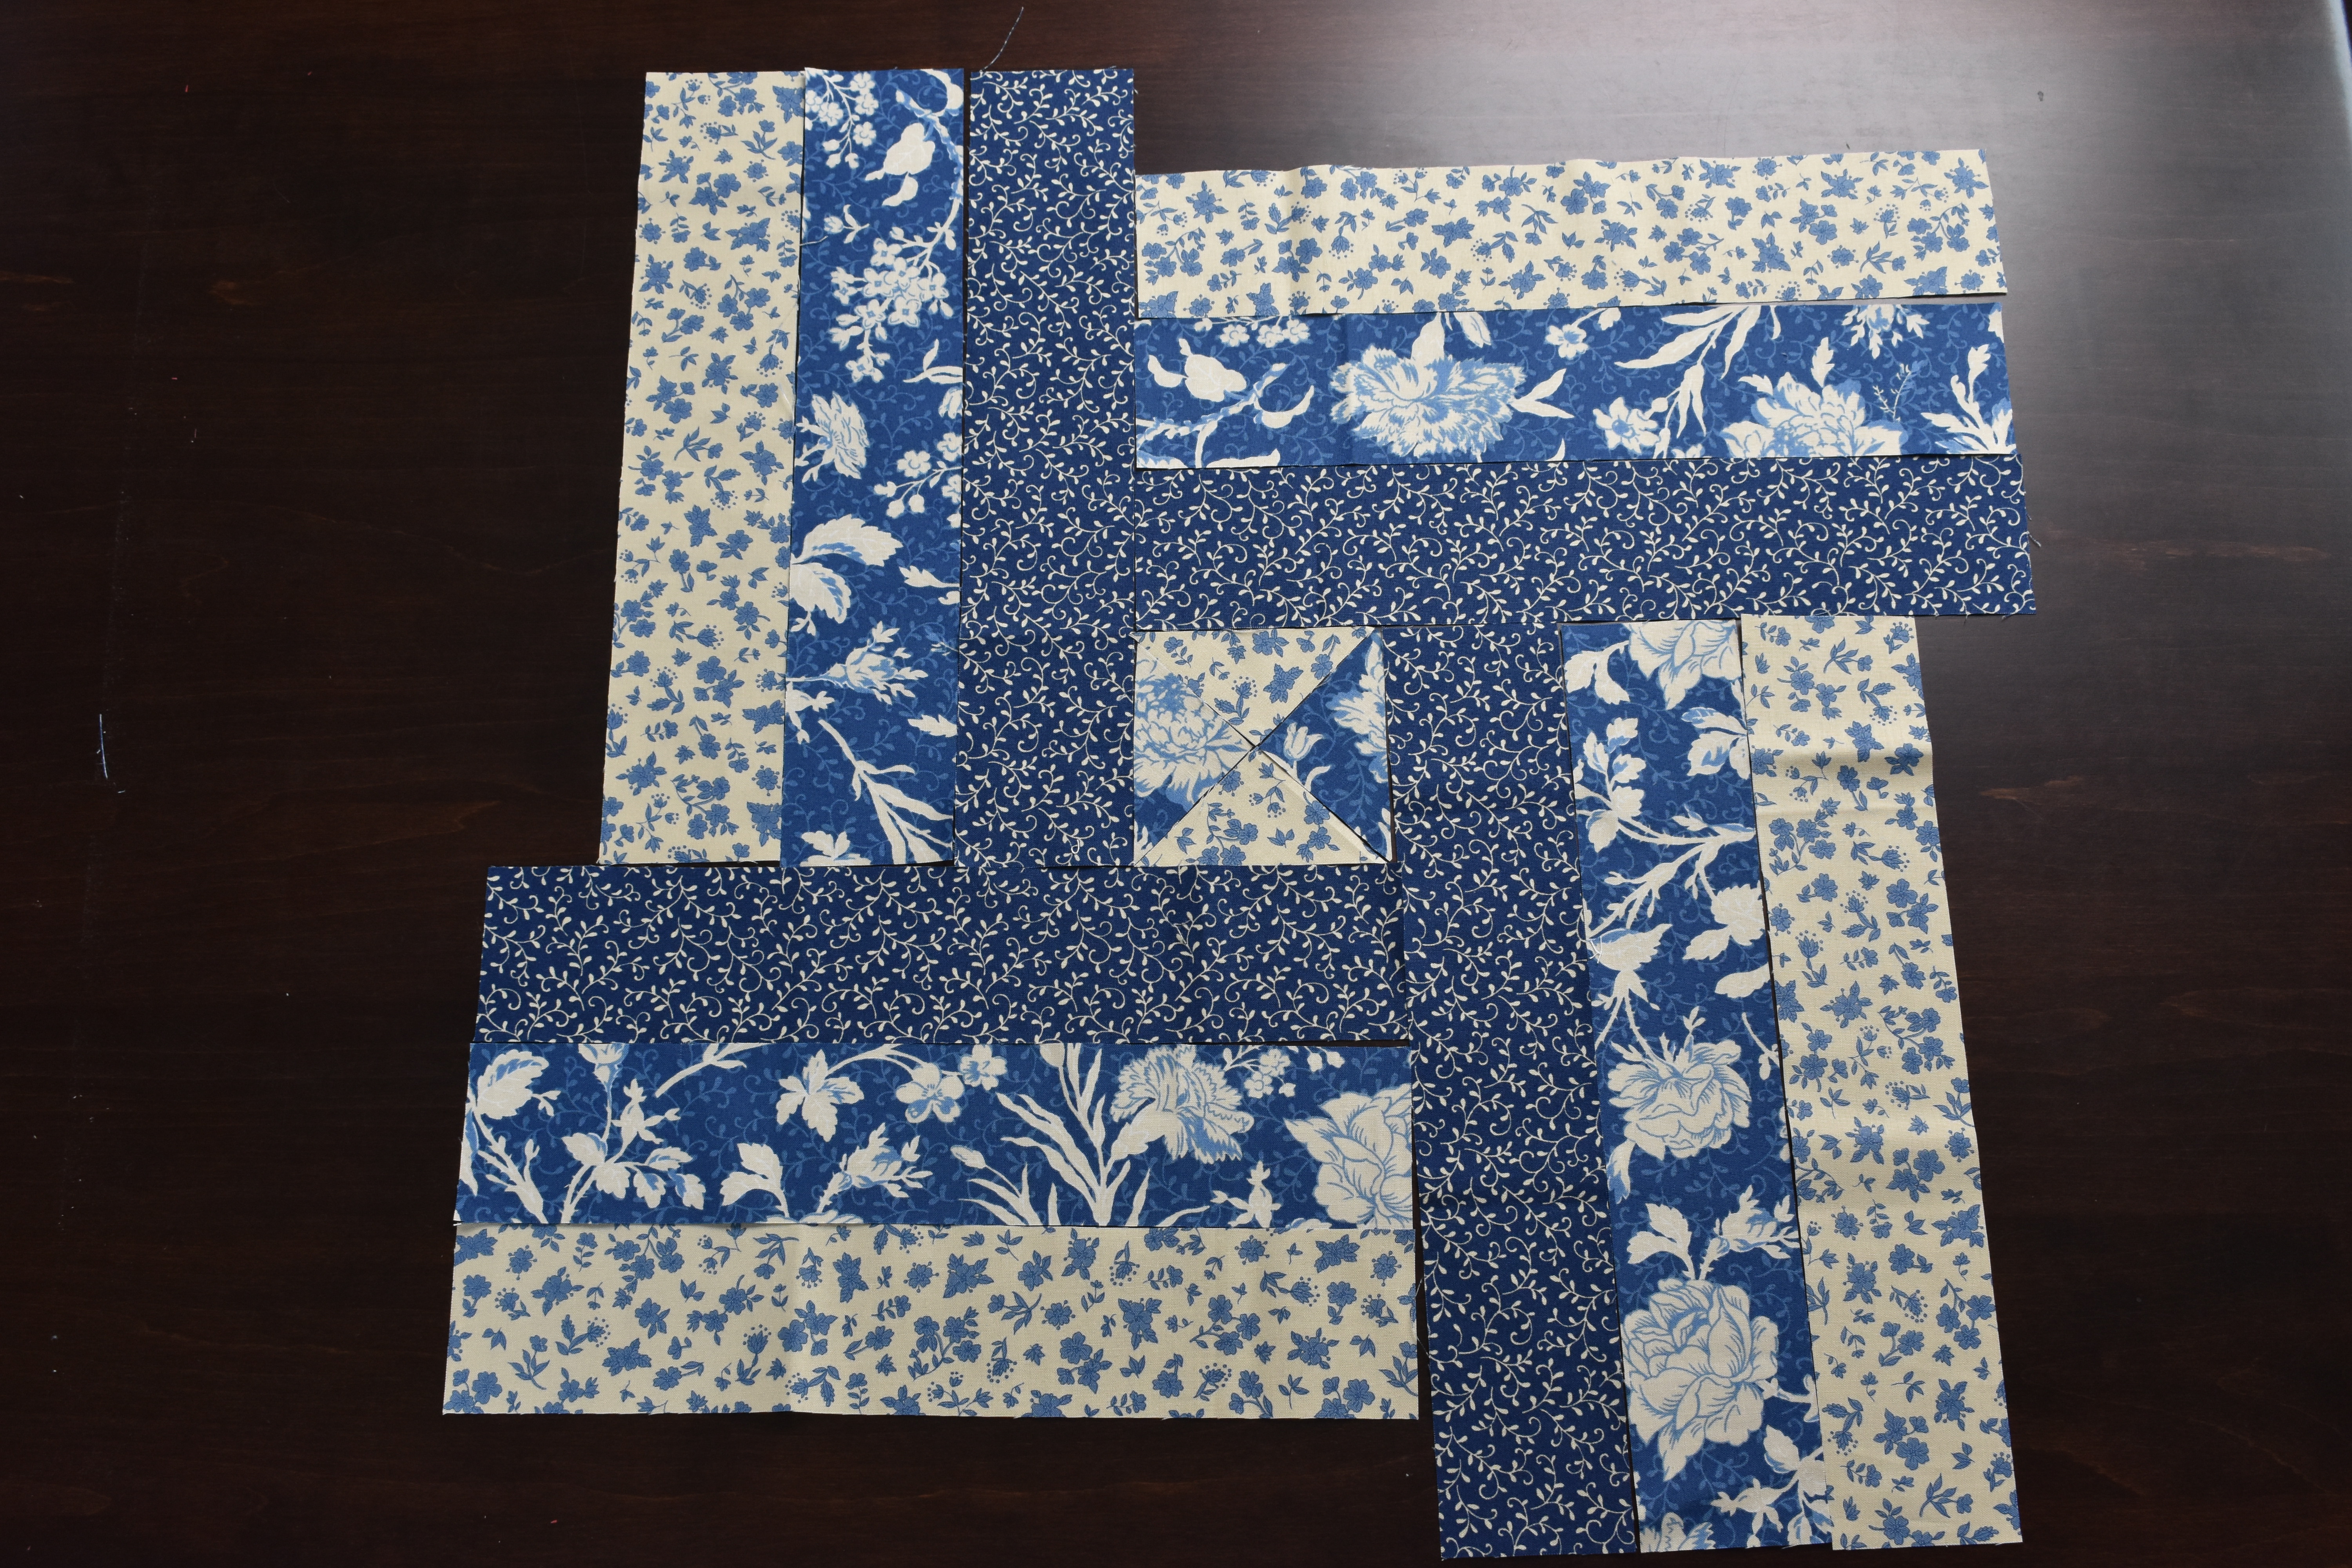
Here is the way I chose to organize my fabric.
Take a look at the image below.
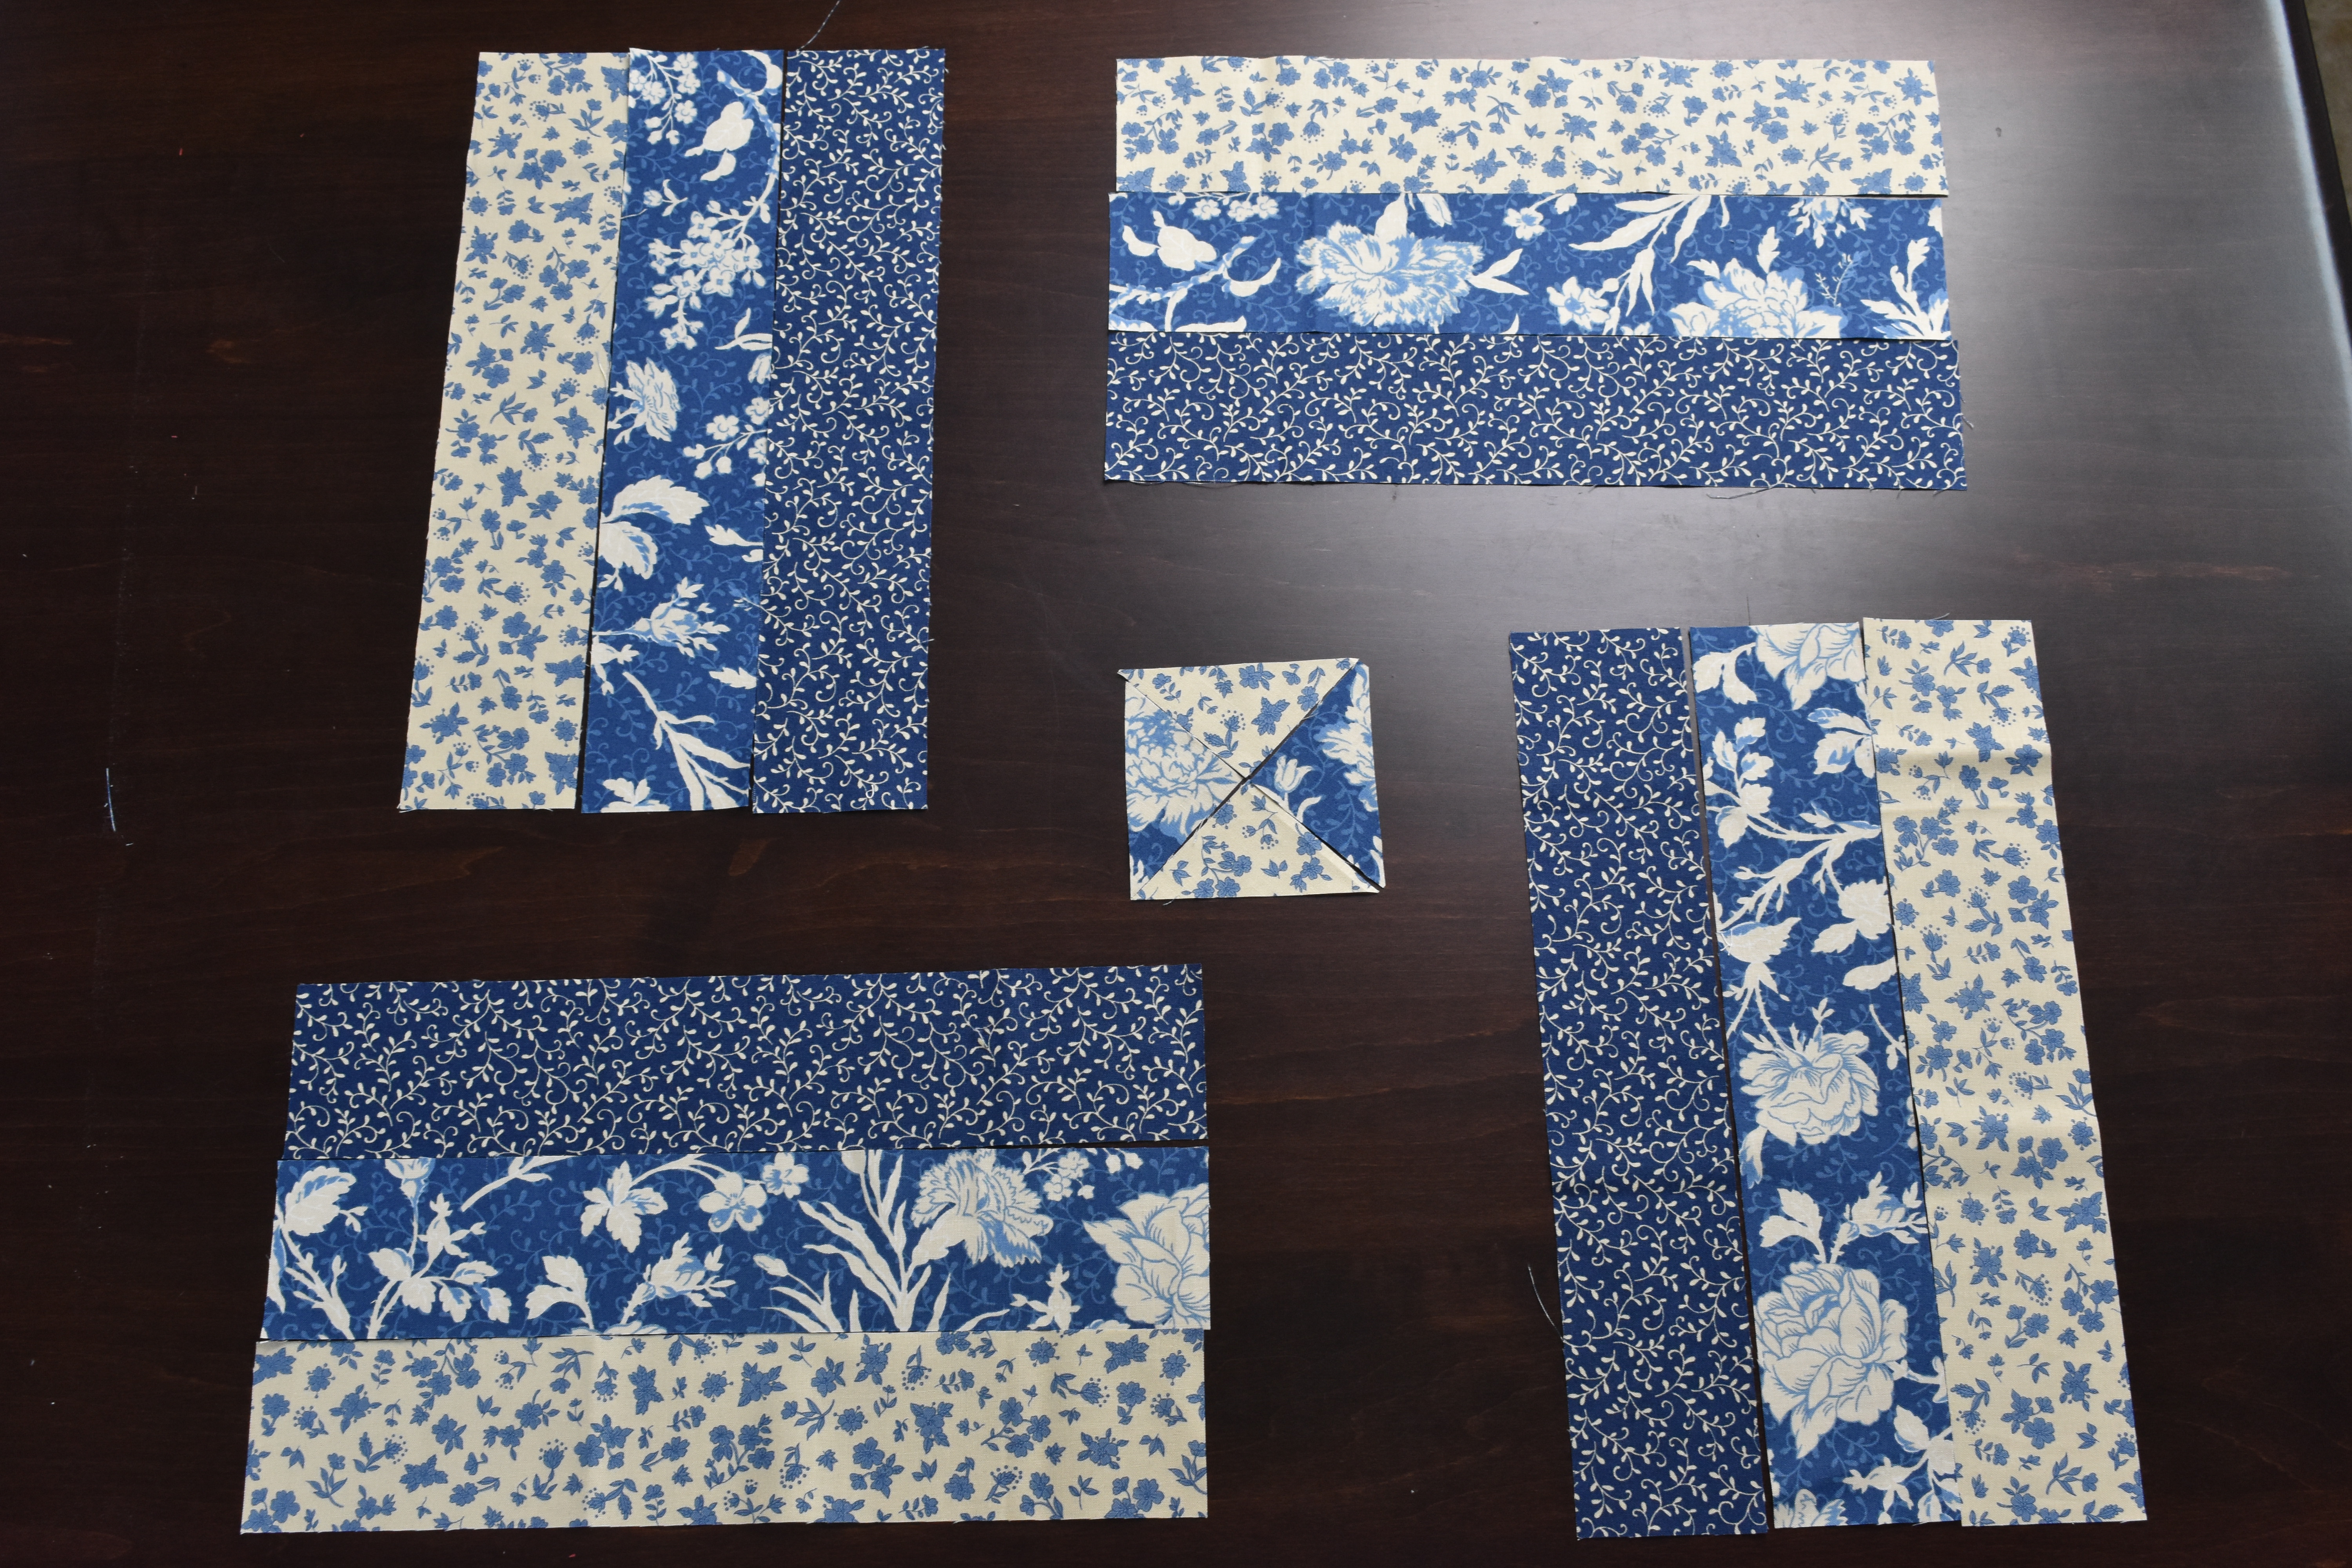
You will be sewing the three strips you see pictured together creating 4 rectangles. Then sew your 4 triangles together to create your square.
After you have finished sewing be sure to press your seams.
A little note
I decided I didn’t like the way one side of my middle medium toned square was darker that the other. It was due to where I cut my square on the fabric. So, I wanted to share that I cut a new piece!


I am so happy I took the time to cut a new square! I feel like it ensured my middle square was much more balanced! Don’t be afraid to fussy cut your fabric when needed!
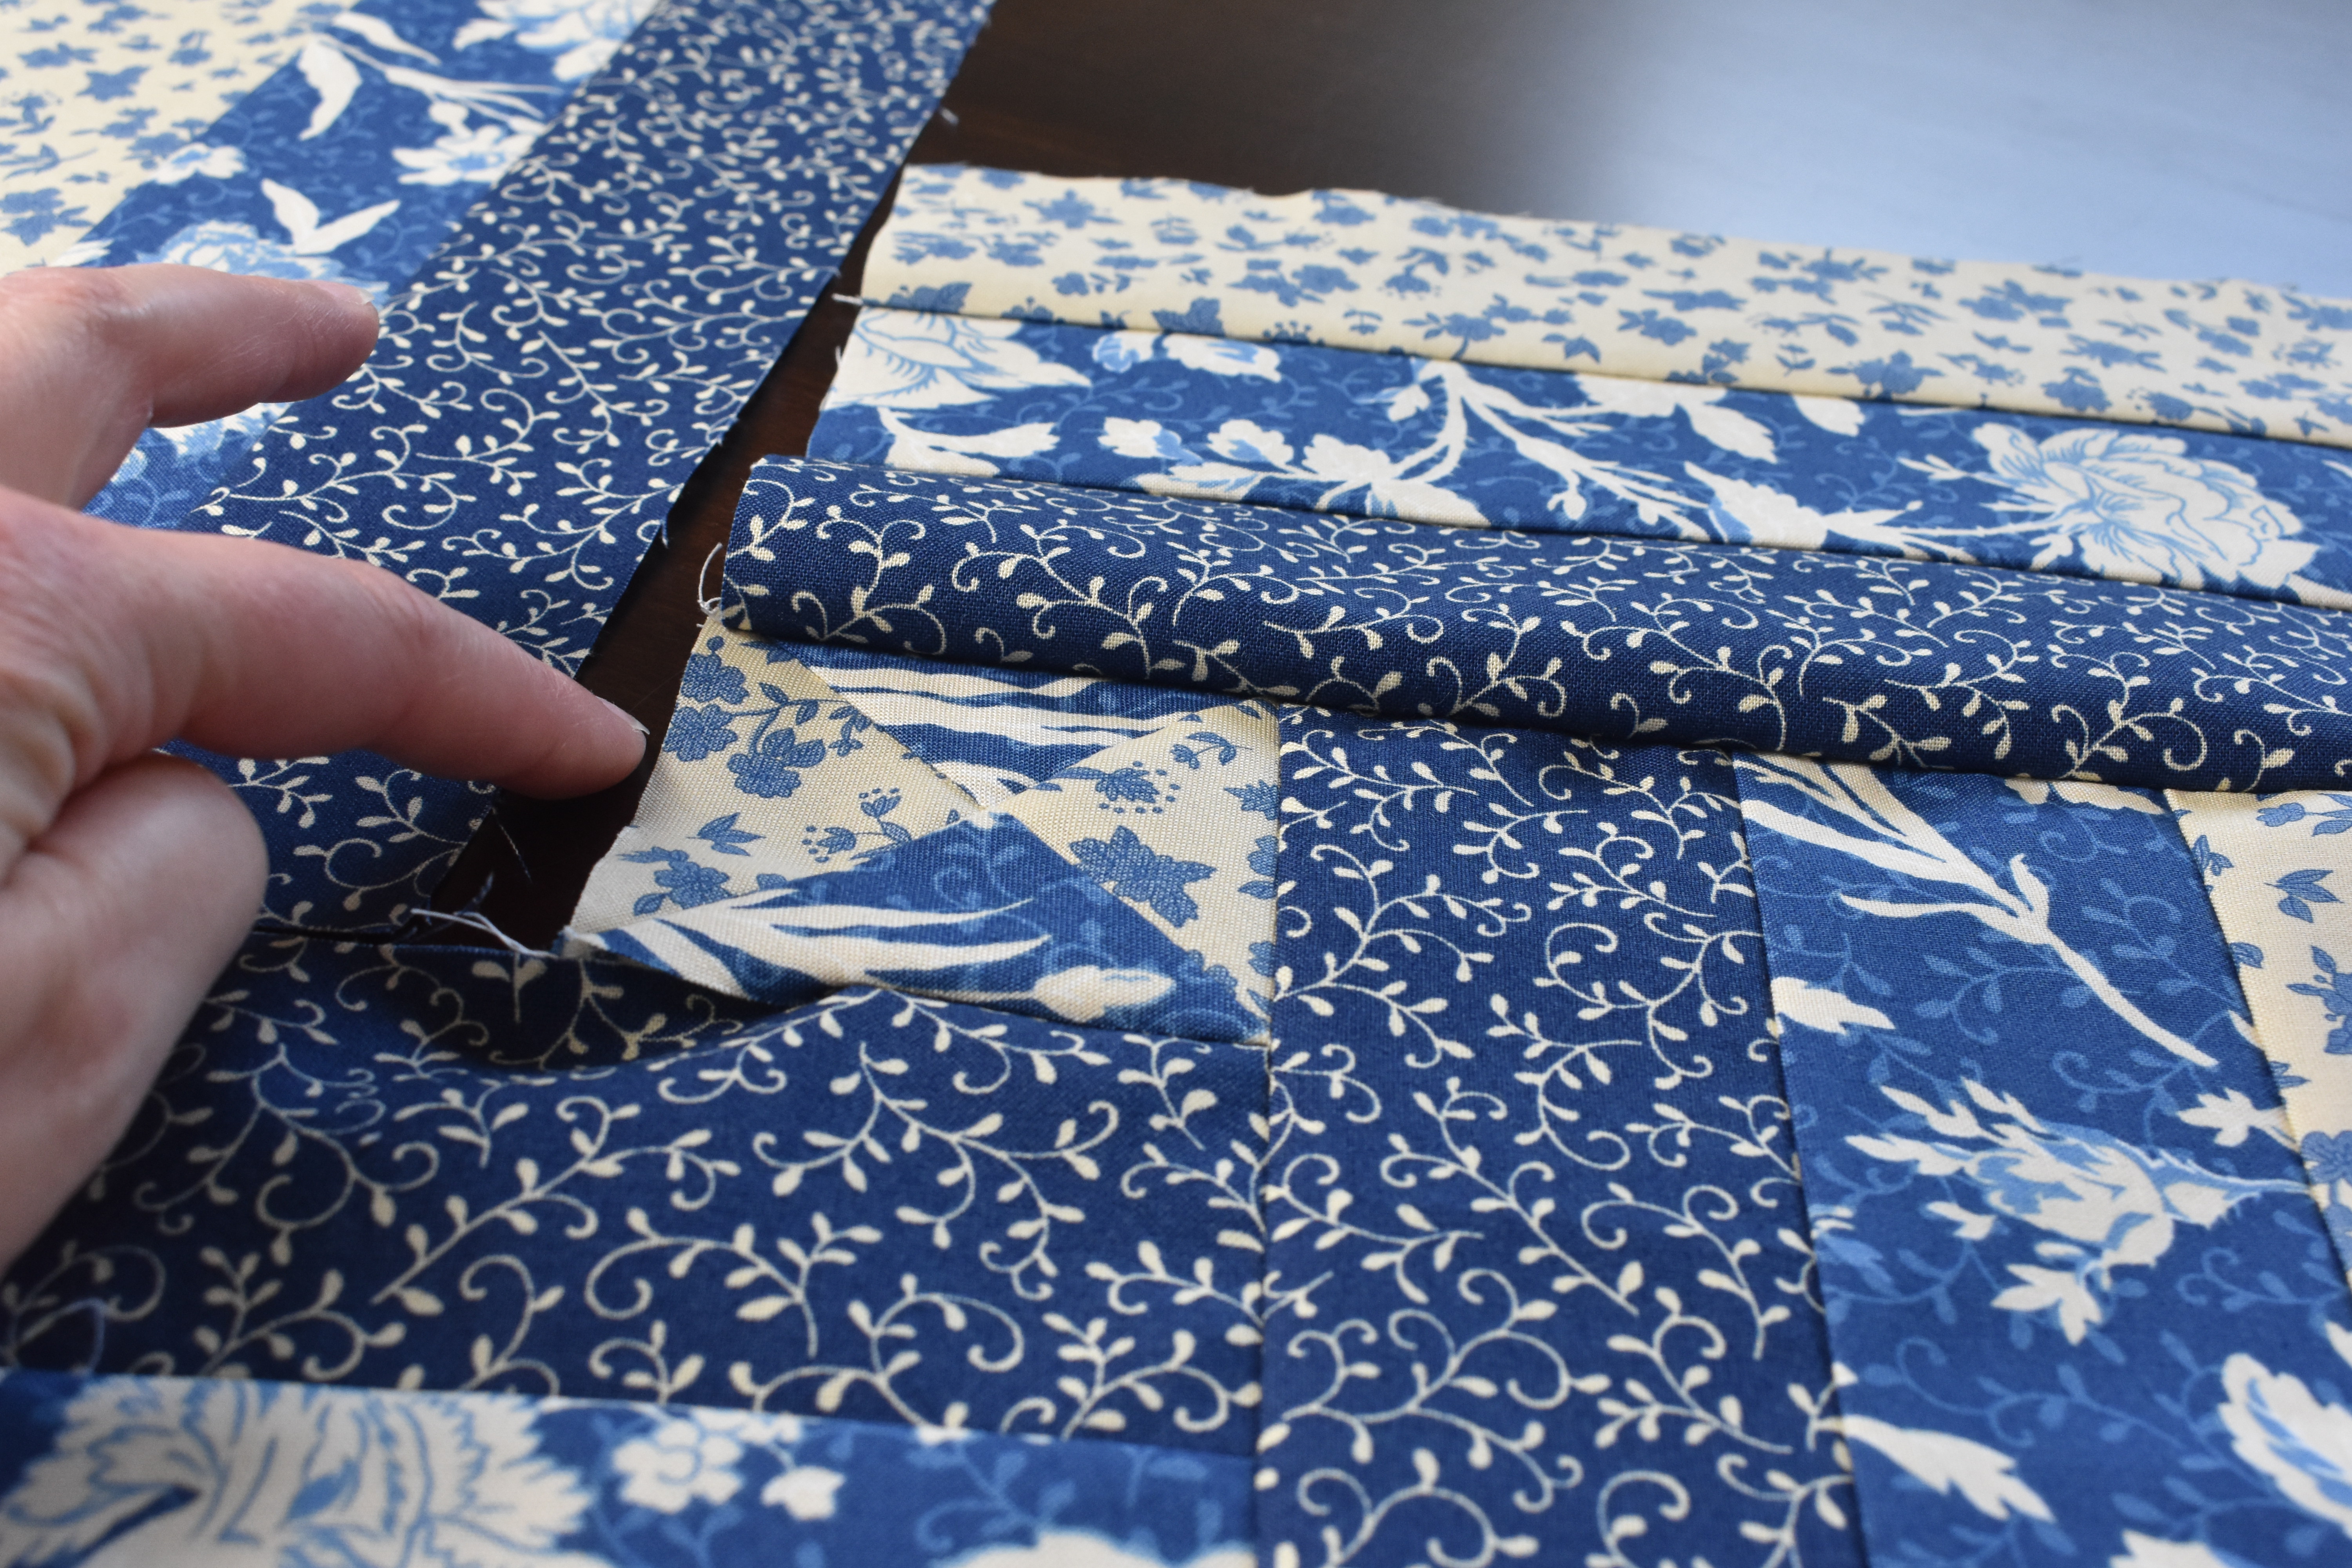
Organize and sew… again
Now that you have sewn your middle square and rectangles you will need to organize your block again before you sew. It may feel tedious, but it will prevent you from sewing things the wrong way. And for me, any steps that prevent me from needing to use my seam ripper is A-OK by me!
Ok, let’s take a minute and savor a fun little chuckle worthy picture.

I mean… It is the truth! Does anyone enjoy ripping seams?
So, let’s get organize to avoid the dreaded seam ripper!
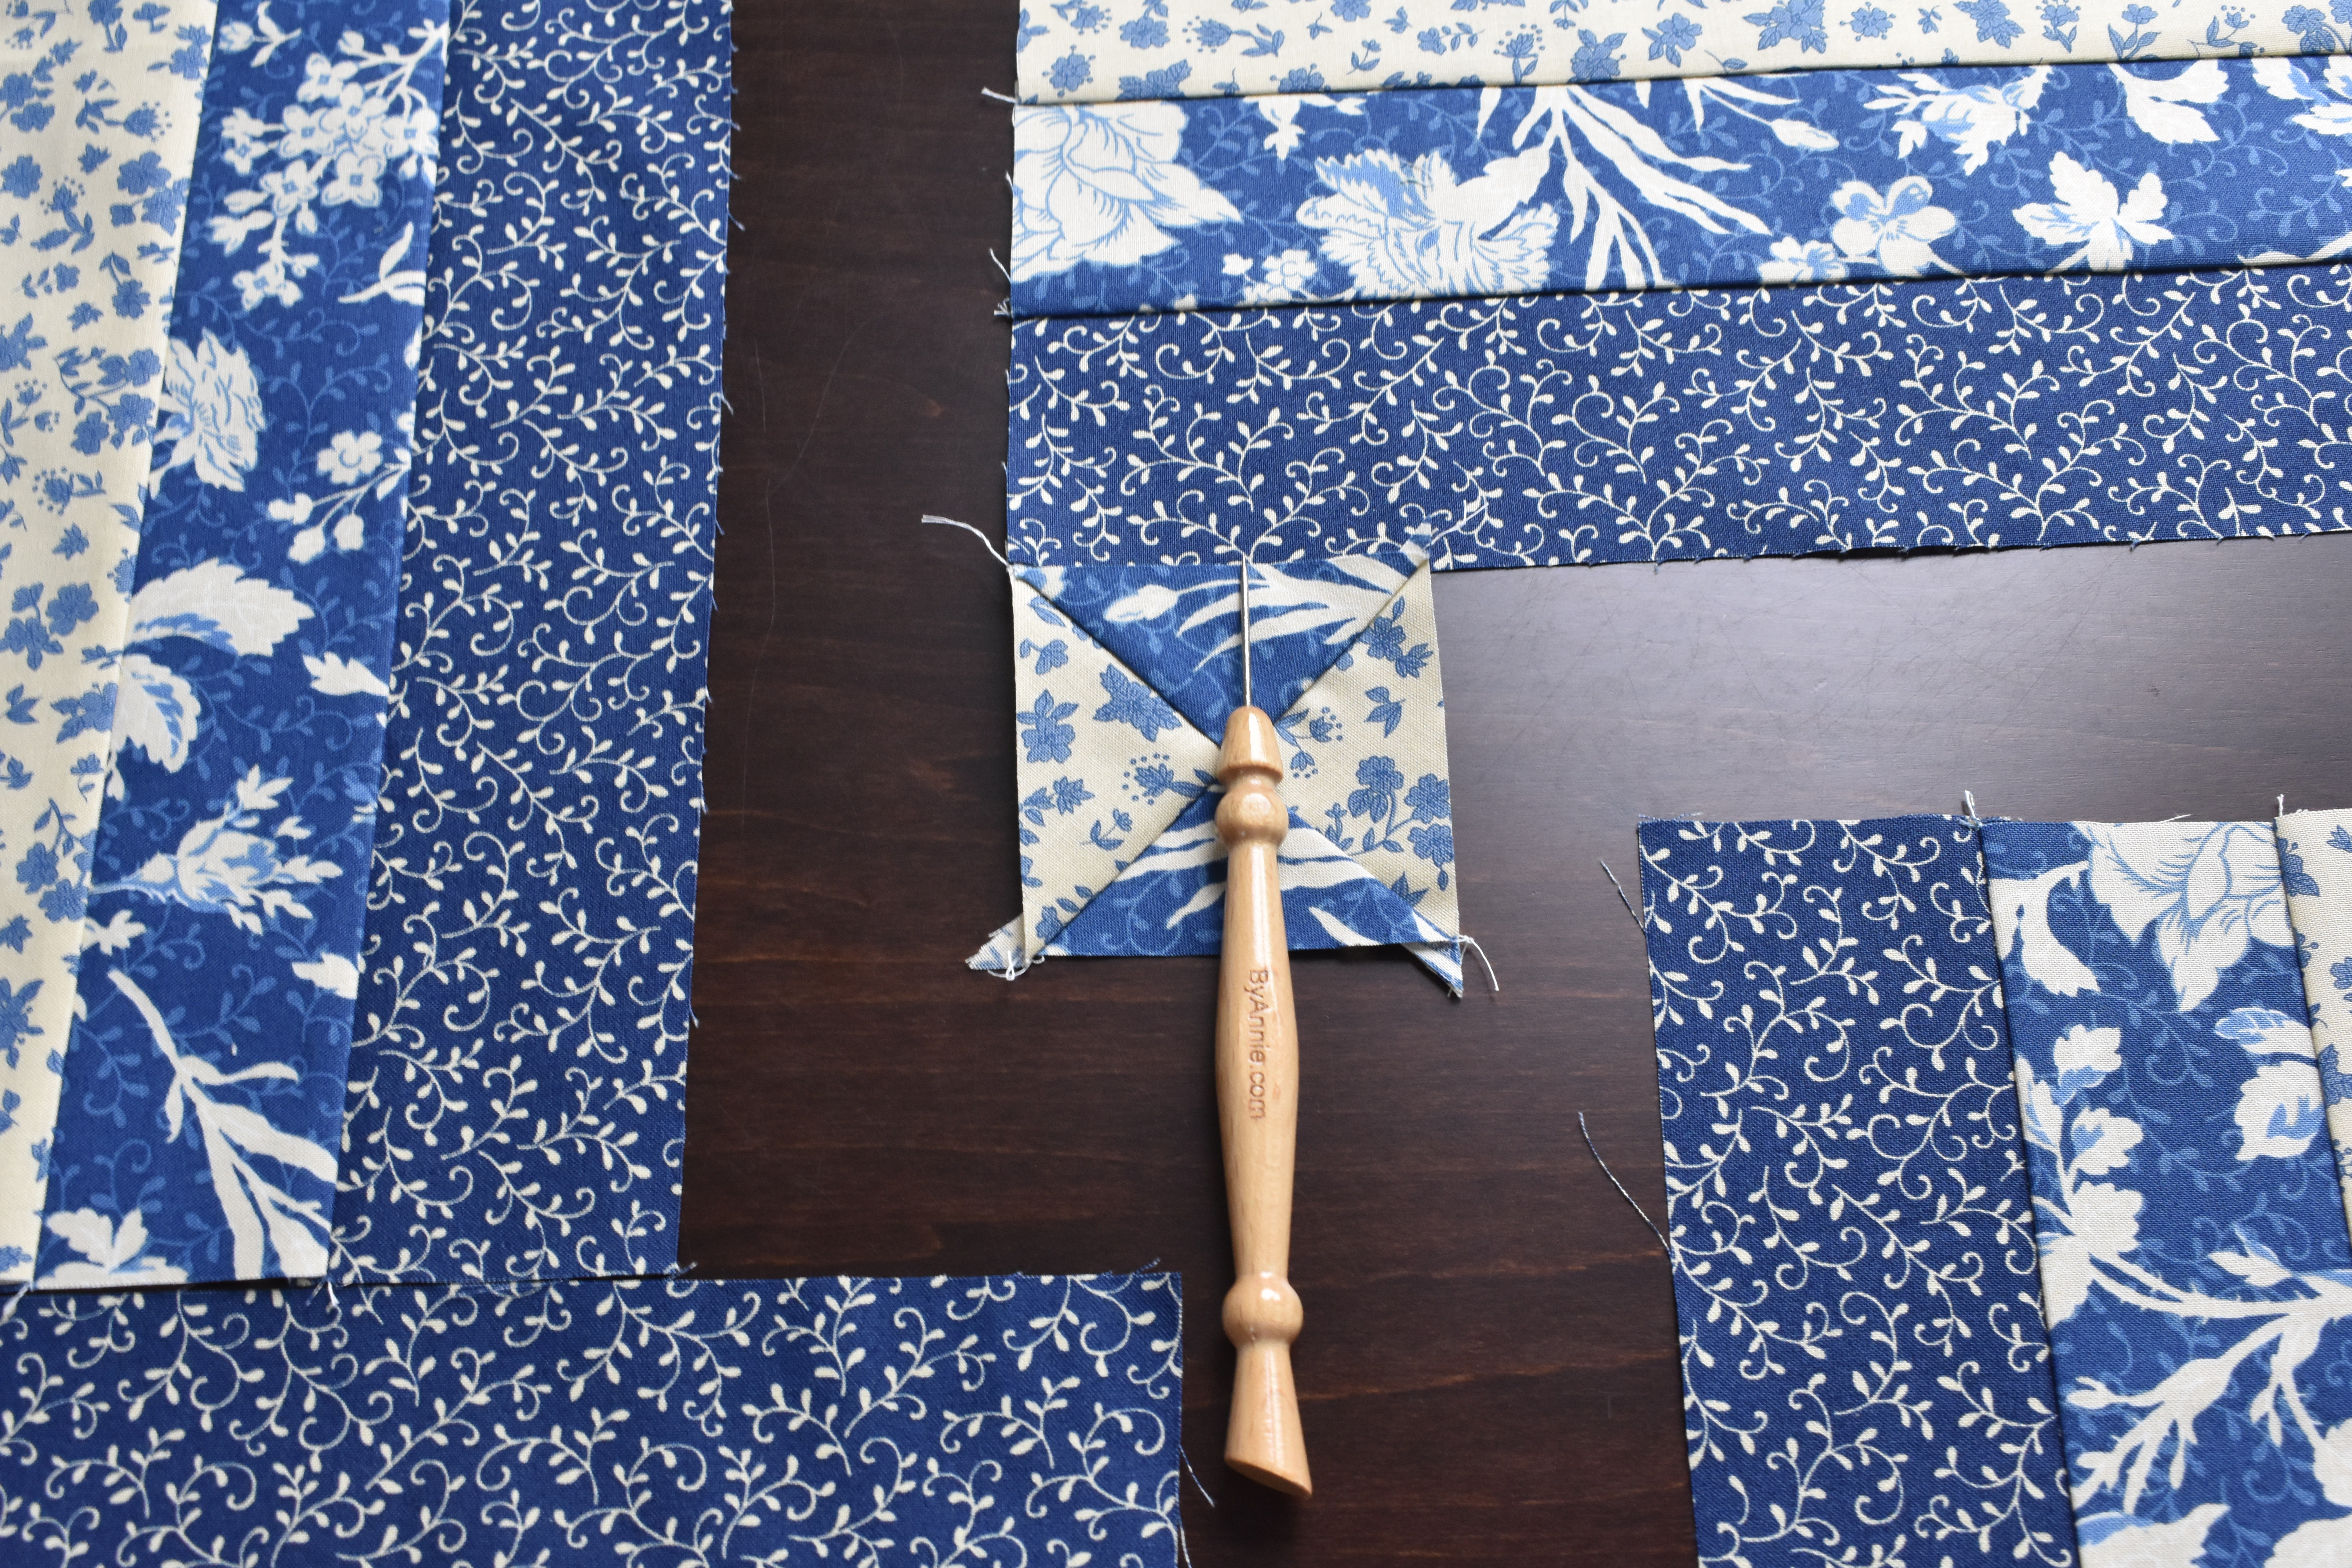
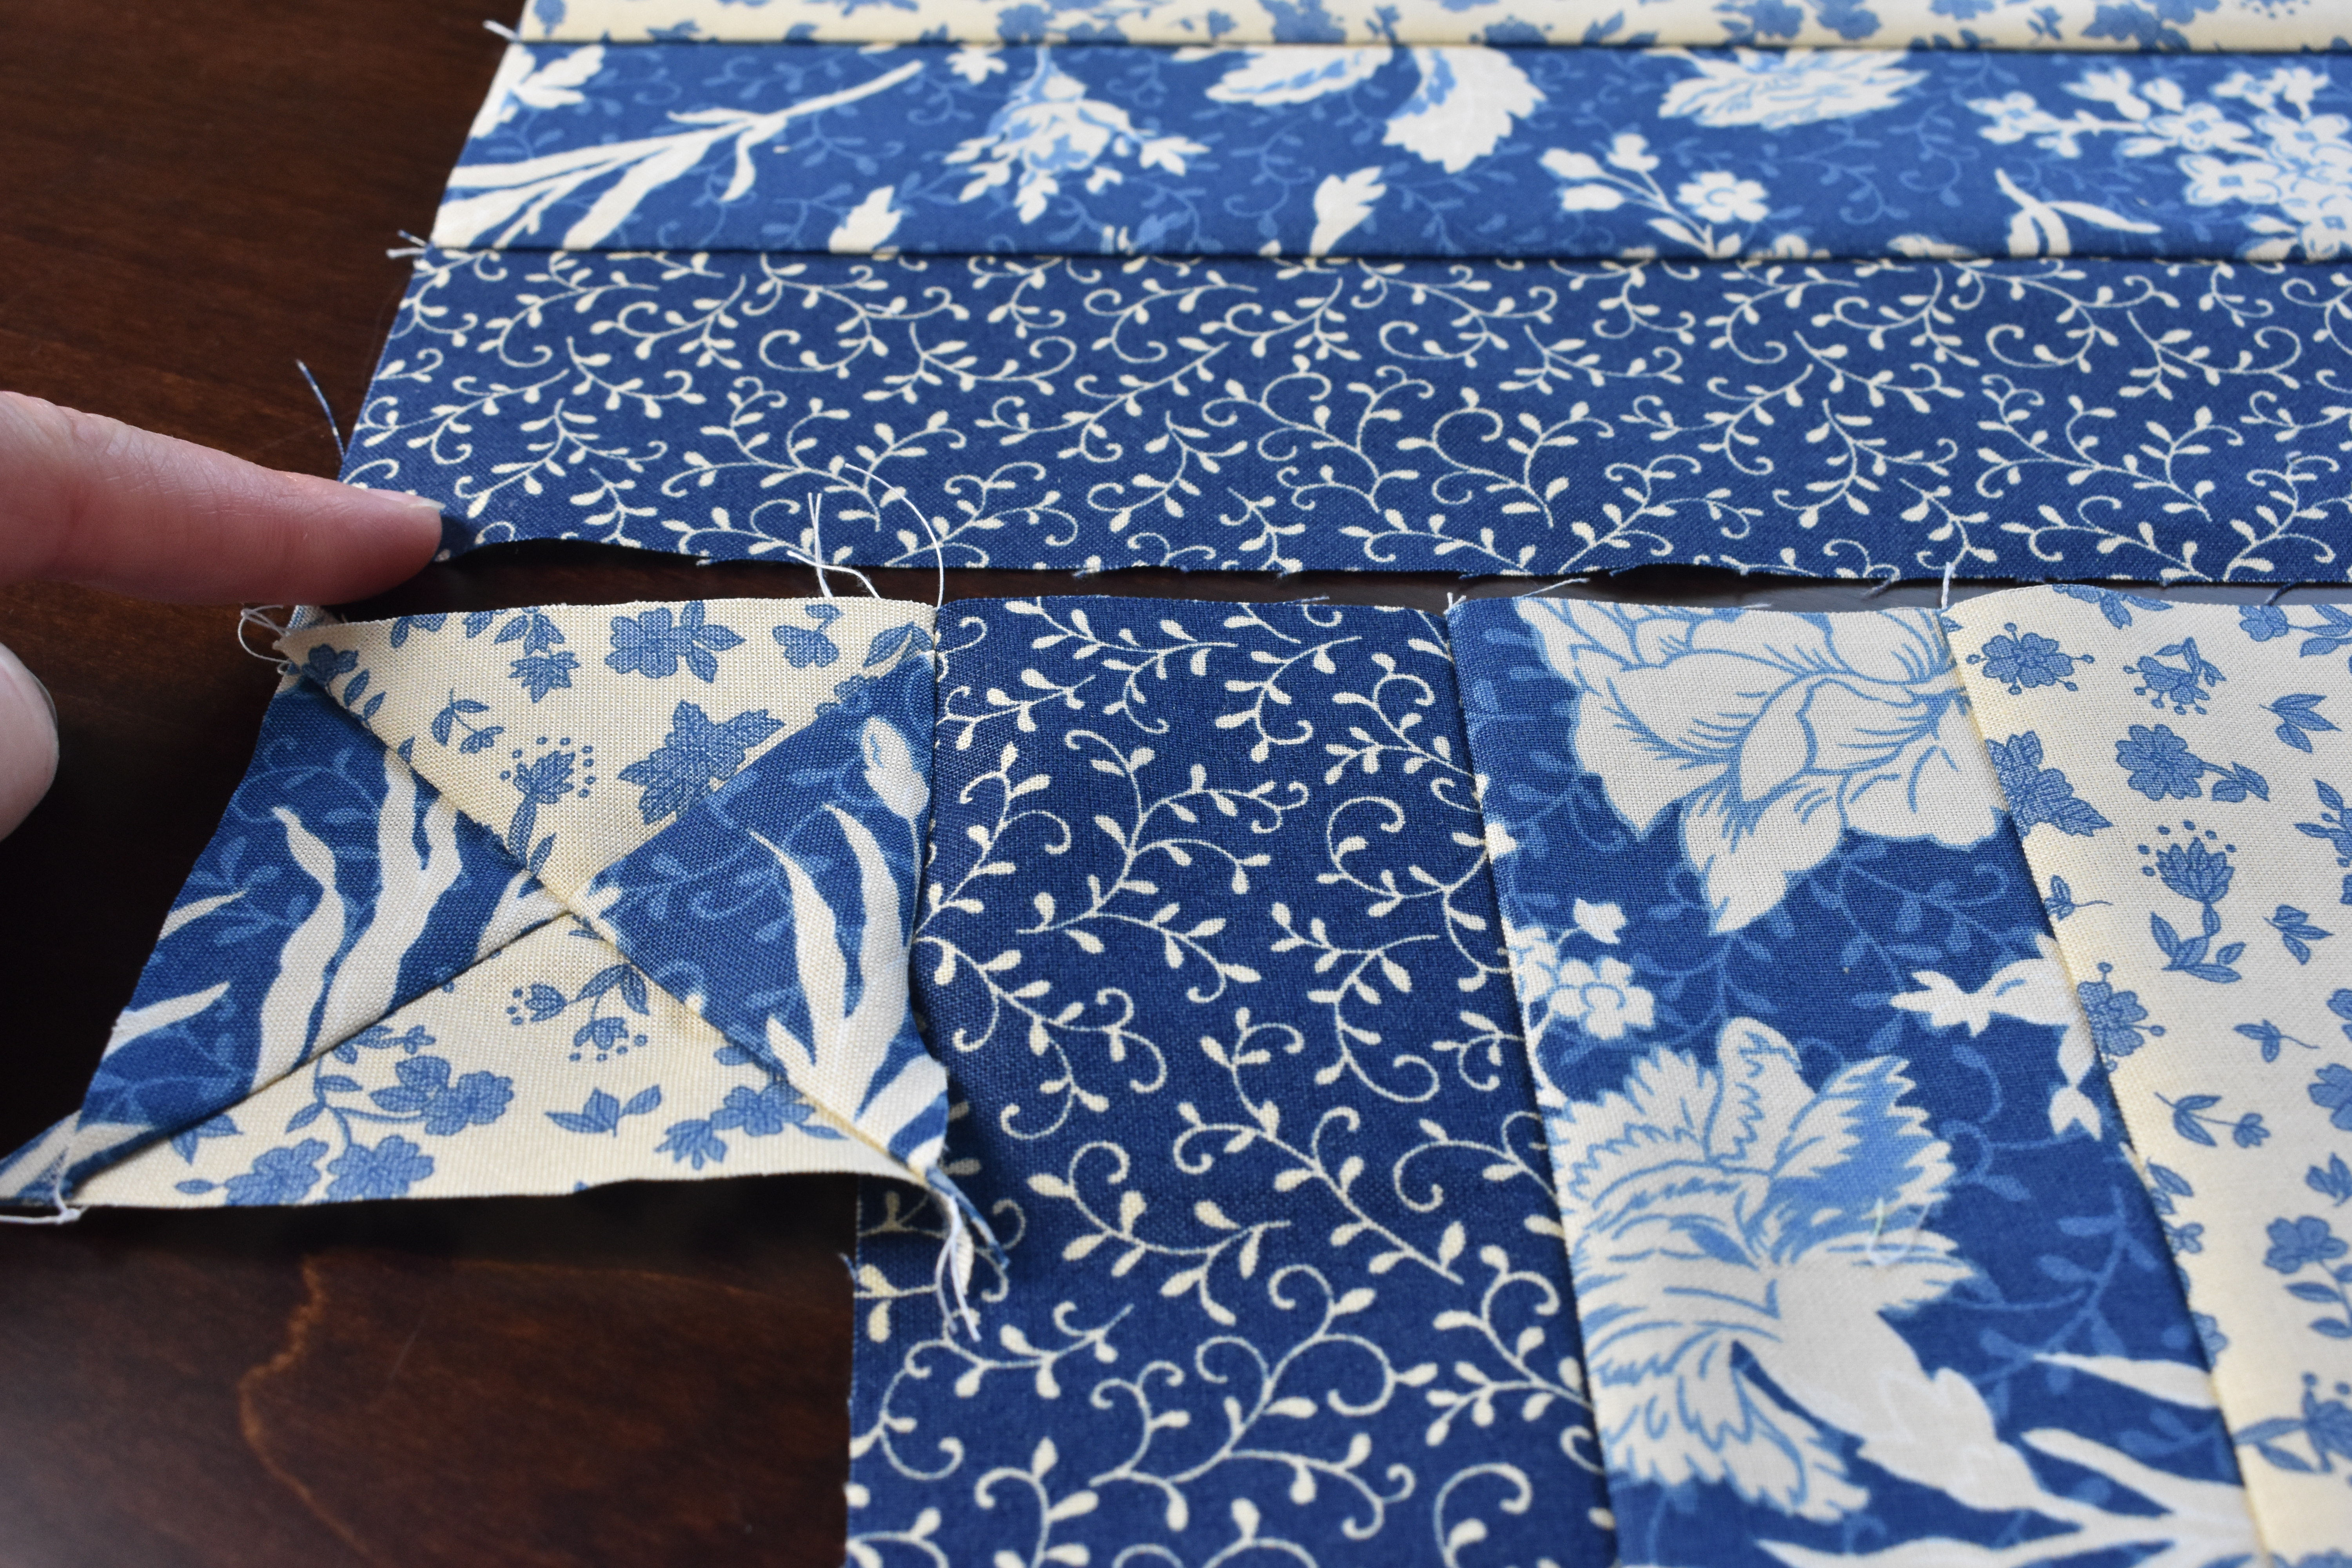
I am choosing to sew my block with all the dark strips on the inside. The first strip you will sew onto the center square will only get sew halfway. This will give you room to sew the rest of strips on.

After sewing your strip only halfway down the square gently press the seam.
You will then sew on your next strip.
You will sew this strip all the way across. Press you seam.
Sew on your next strip.
 You will sew this strip all the way across and then press the seam.
Sew on your final strip.
Make sure you flip the first strip out of your way when you sew.
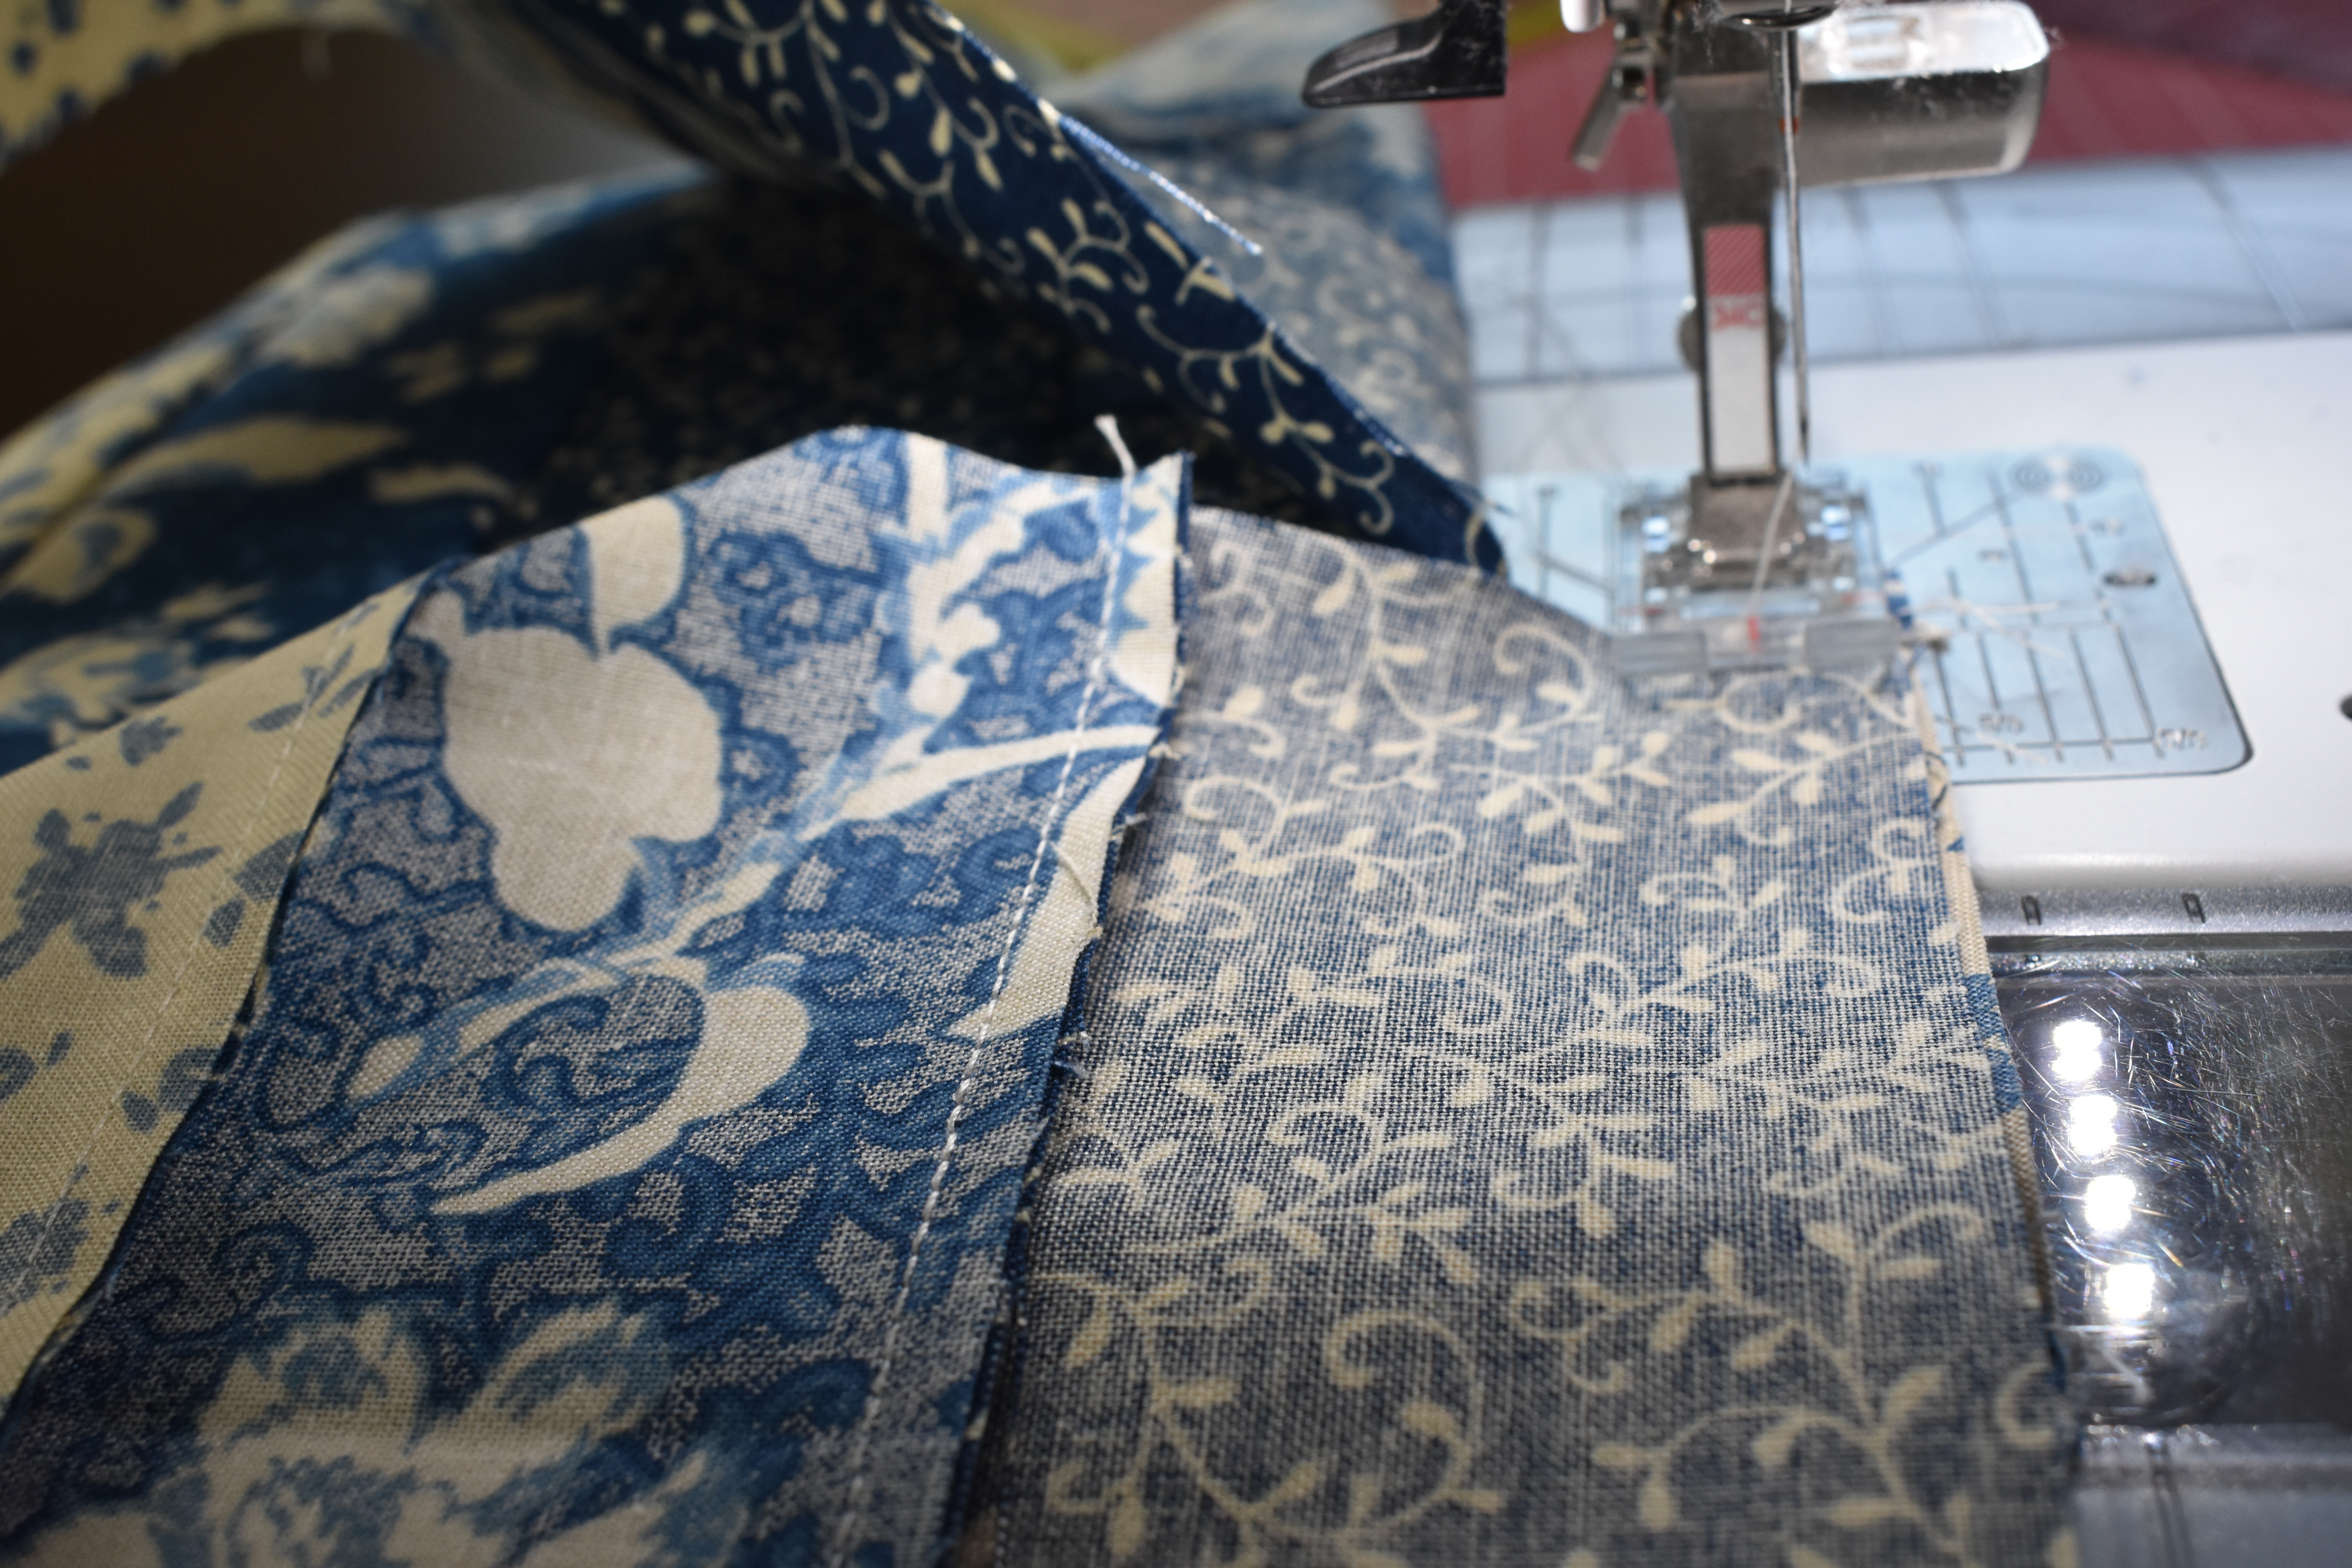
After sewing press your seam and then finish sewing that first strip completely across.
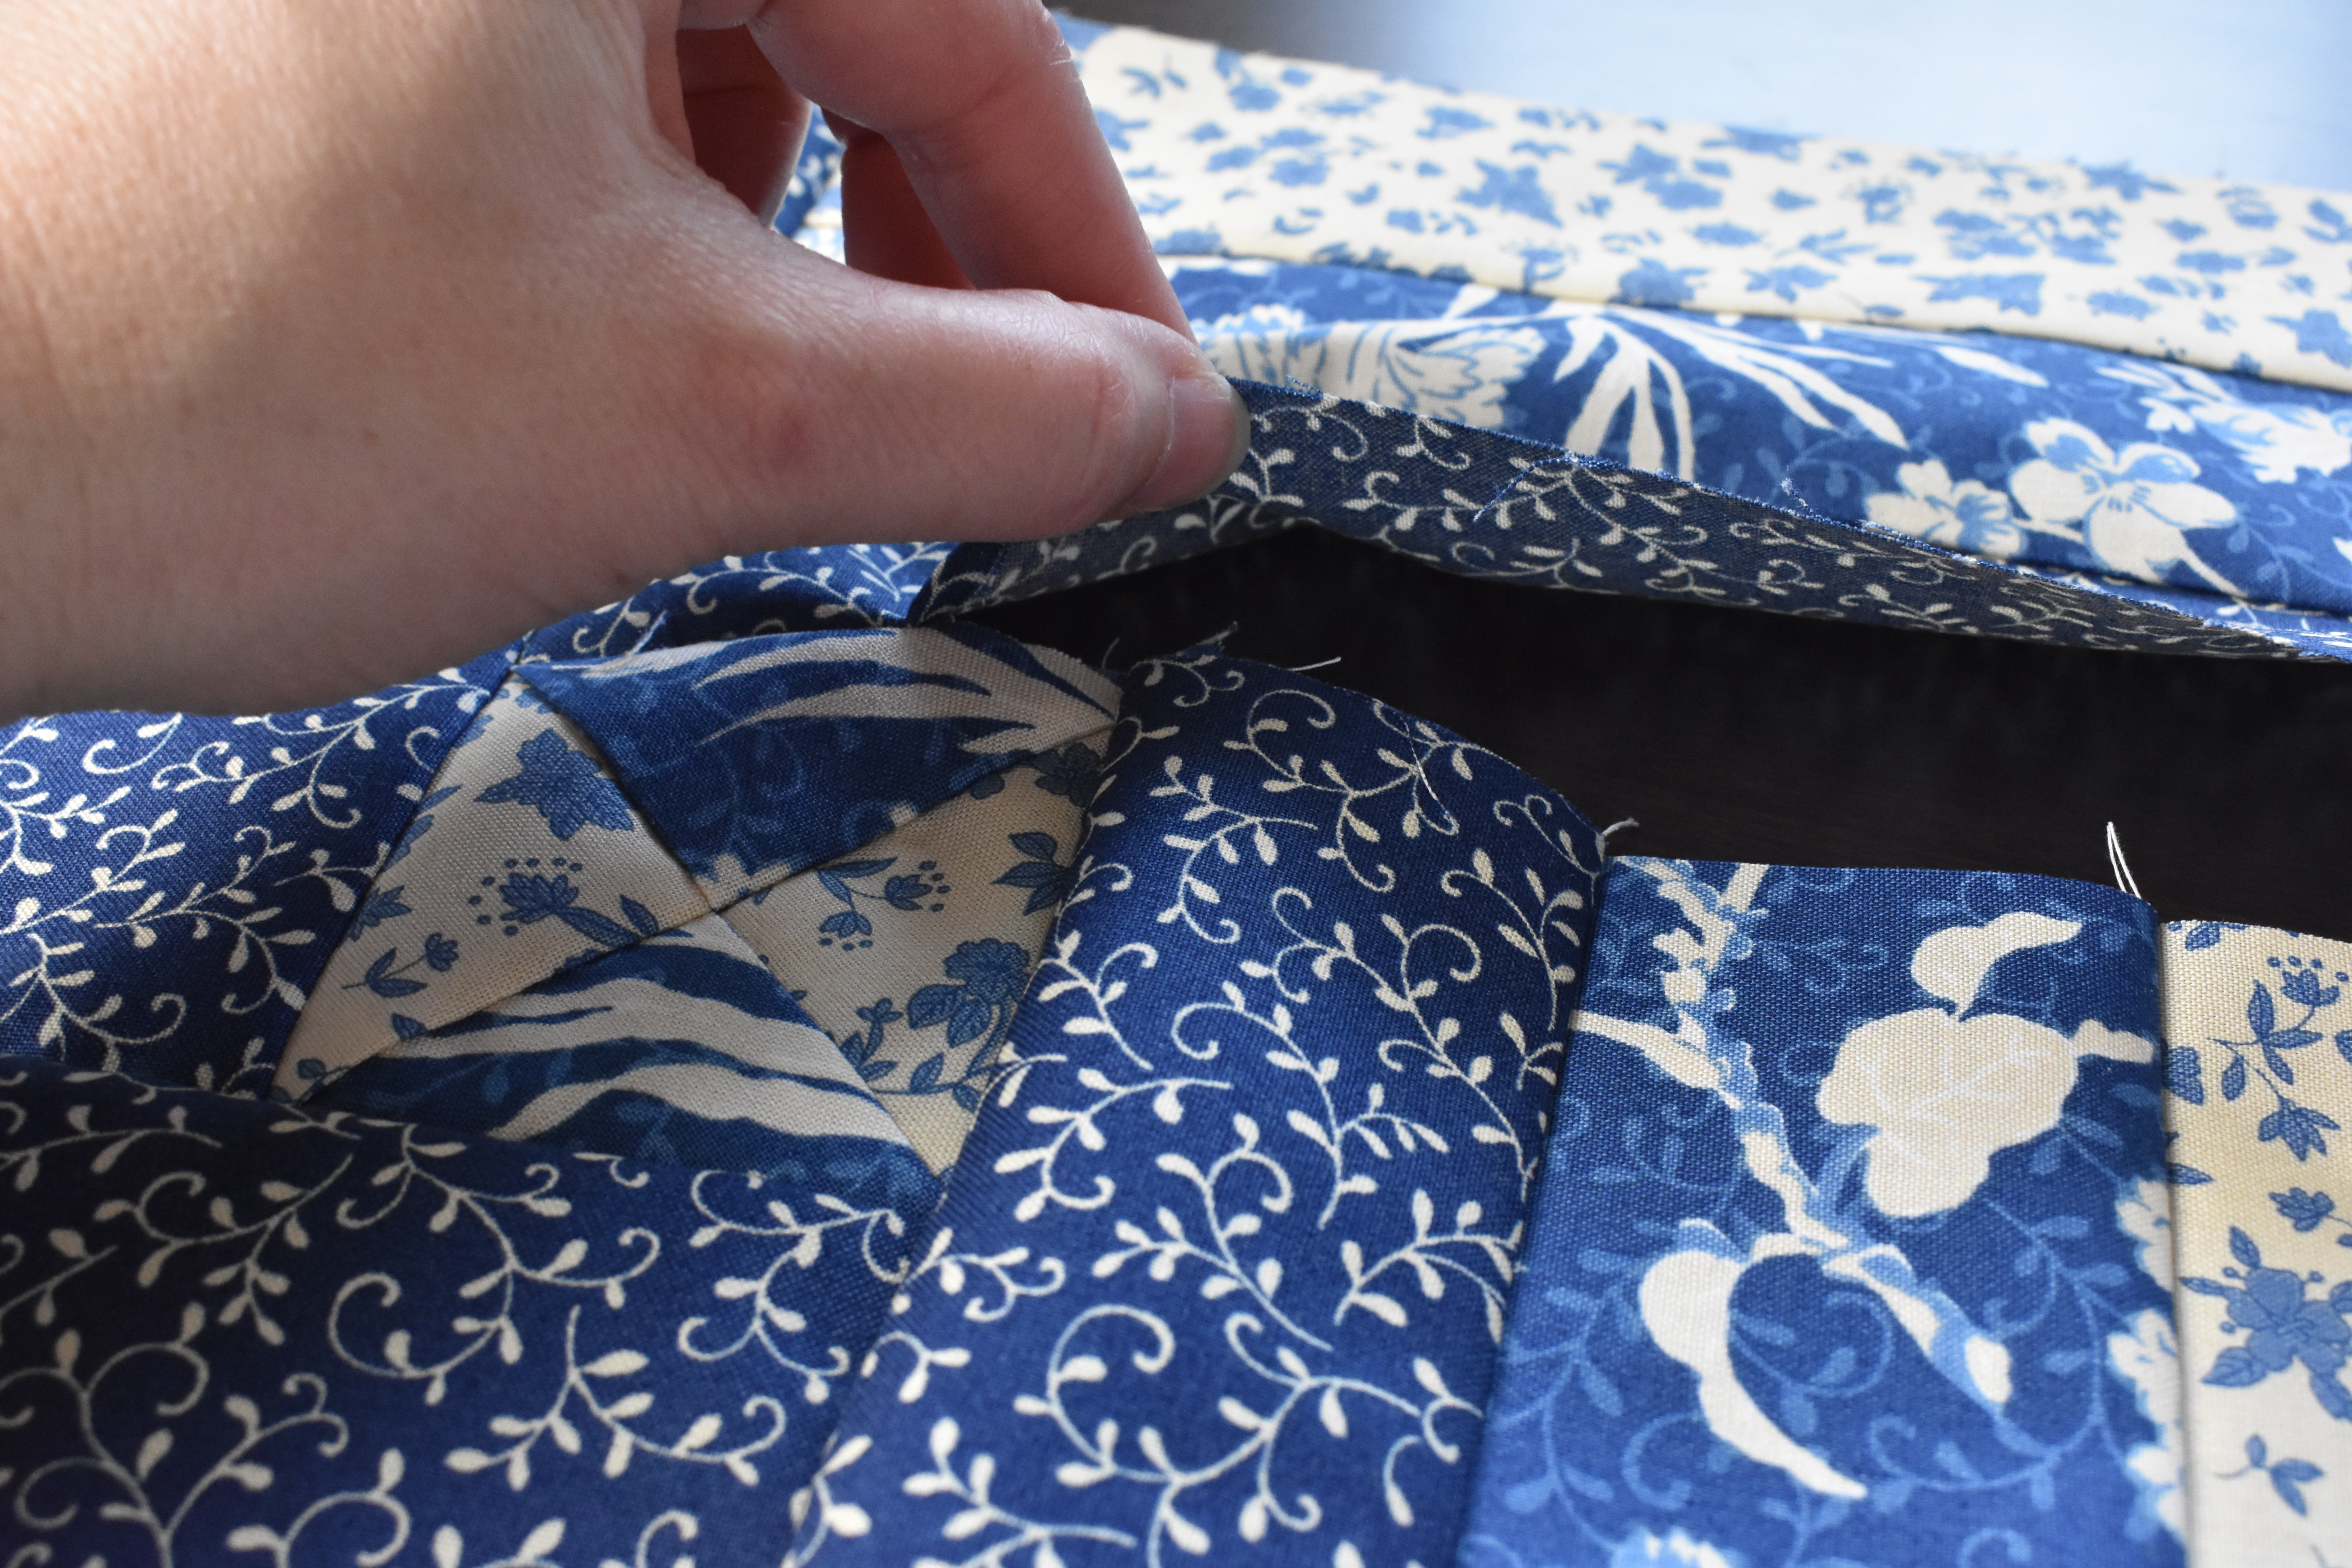
Press your block after sewing is complete.
Finishing the Block
Now we need to square up the block. I want the center square to be tiled to resemble a diamond.

This step is easiest if you have a square acrylic ruler. I am able to line up the vertical and horizontal likes on my ruler right along that center square. I am going to cut 4 inches from the center point of the center square.
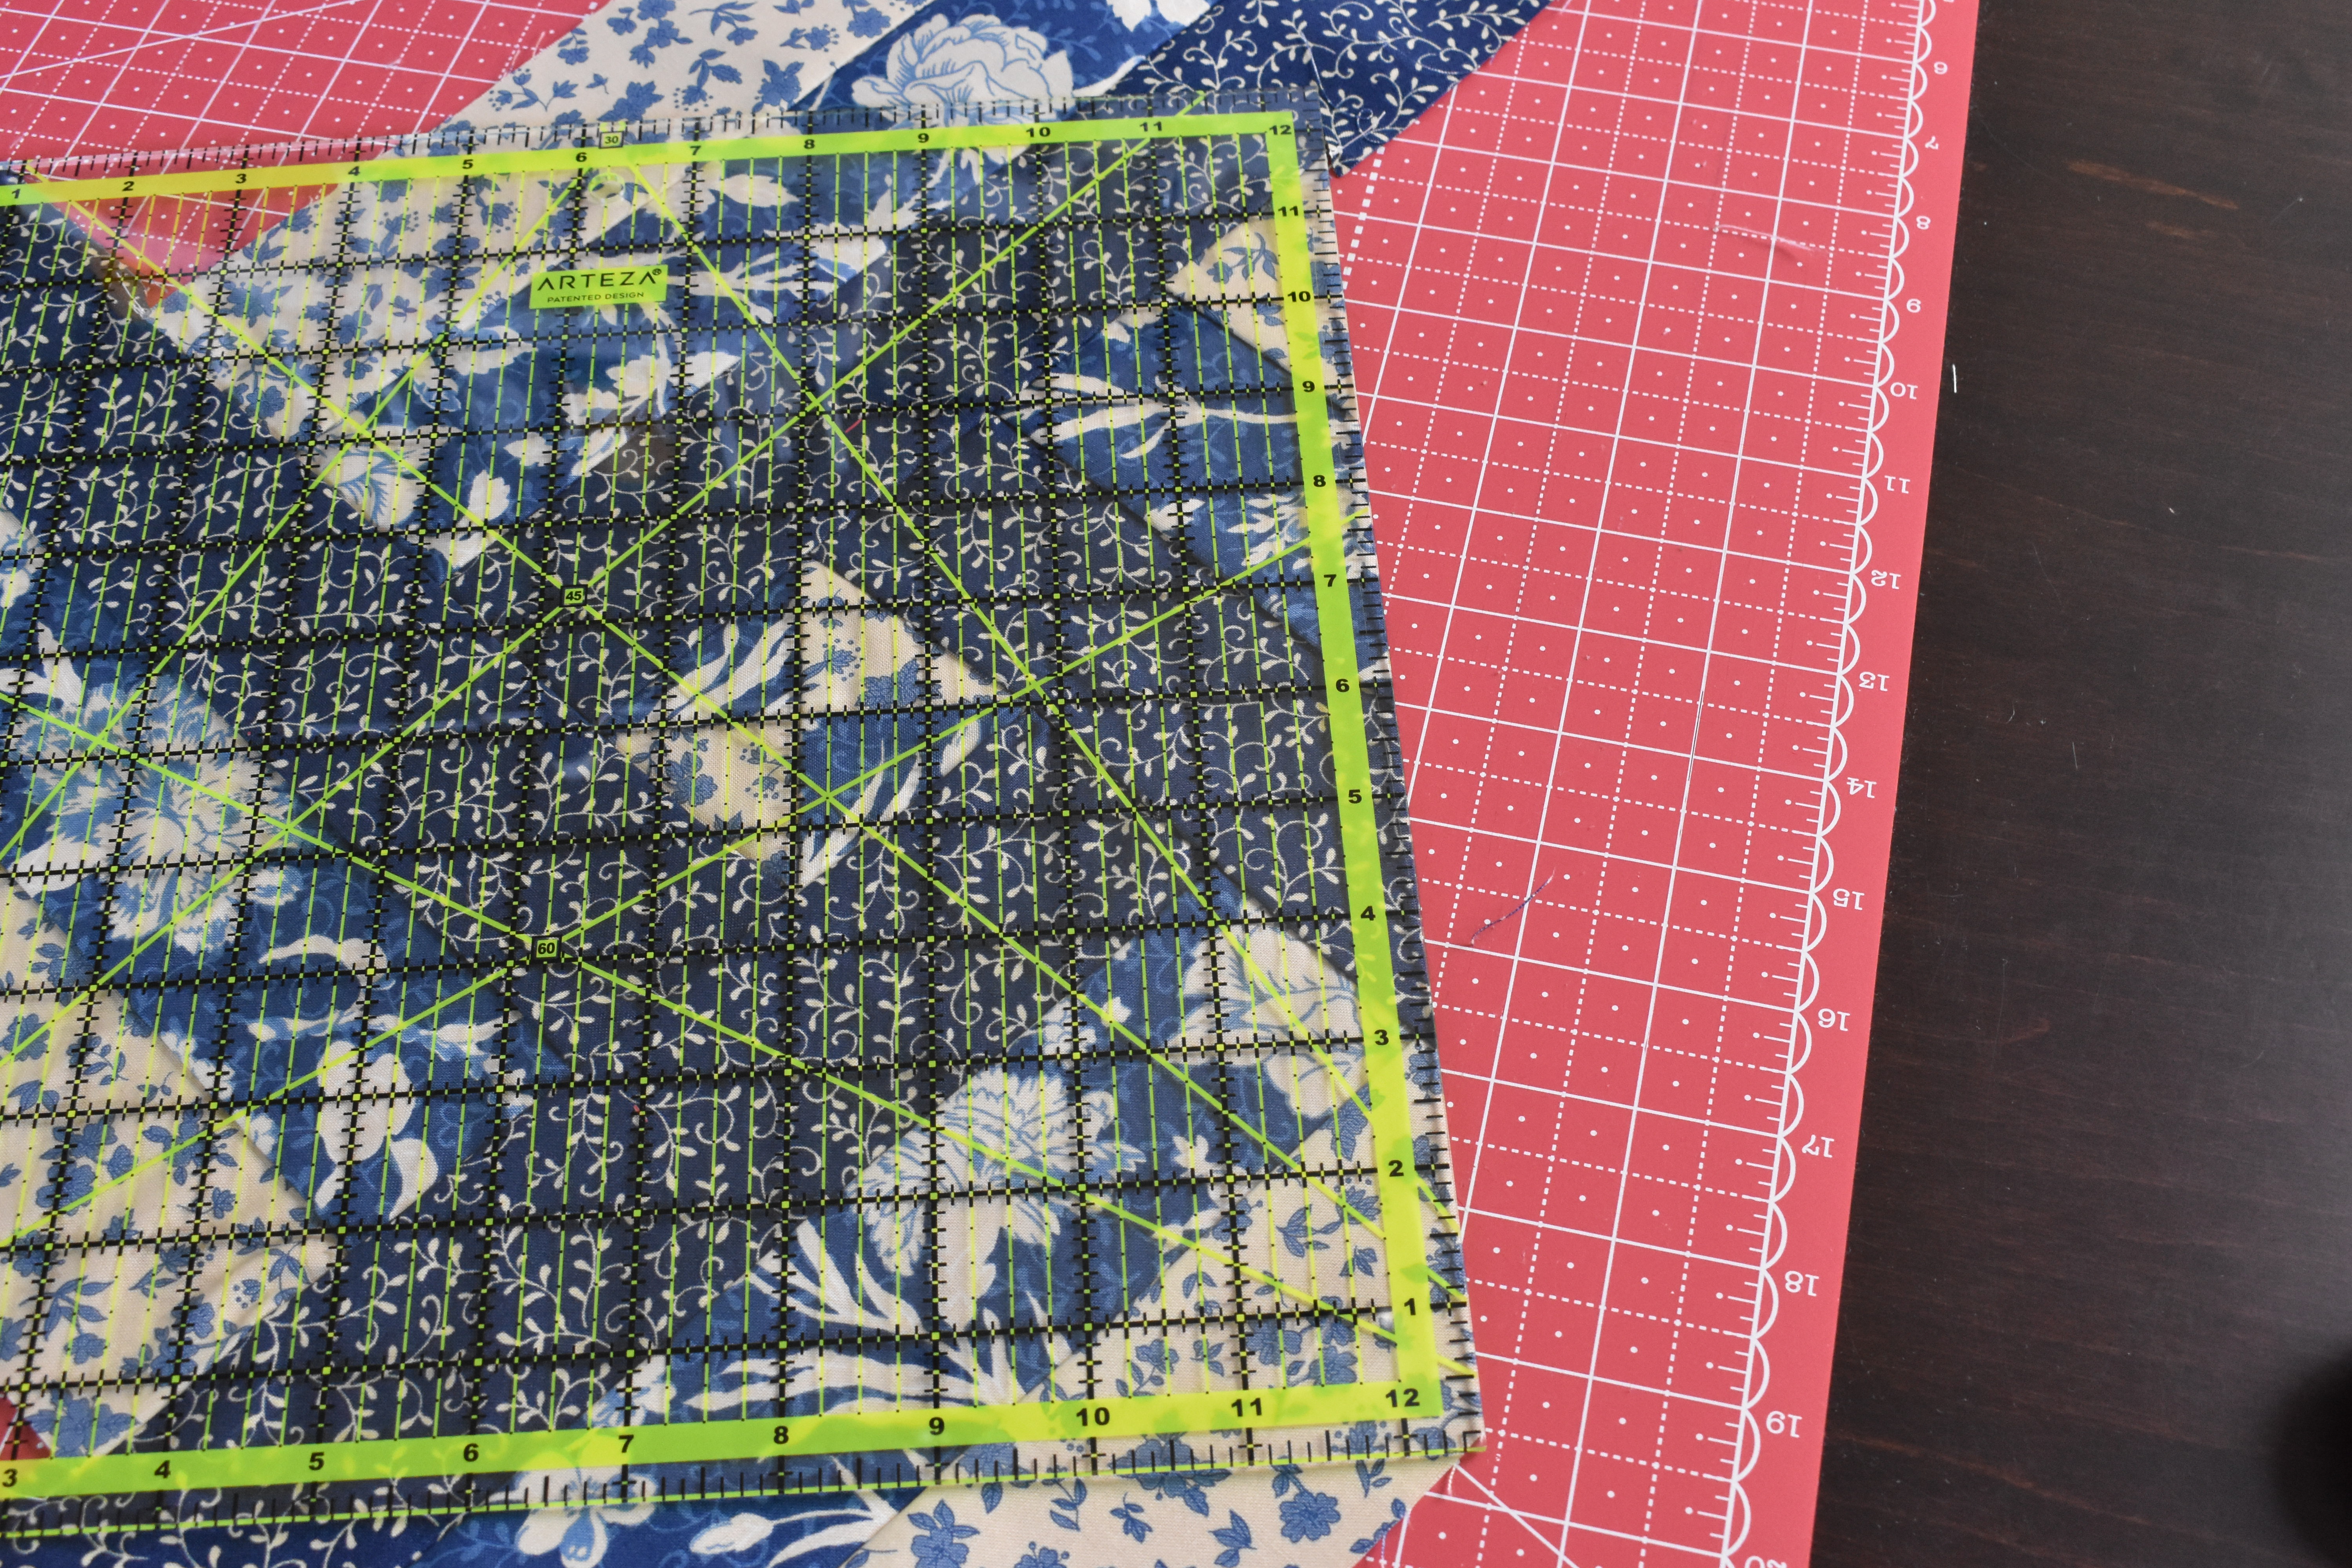
Complete this step on each side.
Finished
Your finished block will measure 8″ square.

Using your scraps
Cut Triangles by placing the corners you cut off along the 45 degree angle on your mat. Since you had four ends you cut off you can make 4 triangles to sew together to create squares.


You will likely still have a few more inches of scraps left. Cut them into even strips that are straight, or have fun and cut them at an angle!


I personally really love the squares and the strips cut at an angle! So fun!
I hope you have enjoyed these quilt block tutorials so far! I sure have had fun putting them together! We have three more blocks to go so be sure to subscribe so you are notified when they are posted.
Bye for now.


5 responses to “Rotating Fan Block”
Another cute block…your bread looked yummy!
LikeLike
Thank you! That bread is too good! We can’t stop eating it when I make it.
LikeLike
I would love to see any of the blocks you make during the quilt-a-long! Share them on my Facebook page here: https://www.facebook.com/104230451184290/posts/134164531524215/?d=n
LikeLike
I can’t wait!!!! This one is so cool!!!
LikeLike
Thank you!
LikeLike