Let’s be real… Life is crazy right now. Things are different. We need to stay home. We need to stay isolated from those who aren’t in our immediate family. Things just don’t feel right.
But, when I can sit down and sew… Well, that feels normal. I start to forget the crazy world we are in. I forget that grocery stores are bare… and I forget that a virus has taken over the world.
So, I thought what can I do to help others… even if it is just in a small way! So, here is what I came up with. I am going to share a block a day for a week. The blocks are going to range in their difficulty level and they will range in sizes. You may not be able to bring them together into a quilt, but you will learn new skills! You can pick one block to try that you really like and then make a quilt. Or you can give them all a try and then pick your favorite to make a quilt from!
My goal is to share something I love with you. Something that is helping me get through what is happening around us!
So, let’s get started.
What you need
For one block you will just need three different shades of fabric. We will be cutting the fabric into 2.5″ strips so, to make this easier, you could even use some fabric from a jelly roll!
Here is the fabric I am using.
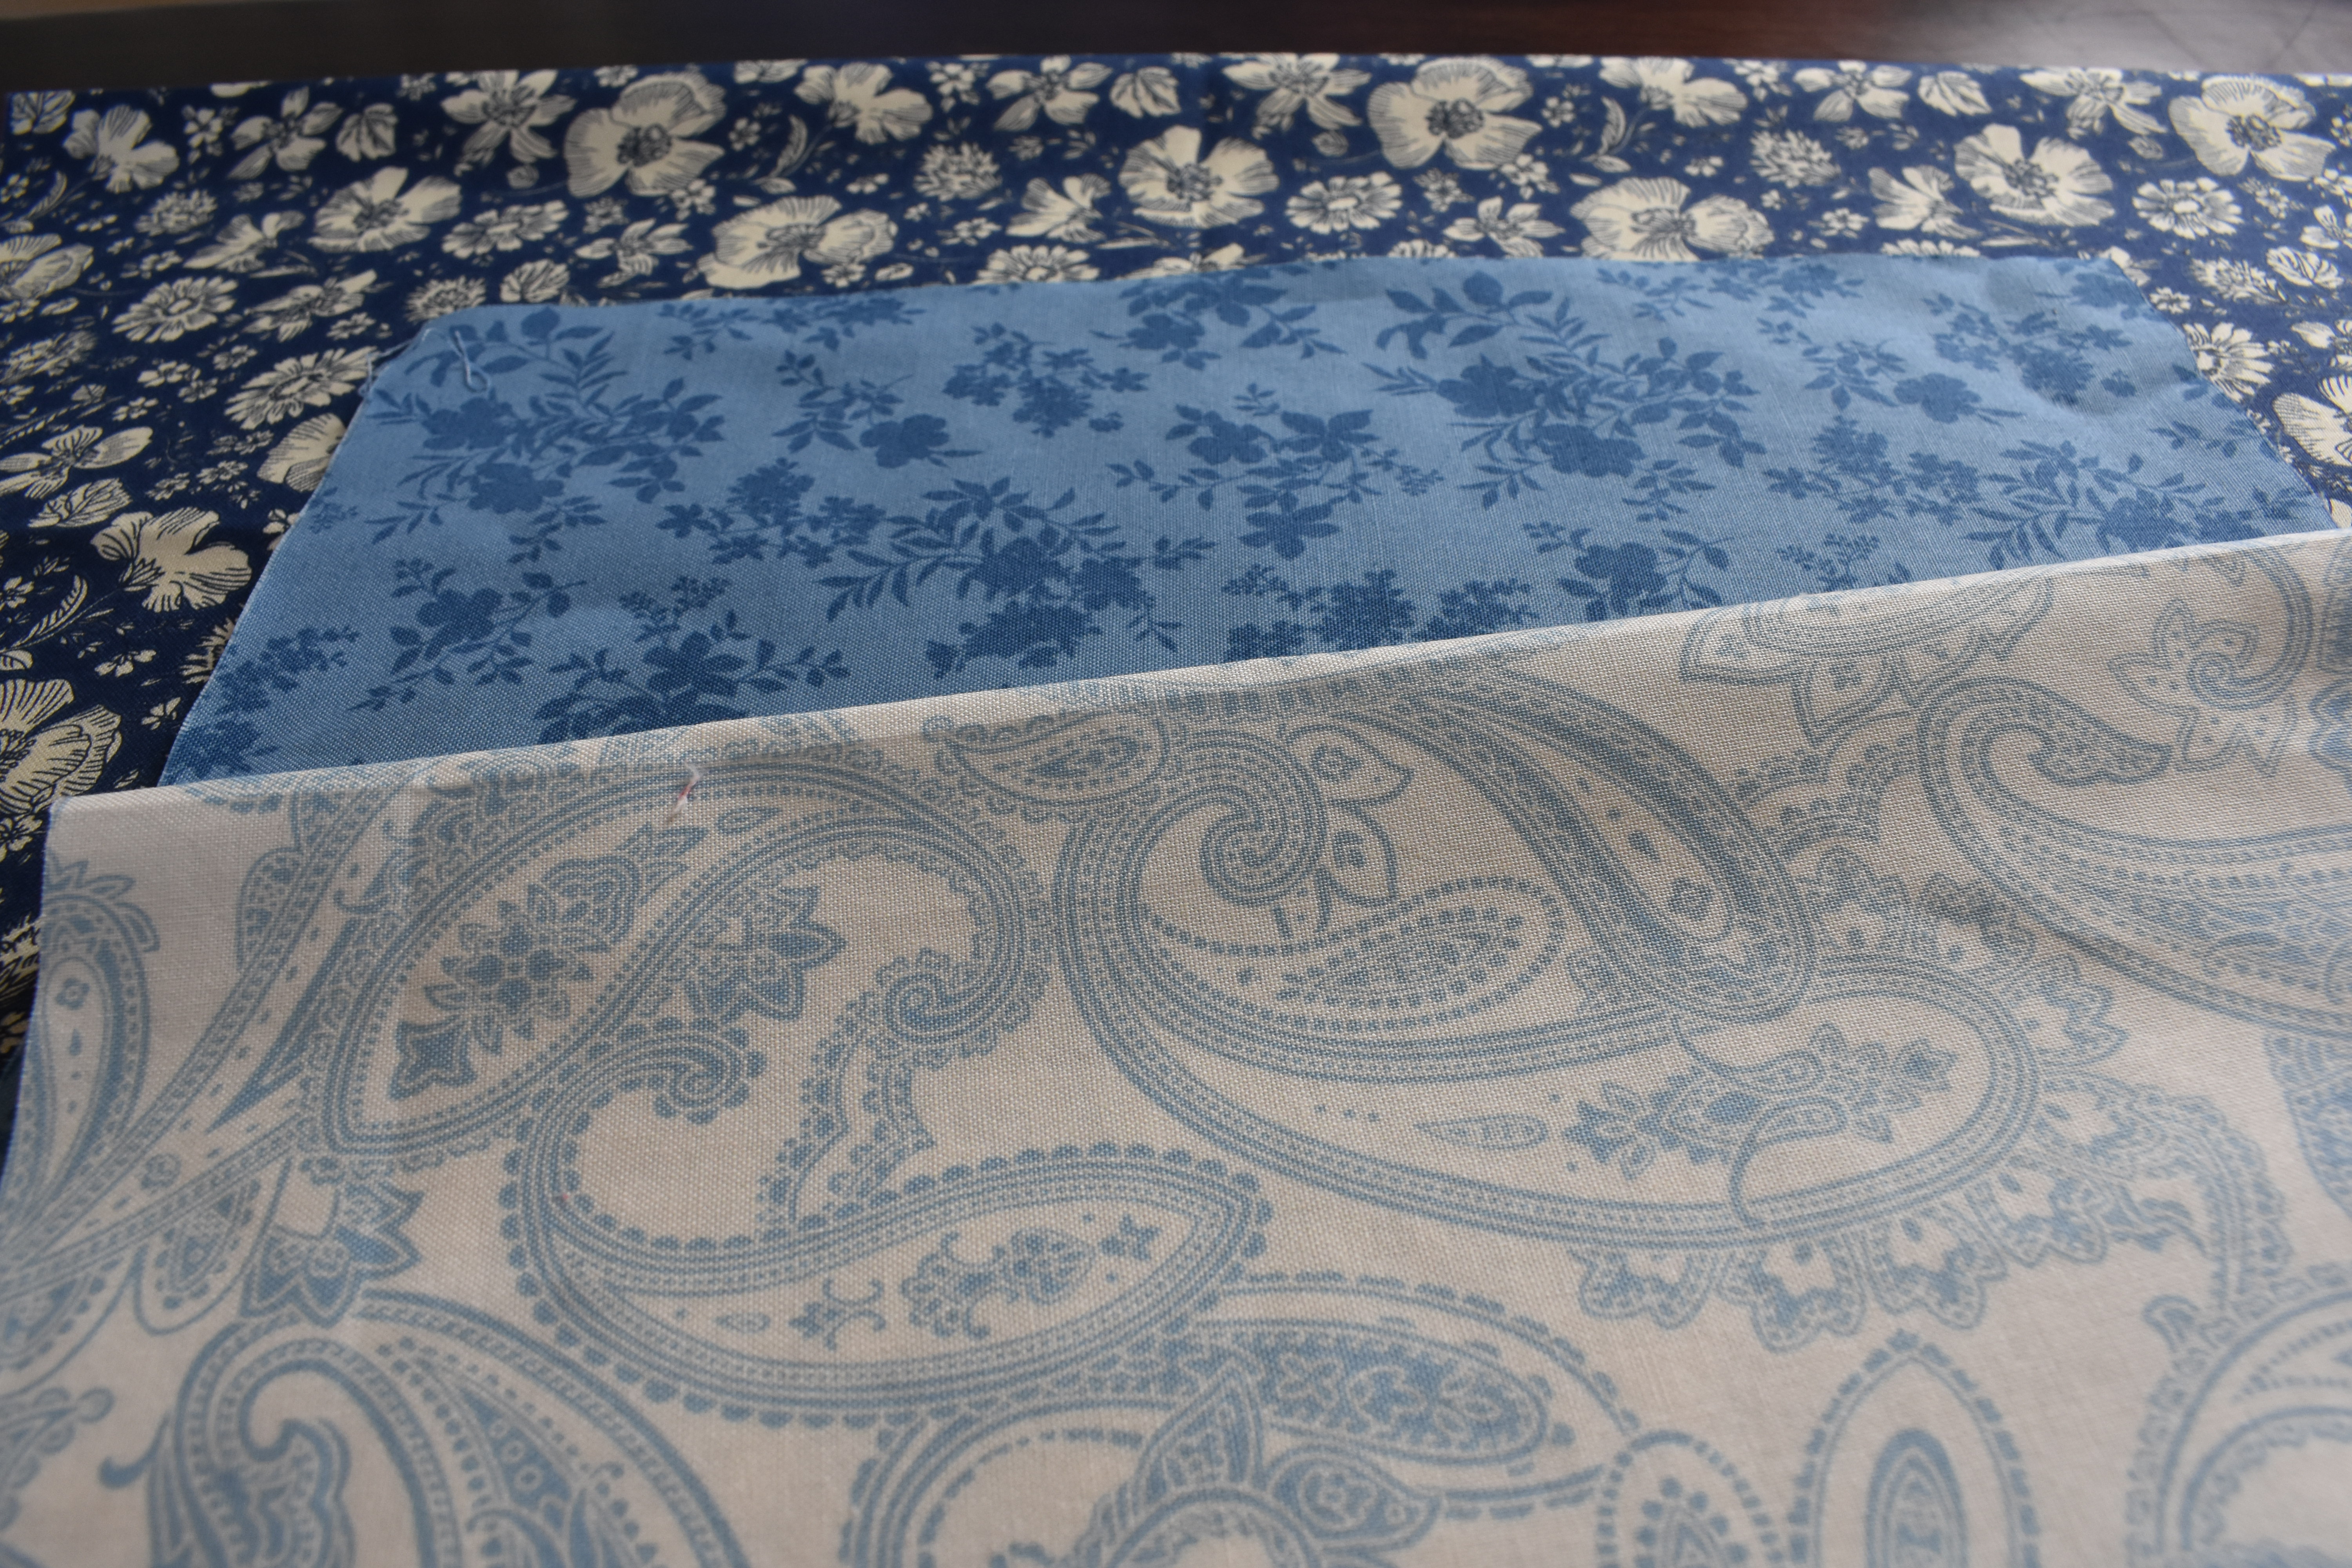
I have a dark shade, a medium shade, and a light shade. I am using all shades of blue, however, you could use different colors if you like. You just need dark, medium, and light to make this work!
Cutting
To make just one block you won’t need to cut a lot of strips from each piece of fabric. Cut 2.5″ strips then cut them into 7.5″ long strips.
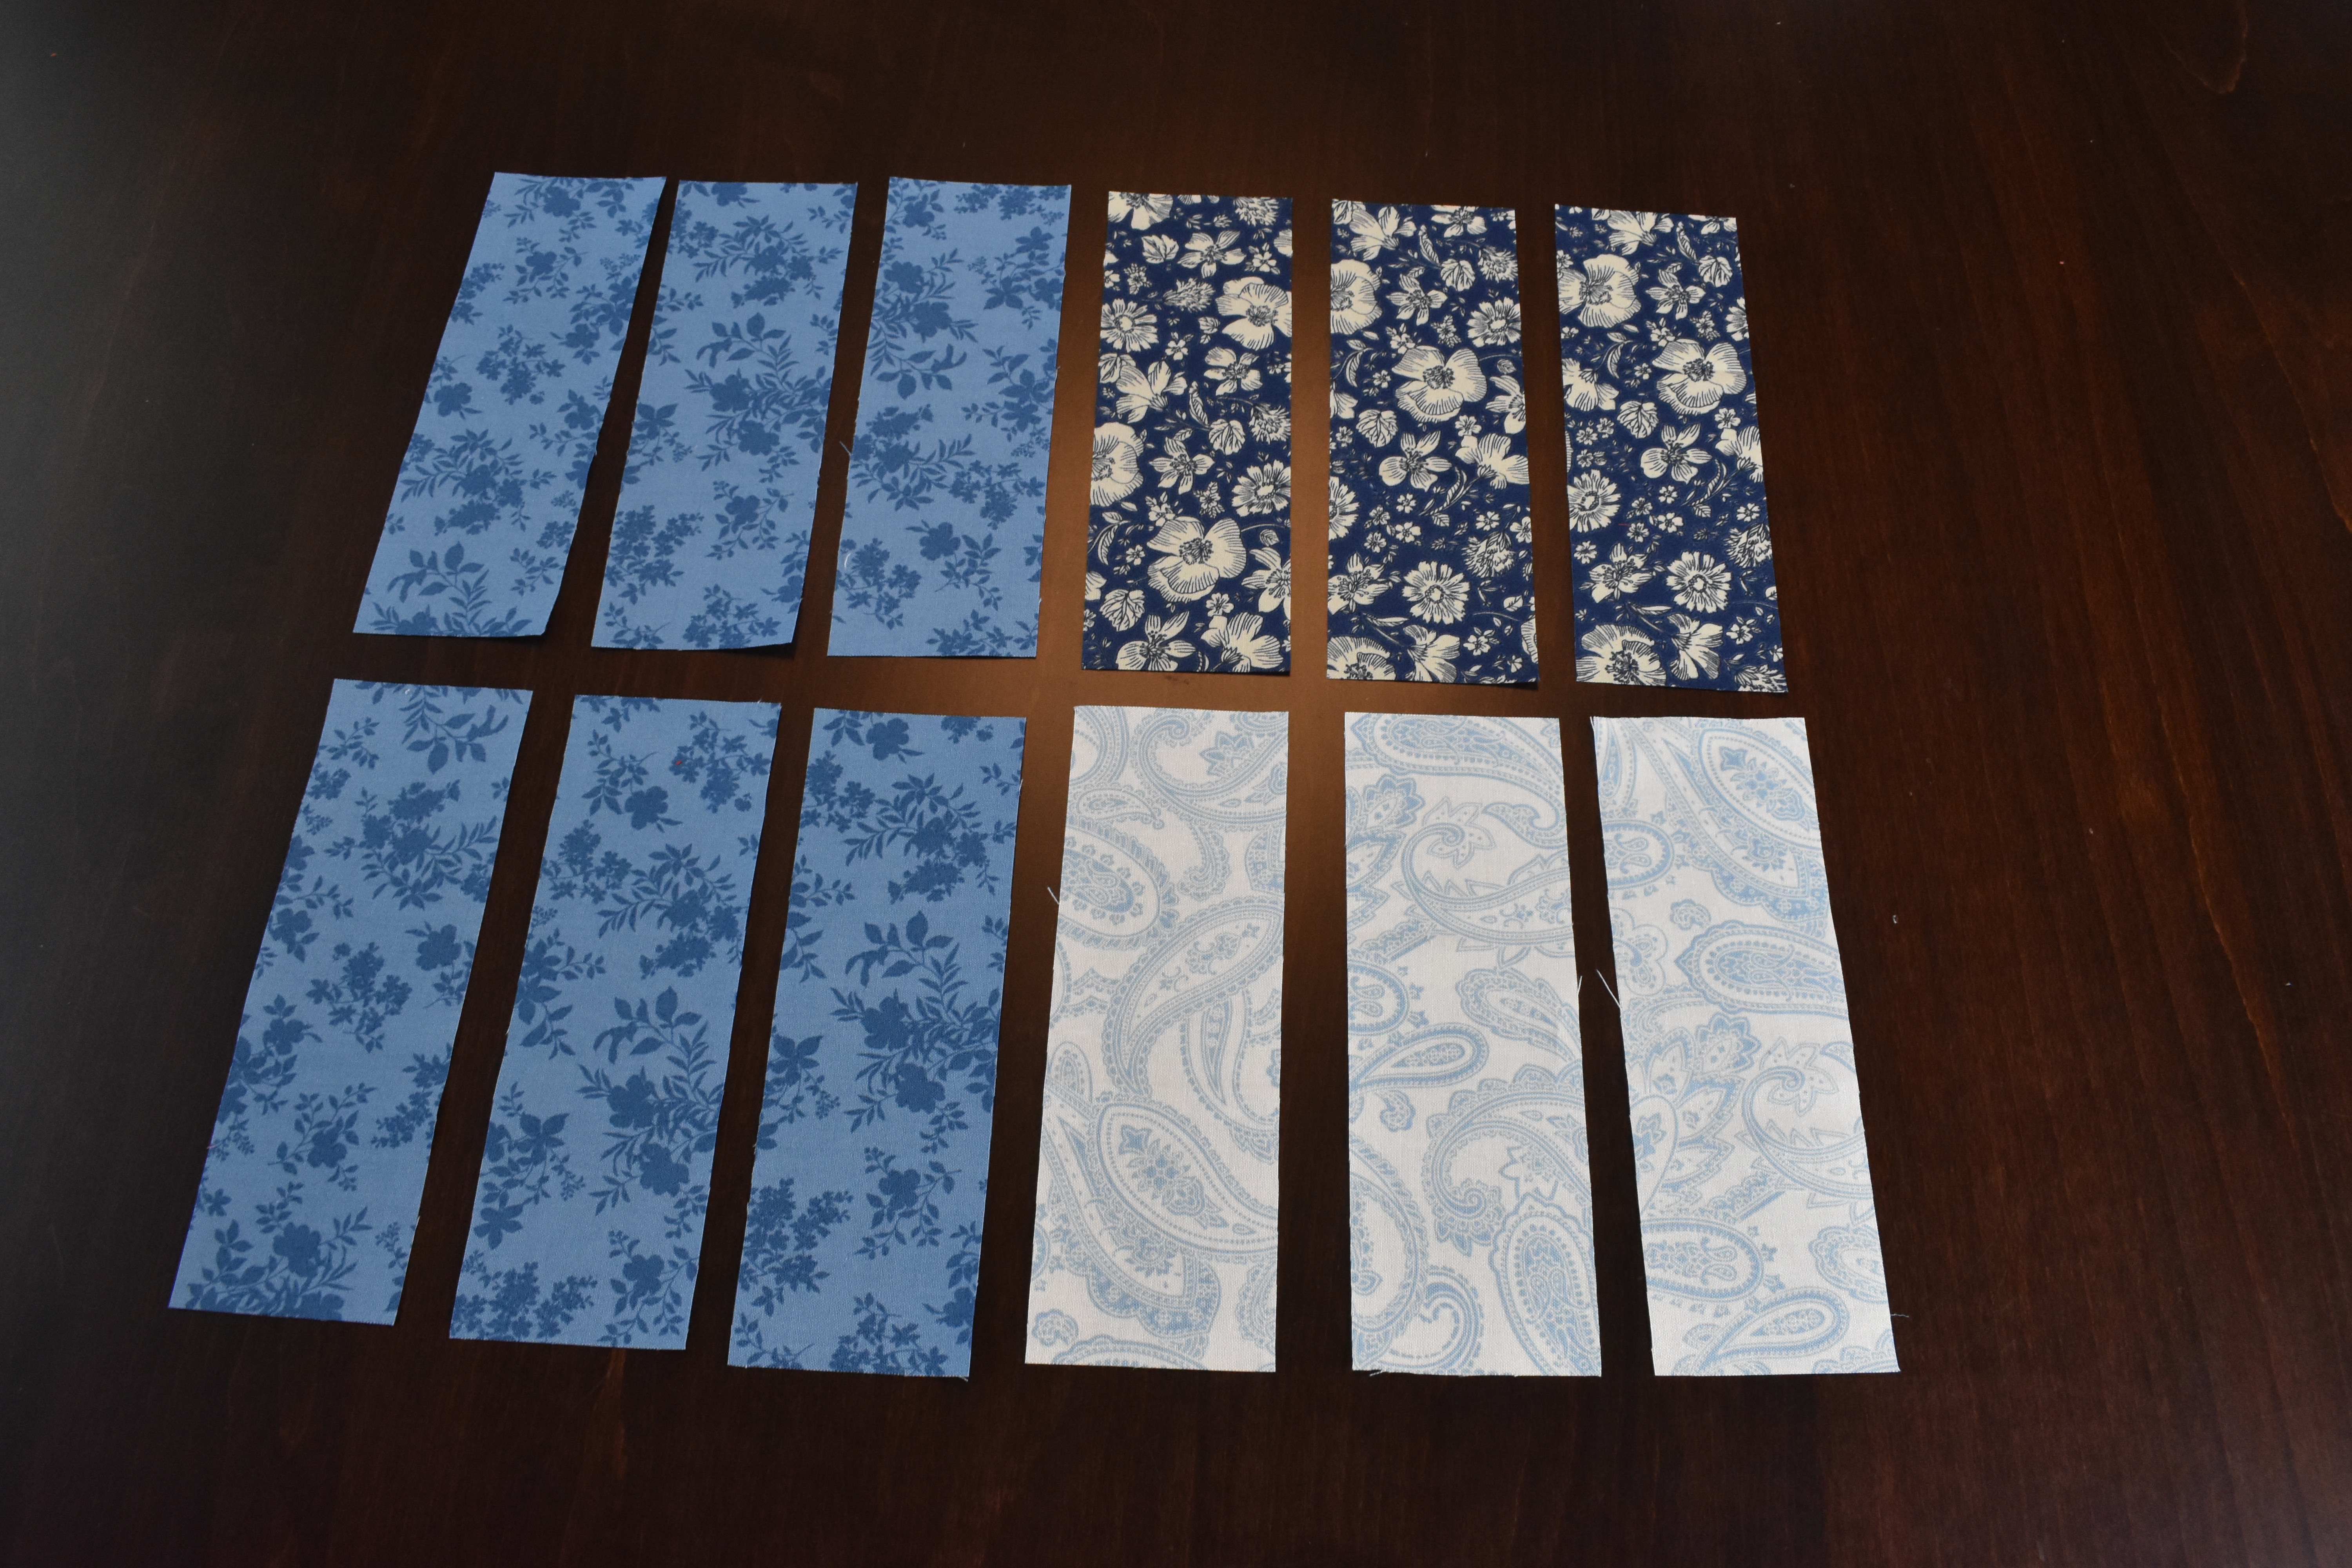
You will need 6 medium strips, 3 dark strips, and 3 light strips.
Organize and sew
Lay out your strips so that you make sure you sew them together in the correct order.

You need to sew together a row of medium, dark, medium dark, medium dark. Then sew a row of light, medium, light, medium, light, medium.
Press the rows. Press your dark/medium row to the right and your light/medium row to the left. This will help you nest your seams.
Cut the rows
Now that you have everything sewn you will need to cut your rows down to size.


Cut each row into 3 – 2.5″ strips!
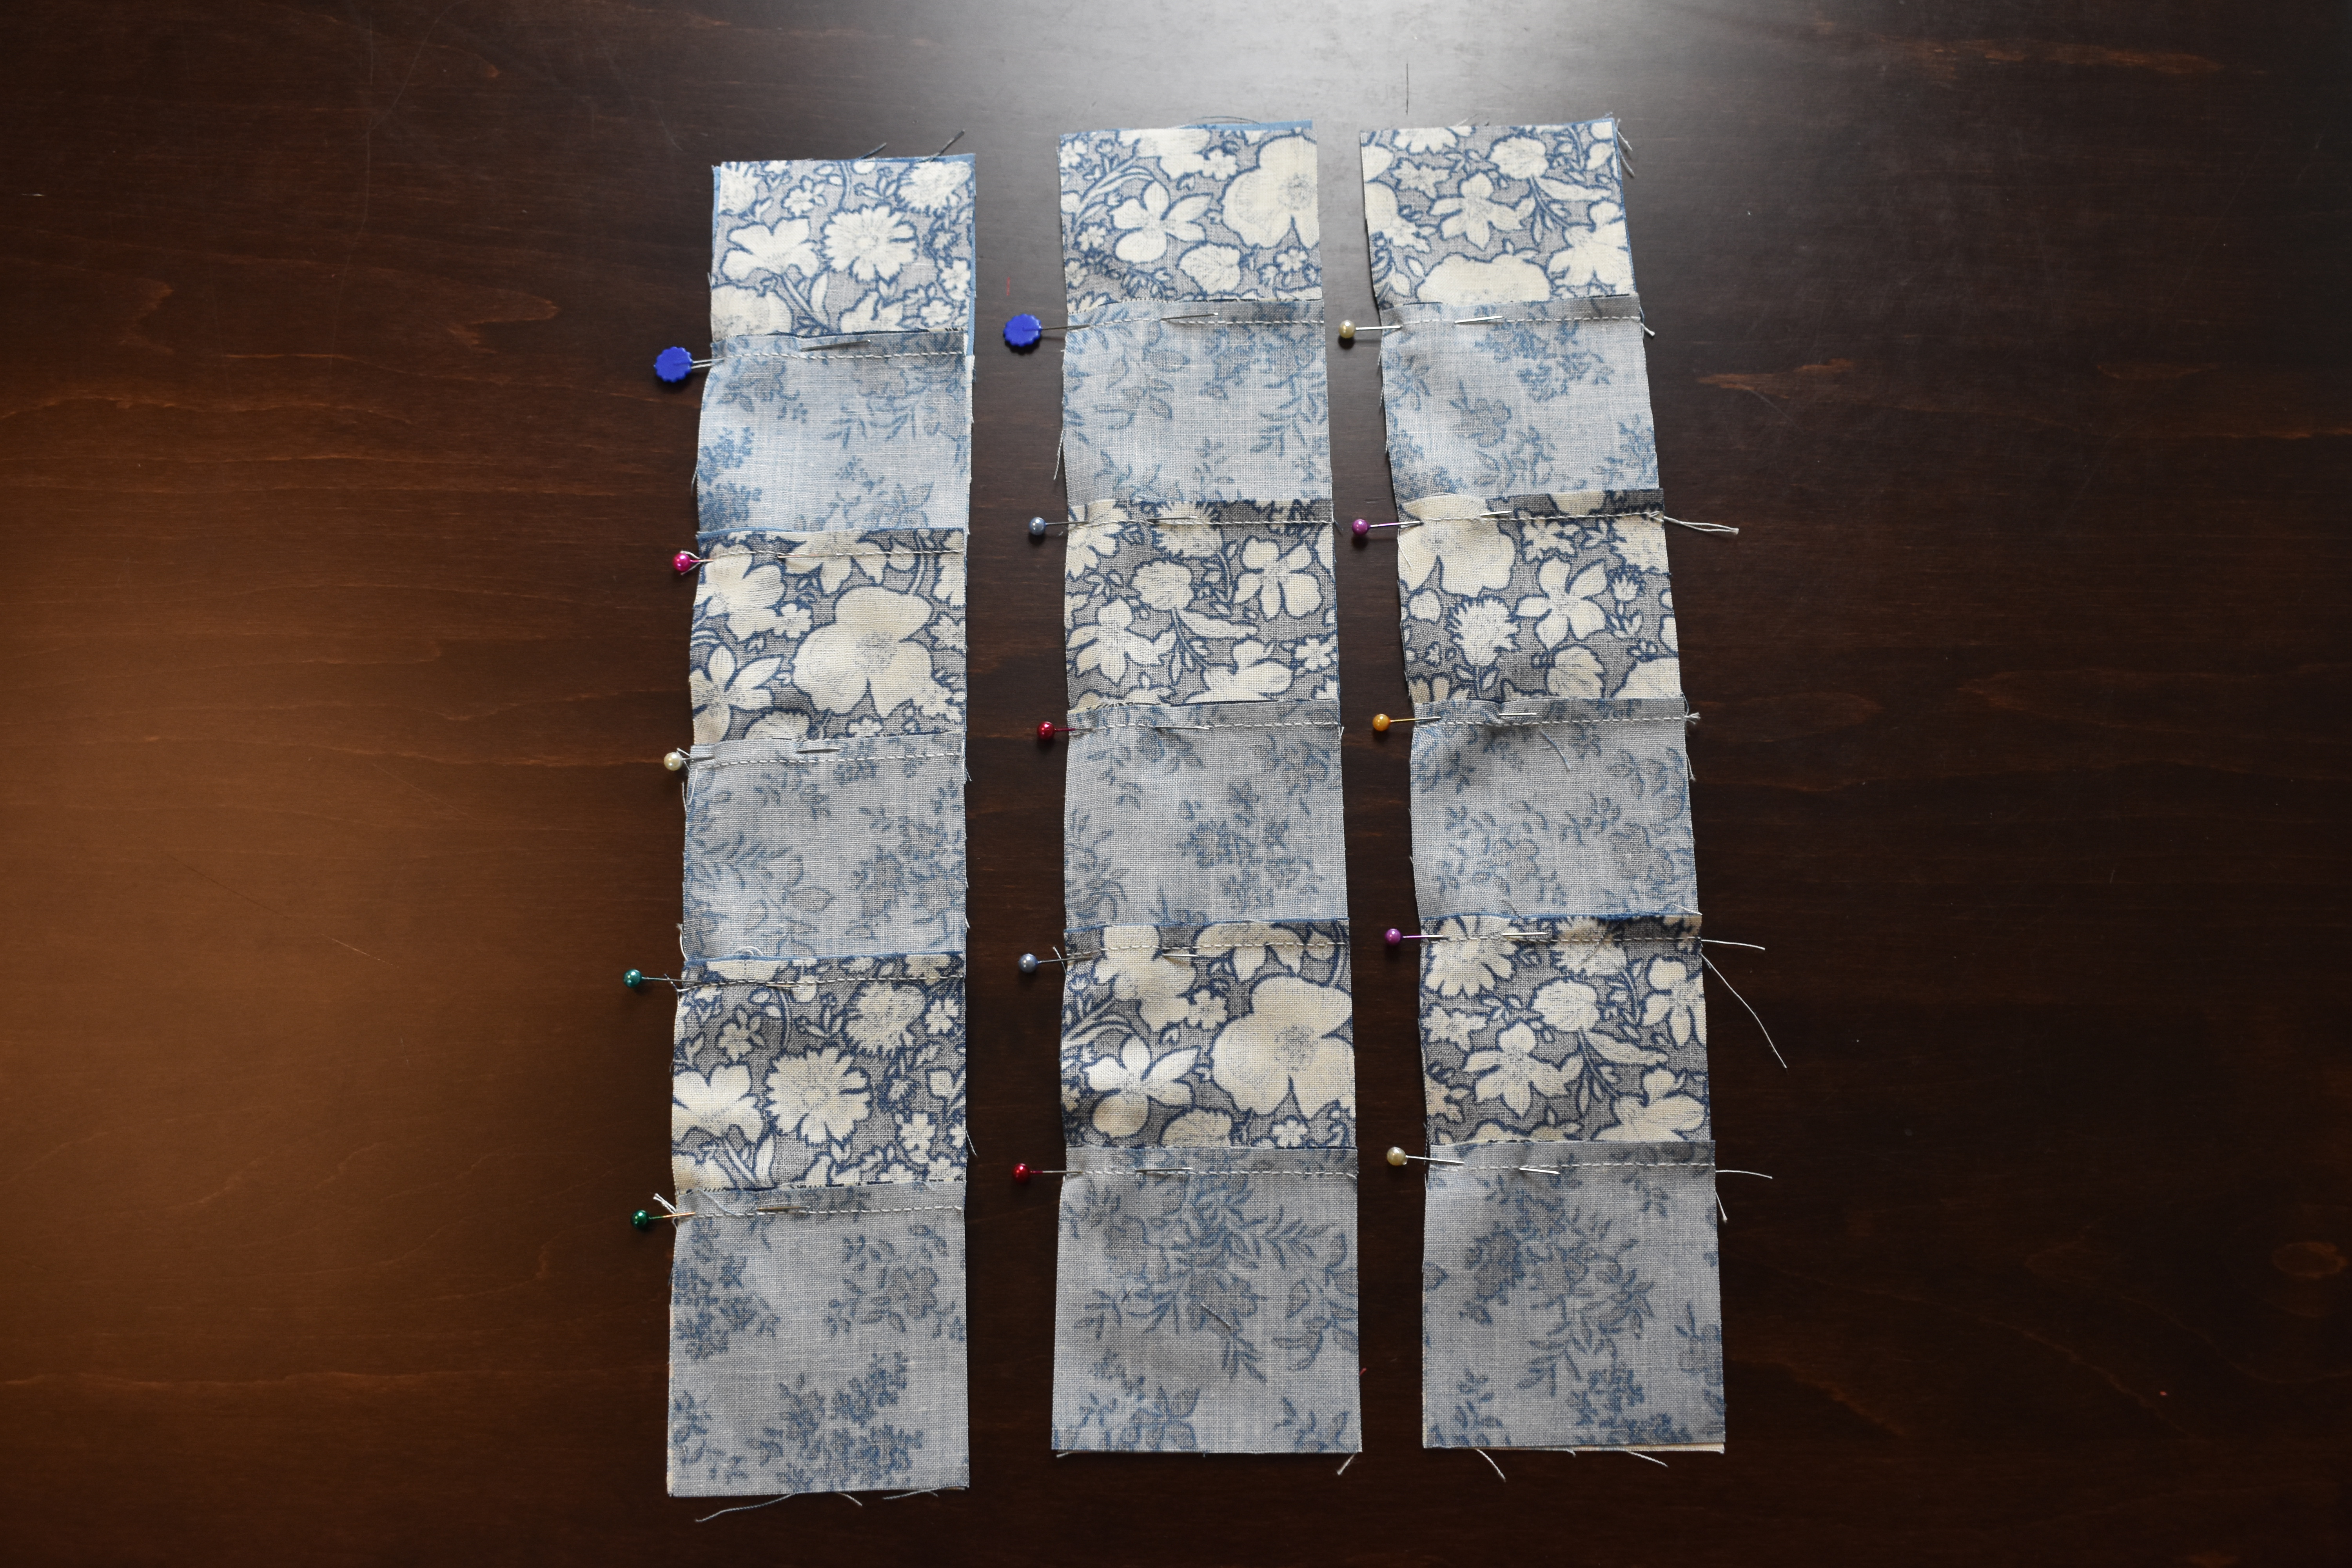
Organize your block
You are in the home stretch! Organize your strips into the final block.
 Your block should alternate dark/medium strips and medium/light strips.
Your final step is to sew!
Nest and pin your seams then sew!
After you are finished sewing press your seams.
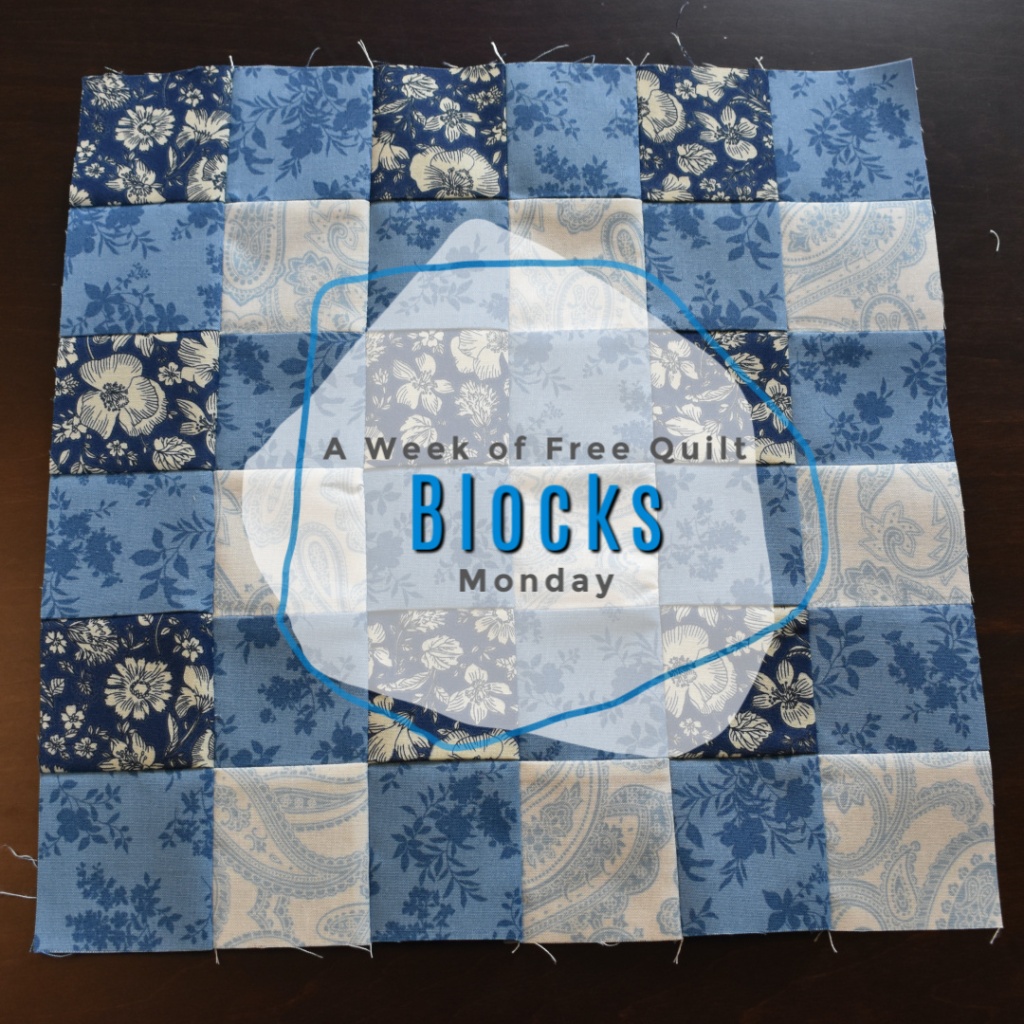
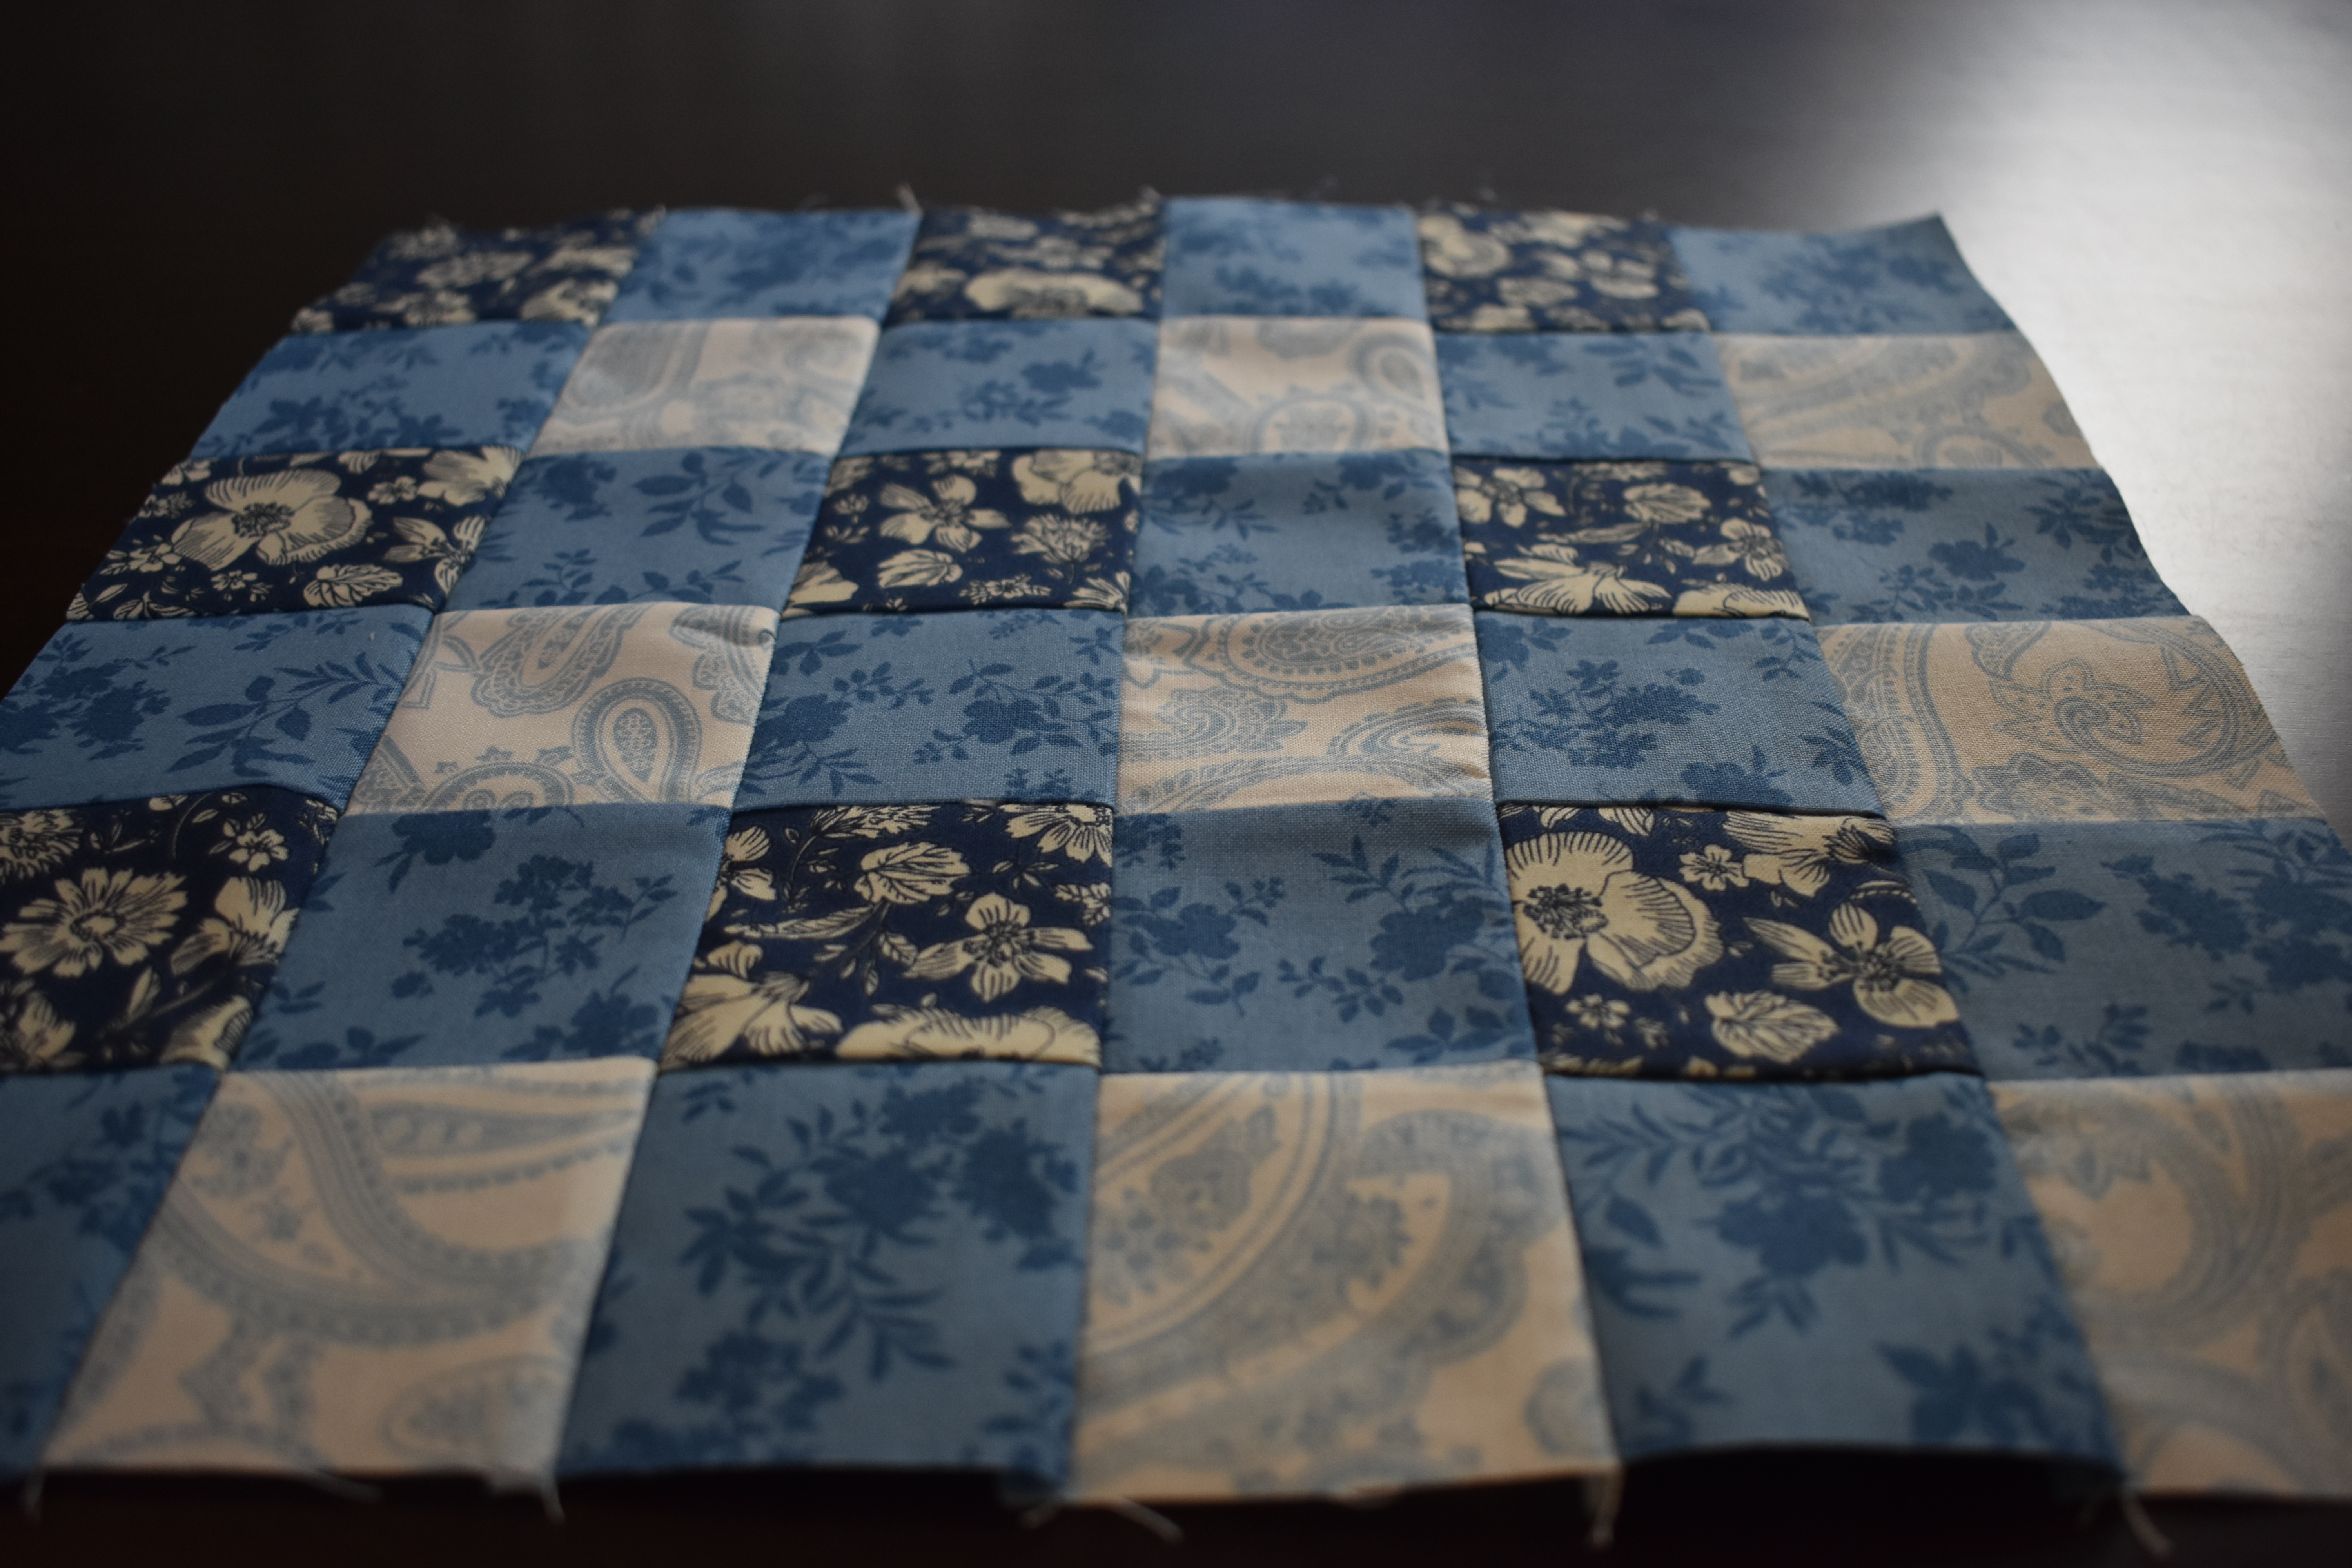
Finished


Remember, your final block will measure about 12.5″. If you are making a quilt the blocks will be about 12″. So, keep that in mind when you plan out your quilt to figure out sizing and number of blocks needed.

A note…
Notice how the blocks don’t look balanced. What I mean is that they don’t start and end with the same color rows. This is intentional… it is so that they can connect together to create your rows to make a quilt.
If you would like to start and end with the same color of rows here is a graphic that I created to show what you can do.
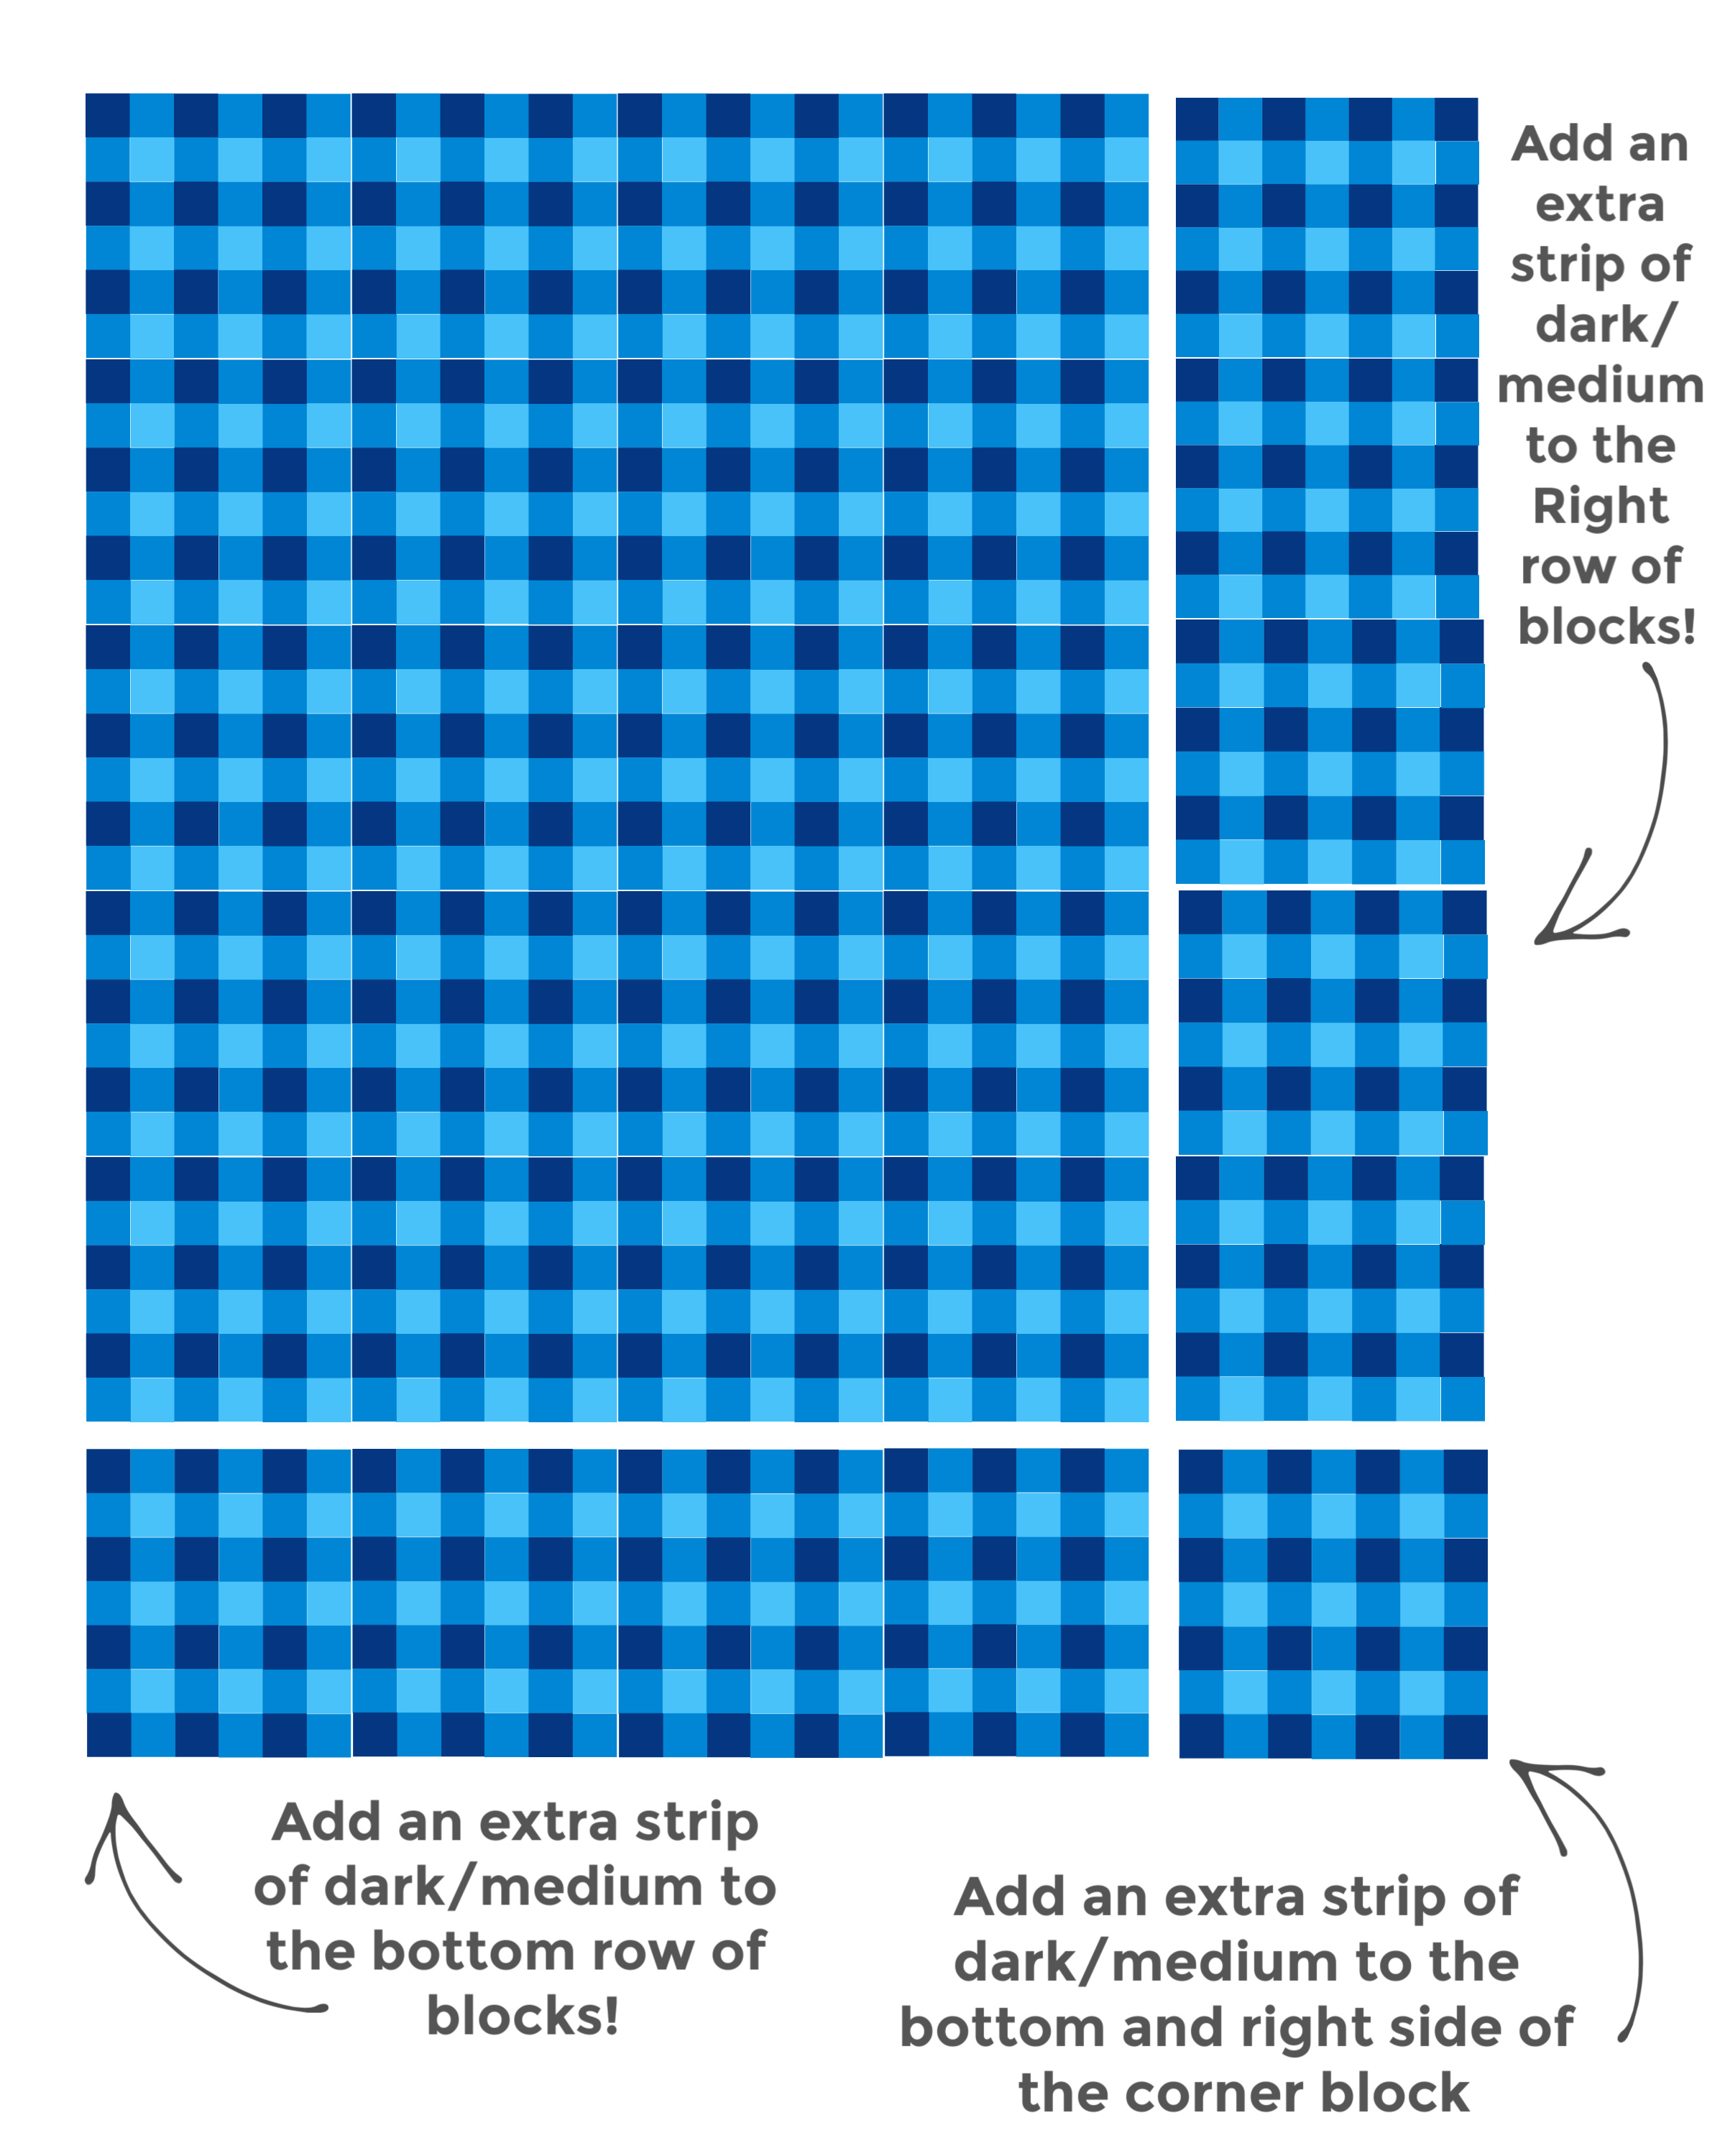
When I make a quilt with this block, I prefer the balanced look of starting and ending with a dark/medium row.
If you make a quilt with this block, like in the image above… which is 5×6 blocks. You will have a quilt top that is approximately 60″x 70″.
I hope you have fun making this block!
Be sure to subscribe to my blog so you get each block this week!
Bye for now!

5 responses to “Quickly Assemble A Buffalo Plaid Quilt”
If you would like to share a photo of the block you made you can do so on Facebook here: https://www.facebook.com/104230451184290/posts/133256311615037/?d=n
LikeLike
Great idea — I may try the Buffalo Plaid block —I’ve not made one before. Thanks for sharing the tutorial!
LikeLike
I really love simple patchwork quilts so this is definitely one of my favorite patterns to make.
LikeLike
I like you how you made the strips and then cut those into squares. Good idea.
LikeLike
Thank you! I love doing things like that when I can! It makes assembly faster and I don’t have to cut and sew a million little pieces!
LikeLike