
When I started quilting I had my mother’s old sewing machine, fabric, and my sweet momma, who has always supported my love of crafting, went and got me a rotary cutter, acrylic ruler and a cutting mat. My mom had a ton of pins already, and I just used those to baste the quilt. I really recommend investing in curved safety pins because man, those open pins will poke you a lot as you quilt!
So, with that said, you really don’t need a lot to make a quilt. You just don’t, but there are many many supplies that will make quilting so much easier if it is something you really want to dive into.
Unless you want to sew all your fabric pieces together by hand, which I do NOT recommend, you will need a sewing machine.
Right up until Christmas 2019 I had a simple Brother sewing machine. But, now I am a proud owner of a Bernina (Thank you husband!)

My main reason for loving the Bernina B480 is the ability to move the needle position. It really helps when wanting to achieve a perfect seam allowance, which is typically 1/4in on most quilt patterns.
However, you do not need to purchase a fancy sewing machine. Like I said, up until just recently I worked on much more affordable machines.
Here is a Brother Sewing Machine that is perfect for a beginner. Click the image to take a look.

After purchasing a sewing machine you will also need a few other supplies aside from fabric and batting. But, let’s start with those two since they are absolutely necessary parts of your finished quilt. When it comes to fabric you will find a wide variety of prices, colors and fiber content. I prefer using cotton fabric. I find that cotton fabric doesn’t stretch as much and is easier to line up seams. You can find affordable cotton fabric at most craft stores and even Walmart. If you are looking for higher quality fabrics and your budget for your first project can afford it then a quilt shop is a fun place to visit! At a quilt shop you will find a much wider variety of fabric prints and they are often organized by color scheme making it much easier for you to make your selections.
Batting adds the warmth factor to your quilt. You can purchase batting in many different sizes and weight. Batting is the middle portion of your quilt sandwich. The top of your quilt is the beautiful design you patched together. The batting is the middle. Then you will have the back of your quilt. Batting can be made from many different fibers. Cotton and polyester are the main two I have worked with. If you are quilting something, such as a pot holder, you will need to purchase a heat resistant batting.
Here is a link for a batting that I would recommend for your first quilt. It is very affordable and light weight. It is for a throw sized blanket. Click the image to take a look.

Ok, so let’s get into some supplies that will make your first quilting project so much easier. Once you have purchased your fabric you will need to iron it! I never understood how important this step was when I first started quilting. I don’t iron clothes. In fact, I avoid it as much as possible. I would prefer to waste energy and run the dryer again if the clothes are wrinkled. However, I have learned to embrace ironing and it will become a very important step many times in your quilt assembly. In fact, before you even make your first cut across your fabric you will need to iron it. Hopefully you already own an iron and an ironing board or mat. If not, it will be a necessary purchase.

Once you have ironed all the fabric you will be using in your project you can finally begin cutting it! At the very least you will need some fabric scissors. Now, I would never again use just fabric scissors to cut my fabric into the pieces I need for the quilt pattern I am using, but they will work! (Even if you plan to purchase a rotary cutter I still recommend grabbing a pair. You never know when you will need them. There are some cuts that just can’t be made with a rotary cutter.)
Why fabric scissors and not, say, kitchen scissors? Well, fabric scissors are curved in such a way that they line up almost flat against a flat surface. This will make it just a little easer to cut straight.

My preferred items for cutting my quilt pieces are a rotary cutter, a cutting mat, and acrylic rulers.


I have two rotary cutters, not for any other reason than I wanted to try something new. I think both work great, however, the oolfa is a lot easier to open and close.
When it comes to a cutting mat, I recommend purchasing the largest mat that fits the area you will be using to cut your fabric and still fits your budget. It will make measuring and cutting your fabric that much easier.
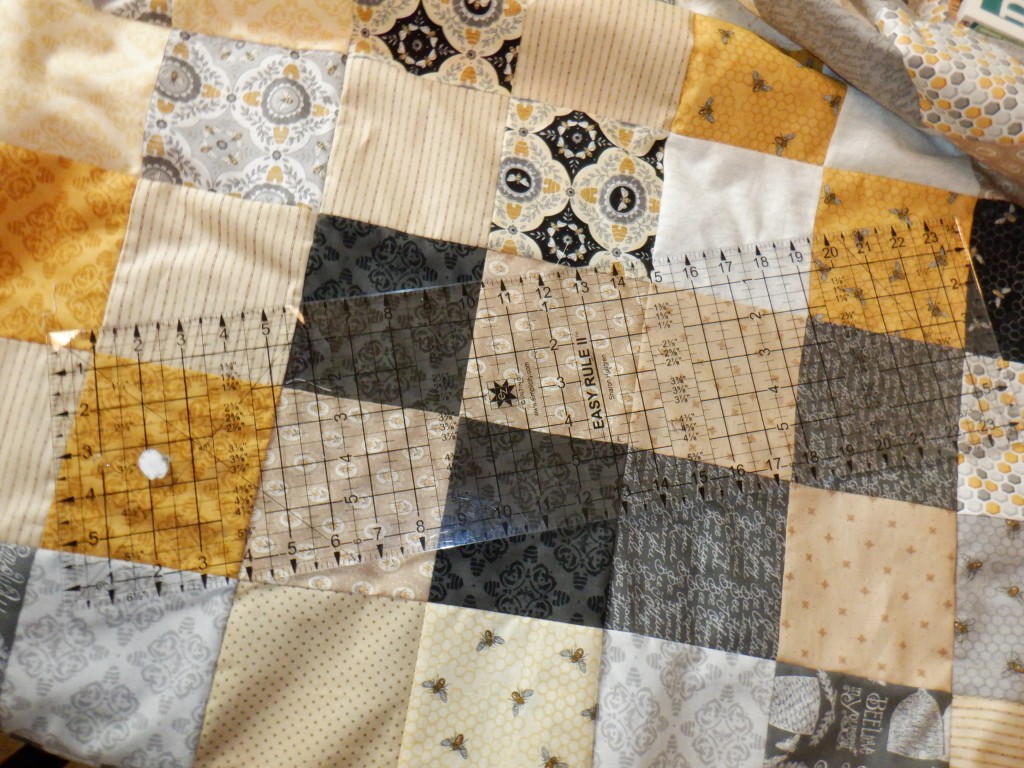
Why acrylic rulers and not a simple school ruler? As you can see from the images above the clear rulers allow you to see through them to not only view the fabric you are cutting but also helps you achieve straighter cuts by matching the straight lines on the ruler to the straight lines on your cutting mat.
Click the images below to take a look at some of my top fabric cutting supplies.


When it comes to rotary cutters, I like to keep replacement blades on hand. You shouldn’t have to make more than one pass over your fabric to cut it. If it doesn’t cut through the first time then your blade needs to be replaced. With a brand new blade I can usually cut through four layers of fabric in one pass. So, it’s sharp. Don’t leave it laying around in the open position!
A note about Cutting Mats: They are NOT heat resistant. Don’t use them as an ironing board. I won’t name any names, but someone learned the hard way that they do melt.
Now that you have your cutting supplies ready… and a fancy sewing machine, perhaps you have your fabric cut and ready to sew.
Here are a few supplies you will need to begin sewing, and they likely came with your sewing machine: Sewing needles, bobbins, and a seam ripper.


A few extra sewing needles likely came with your machine, but you will still want to make sure you always have a few extra on hand when you start a new project. You never know when a needle will break and there is nothing worse than being in a sewing groove when a needle breaks and you have no back ups!
You should also put in a new needle with each new project. It is always best to sew with a nice sharp needle.
Bobbins house the thread that is sewn along the bottom of your fabric. Having a few extra bobbins on hand is not a bad idea. You can often go through the thread you spun onto your bobbin pretty quickly. It is nice to have a few bobbins full of the thread color you are using on a project so that when one runs out you can just pop a new one in quickly and keep sewing. This isn’t necessary though.
A seam ripper is important to, well, rip seams when you inevitably screw up. Maybe you didn’t sew the right sides together or you sewed the wrong fabrics together. Whatever it is… it will happen, and you will need a seam ripper so you can fix it.
So, let’s talk thread. I have tried it all. From Walmart thread to expensive embroidery thread. And let me just say it in a whisper so the professional seamstresses don’t come out of the woodwork and attack me… It all works. There. I said it.
Just go grab some thread in a color that fits your project and sew.
Now, when I do buy it from Walmart I usually grab the one that says All Purpose. Sometimes I am cheap. And their thread is a great price.
With that said, you will notice a difference between Walmart thread and say the Isacord brand pictured below once you really start sewing a lot. The Walmart thread can look a little frayed sometimes. You will notice this a lot if you are trying to thread your needle (if your machine doesn’t do it for you). But, when you are just starting out and learning… Don’t feel bad about saving where you can.
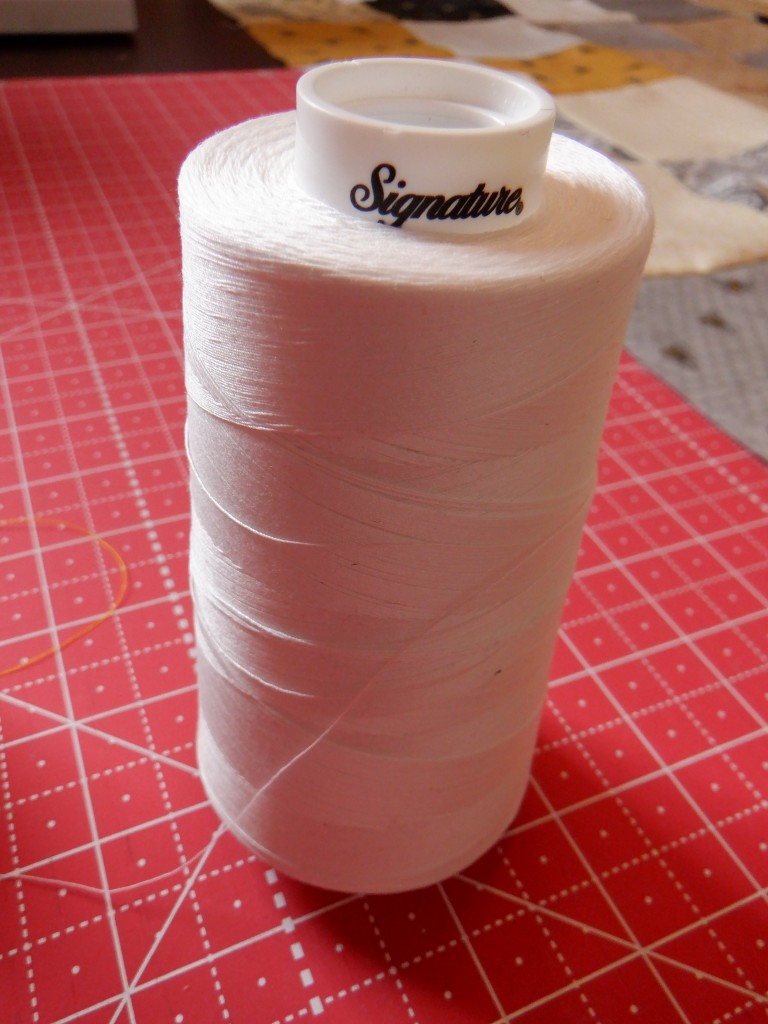

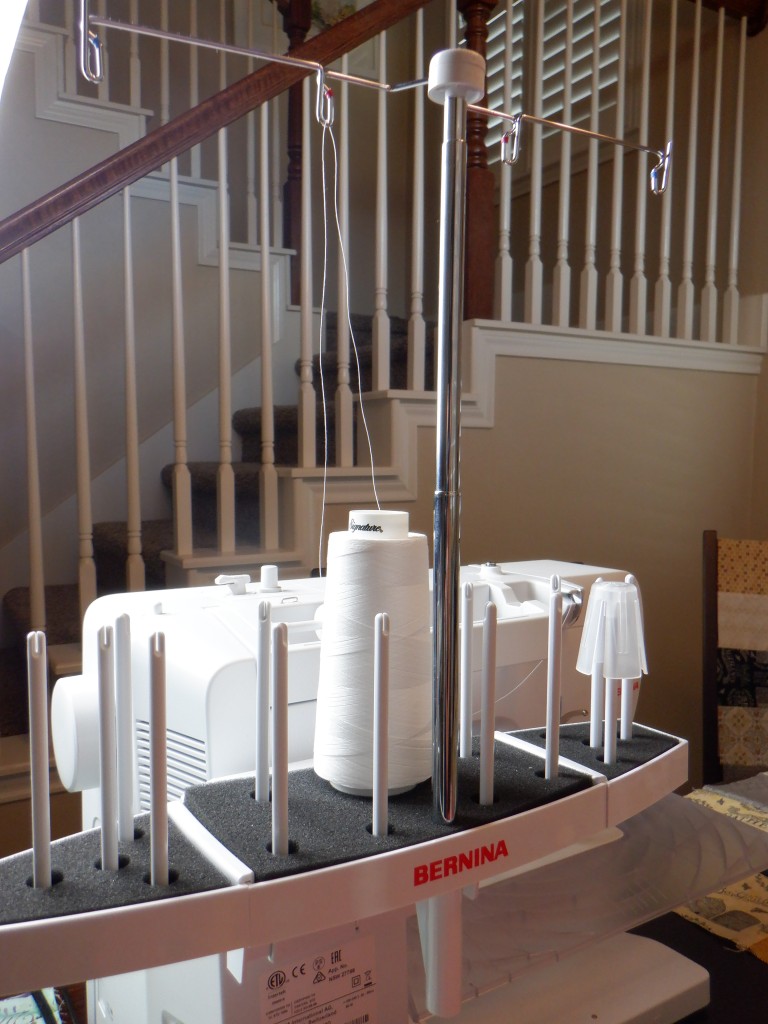
If you like this idea of the big spool of thread then you will need to purchase an attachment.
Click the image below for a thread stand that will work with any machine.

You will absolutely need pins. Thankfully they are fairly inexpensive. Two more things that you don’t need, but will make your quilting experience a little easier are curved safety pins and wonder clips.
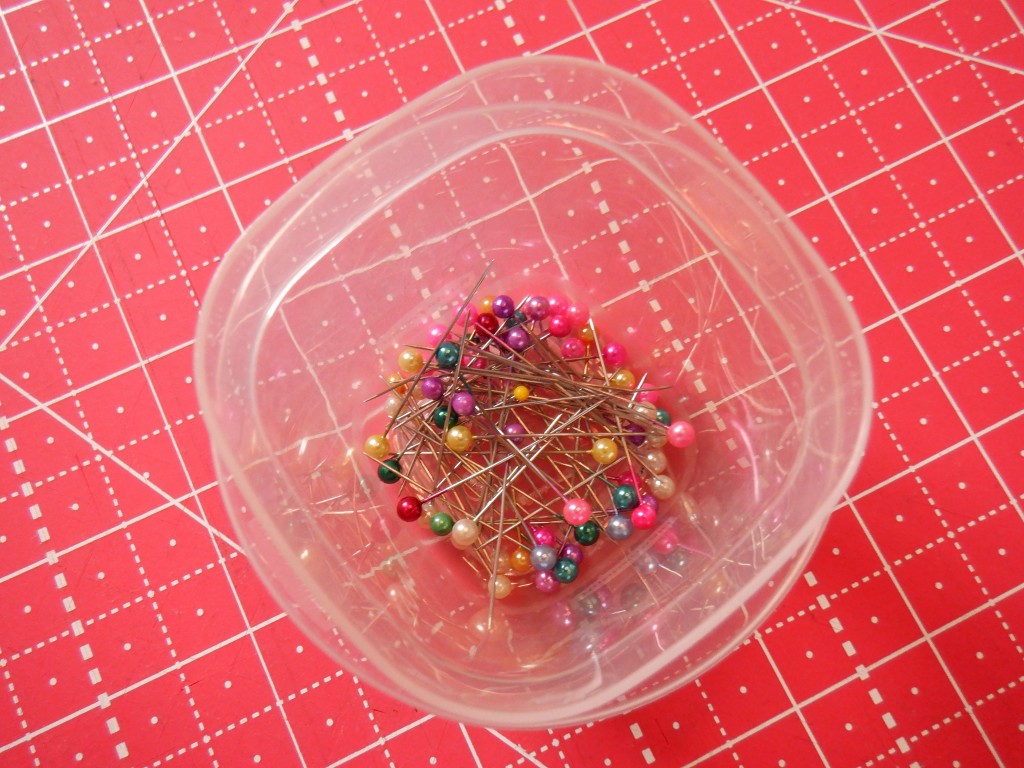

Pins come in a wide variety of sizes, colors, and even with fun decorations on the side opposite the sharp points. You will need these to pin your fabric to prevent it from shifting as you sew.
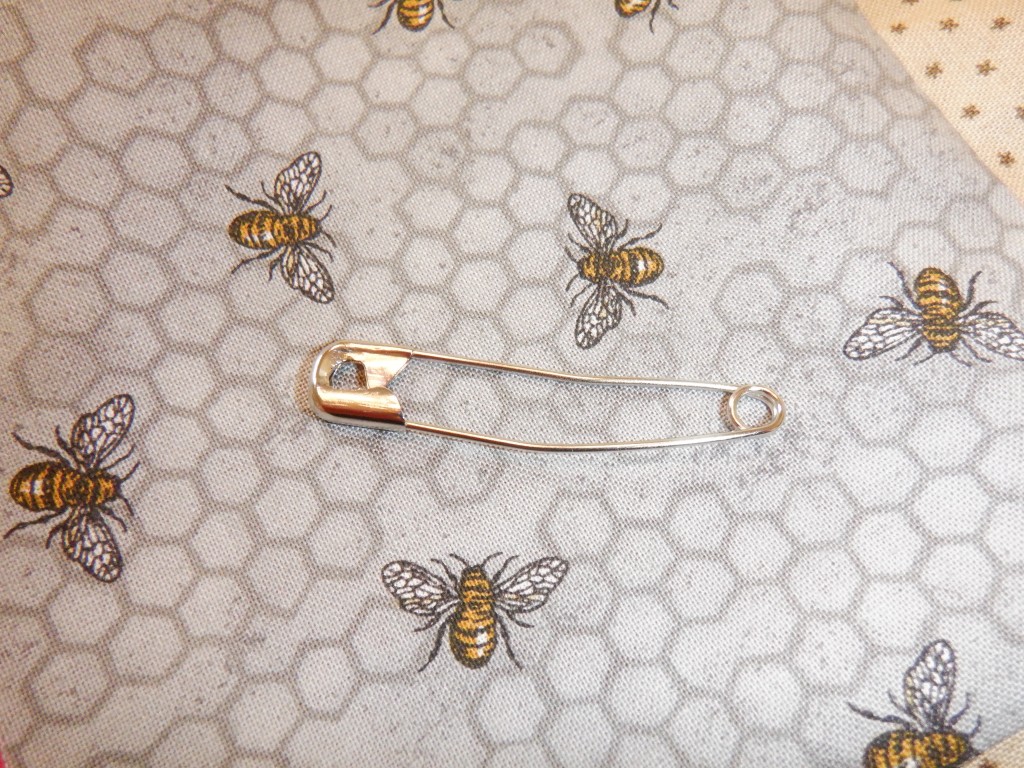
Curved safety pins come in handy when you are prepping your quilt to actually quilt. The safety pins hold all layers of your quilt together. I used to use just regular pins during this process, and it is doable, but not recommended since the points aren’t covered, like on a safety pin, so they will poke you as you quilt.
When you bring all the layers of your quilt together, the top (the patchwork decorative layer), the middle (batting), and the back (one large piece of fabric or more depending on the size of quilt), this is called basting your quilt. You will lay them all flat together and use something to keep all those layers from moving as you quilt it. I prefer curved safety pins because the curve allows you to easily go through all three layer and come back up through the top and close the safety pin without moving the fabric too much.
My preferred method of basting a quilt isn’t the only method of course. You can also spray baste a quilt. This is essentially a spray glue that holds everything together. I often use this method on smaller projects like quilted tote bags. I don’t usually use it on bigger projects because I think it can be sticky and messy.
Wonder clips, oh wonder clips. These gems have become my best friend when it comes to binding a quilt, which is your last step in the whole quilting process! If you have made a quilt before and had trouble binding it then try my method! I had so much trouble with binding quilts… the binding would twist, bunch, stretch, honestly you name it and it happened. But, I now have a fool proof method to perfect bindings. I will have a detailed post covering what I do soon. So, if you need help with binding your quilts subscribe to my blog so you are notified when my binding post is available!
Click the images below to see some great pin, safety pin, and wonder clip options.


A few more sewing supplies that will make your experience easier, but not necessary, is fabric markers (I prefer chalk), a stiletto, a lint roller, thread scissors, and tweezers.


You will come across times when you want or need to mark your fabric on the pretty side. You will need some sort of special fabric marker when this time comes. Whether it is chalk, which is my preferred marker, or an ink marker with disappearing ink (Yes it is a thing), you will need something.
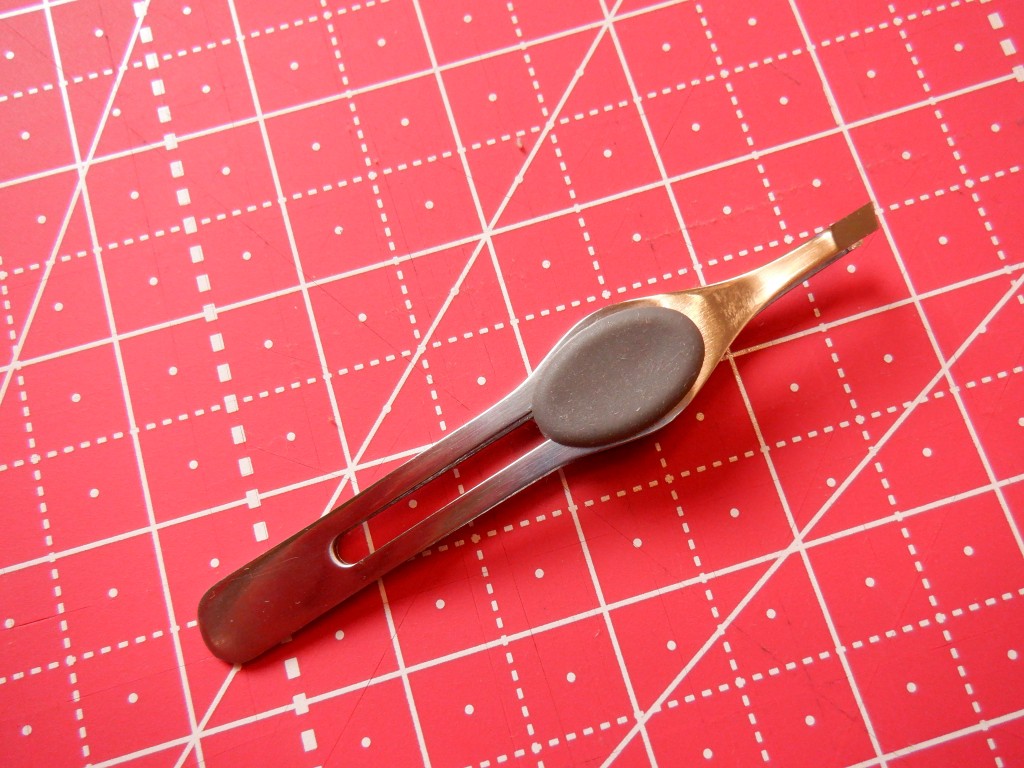
A stiletto comes in handy when feeding bulky amounts of fabric through your feed dogs and presser foot on your sewing machine. I use a stiletto when sewing the binding onto the quilt. The stiletto I have, pictured above, also has a seam presser on the opposite side. This comes in handy when your fingers are tired of finger pressing open seams.
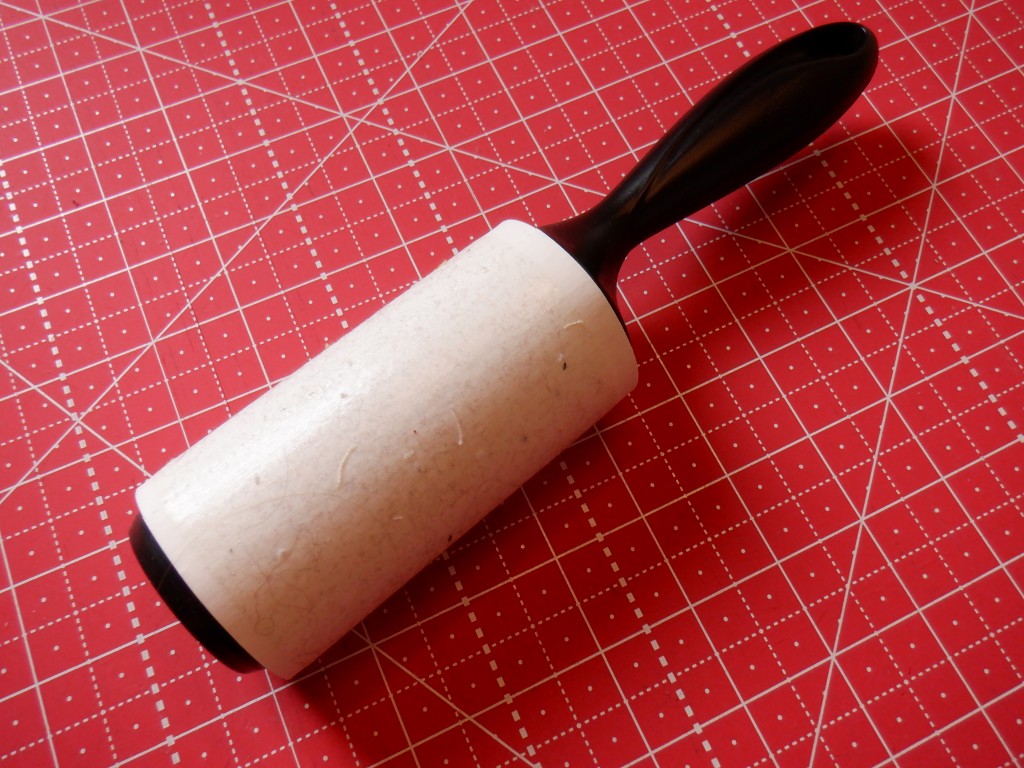
When quilting you will end up with tiny threads and fabric pieces everywhere. On you, all over your quilt, on your dog… everywhere. I love having a lint roller on hand to clean up my quilt, myself, and my dog.
Thread snips are just for that… thread. I like keeping these tiny scissors in my sewing bag so I don’t have to go hunt for a pair in the middle of sewing and I need to clean up threads.
Tweezers. Well that’s strange… right? Keep these on hands because your thread on your machine will inevitably jam. Use the tweezers to pull out tiny pieces of thread that you can’t reach with your fingers.
Click the images below to check out fabric markers, and my favorite stiletto.


The last two supplies I want to tell you about make quilting much much easier, but are not necessary either.


If you plan to free motion quilt then you will at the very least need a walking foot for your quilt. If you have a Bernina sewing machine and are really serious about quilting then see if your machine works with the Stitch Regulator. It will really help you keep your stitches even.
The Three-sole walking foot was a special that came along with my Machine! I haven’t used the walking foot, but I often use the seam guides (The guilting guide bar) when quilting straight lines on my quilts.

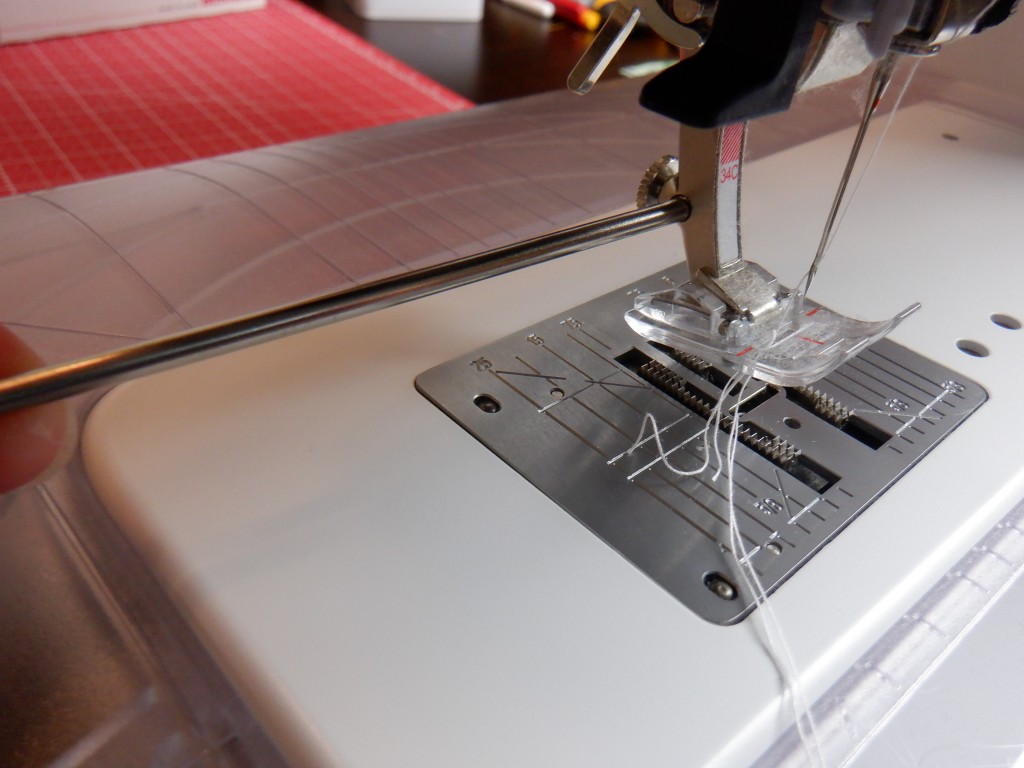

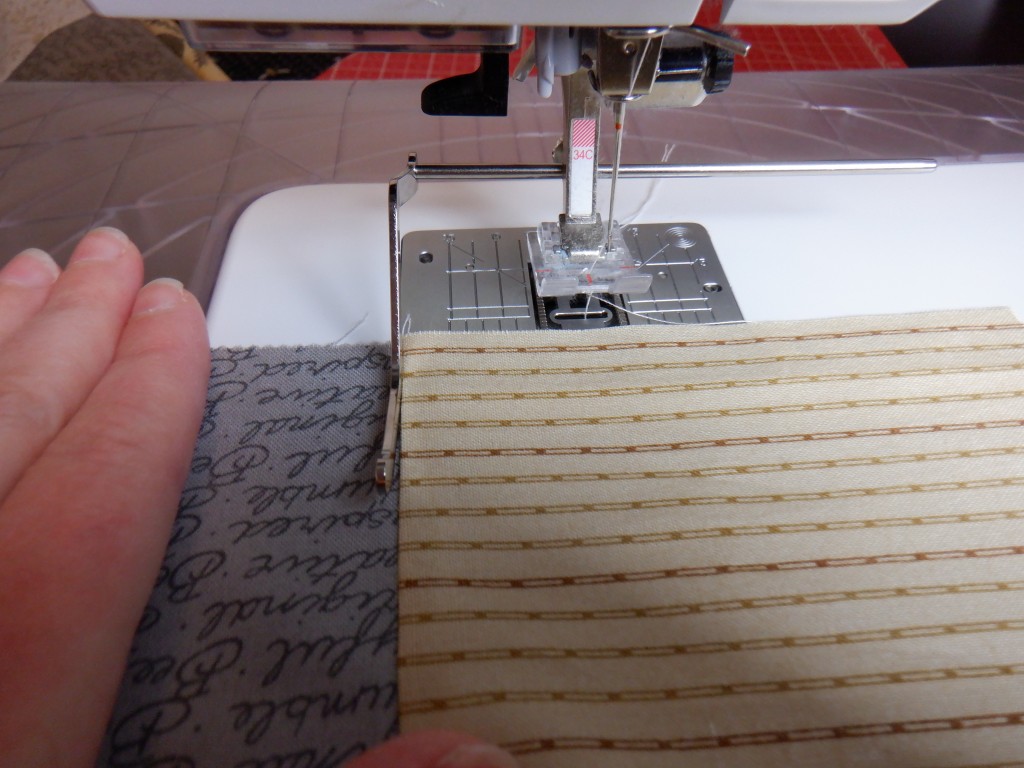


If you have ever gazed in wonder at the perfectly straight lines on a homemade quilt and wondered how they achieved such greatness… the seam guide bar was probably their secret weapon.
Check out the image below and see if it is compatible with your machine.

Are you overwhelmed? That is completely understandable at this point. Just remember, not all of these items are absolutely necessary when starting your first quilt! Take a deep breath, and just think about the first few items listed. The rest you can gather over time.
In my next post I will show you why I prefer using a rotary cutter, cutting mat, and acrylic rulers as opposed to just fabric scissors.
Thanks for stopping by my blog, and I really hope you found the information helpful.
I hope I didn’t miss and of my favorites, but if I do think of anything I will let you know!
Bye for now.
Create Beautiful Quilts is a participant in the Amazon Services LLC Associates Program, an affiliate advertising program designed to provide a means for sites to earn advertising fees by advertising and linking to Amazon.com. Some links may be affiliate links. We may get paid if you buy something or take an action after clicking one of these

5 responses to “My Favorite Quilting Supplies”
Great post! I do enjoy reading different quilter’s journey– favorite techniques and tools! I’ve been a sewer over 50 years but got the quilting bug in 2010. I really enjoy cutting and piecing not the quilting.
LikeLiked by 1 person
I have learned so much from following other quilter’s. It’s a great way to develop yourself and learn new ways to do things. Piecing together the quilt is absolutely the best part! I love seeing the idea come together. It is all downhill from there!
LikeLiked by 1 person
I’ve always wanted to make a quilt. Even bought a couple sewing machines 😂 never made it that far though. I love all the ideas you have! And how you are sharing your favorite tools. Good luck! Can’t read more of your post!
LikeLiked by 1 person
I am working on a step by step very basic quilt tutorial! Maybe it will inspire you to create your first quilt! Thanks so much for stopping by!
LikeLike
[…] quilt and they both make it much much easier! They are a stiletto and wonder clips. I discuss them HERE and there are also links to purchase them if you are […]
LikeLike