

These potholders come together very quickly. The quilt-as-you-go method for small projects like this makes this a great project for beginner quilters and kids who want to learn how to sew. If you can sew in a straight line then you are qualified to make these potholders!
Here is what you will need:
- Jelly roll or 2.5″ strips of scrap fabric
- Fabric big enough to cover the back of your potholder
- Heat resistant cotton batting
- Starch
- Basting Spray
- Pins
- Iron and ironing board
- Sewing machine
- Coordinating thread
- A way to cut your fabric (rotary cutter or fabric scissors)
- I use wonder clips to bind the potholder (Not necessary)
Quilted Potholder with binding and loop
This version of the potholder is a bit harder than the other version I will show because it will have a binding and a loop. However, if you can sew pretty well I think you will be able to handle it. This will also be a good way to practice binding if you are in the process of learning to sew quilts.
Start to finish I completed these potholders in just under an hour. Not too bad considering I was also taking photos!
Let’s get started.
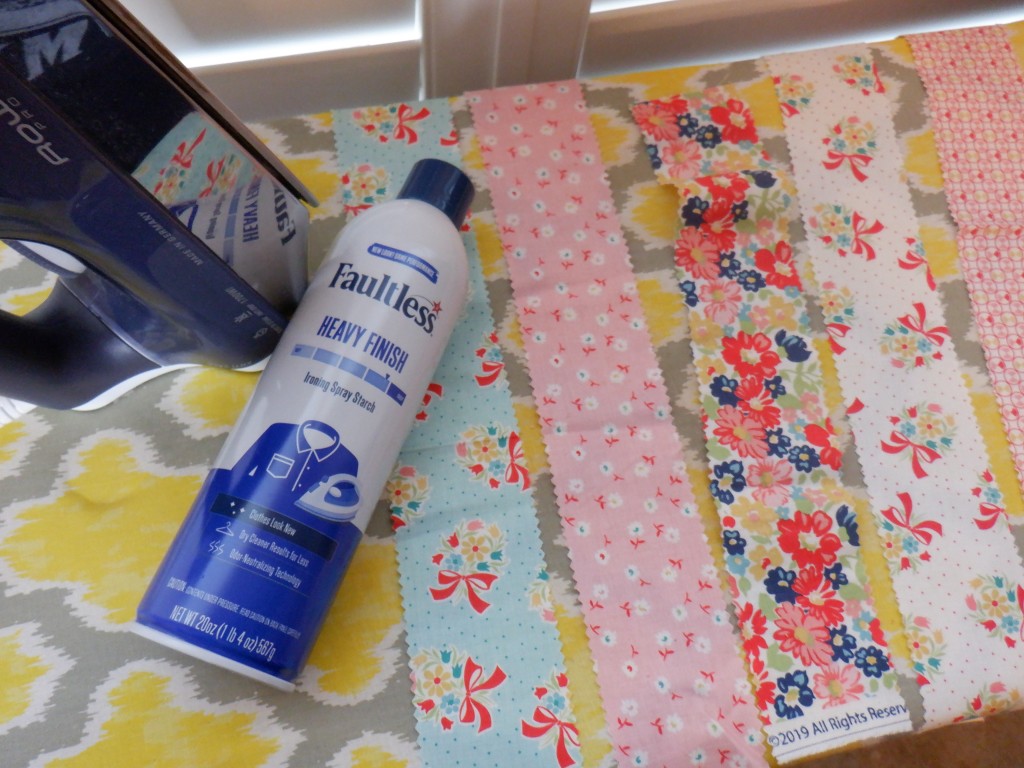
After you have selected the strips of fabric you are using, and your backing fabric, you will want to starch them and iron them. I like to starch my fabric for quilt-as-you-go because then you can easily finger press the seams and continue sewing. This step is what makes the project move along so quickly.

Next I will cut all the fabric I am using to size. I am going to make 9.5″ potholders today, but you can make any size you would like!
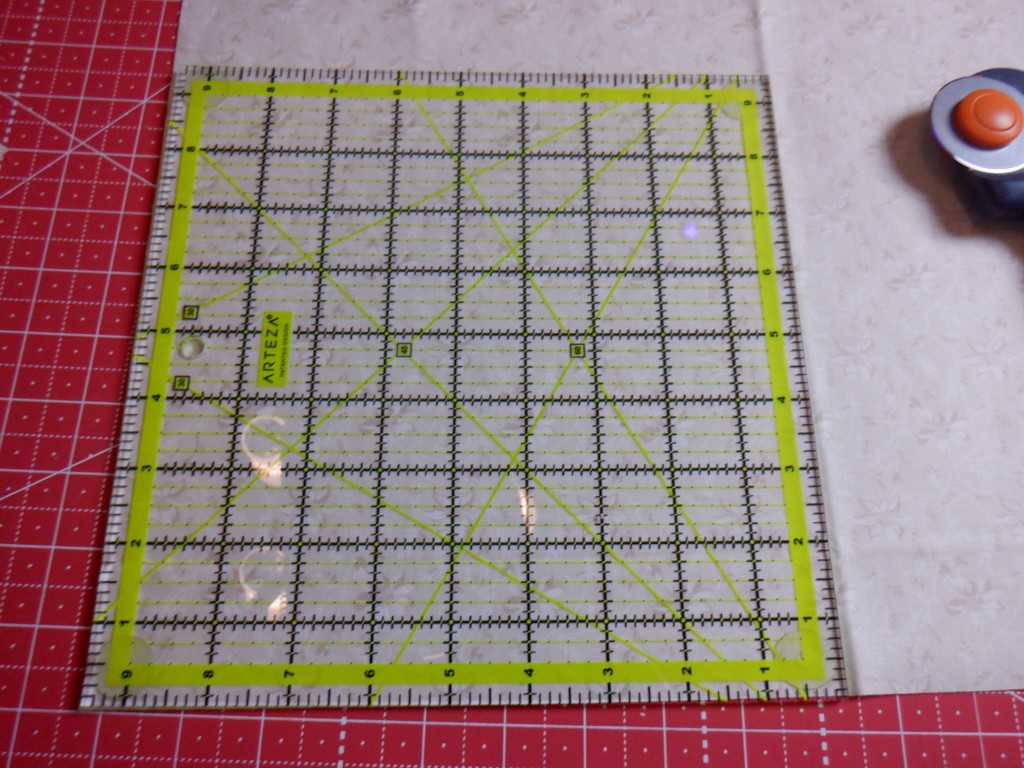
Cutting the backing fabric. 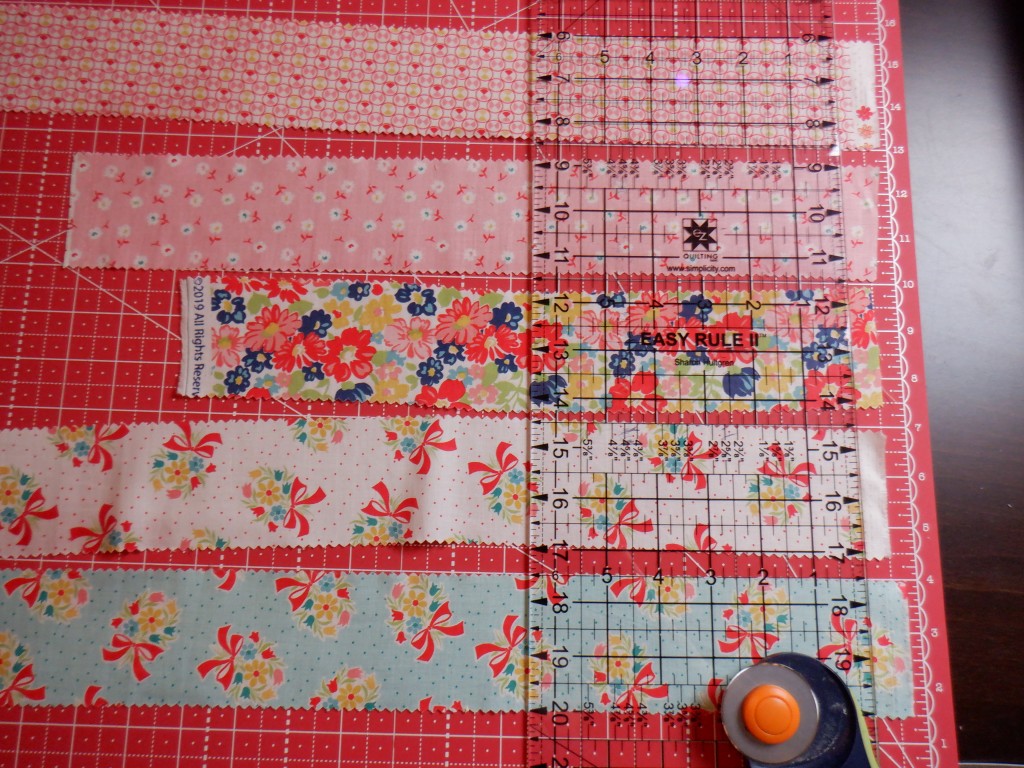
Trim Strips. 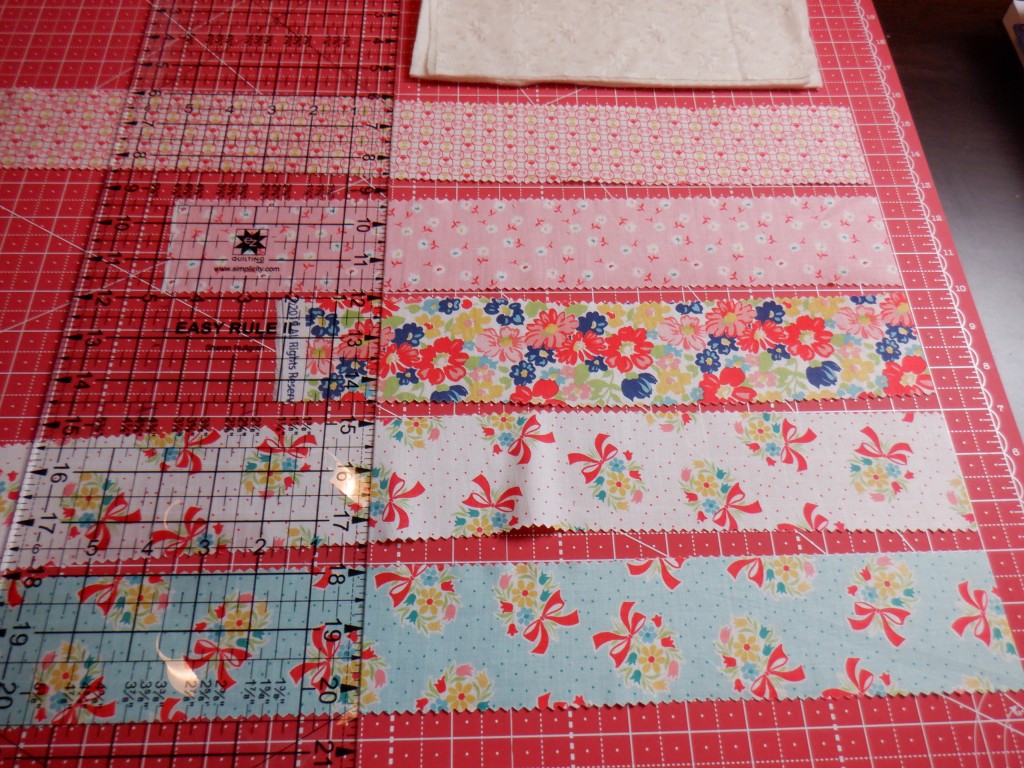
Cut fabric strips a little longer than the backing fabric.
Make sure you cut your batting as well! I am cutting it 9.5″ and I am using two for my potholder to make sure I protect my counters from the heat of the dishes I place on them.
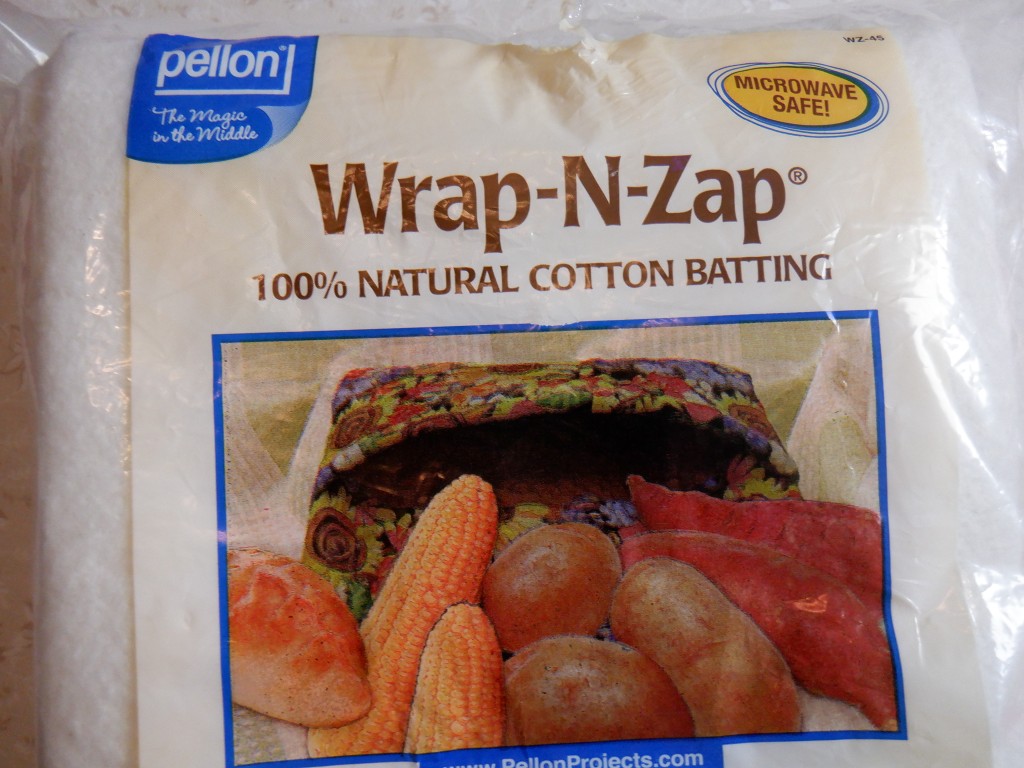
Make sure to use a heat resistant batting. 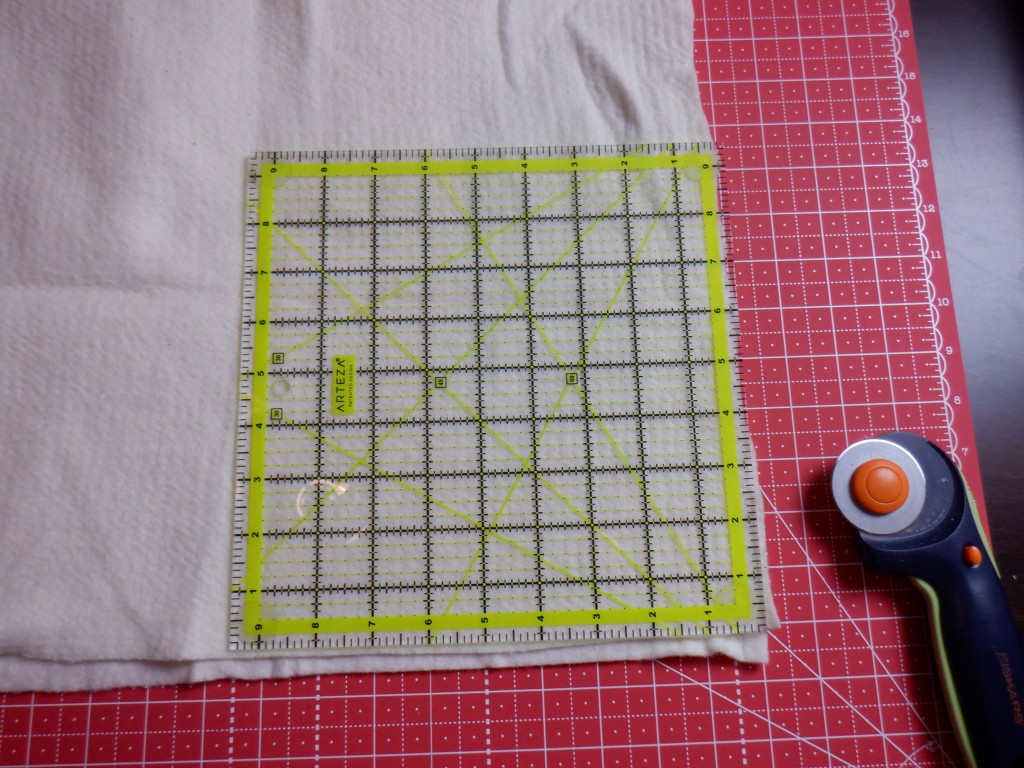
Cutting batting.
If you do plan to bind your potholder you will need to cut binding strips, or you can just use a strip from your jelly roll, if that is what you purchased.
If you need to cut your binding strips for the potholder or for the strips for the top of your potholder here is what you will do:
- You will want to fold your fabric in half the width of the fabric, meaning you will bring your selvage edges of the fabric together.
- Line the fold of the fabric up with a line on your cutting mat.
- Line up a line on your ruler with the folded edge of the fabric and even up the right side of your fabric (if you are right handed)
- Turn your mat, if needed, then line up your ruler and trim up the selvage ends of the fabric.
- Now you will want to turn your mat around so you can measure and cut 2.5″ strips of fabric.
- Using your ruler line up the 2.5″ line along the straight edge you cut on your fabric, (The folded edge of your fabric should now be facing you and the first edge of fabric you cut should be on your left).
- Cut as many strips as you need. If the width of the fabric you purchased was 42-46″ then you will only need one strip to bind this potholder.

Trim fabric to straighten the edge. 
You only need to trim a small amount. 
Trimming Selvage ends. 
Measuring 2.5″ strips 
Width of fabric. 
Strips!
Now that we have all of our fabric prepped we can start assembling our Quilt Sandwich.
- Start with one piece of the batting and spray the top with the basting spray. (You may want to lay something over the surface you are spray basting on because this stuff can be messy. Parchment paper works well.)
- Lay your next piece of batting on top of the freshly sprayed batting.
- Spray baste the top of the second piece of batting and lay the backing fabric you are using on top of the batting pretty side up. Smooth it out!
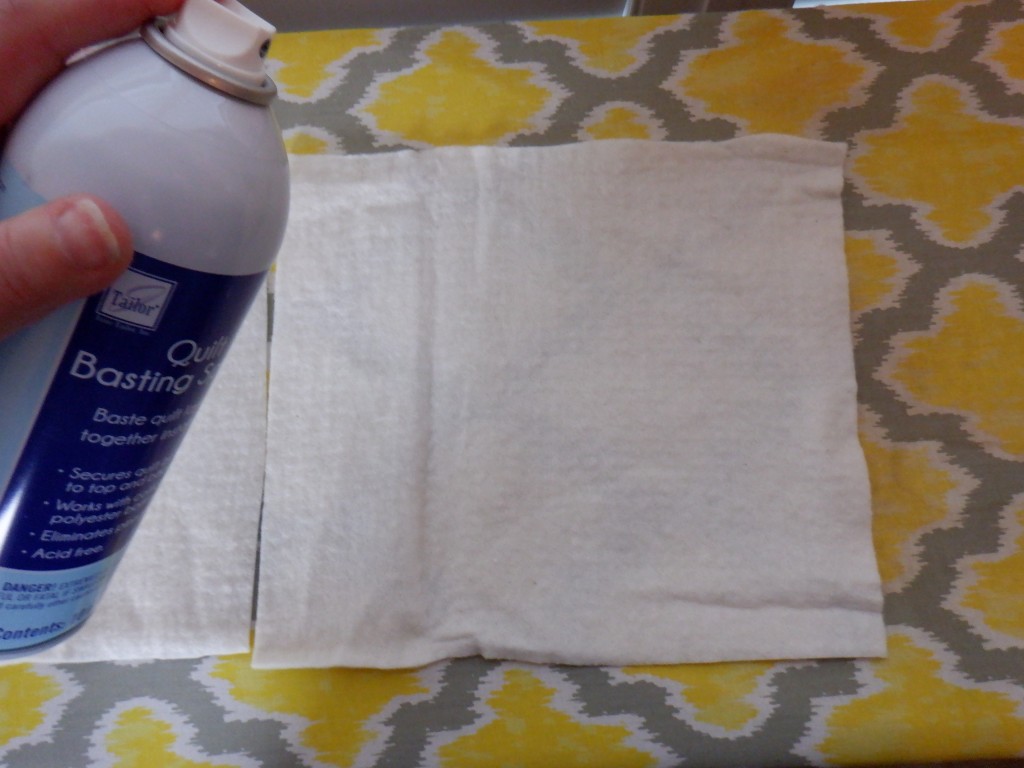
Spray first piece of batting. 
Lay down second piece of batting on top of the first batting. 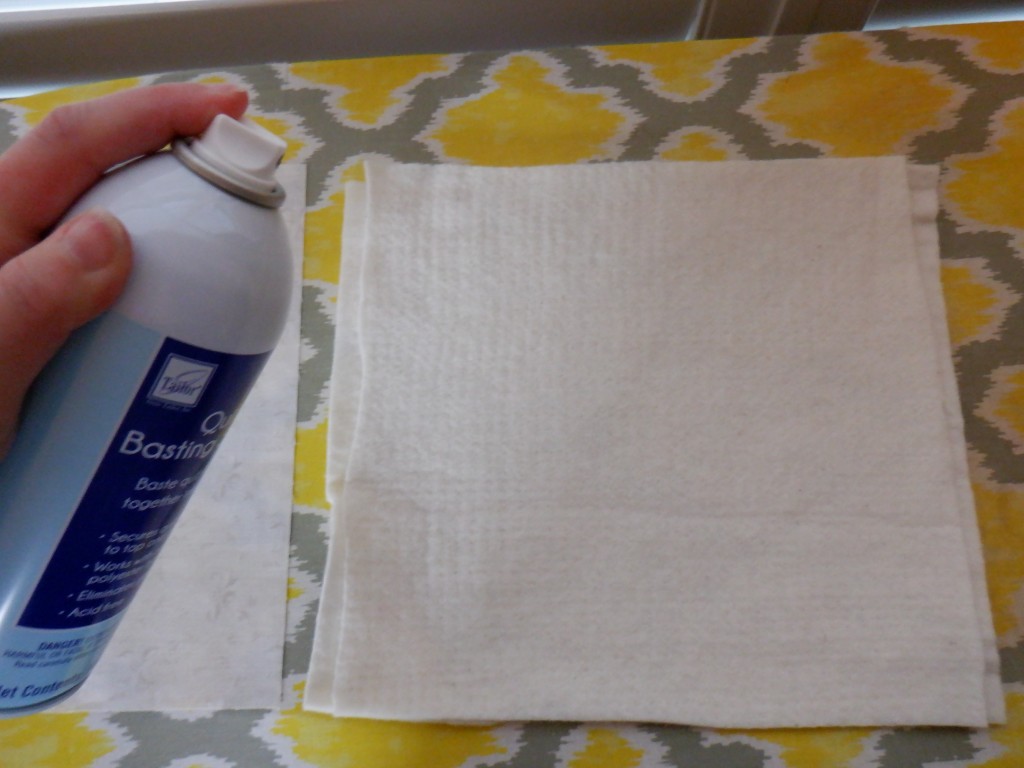
Spray the second piece of batting then lay the fabric backing on top. 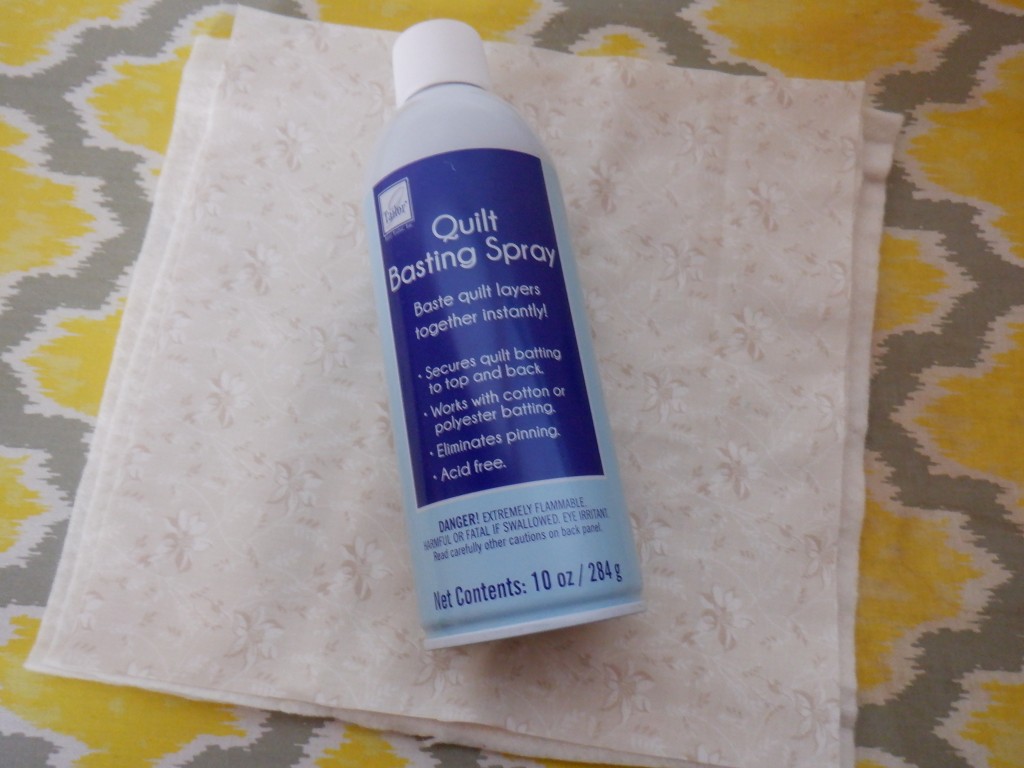
Make sure the pretty side of the backing fabric is facing up and smooth it out.
Now we are finally to the fun part! We are ready to quilt!
- Flip your quilt sandwich over so the backing fabric is facing down.
- Lay the strip of fabric that you want to be in the middle of the potholder down pretty side facing up across the middle of the potholder.
- now lay the strip of fabric you want to lay next to the middle strip on top of it, right sides together, and make sure they are nice and straight. Pin them to make sure they don’t shift when you sew them.
- Sew a 1/4″ seam.

Batting facing up. 
Lay first strip in middle right side facing up. 
Place next strip on top right sides together. Pin if needed, and sew 1/4″ seam. 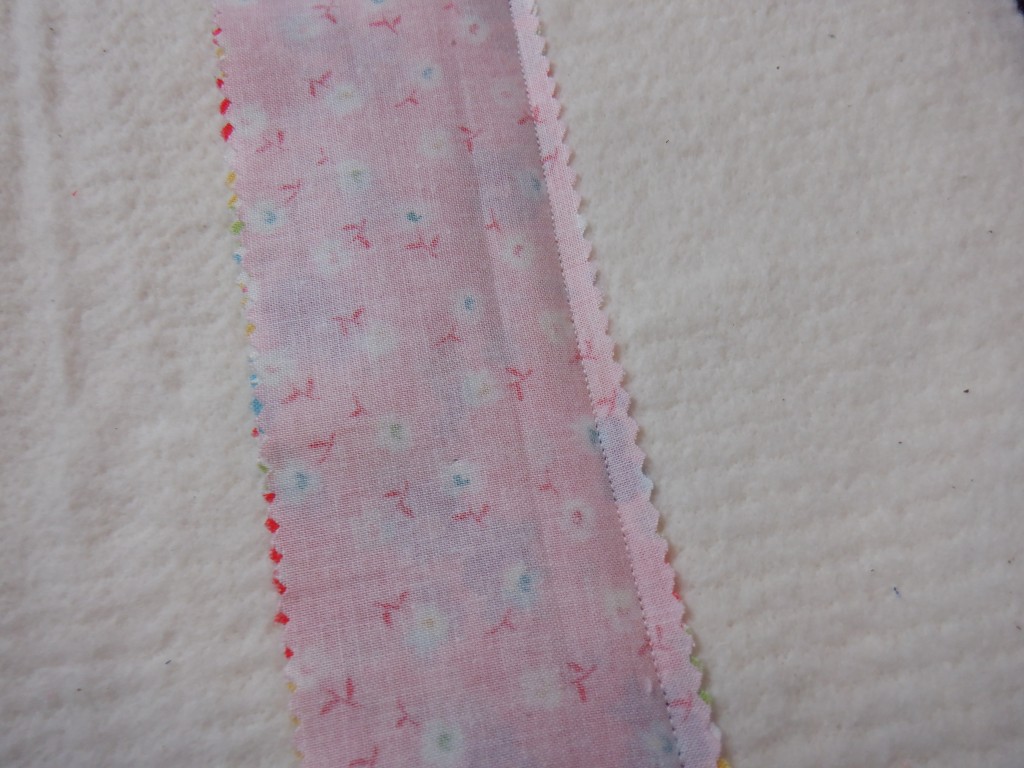
First two strips finished!
- Flip the top strip open.
- Press the seam.
- Now lay the next strip you want on top of the middle strip right sides together.
- Pin if needed and sew 1/4″ seam.
- Press the seam open.
- Keep working in the same manner until the top of your potholder is covered.

Flip Open. 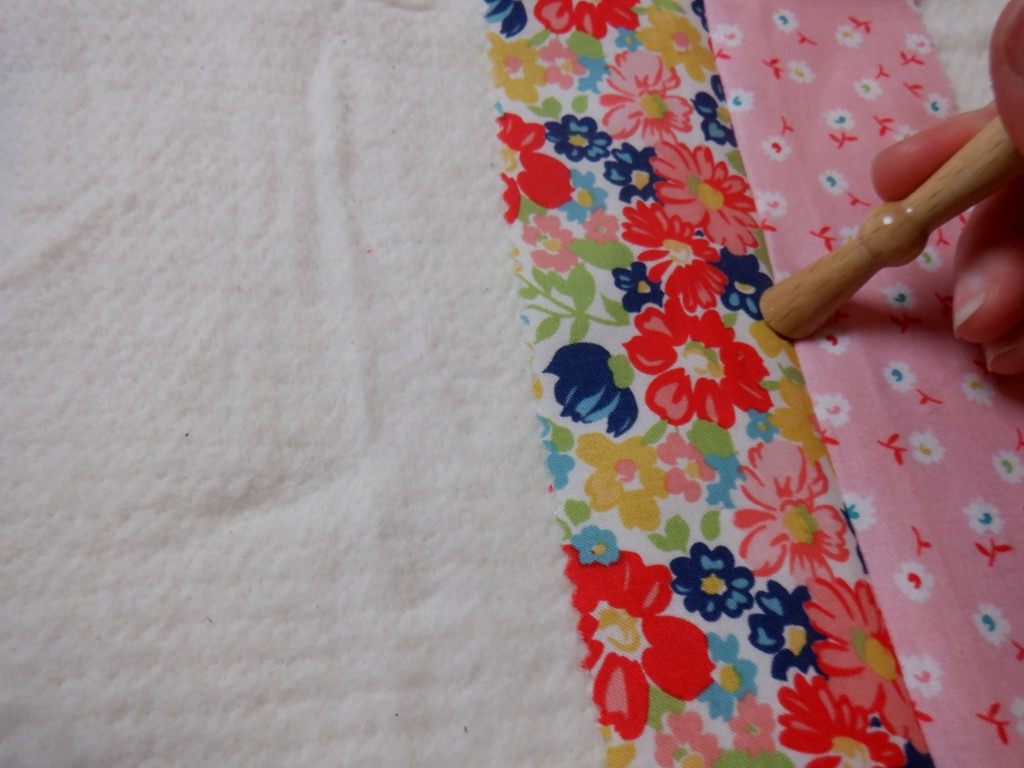
Press open seam. 
Lay down the next strip right sides together. 
Sew along seam. 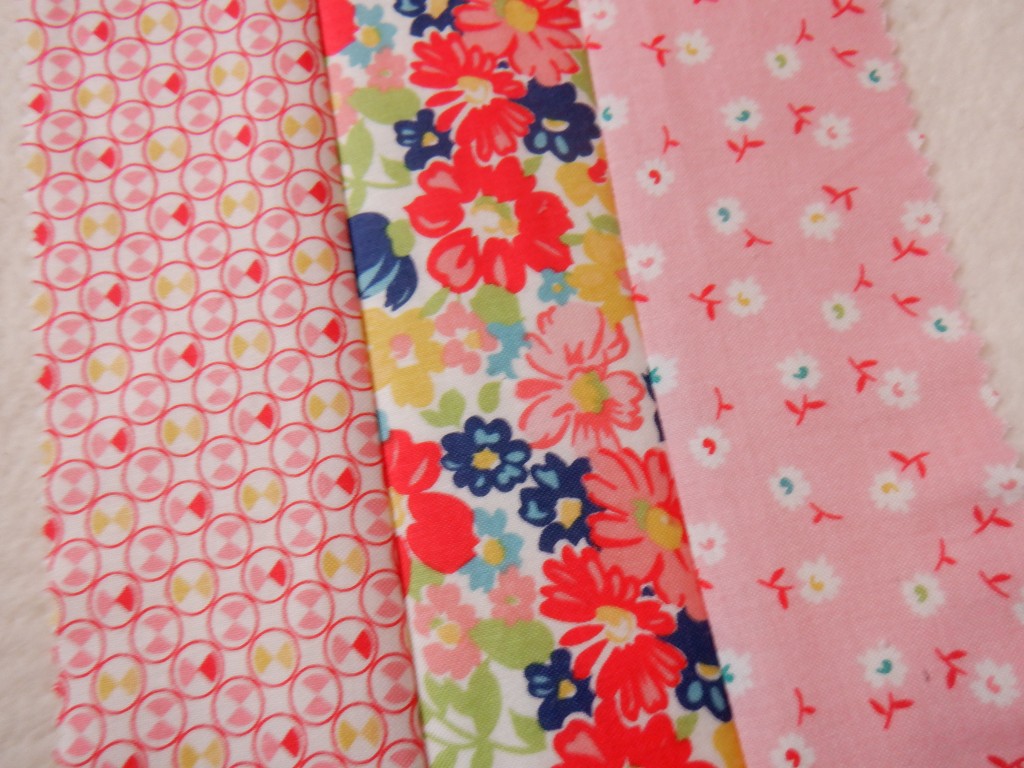
Flip open and press. 
Place down the next strip right sides together and sew. 
Flip open and press. 
Work this way until the batting is covered with strips.
Now you will need to trim the potholder so it is ready for the binding. I like to use an acrylic ruler and rotary cutter to do this! I prefer trimming from the back of the potholder since the strips are hanging over the edge of the backing fabric and I won’t know if I am lined up properly if I cut from that side.

Flip over and trim. 
Trimming! 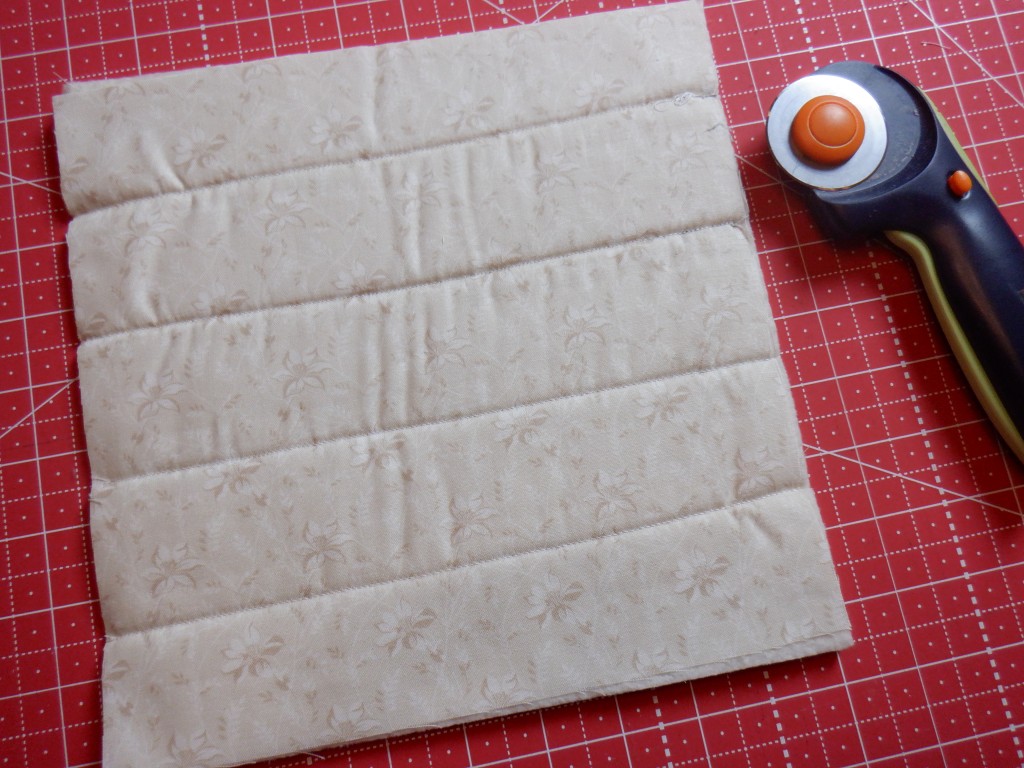
All done! 
Looking good!
Ok. Now its time to bind. I know this part can be intimidating, but if you follow the steps you will be surprised at how easy it can be with a little practice.
First you will need to prep your binding strip.
- Fold your binding strip in half, right sides facing out and press.
- Place your binding strip right at a corner of your pot holder, rough edges lined up and sew 1/4″ seam.
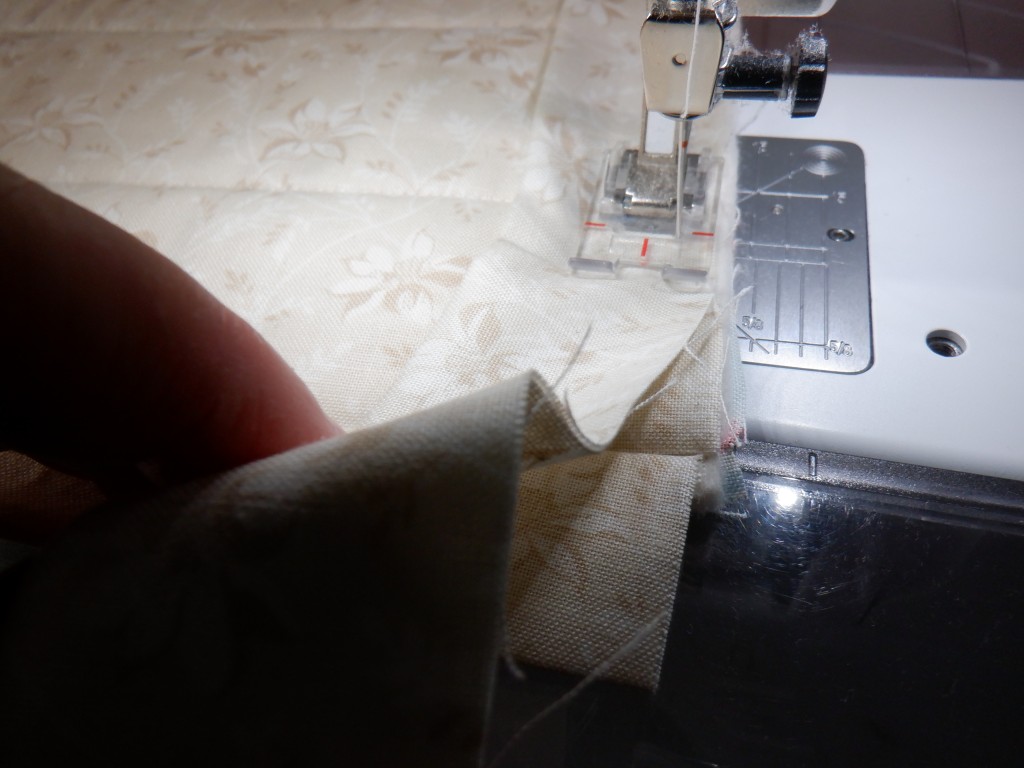
- When you get to the first corner you will need to stop sewing 1/4″ from the edge, lower your needle, lift up your presser foot, turn your potholder so the corner is facing you, lower the presser foot, and sew that 45 degree angle to the corner of the potholder. Pull the potholder out and snip your thread.
- Now you will want to pull your binding straight up creating a 45 degree angle to the corner of the potholder. Then neatly fold the binding straight down creating a straight fold at the top of the potholder. The rough edge of your binding will line up again along the rough edge of your potholder. Place a pin to hold your corner in place.
- Sew a 1/4″ seam to your next corner and then repeat everything you did at the previous corner.
- Continue this way through your third corner and continue along until you reach the corner where you started.
- Sew all the way to the binding where you began and fold it down so you don’t accidentally sew onto it. Sew right to the binding fold, but not onto it.
- After sewing we will head to the ironing board!
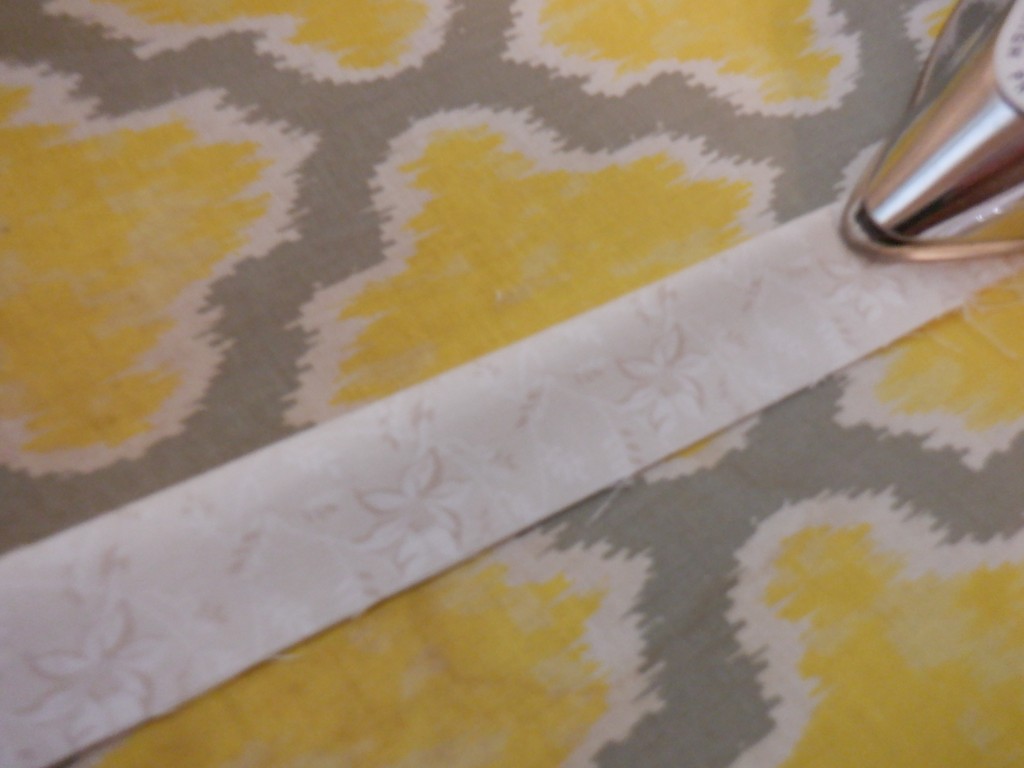
Iron binding in half. 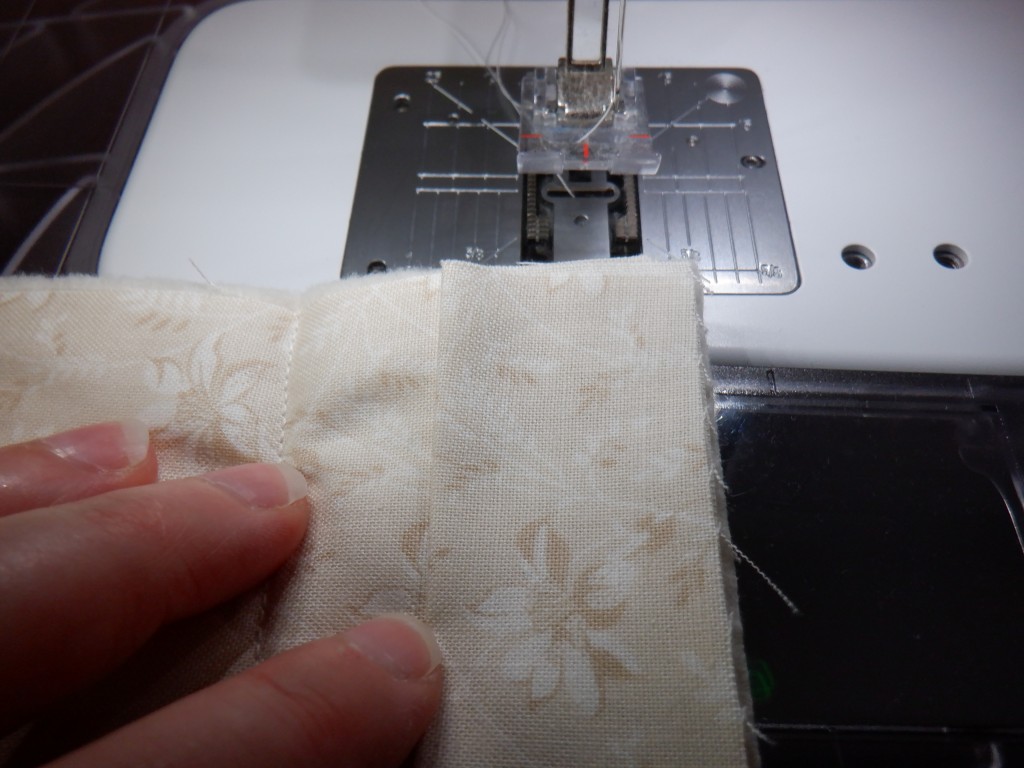
Sew a 1/4 seam starting at a corner. 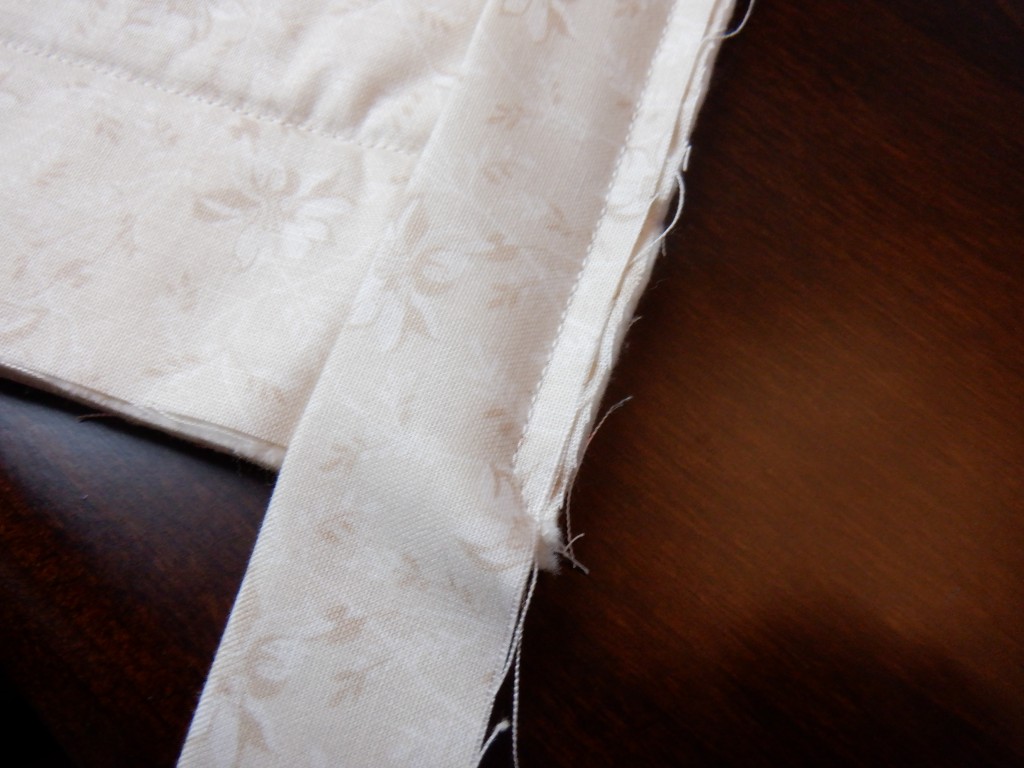
Sew 1/4″ from edge then sew at a 45 degree angle to the corner. 
Fold binding up. 
Fold binding down and pin.
After sewing the binding onto the back of the potholder you are almost finished! YAY!
Just a few more steps to go.
- Place the potholder on your ironing board face down and press the binding open.
- After ironing flip the potholder over and begin ironing the binding onto the top of the potholder. I like to place wonder clips along the binding to hold it in place.
- When you reach a corner fold the top of the binding down, and then fold the binding next to it over meeting the inside edges. Place clips, or pins, to hold it in place.
- When you get to the part of the binding that will become your loop fold it twice and place clips, as pictured below.
- Once you have everything clipped it is time to sew!
- Sew along the inner edge of the binding starting at the strip that will become the loop.
- Sew along the inner edge of the binding as close as you can without falling onto the quilt top.
- When you get to a corner sew until you reach the fold of the binding, lower the needle, raise the presser foot, and turn the pot holder. Then continue sewing.
- Repeat each step as needed until you reach the point where you started.
- The last thing you will need to do is create your loop. Fold the loop onto the back of your potholder and sew right at the edge of the loop with a zigzag stitch to secure.

Face down. 
Iron binding open. 
Ironed open. 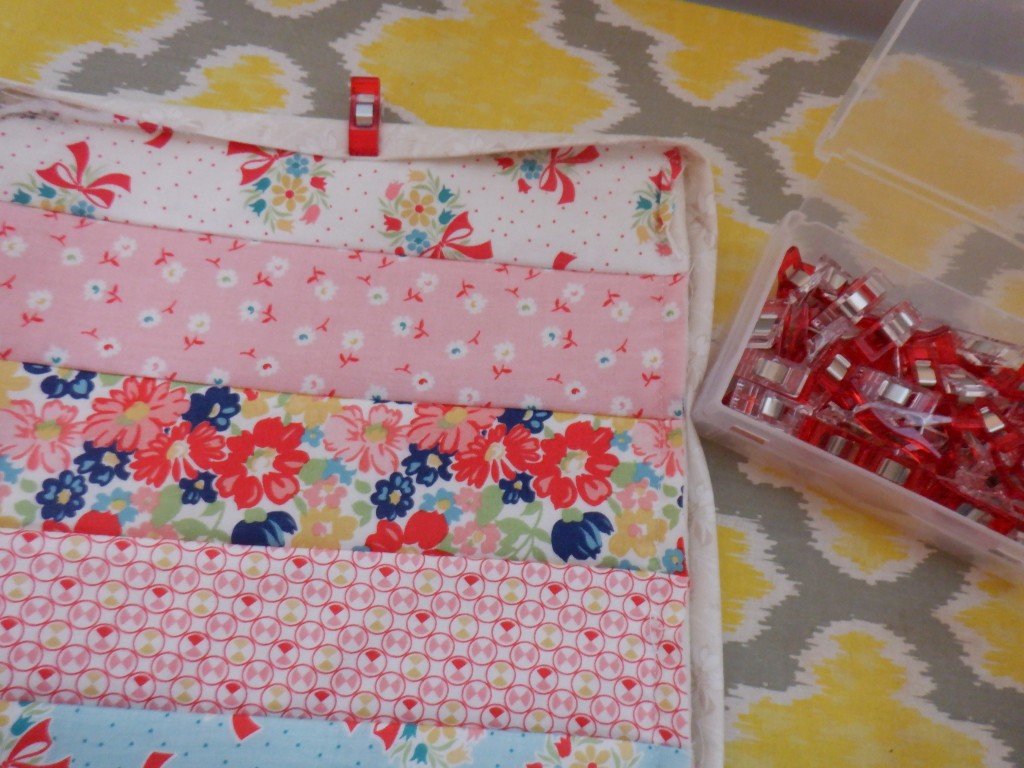
Folding binding over the quilted top, press if needed. Place wonder clips. 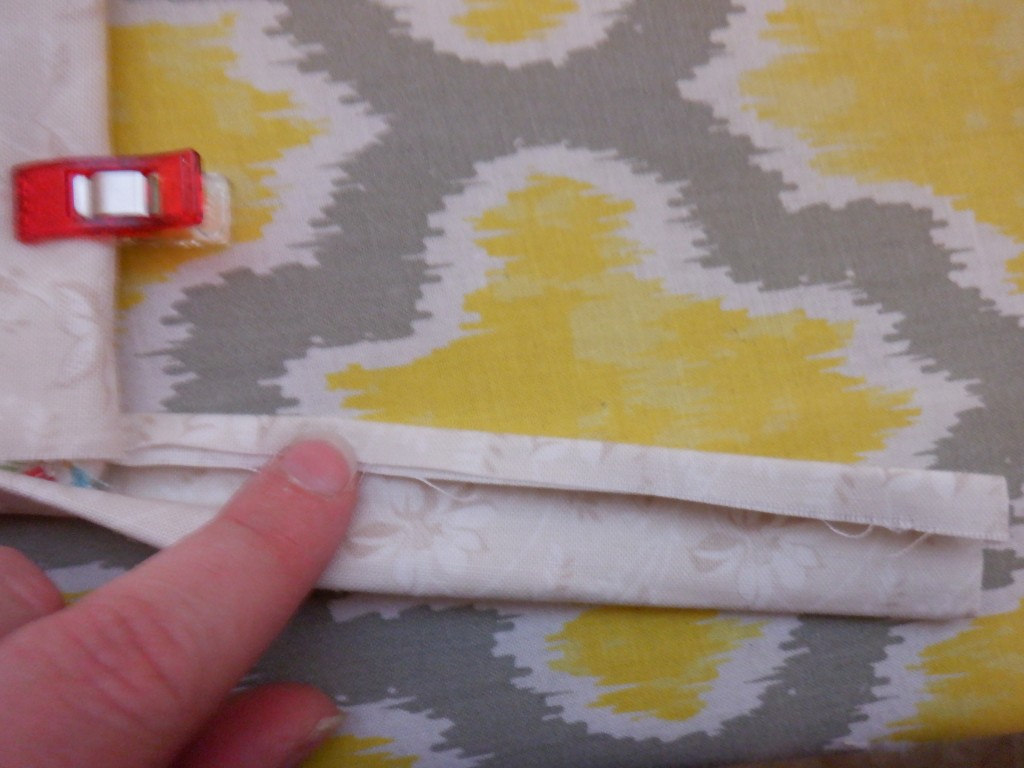
First fold on potholder loop. 
Fold again and clip. 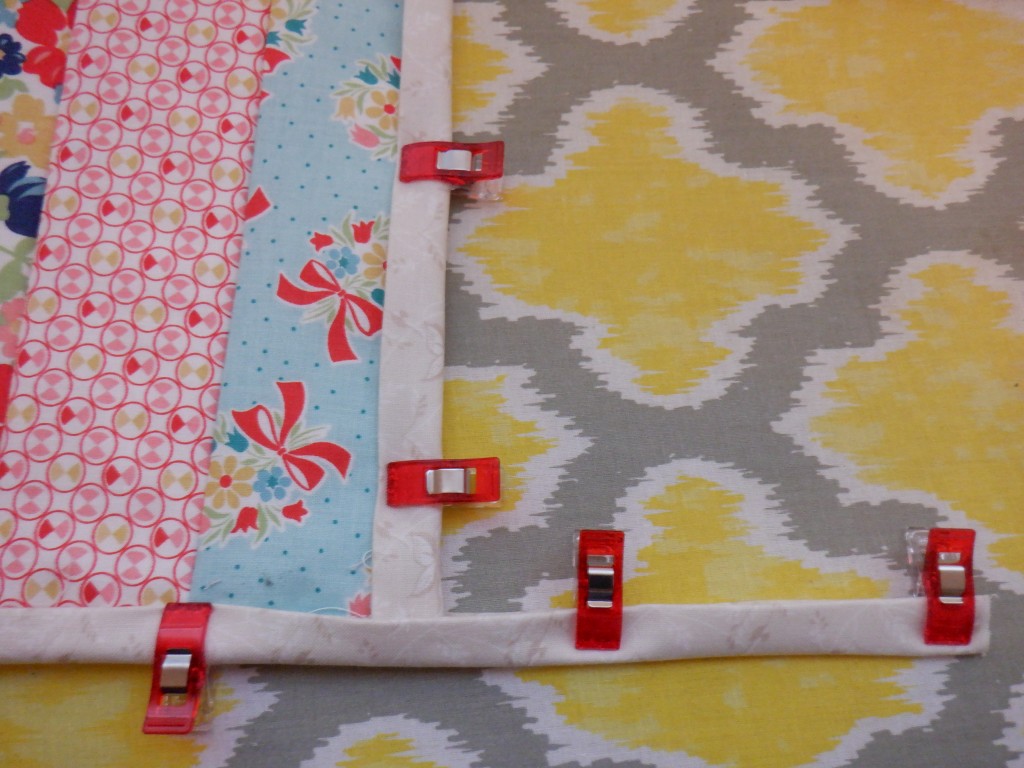
Ready to sew. 
Start sewing at loop. 
Sew close to inner edge of binding. 
When you get to a corner lower needle and raise presser foot. 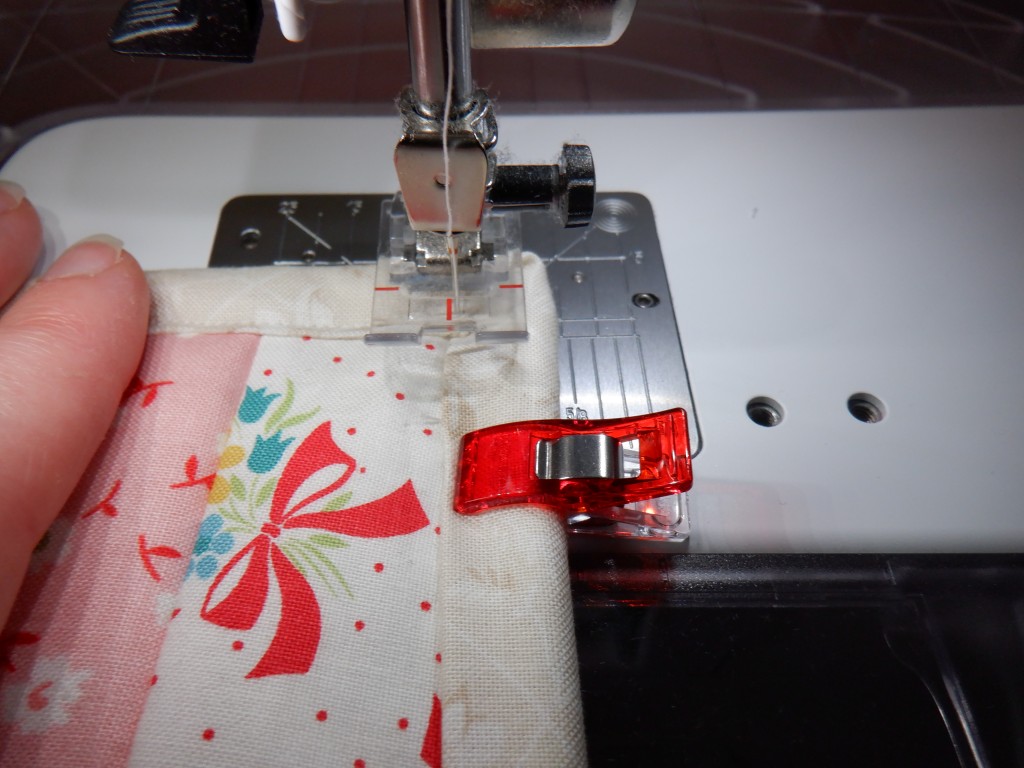
Turn potholder and continue sewing. 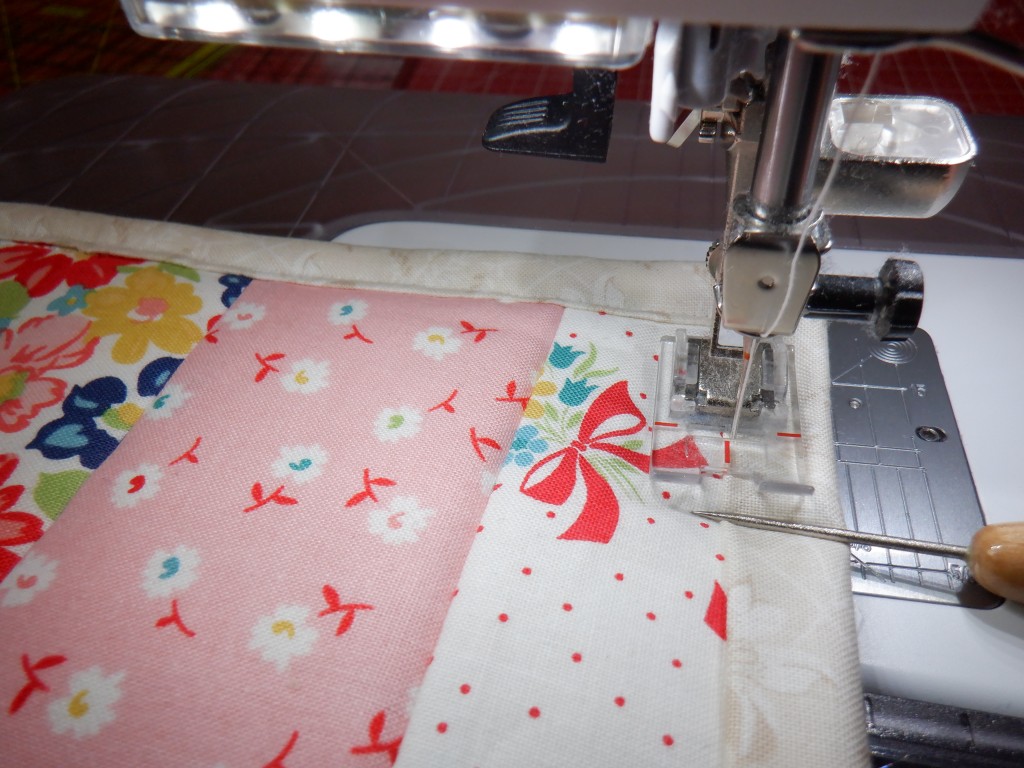
Use your stiletto to hold binding in place if it bunches too much. 
Just need to finish the loop! 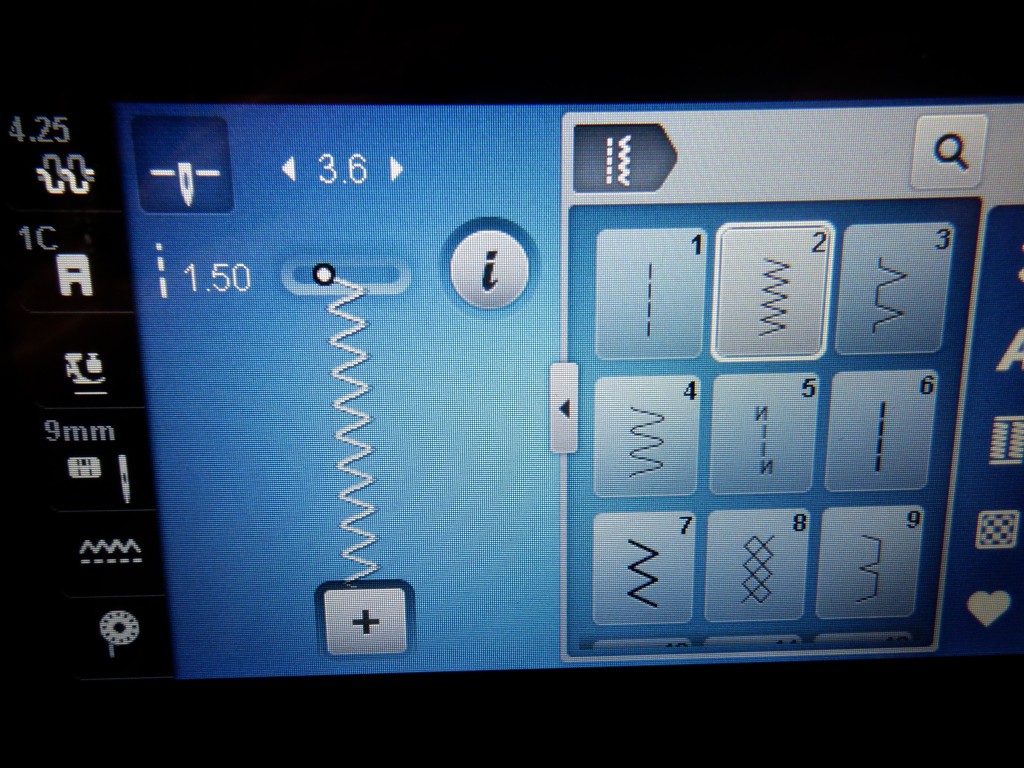
Set your sewing machine to the zig zag function. 
Fold the end of the loop onto the back of the potholder and secure with the zig zag stitch. 
Loop secured! 
Finished!
Yay! We are all finished!
I hope you have fun creating different potholders! They really make a great gift for grandparents from grandkids. They also make a wonderful house warming gift paired with other kitchen utensils! And more!
Potholder with unfinished edges.
If torn jeans are in then why can’t a potholder with unfinished edges be in!?
This potholder will be much easier for a child to complete on their own since the binding tends to be the most complicated step for a beginner.
You will do all the steps above except binding.
I do, however, want to share another fun way you could sew your strips onto the batting and backing fabric layers.
- Place the strip that you want to be in the middle of your potholder at a diagonal.
- Sew just as described above.
- See images below as a guide.
- Trim as needed.

Place strip at a diagonal corner to corner. 
Place a strip on top, right sides together. 
Pin if needed and sew. 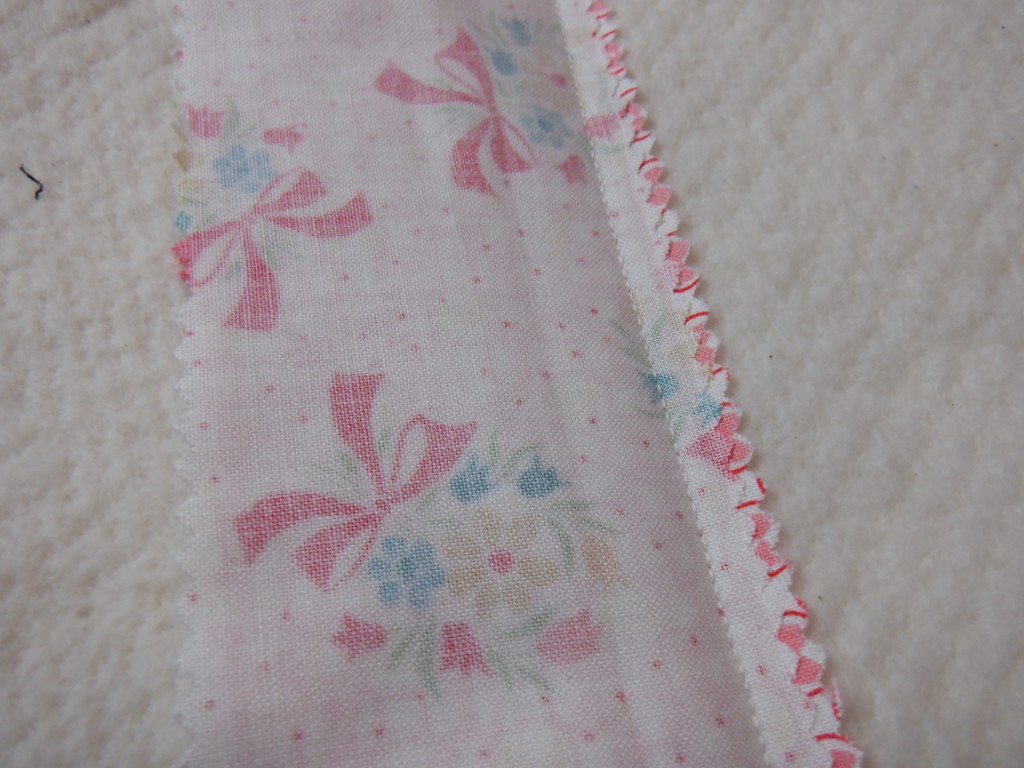
1/4″ seam. 
Press open. 
Place next strip right sides together. Pin and sew. 
Continue. 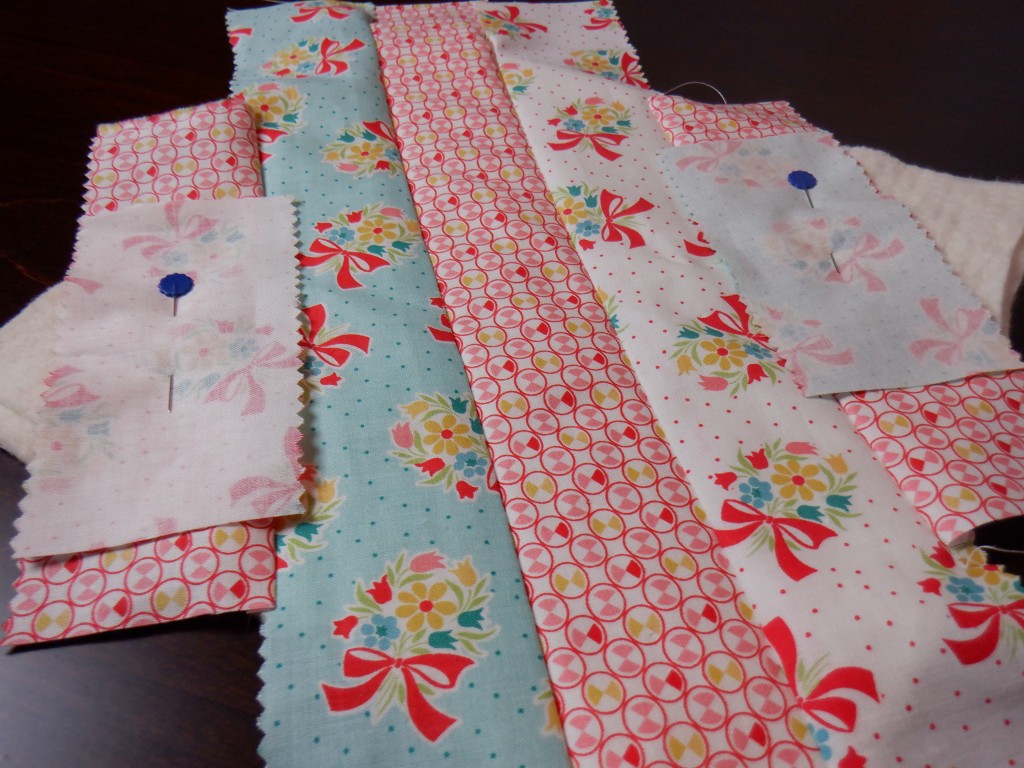
Press open and continue. 
When batting is covered you are finished with this step. 
Trim from the reverse side of the potholder. 
Admire your work so far!
To create a rough finish on the potholder we are going to sew the edges with a zigzag stitch.
- Select the zigzag stitch on your sewing machine.
- Start at one corner and work around your potholder staying as close to the edge as you can.
- Sew around until you reach the corner you started from.
- You may want to trim any long fabric threads along the edge of the potholder.
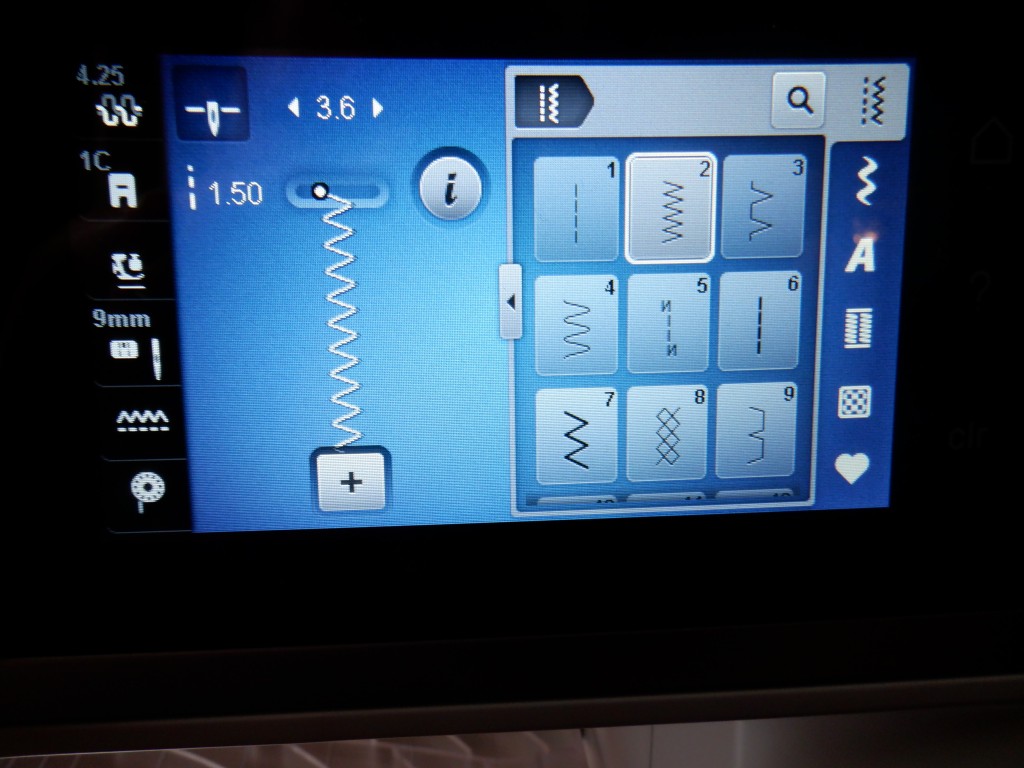
Select the zig zag stitch. 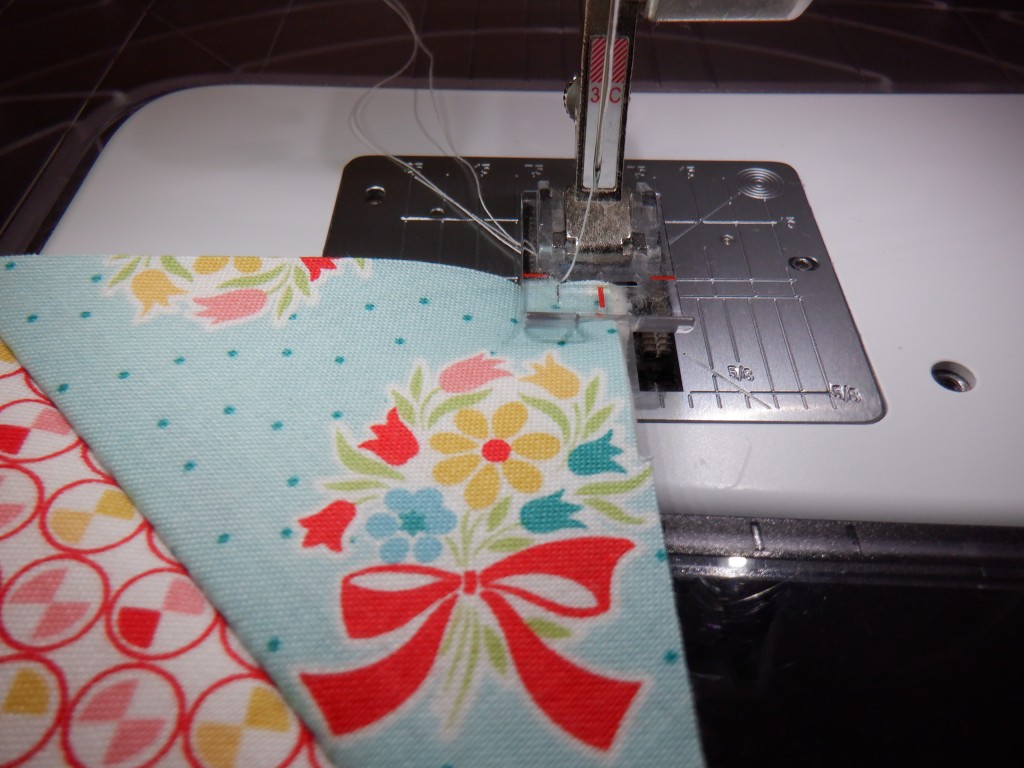
Start sewing at a corner. Stay close to the edge. 
Trim strings. 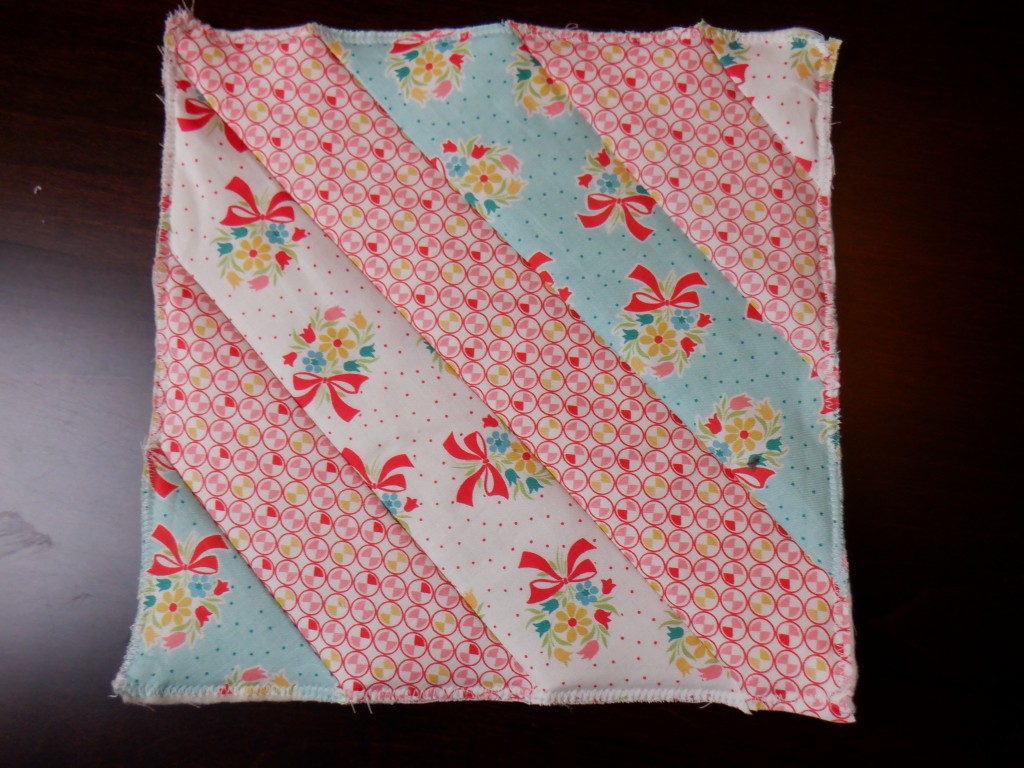
All finished.
I hope you enjoyed this quilt as you go potholder tutorial!
Let me know if you are going to try this project! I would love to hear from you.
Bye for now.


2 responses to “Quilt-as-you-go Potholders”
you are a good teacher! QAYG is one of my favorite techniques for making pot holders!
LikeLike
I almost always use QAYG for potholders and tote bags. It’s a great method for smaller projects.
LikeLike