
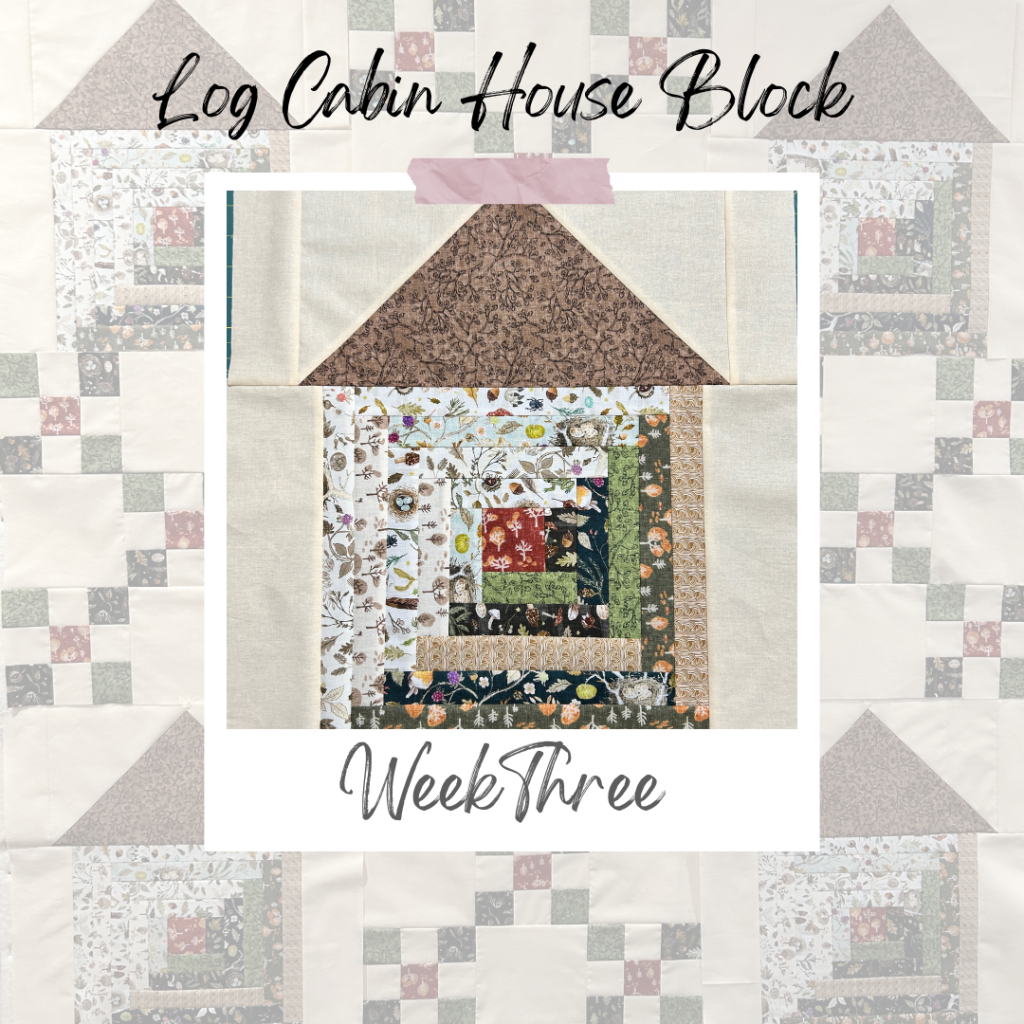
Today we will be sewing 5 Log Cabin House blocks for the Pathway Home quilt along. A traditional log cabin block is probably one of my favorite blocks to sew. It is a simple design, but looks complicated… and then, somehow one simple block can be laid out into many different designs.
One day, I was sewing together the log cabin block and I thought to myself: “why have I never put a roof on this block to make it actually look like a house?”.
After a lot of measuring, agonizing, and failed attempts at getting the sizing right the log cabin house block came to be!
I hope you enjoy sewing this block!
Fabric Used
- Background fabric
- Accent Fabric
- Roof Fabric
- 5 – 1/4 yard Dark Fabrics
- 4 – 1/4 yard Light Fabrics
Cutting
- From Background Fabric
- Cut 2 – 2.5″ x WOF strips
- Subcut 10 – 2.5″ x 7.5″ rectangles (A)
- Cut 1 – 8″ x WOF strip
- Subcut 5 – 8″ squares
- Cut the 5 squares in half along the diagonal once (B)
- Subcut 5 – 8″ squares
- Cut 4 – 3.5″ x WOF strips
- Subcut 10 – 3.5″ x 11.5″ rectangles
- Cut 2 – 2.5″ x WOF strips
- From Accent Fabric
- Cut 5 – 2.5″ squares (use the leftover 2.5″ strip from 9-patch block)
- From Roof Fabric
- Cut 2 – 15.25″ squares
- Cut squares along the diagonal twice
- Cut 2 – 15.25″ squares
- From Dark 1/4 yard fabrics (Note: use whichever fabric you would like to make each cut. Refer to provided chart to decide which fabric you might want to use in each position)
- Cut 3 to 4 – 1.5″ x WOF strips from each fabric
- subcut 5 – 1.5″ x 2.5″ rectangles (I)
- subcut 5 – 1.5″ x 3.5″ rectangles (H)
- subcut 5 – 1.5″ x 4.5″ rectangles (G)
- subcut 5 – 1.5″ x 5.5″ rectangles (J)
- subcut 5 – 1.5″ x 6.5″ rectangles (K)
- subcut 5 – 1.5″ x 7.5″ rectangles (L)
- subcut 5 – 1.5″ x 8.5″ rectangles (M)
- subcut 5 – 1.5″ x 9.5″ rectangles (N)
- subcut 5 – 1.5″ x 10.5″ rectangles (E)
- subcut 5 – 1.5″ x 11.5″ rectangles (D)
- Cut 3 to 4 – 1.5″ x WOF strips from each fabric
- From Light 1/4 yard fabrics (Note: use whichever fabric you would like to make each subcut. Refer to provided chart to decide which fabric you might want to use in each position)
- Cut 3 to 4 – 1.5″ x WOF strips from each fabric
- subcut 5 – 1.5″ x 3.5″ rectangles (H)
- subcut 5 – 1.5″ x 4.5″ rectangles (G)
- subcut 5 – 1.5″ x 5.5″ rectangles (J)
- subcut 5 – 1.5″ x 6.5″ rectangles (K)
- subcut 5 – 1.5″ x 7.5″ rectangles (L)
- subcut 5 – 1.5″ x 8.5″ rectangles (M)
- subcut 5 – 1.5″ x 9.5″ rectangles (N)
- subcut 5 – 1.5″ x 10.5″ rectangles (E)
- subcut 5 – 1.5″ x 11.5″ rectangles (D)
- Cut 3 to 4 – 1.5″ x WOF strips from each fabric
Sewing the Log Cabin block
The following chart will be very helpful as you piece the log cabin block together.
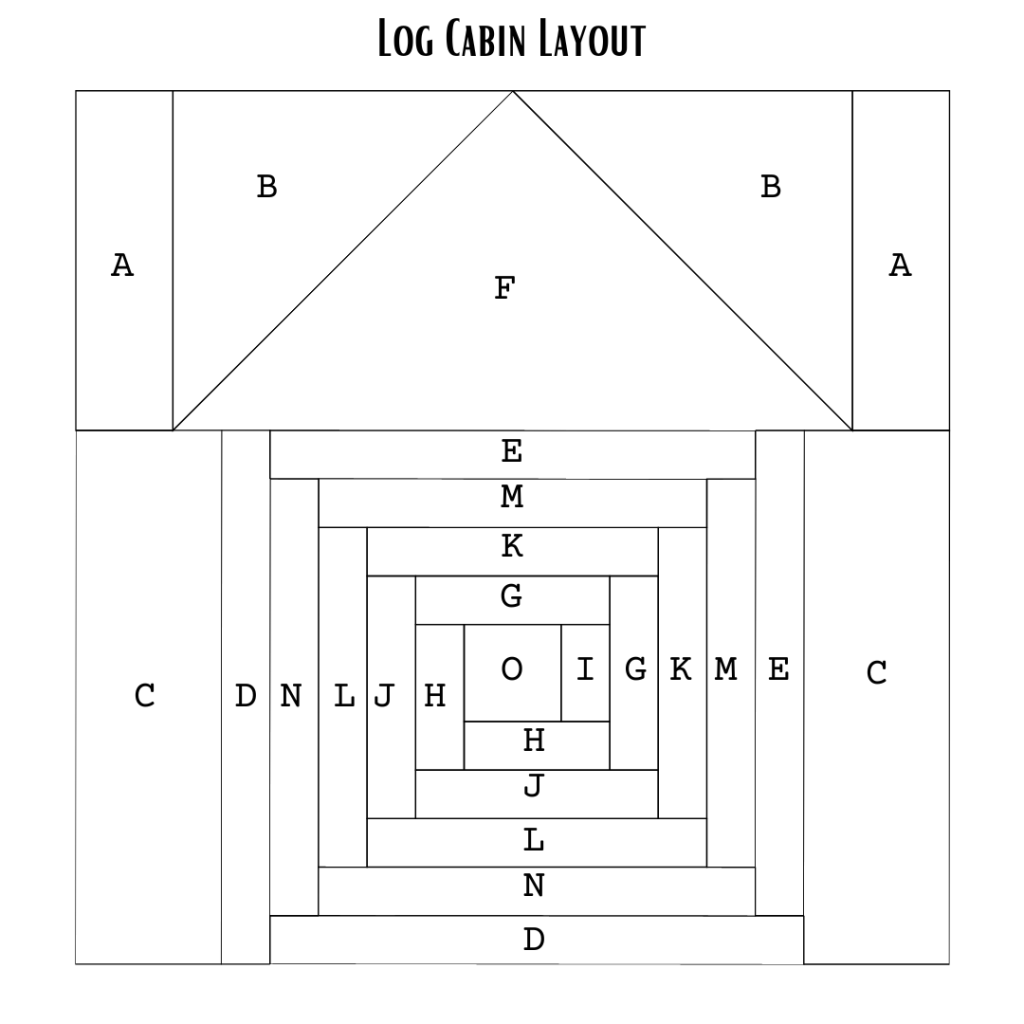
To start sewing the log cabin block you will begin with your center O cut. Place your I fabric right sides together along one side and sew a 1/4″ seam. Press the seam, and then the H strip can be sewn on. If you are sewing this block with one side light fabrics and one side dark fabrics then make sure you are choosing your H fabric accordingly. Keep sewing and pressing your fabric pieces in order of the chart. You will notice a pattern and that you are working in a clockwise manner.
Once you sew on the final D strip and press you can add on your background C rectangles on each side. Press those and then assemble the roof.
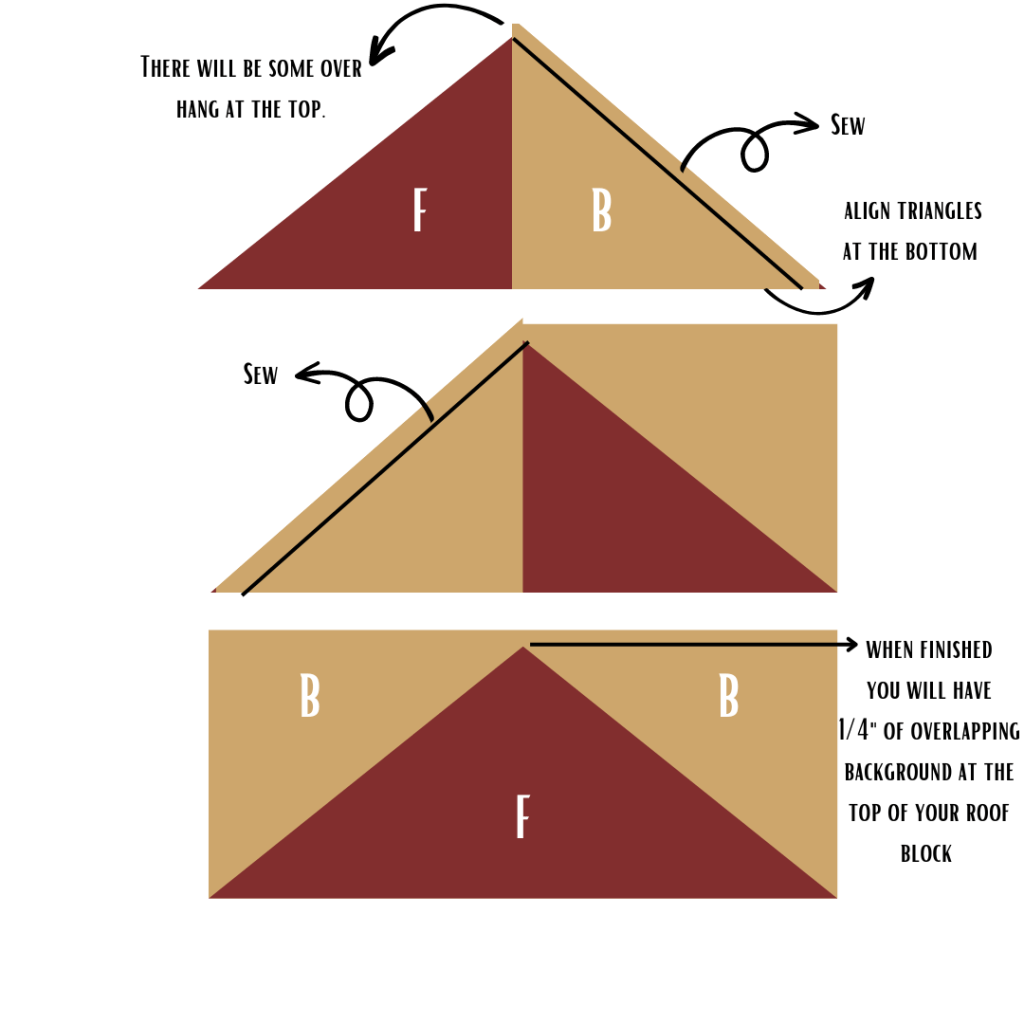
Flying Geese Roof Block
To sew together the roof you will need an F piece, and two B pieces. Take the long diagonal edge of one of your B pieces and lay it right sides together on a short edge of an F piece. You will want to align the two pieces along the bottom of the fabric. There will be some overhang of the B piece of fabric at the top point of the F piece. Sew a 1/4″ seam and press. Follow the same steps on the other side.
Finish the roof portions by sewing a background A rectangle along each side of the completed flying geese block. Press each seam.
Now sew the completed roof section on top of the log cabin block. Press the seam.
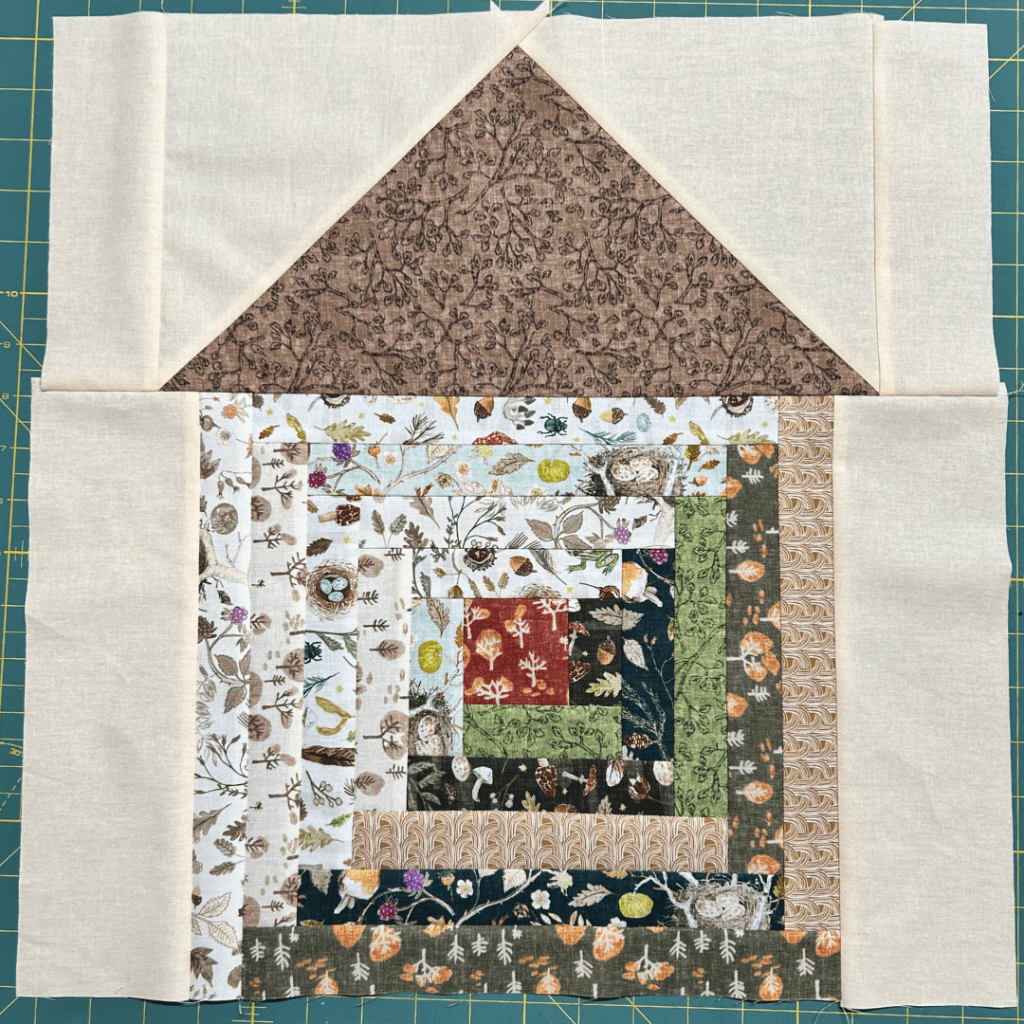
Complete 5 Log Cabin House blocks. These blocks should finish at 18.5″. Trim to size if needed.
I hope you enjoyed sewing this block.
If you prefer video tutorials click the video below.
