
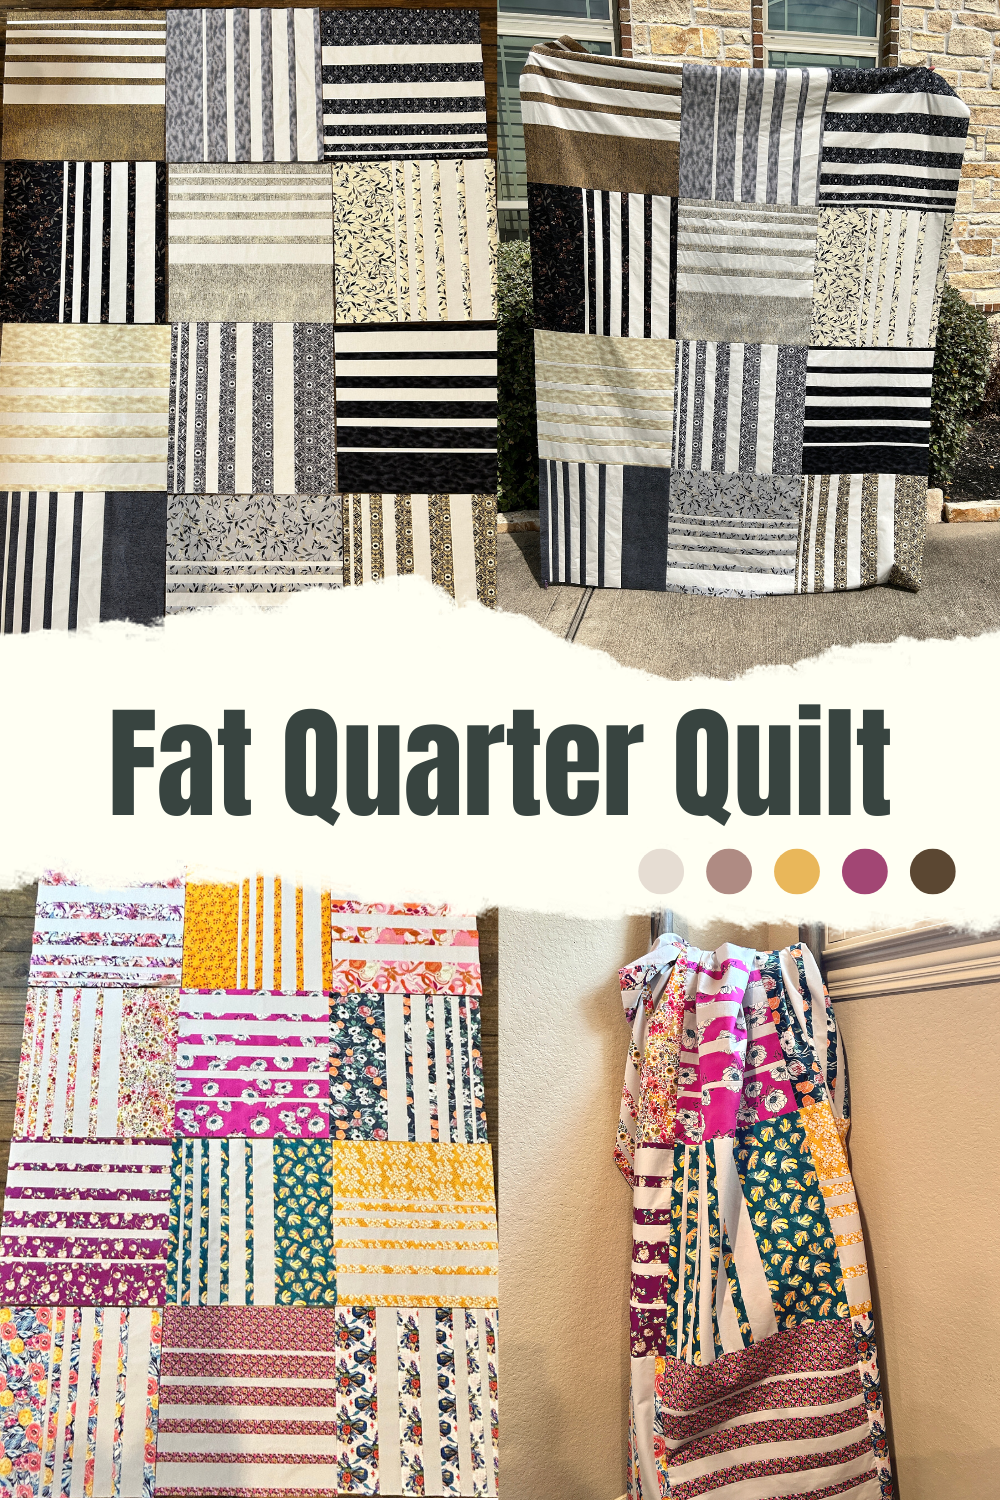
Hi there! I have another great quilt pattern to share! This is a free quilt pattern that uses fat quarters. If you are like me and are trying to use up some of your fabric stash then this is the pattern for you! With this pattern you will be able to create a beautiful quilt with 12 different fat quarters and two yards of background fabric. This is a great project for anyone who loves quick and easy quilting projects. Have fun with this pattern and be sure to share your finished project with me!
Fabric Requirements
- 12 fat quarters
- 2 yards of background fabric
Prep
Starch your fabric if desired then press.
Cutting
Fat Quarters – trim all to
- 15″x 20″
Background Fabric
- 12 – 1″x 20″
- 12 – 1.5″ x 20″
- 12 – 2″ x 20″
- 12 – 2.5″ x 20″
- 12 – 3″x 20″
Block Ideas
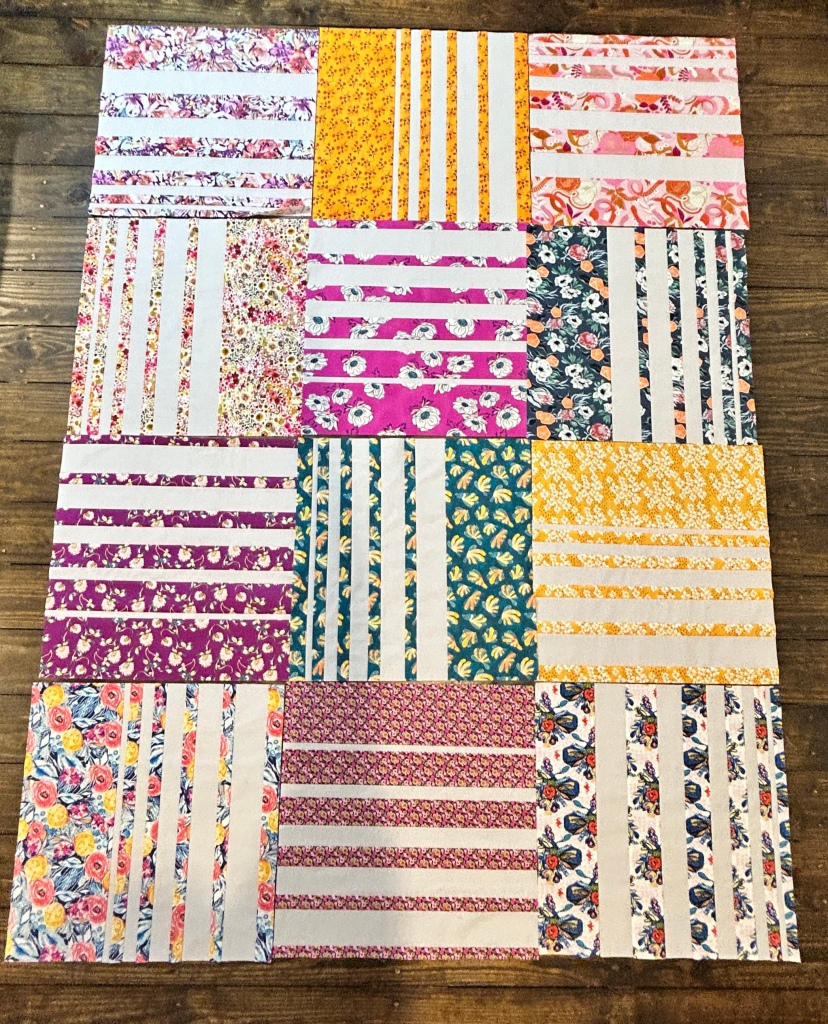
This quilt is assembled by cutting strips from the fat quarters along the 20″ side. You will need to cut five strips and add one background strip from each size (1″, 1.5″, 2″, 2.5″, and 3″) to the fat quarter to create the block design.
Here are some examples.


These are just a few ideas. You can really have a lot of fun with this part. As long as you cut 5 spaces in the fat quarter and add one of each size background strip the possibilities and layout options are endless! This is such a fun block, and because of its large finished size, piecing this quilt top is nice and quick!
Sew
Once you finished planning out your 12 blocks (each fat quarter is a block) then it is time to sew. Sewing these blocks is honestly so easy! Just sew the strips together, in order, using a quarter inch seam allowance.
Press
Once you sew your blocks it is time to press the seams. Since you wont have any seams meeting up at this point how you press your seams is really up to you. I chose to press my seams to the patterned fabric (the fat quarters).
Trim if needed
If your blocks are not perfect 20″x20″ blocks then you will want to trim them to make your quilt top assembly less stressful. I like to find my smallest block and trim to that size. For example, here I did not sew perfect quarter inch seams so my smallest block needed to be trimmed to 19.75″ I trimmed all of my blocks to that size. Yes my quilt ended up a little smaller than anticipated, but it is much easier to assemble the quilt if all blocks are the exact same size.
Layout
I like to lay out all my finished blocks and try placing them in different spots to get a final layout I love. Notice that in the first photo I had all of the slices going up and down. Because these blocks are a perfect square you can turn the in different directions and get a completely different look.


Assemble Quilt Top
After finding a layout you love just sew the quilt top together.
I like to sew the blocks in each row together, press, then sew all the completed rows together. Since these blocks are so large there are only three blocks in each row and only four rows. This again makes for a really quick quilt assembly!
Finished Dimensions
Finished dimensions are approximate depending on the size of square you trim your block to.
59″x78.5″ (approximate!)

Love Free Quilt Patterns?
Enter your mail to get the latest post delivered right to your inbox.

8 responses to “Fat Quarter Slice – A Free Quilt Pattern”
Here is a link to purchase a kit for this project!
https://www.etsy.com/listing/1434651245/fat-quarter-quilt-kit-12-fat-quarters
LikeLike
Hi Fallon,
I just watched your YouTube tutorial. This looks like a fun quilt to make and easy.
Thanks so much!
Maureen Abramson
LikeLiked by 1 person
Thank you Maureen!
LikeLike
Oh My Goodness Fallon, I Love Your New Pattern❣️❣️❣️
It looks Fabulous, thank you for all the fun sewing. 🥰 Chris
LikeLiked by 1 person
Thank you so much Chris! I already made two quilt tops with this pattern and plan for more!
LikeLike
Very nice looking quilt! Thanks for the free pattern/tutorial.
LikeLiked by 1 person
Hi Fallon,
What a beautiful quilt design, I really enjoy watching your videos. This quilt is definitely on the to do list. Thanks for sharing
LikeLiked by 1 person
Thank you Debbie!
LikeLike