
So, I am going to tell this to you right up front since I don’t want to lose your trust. To make this block, you will actually need to make two blocks. It is fun though! And it comes together quickly.
Like Tuesdays block, you have a few options on how you put this block together. It is one of the reasons I love it! Plus, It looks way more complicated than it actually is to assemble, and I really love quilts like that! People you give them to think you spent loads more time on it than you actually did!
So, let’s dive right in!
What you need
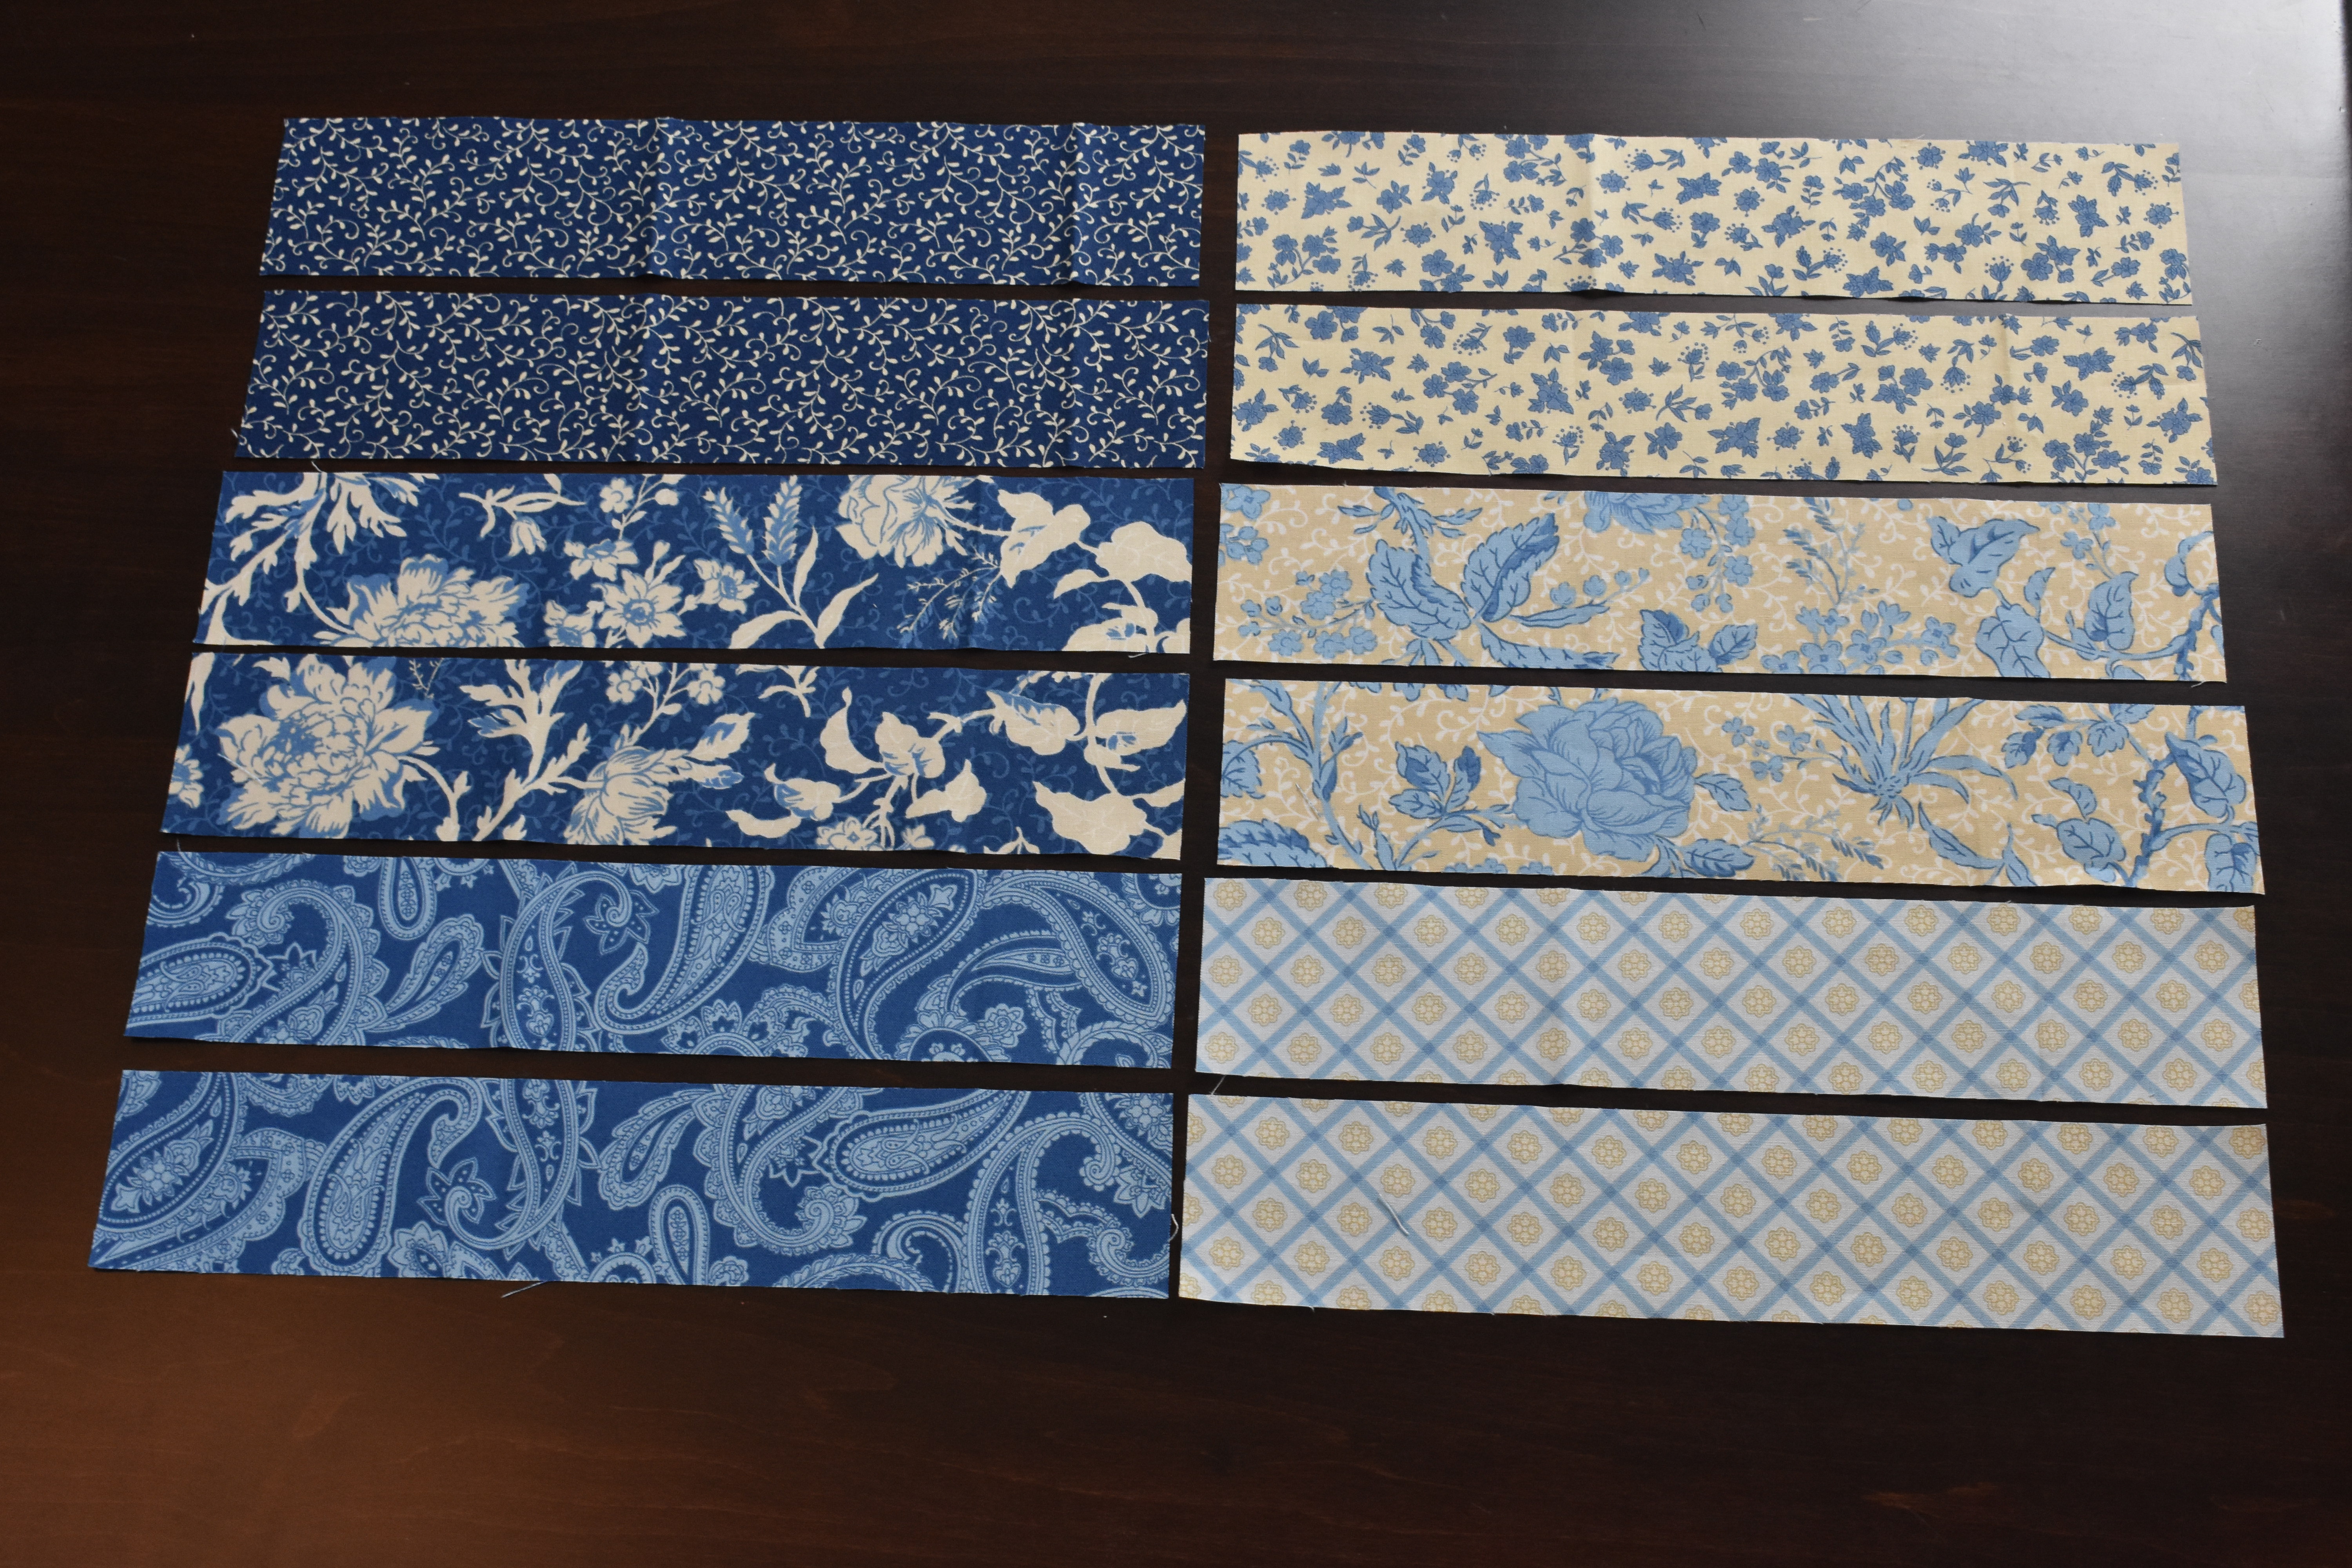
For two blocks you will need 6 different fabrics. We are cutting 2.5″ strips so you could use six different strips from a jelly roll!
 This design works well with any colors that look nice together. You will just want six different fabrics that you love!
Cutting
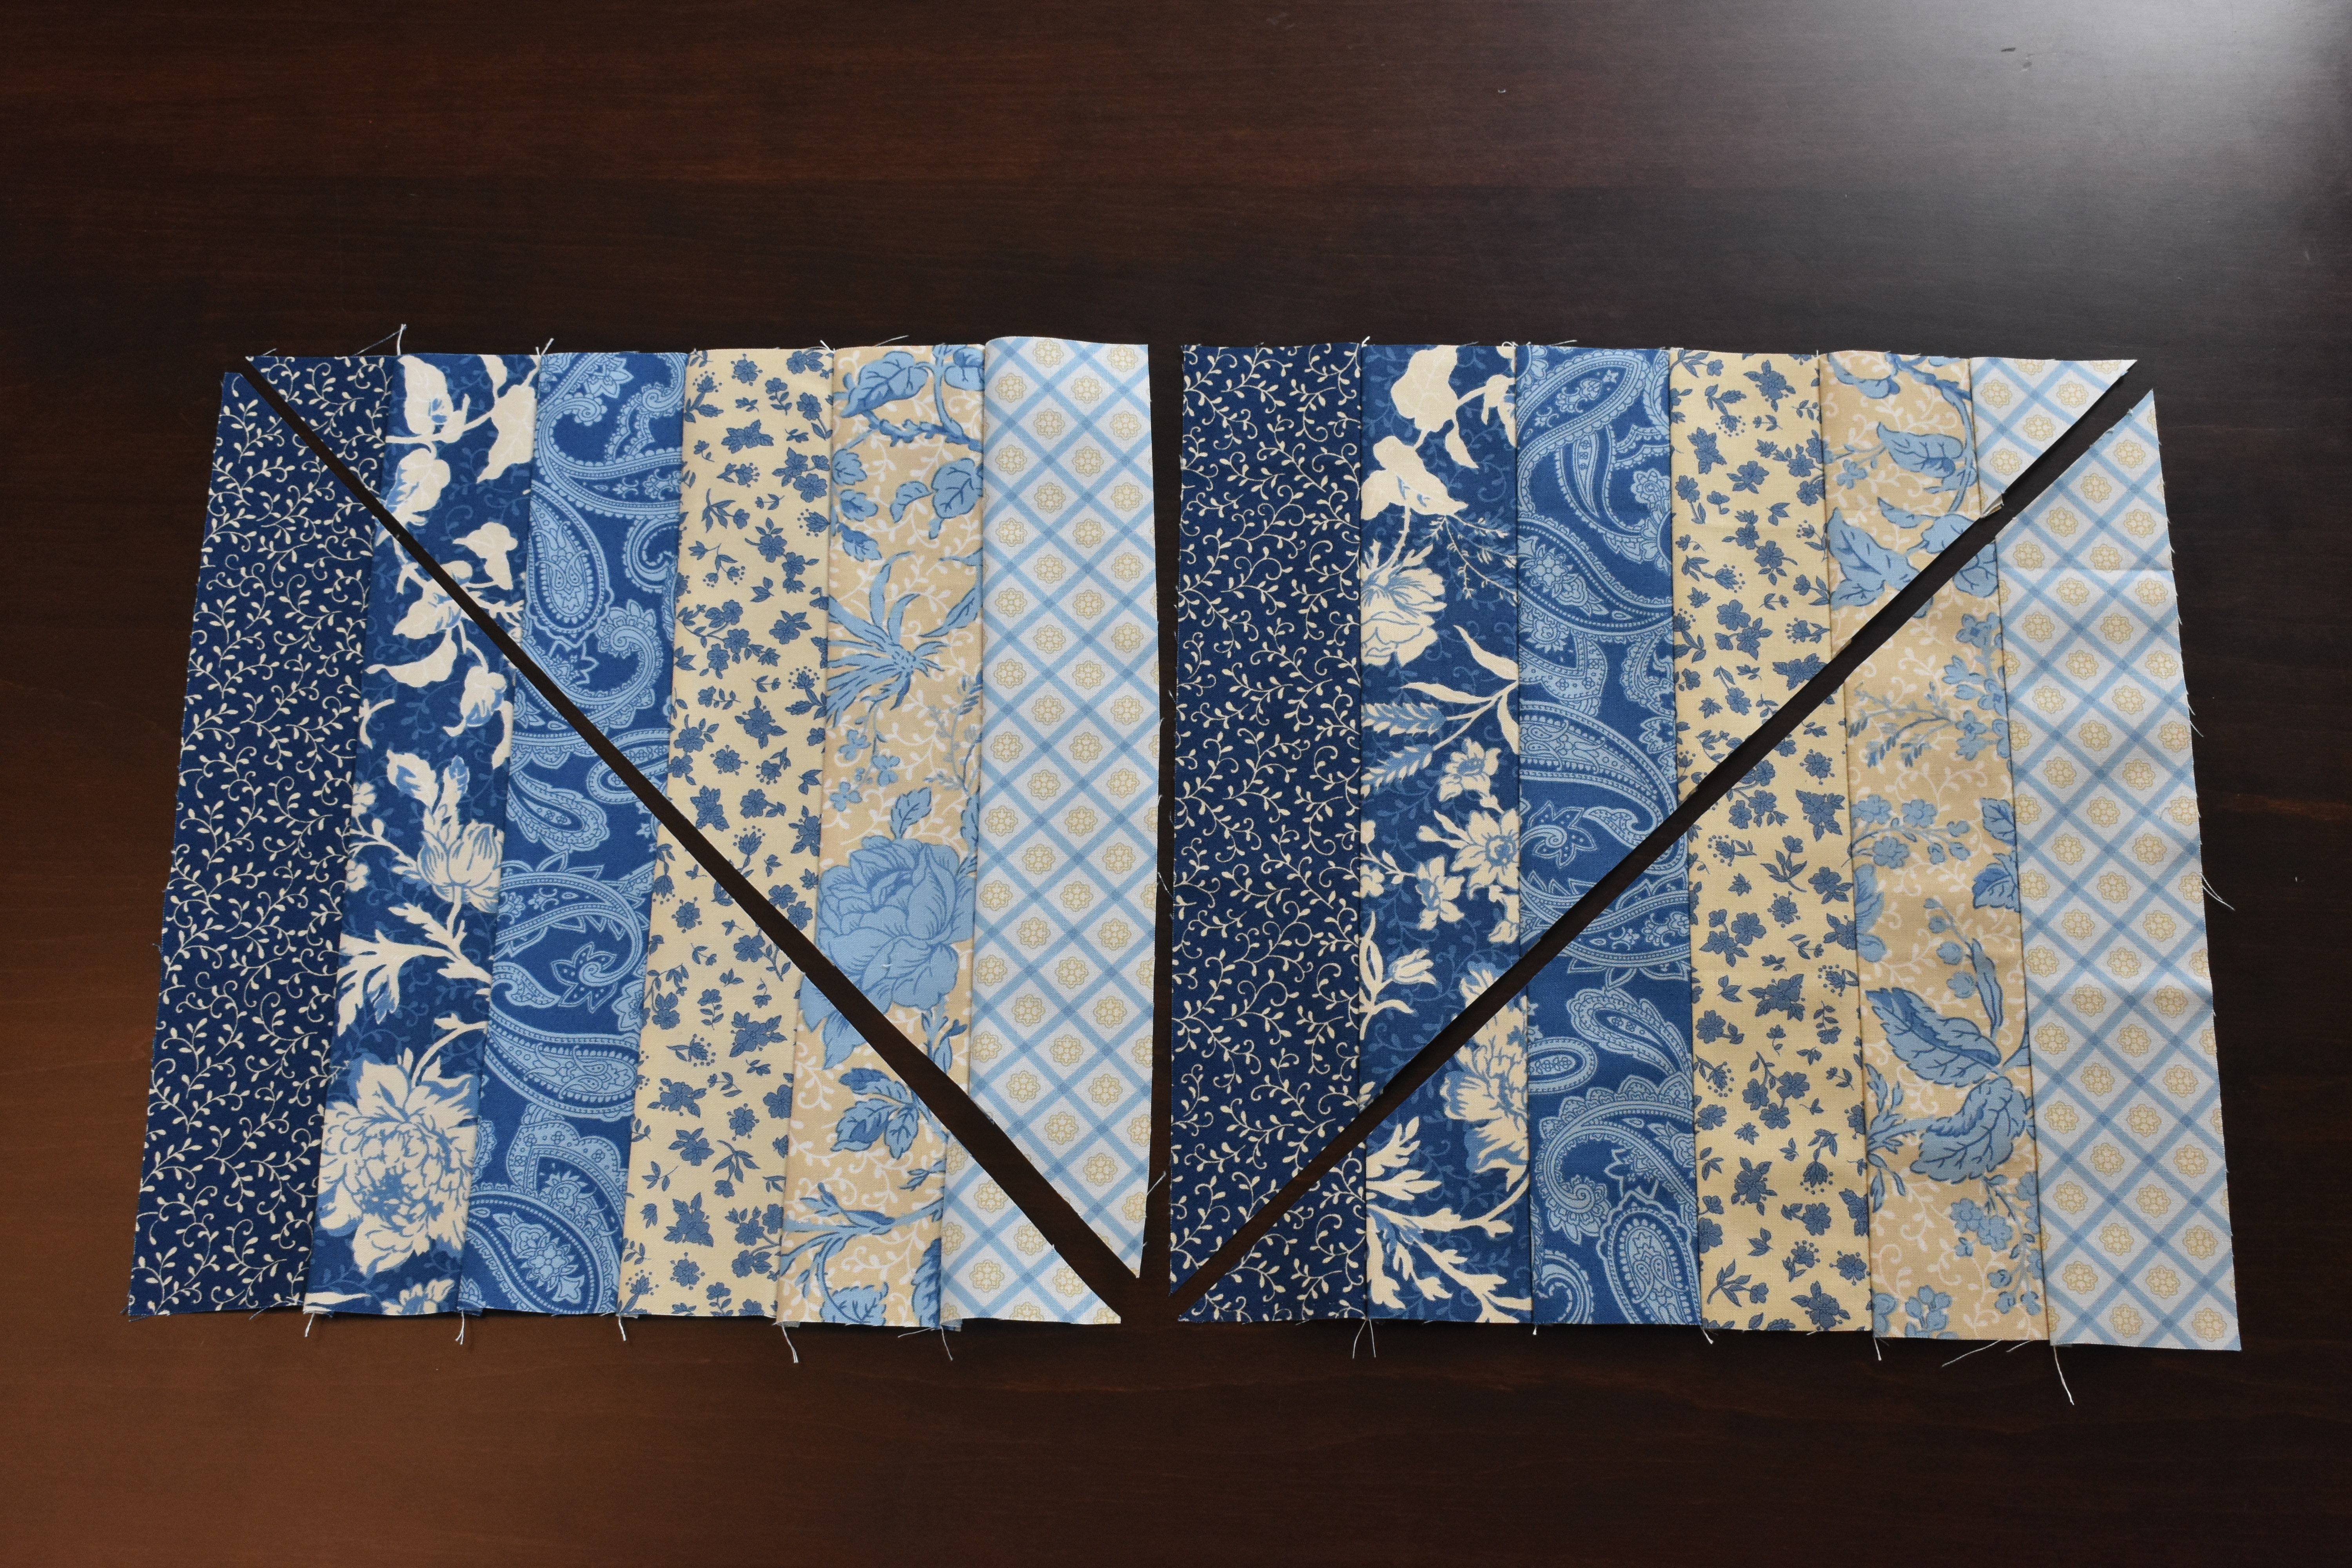
Cut you strips down to 12.5″. You will need 2 – 2.5″x12.5″ strips from each fabric you chose.
Organize and sew
Lay out your strips so that you make sure you sew them together in the correct order.
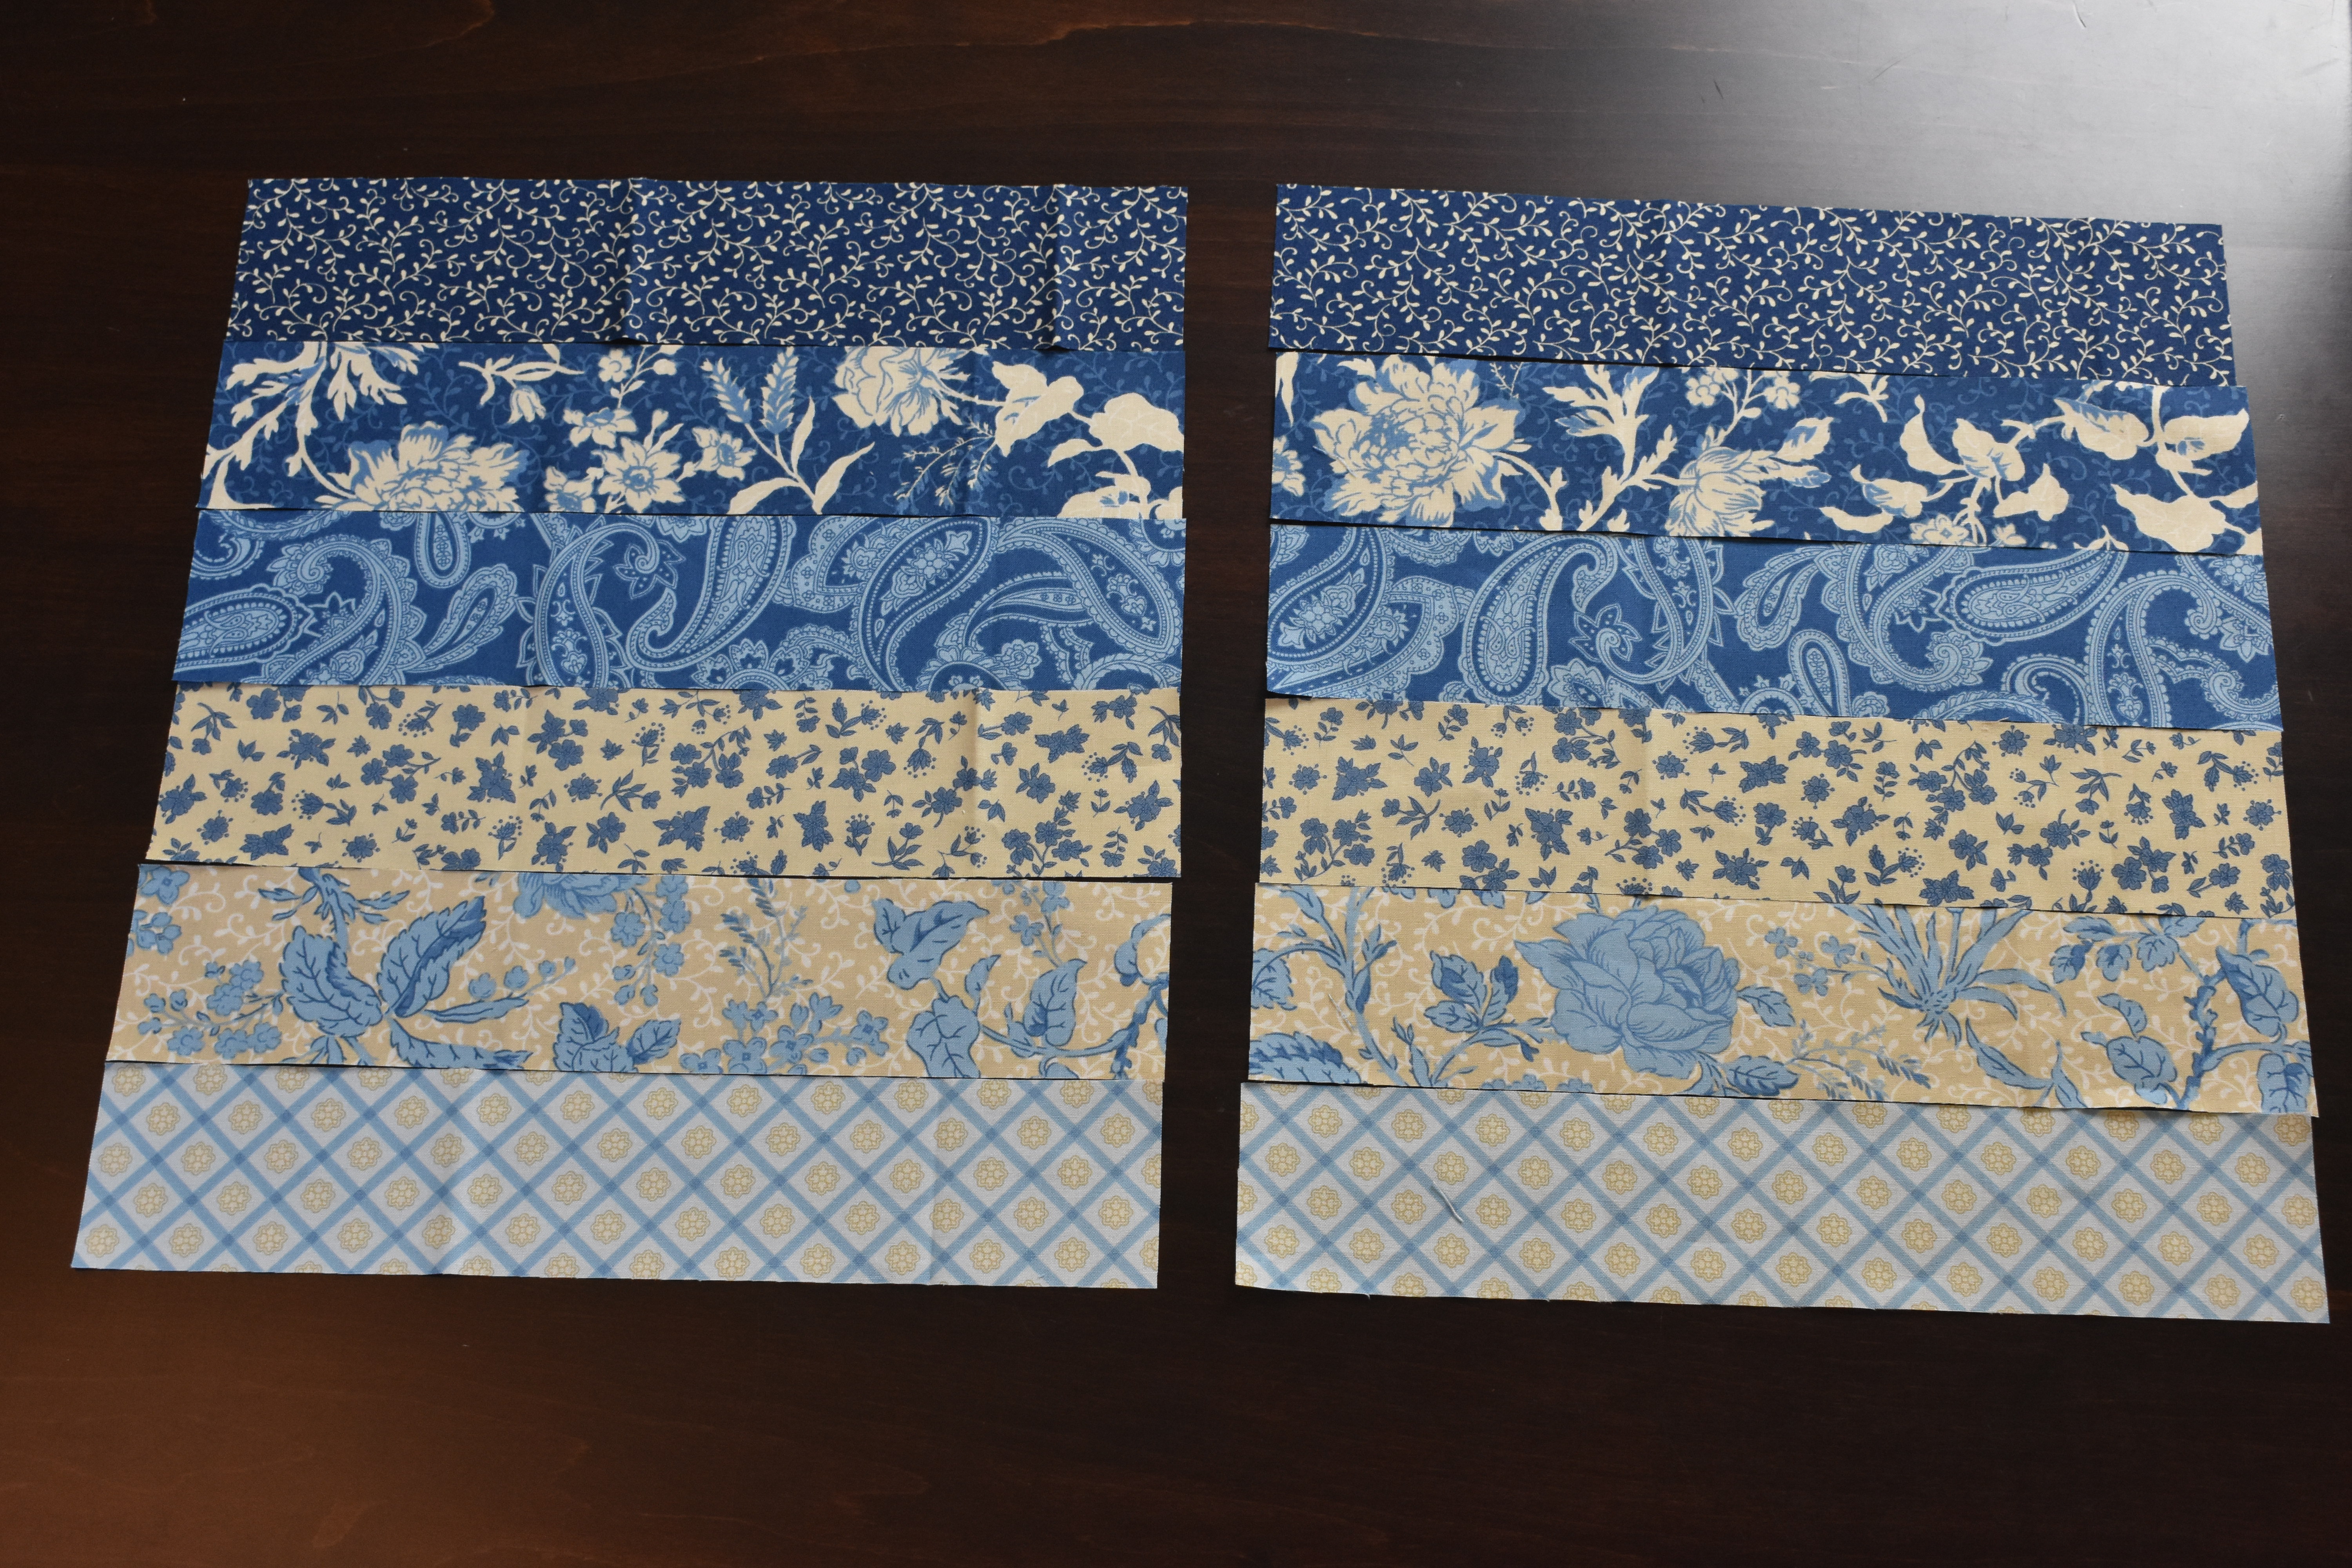
I chose to try and organize mine from dark to light.
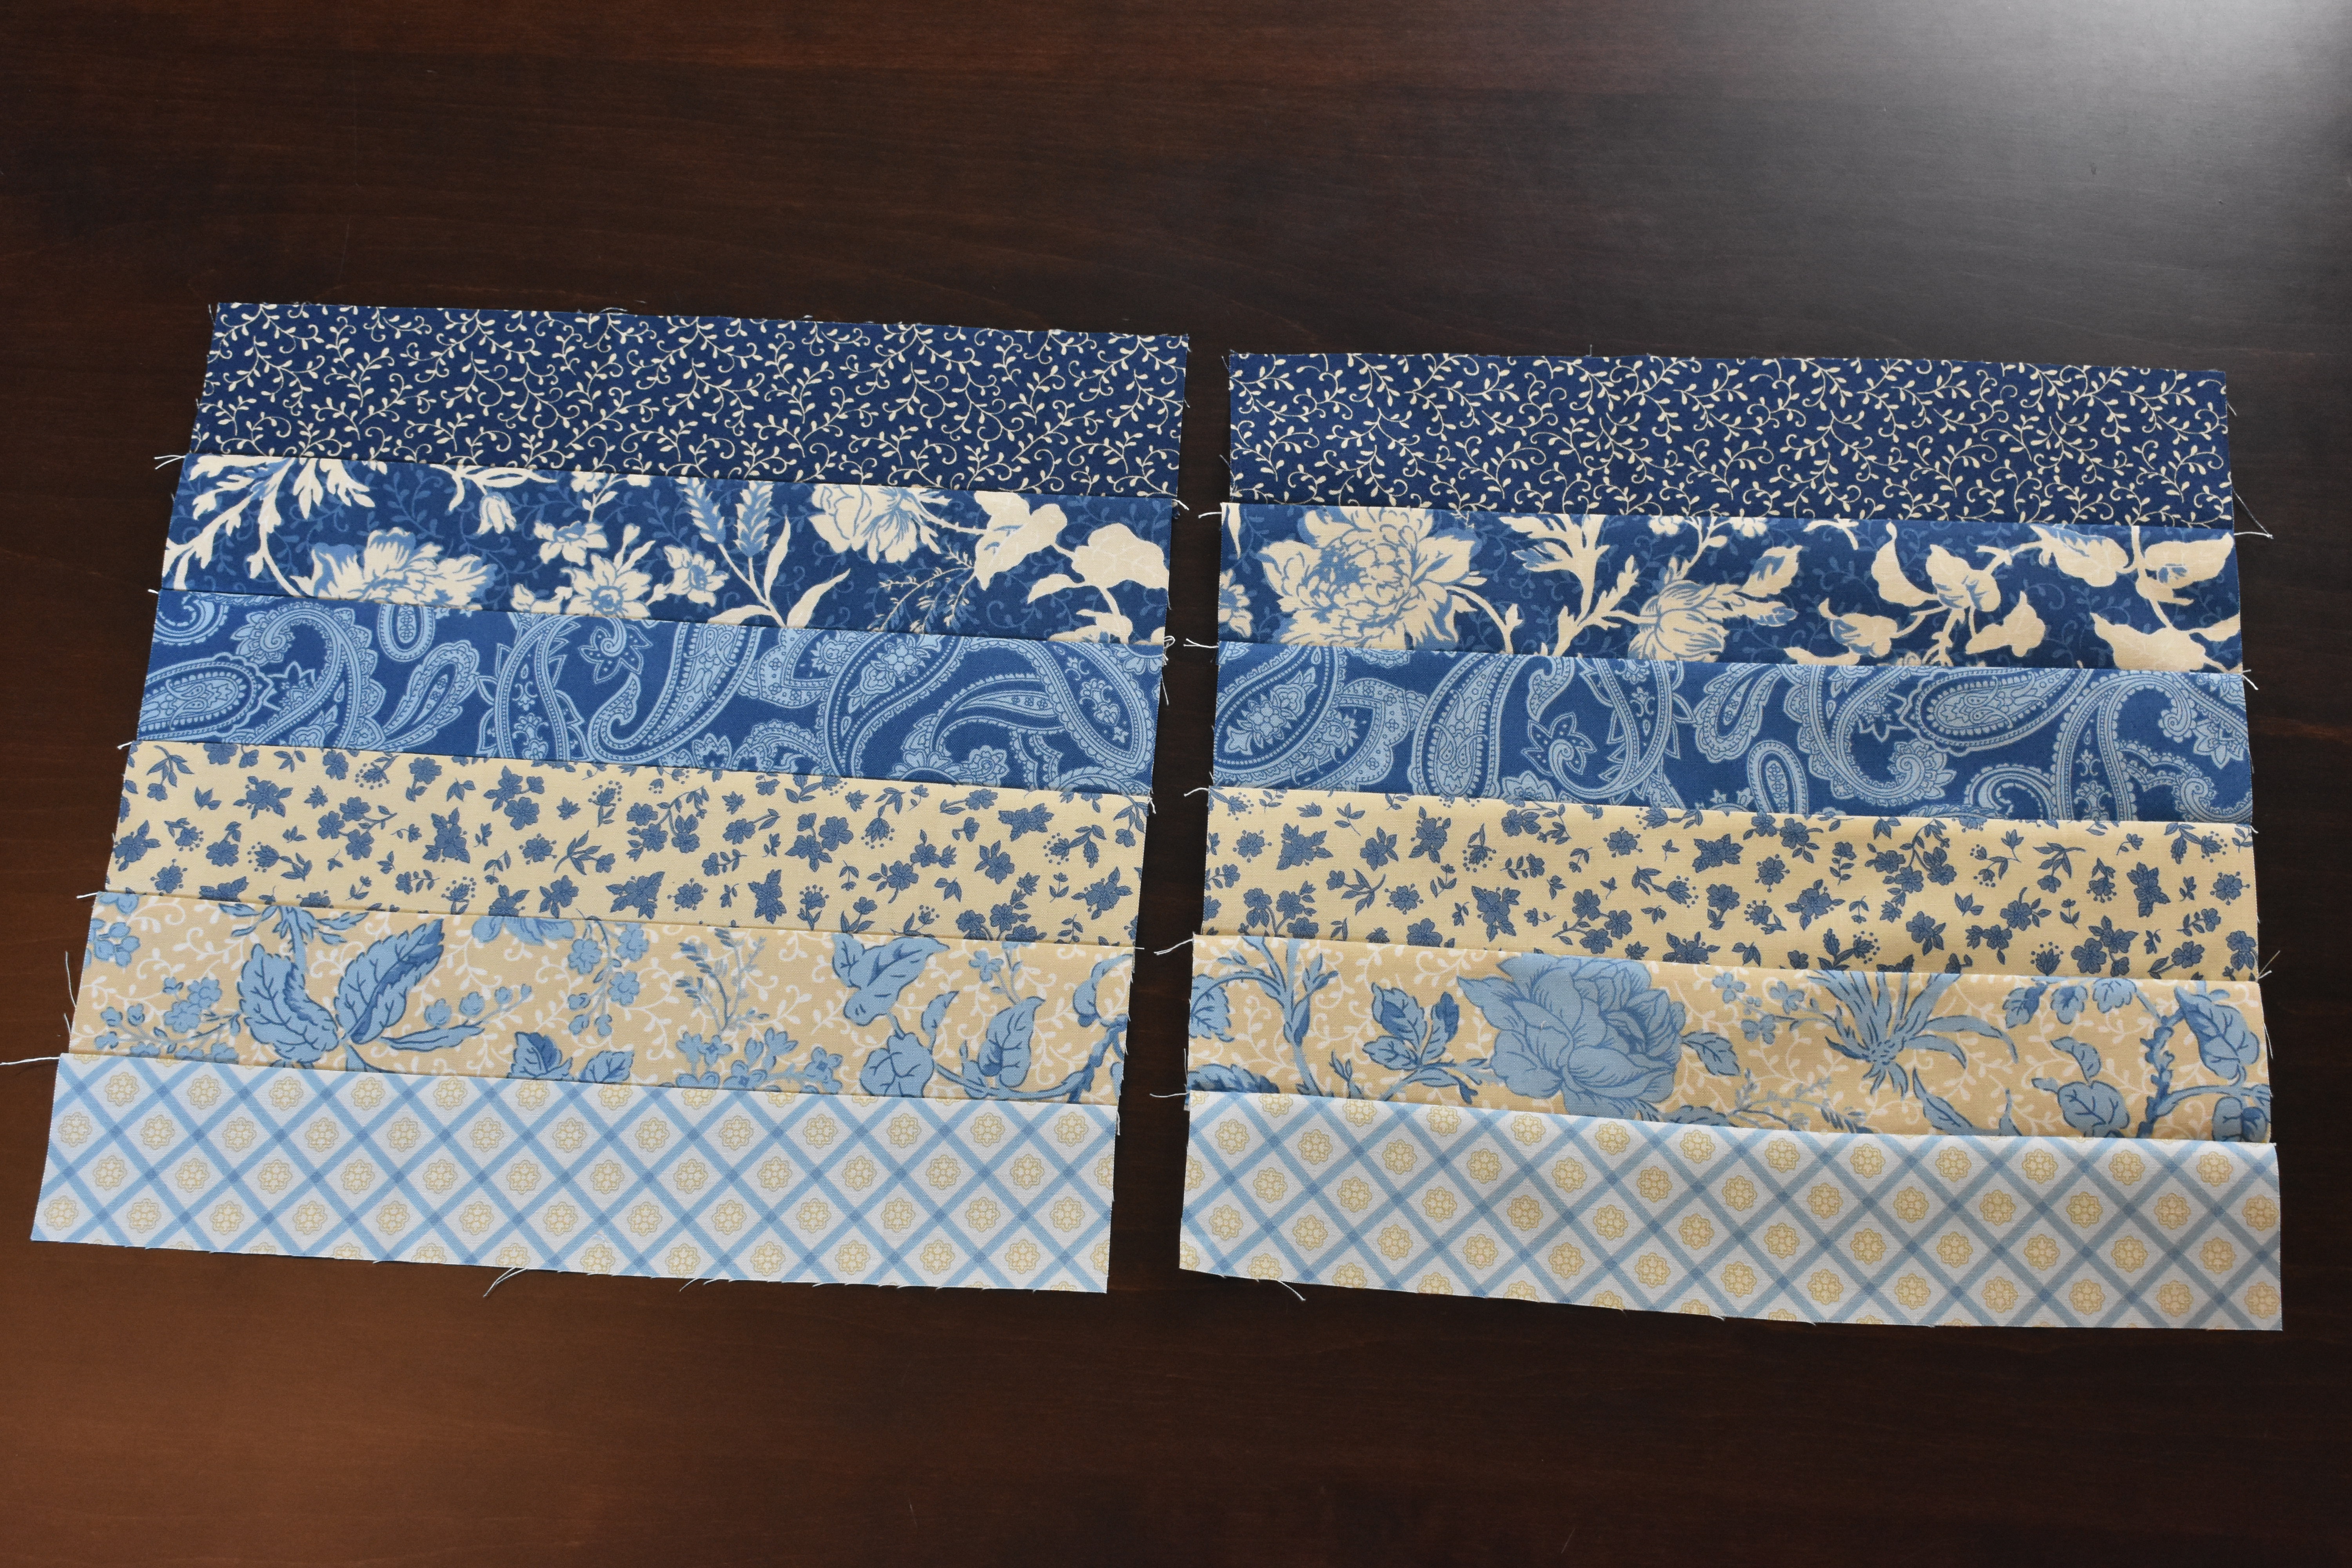
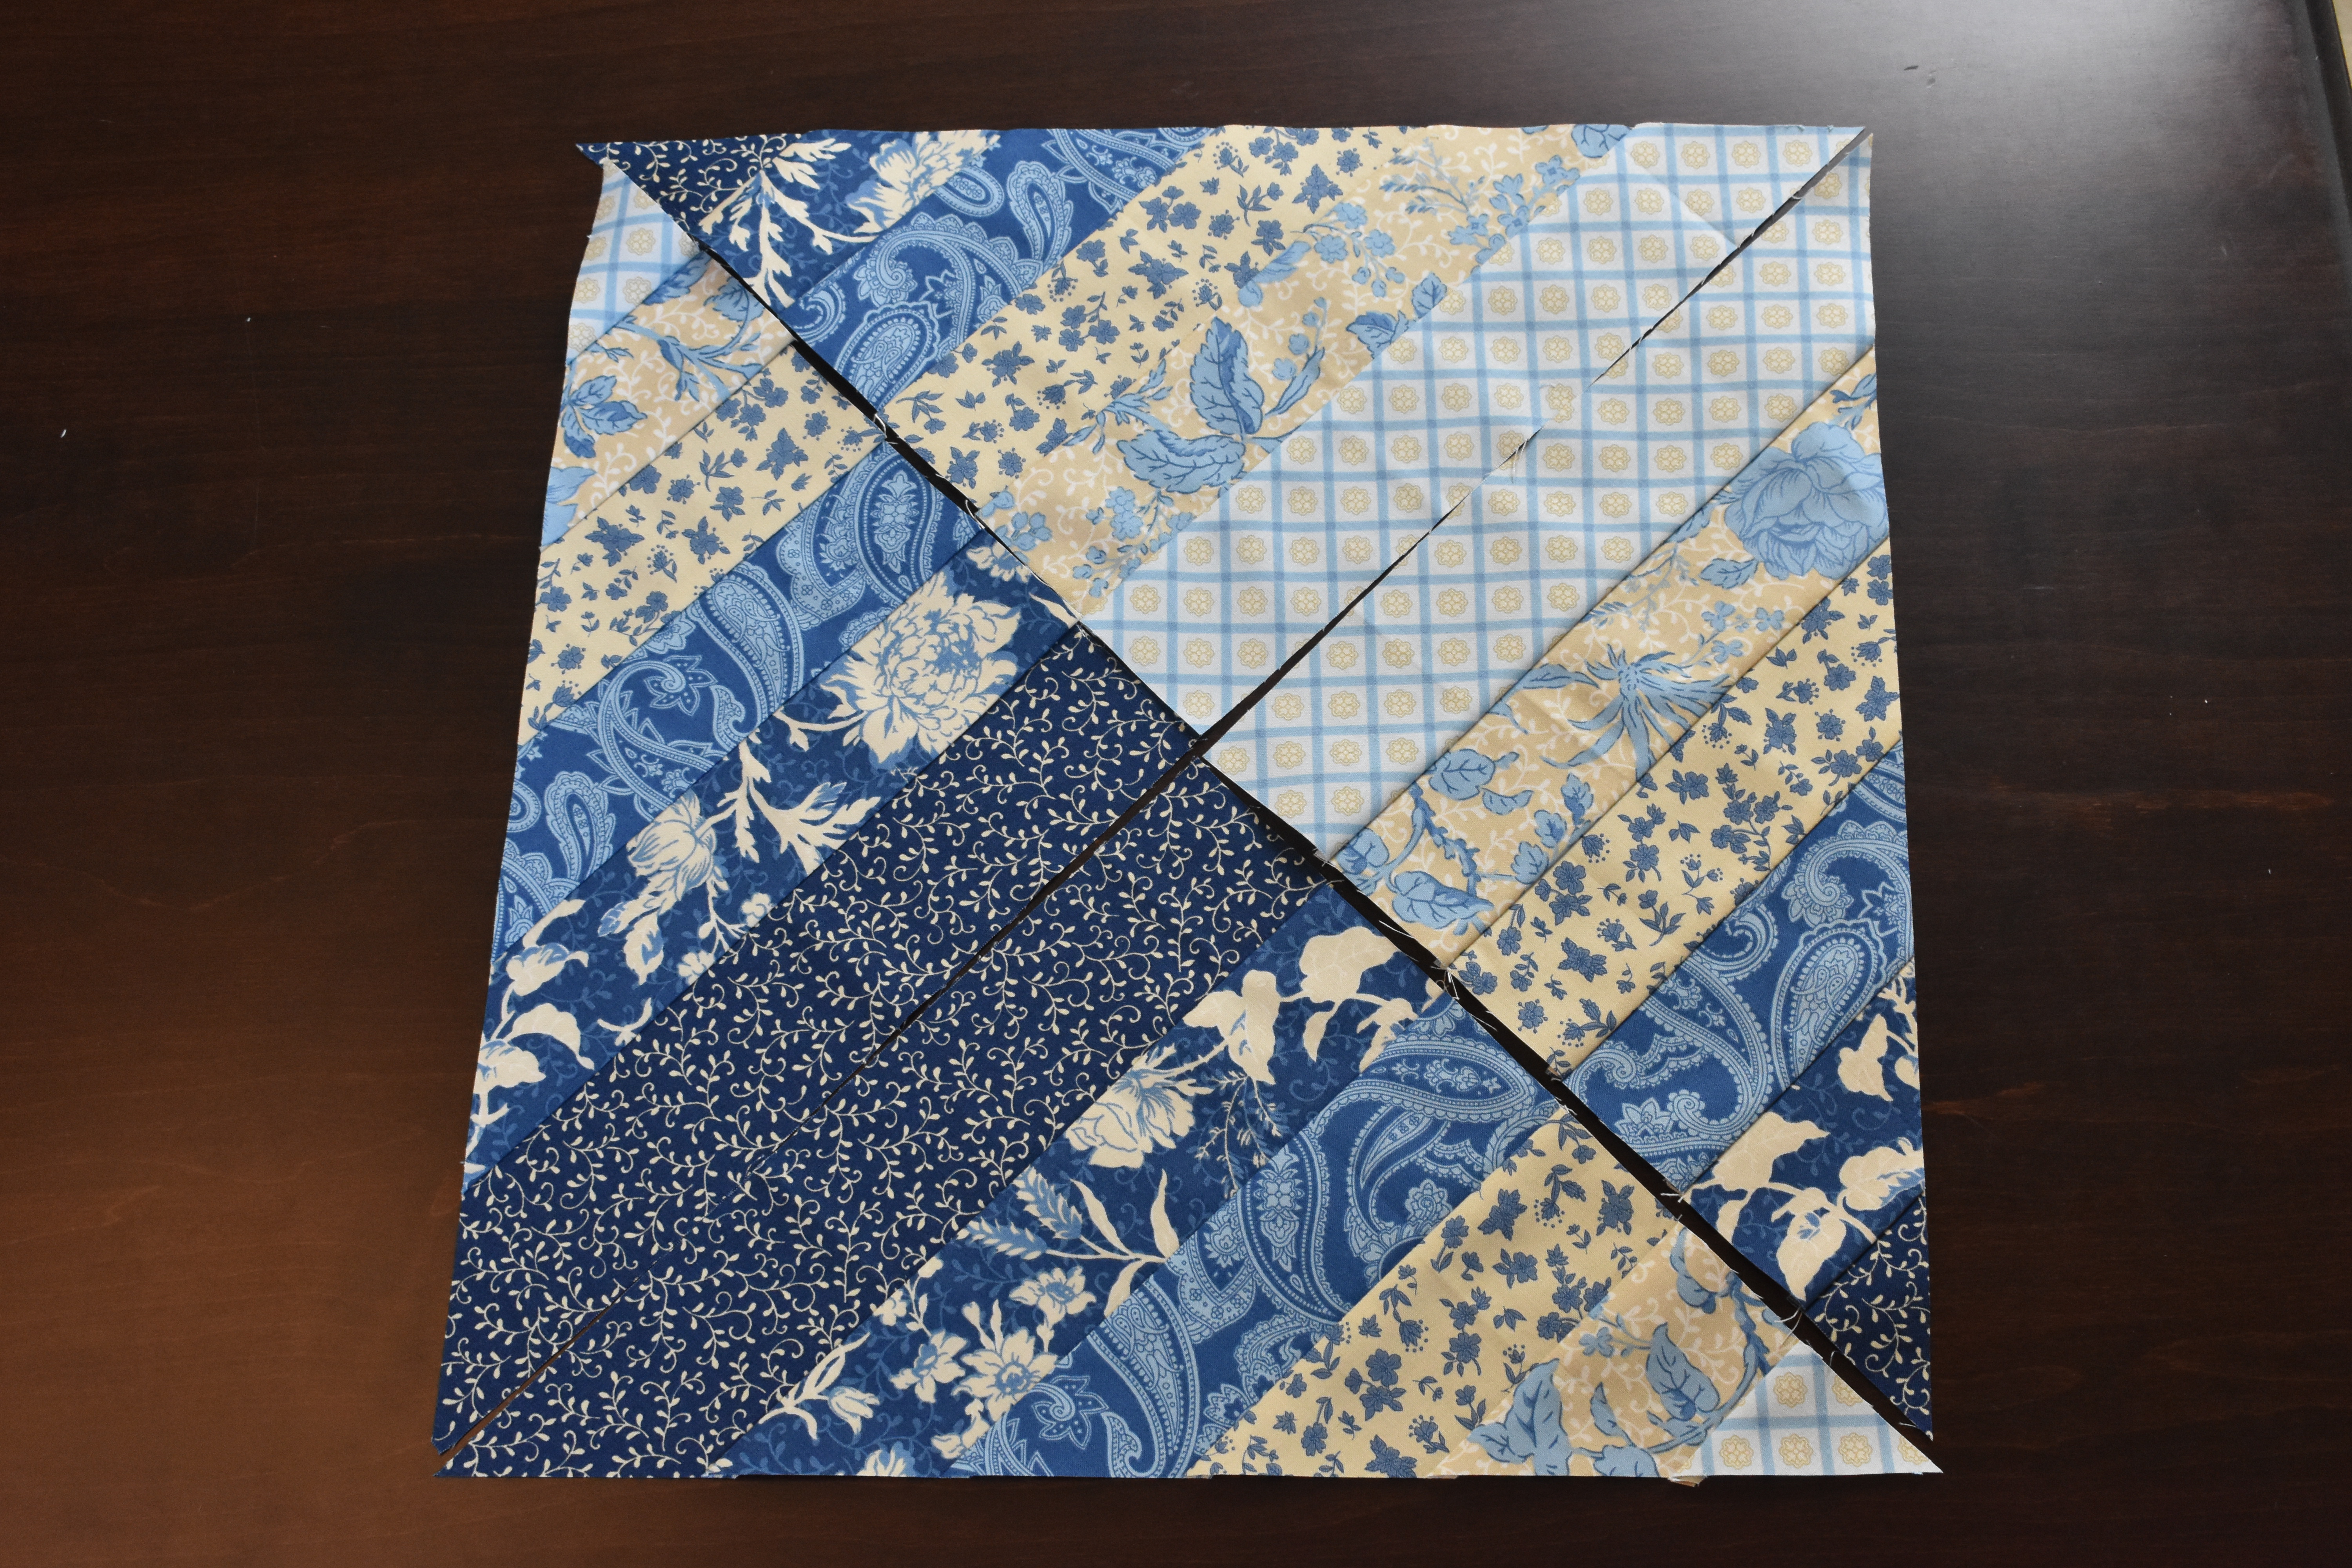
Once you have sewn both blocks together press your seams.
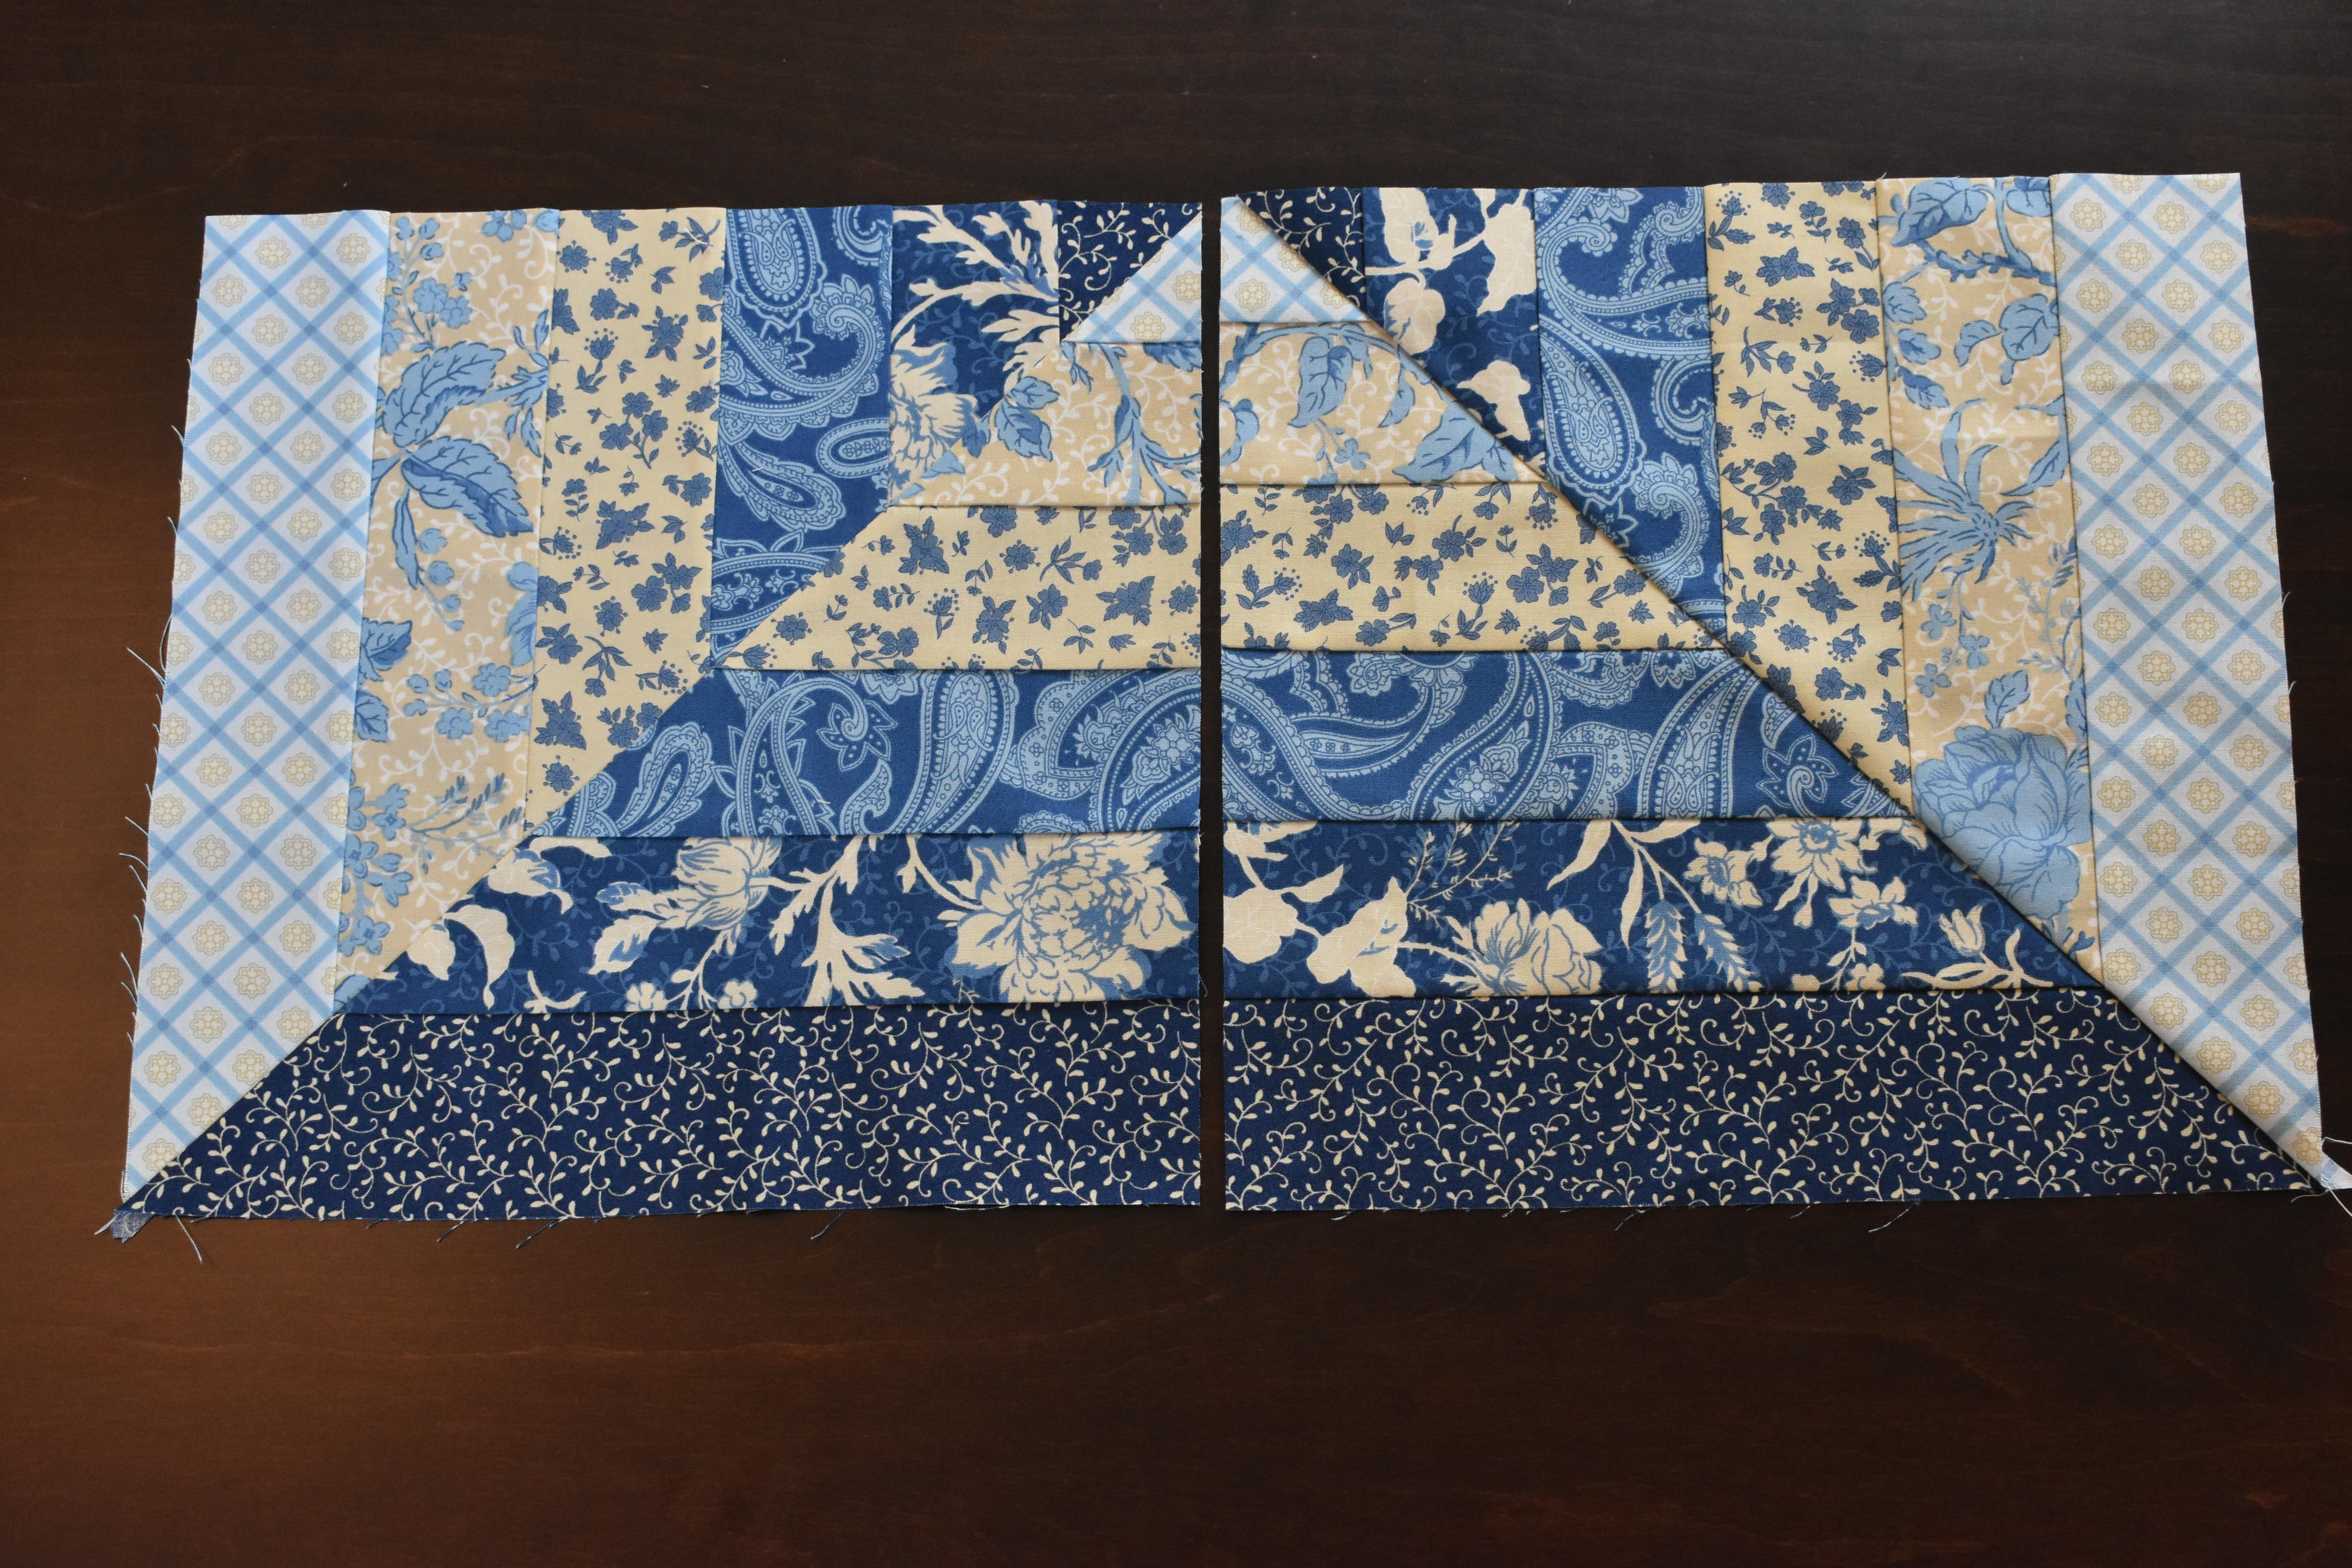
Cut into triangles
So, this is the most difficult step. I use the word “difficult” loosely here though. You really just need to make sure you cut from corner to corner on each block to create four triangles, however, you need to make sure you cut your blocks in opposite directions as shown in the image.
Organize your block
You are in the home stretch! Didn’t this block come together quickly so far!?
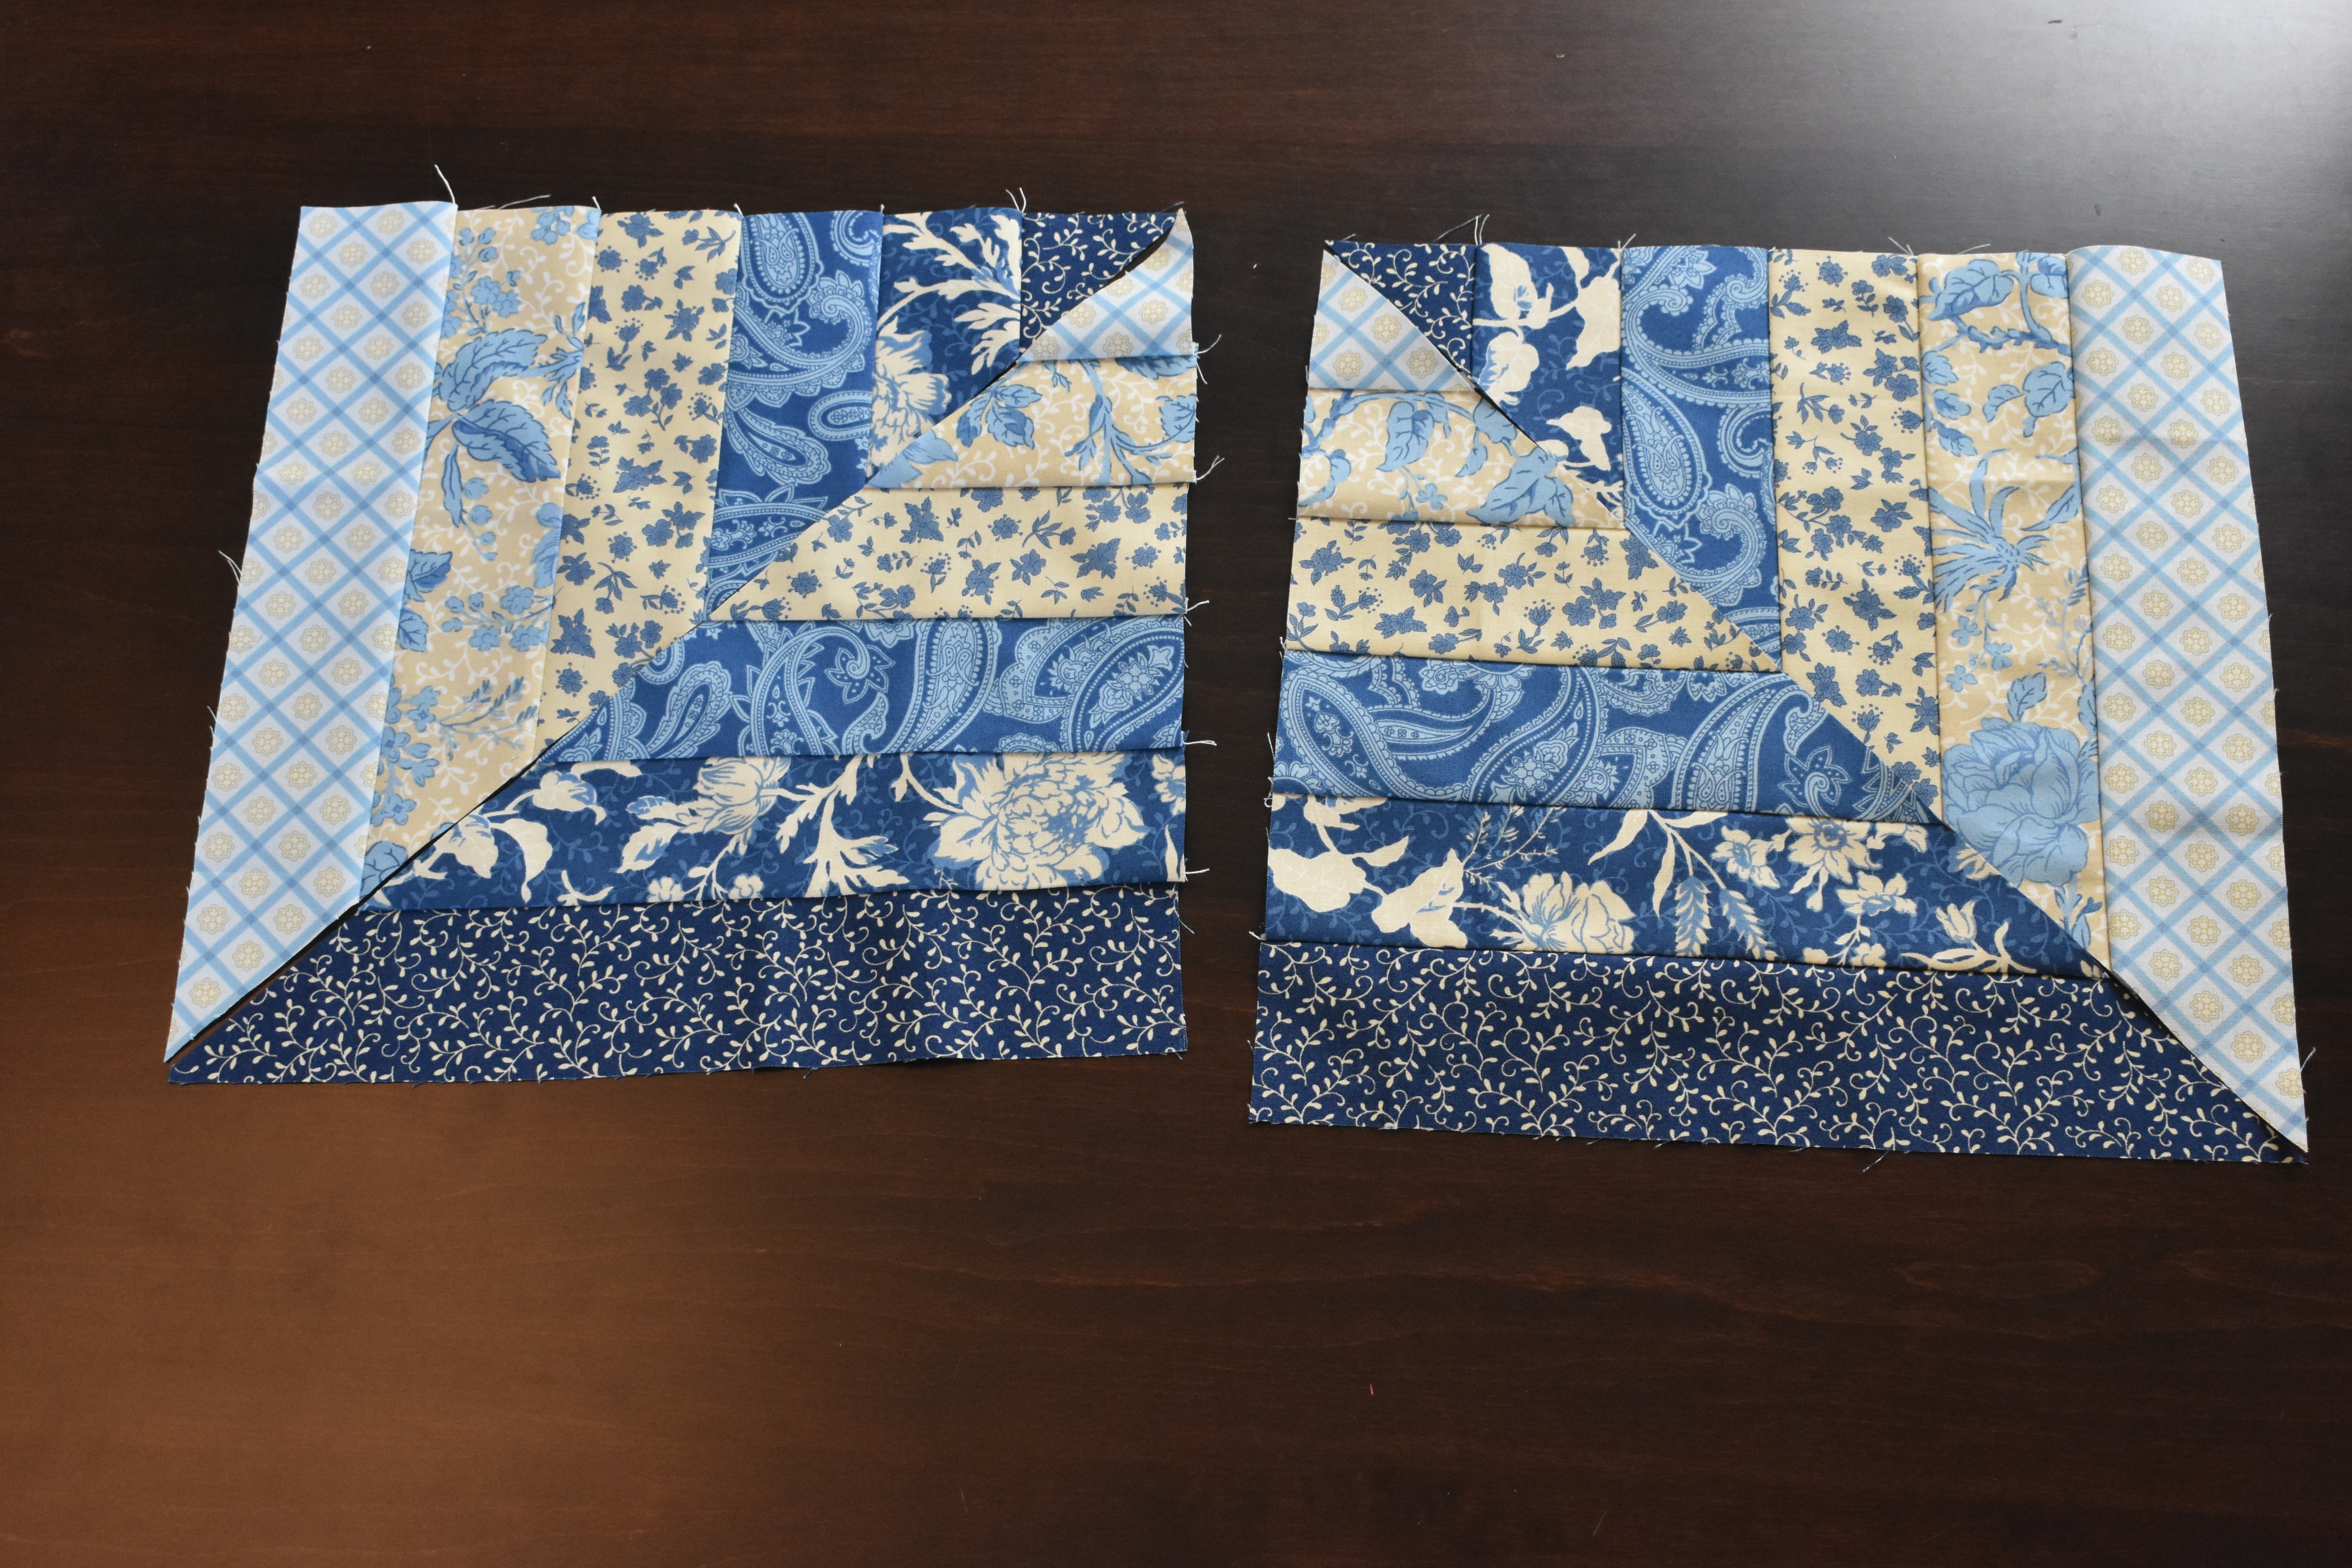
Now we will organize the triangles into the final two blocks and sew.
This is also where you will have options!


You can make two different blocks like in the photos above. The option on the left is lined up with your fabrics matching nicely. The photo on the right is unmatched.
You can also make one large block.
 This option would be fun because you could build your thick middle rows into x’s or large boxes when you complete more blocks.
I chose to go with this layout.
The layout that looks best to you may depend on the fabrics you chose or just your personal taste! Have fun here!
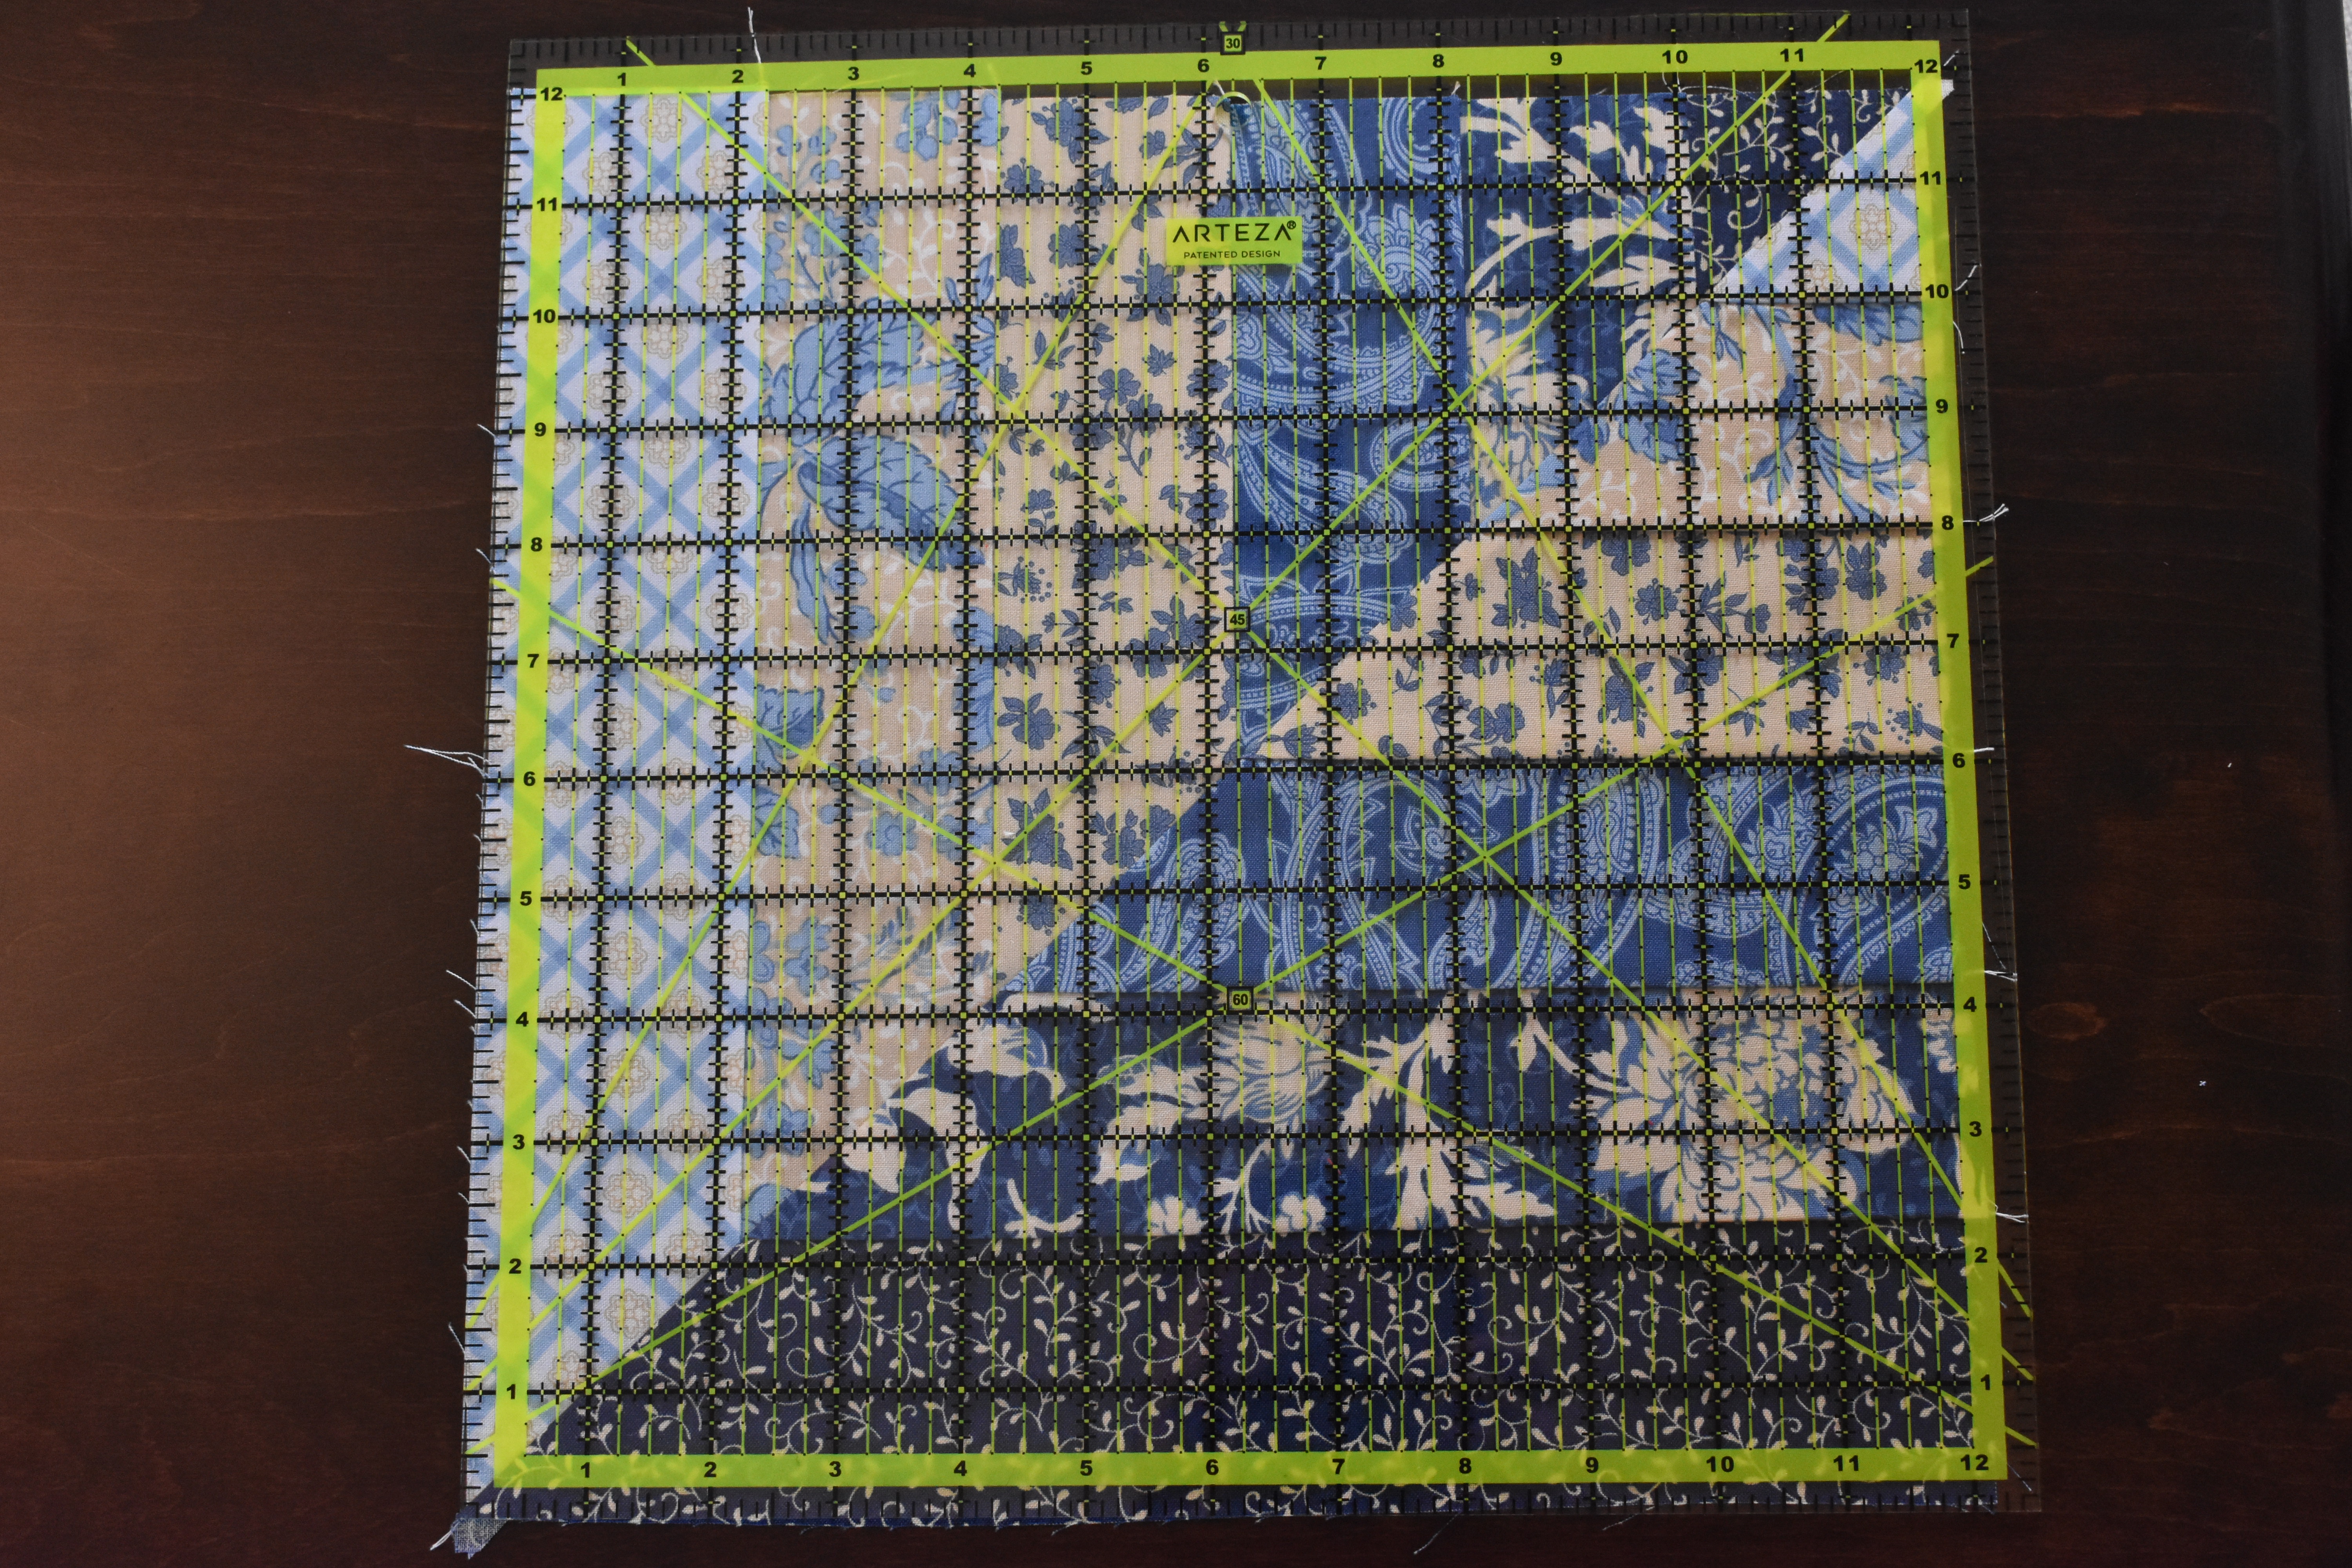
When you settle on a layout sew your squares together to finish your block and press your seams!
Finished
Your final block will measure about 11.75″. I had to square mine up a bit. If you sew more accurate than me then maybe yours will end up the desired 12″ I was going for! If you want to turn your block into a quilt the finished size of the block will be about 11.25″. So, keep that in mind when you plan out your quilt to figure out sizing and number of blocks needed to complete your quilt top to the desired size.
Note: I hoped that all of the weekly blocks would come out to the same size, but I miss measured a little here! But hey, it happens!
I hope you have fun making this block! It is so easy! Sometimes I really love making a quilt out of blocks that come together really fast. It can be so satisfying.
Be sure to subscribe to my blog so you get each block this week.
Bye for now.

7 responses to “Building Blocks”
I really love this block; each of the layouts will make great quilts — I want to try your suggestion for the larger block. Another item for my someday list–thanks for the tutorial!!
LikeLike
Making the large blocks into a quilt is on my list too!
I love these blocks. I had a lot of fun rearranging them.
LikeLike
I would love to see photos of any blocks you have made during the quilt-a-long! Post them on my Facebook page here: https://www.facebook.com/104230451184290/posts/133866521554016/?d=n
LikeLike
This is my favorite one so far! Thank you for sharing 🙂
LikeLike
Your welcome!
I have to admit, this was probably my favorite as well and I will likely make a lap quilt from the blocks. I loved how you could make different layouts just from rearranging the blocks.
If you make one I would love to see what colors you chose!
LikeLike
So this is going to look awesome when it’s all said and done! And I honestly can’t wait to see it! I love your creativity!
LikeLike
I think it will look awesome as a quilt top! Thanks for checking it out!
You should make one!
LikeLike