

I have about a million quilts in progress right now. Sometimes I need a project that I can start and finish in one day. When I get that urge, I almost always make a tote bag.
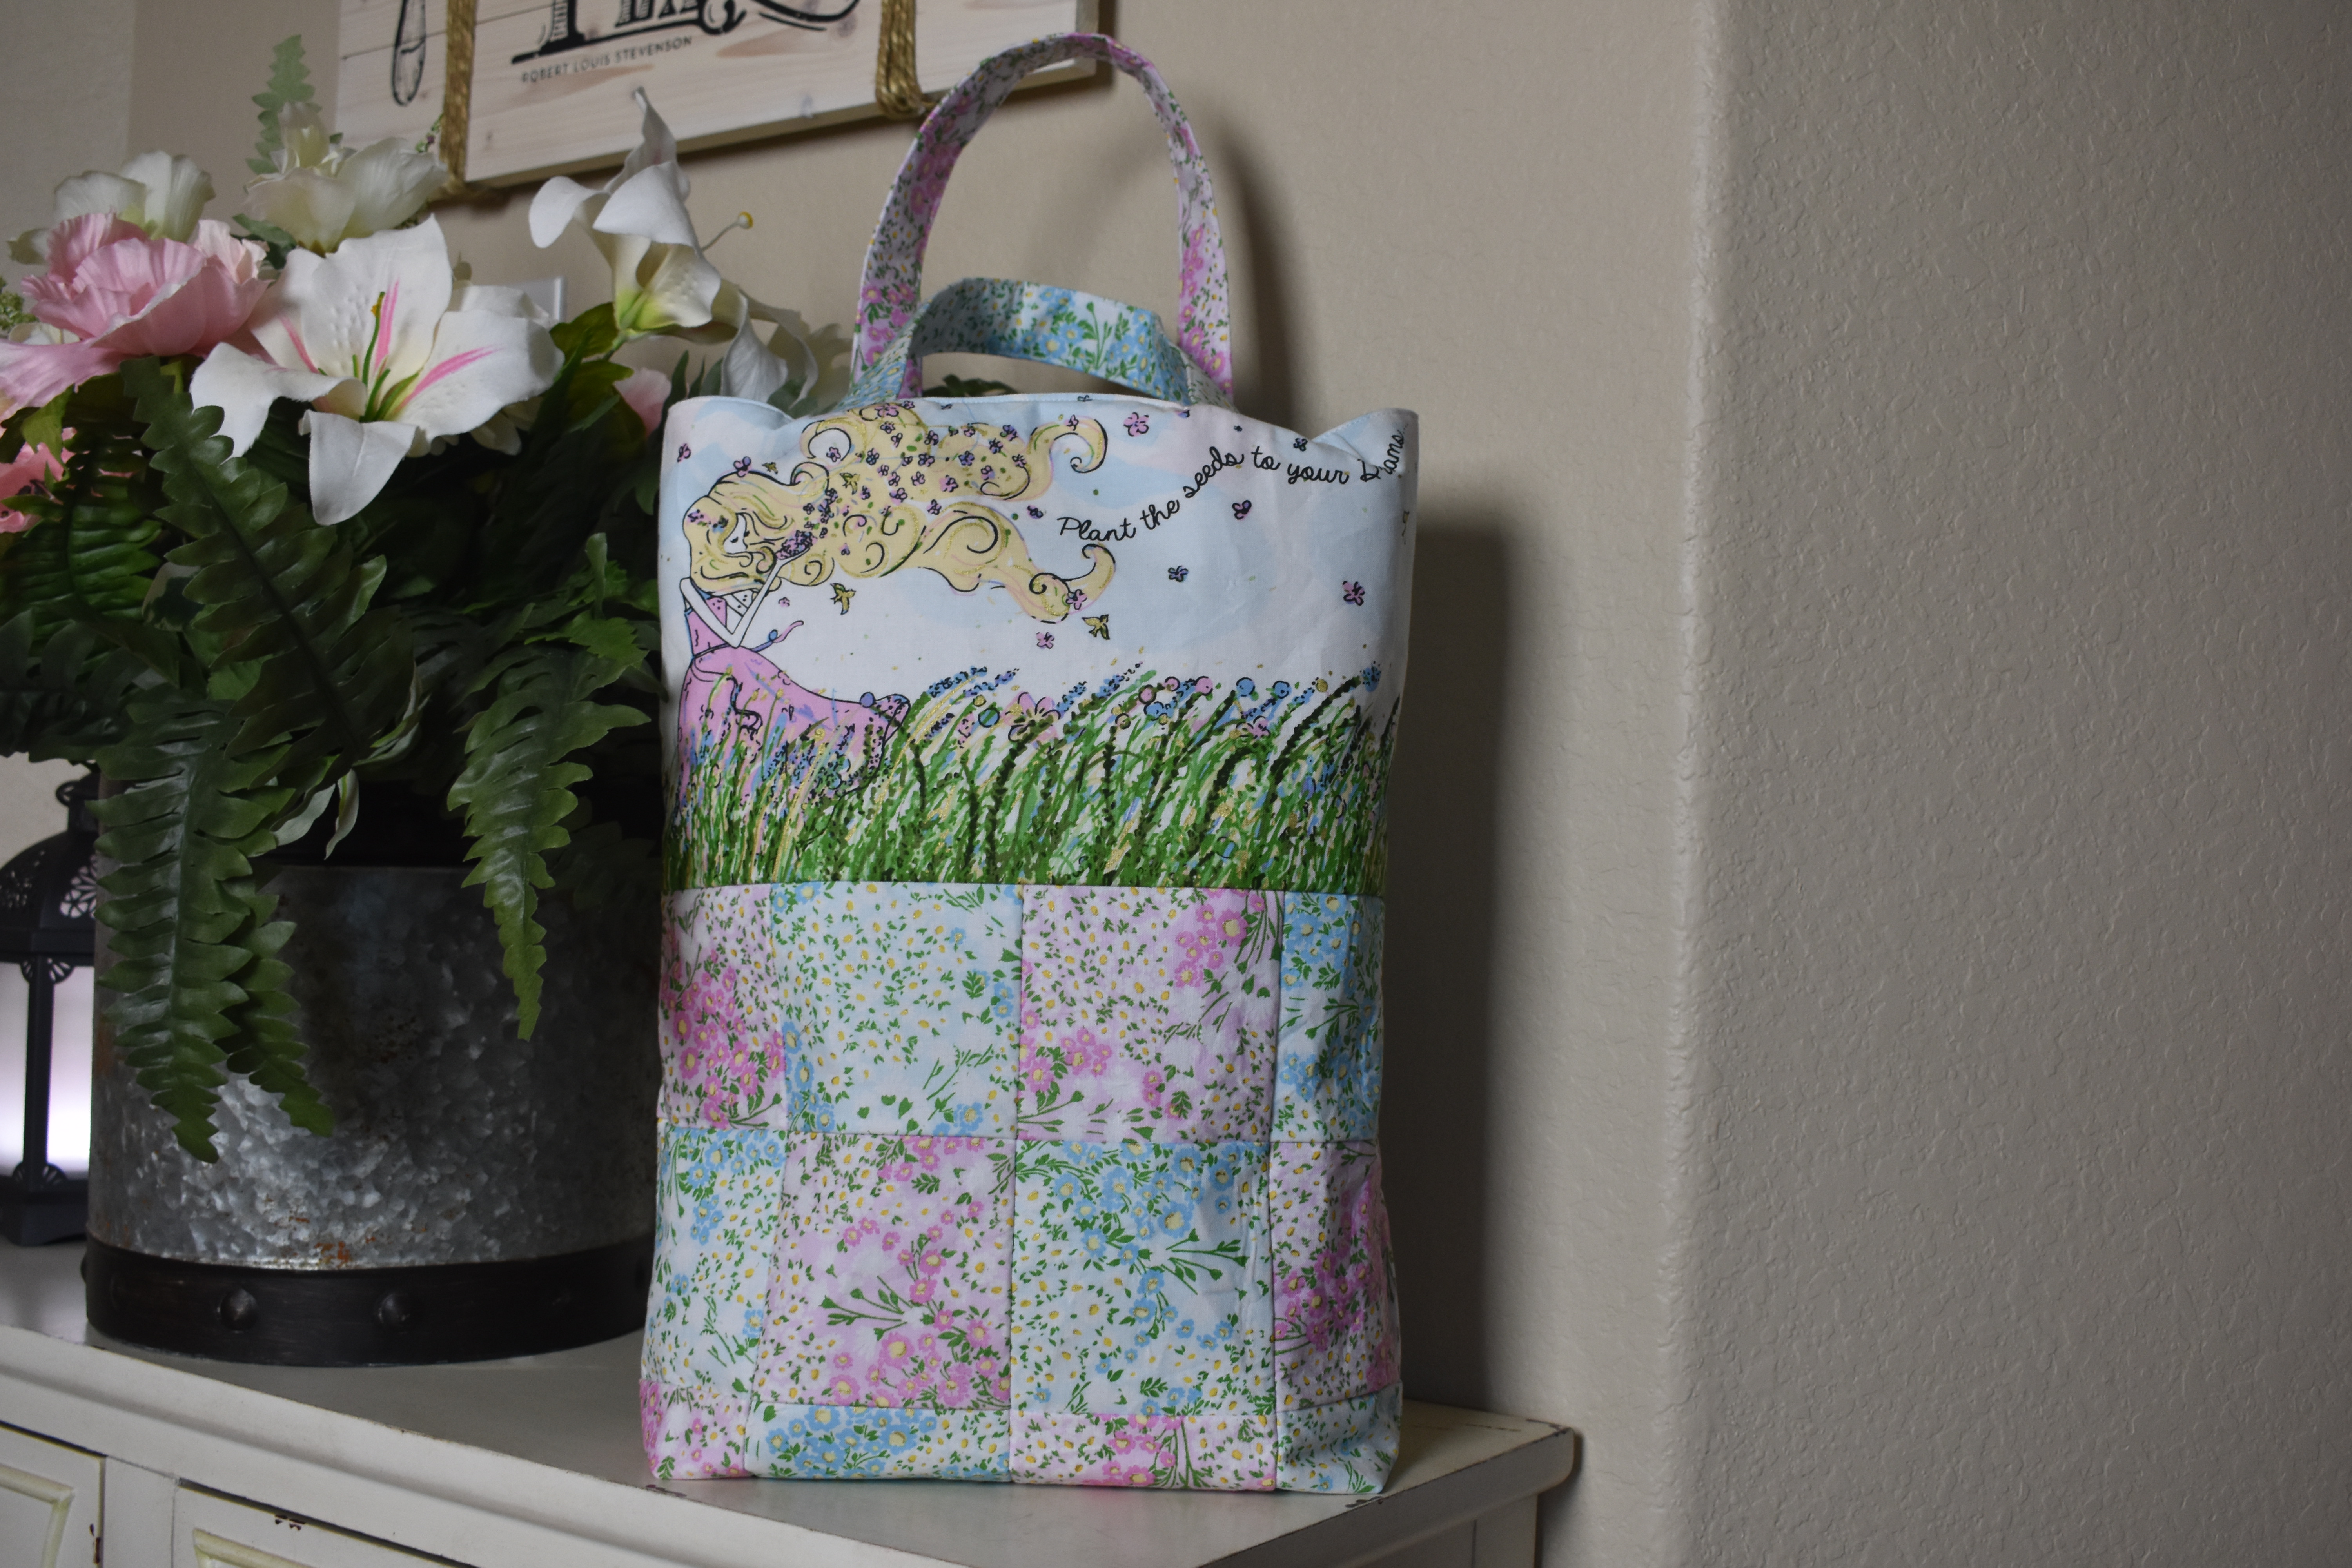
Do you ever try to fall asleep and a pattern just enters your mind? Here is the thing… I just received this fabric from my precutsquiltshop monthly box and I honestly wasn’t super impressed. I don’t really like princesses and fairies… normally. But the fabric that contains the top panel of this tote bag imprinted on my mind. It just really spoke to me, and it became obvious that I couldn’t cut it into smaller pieces. So, I needed to design something that I could use this gorgeous piece of fabric in! I think I succeeded!
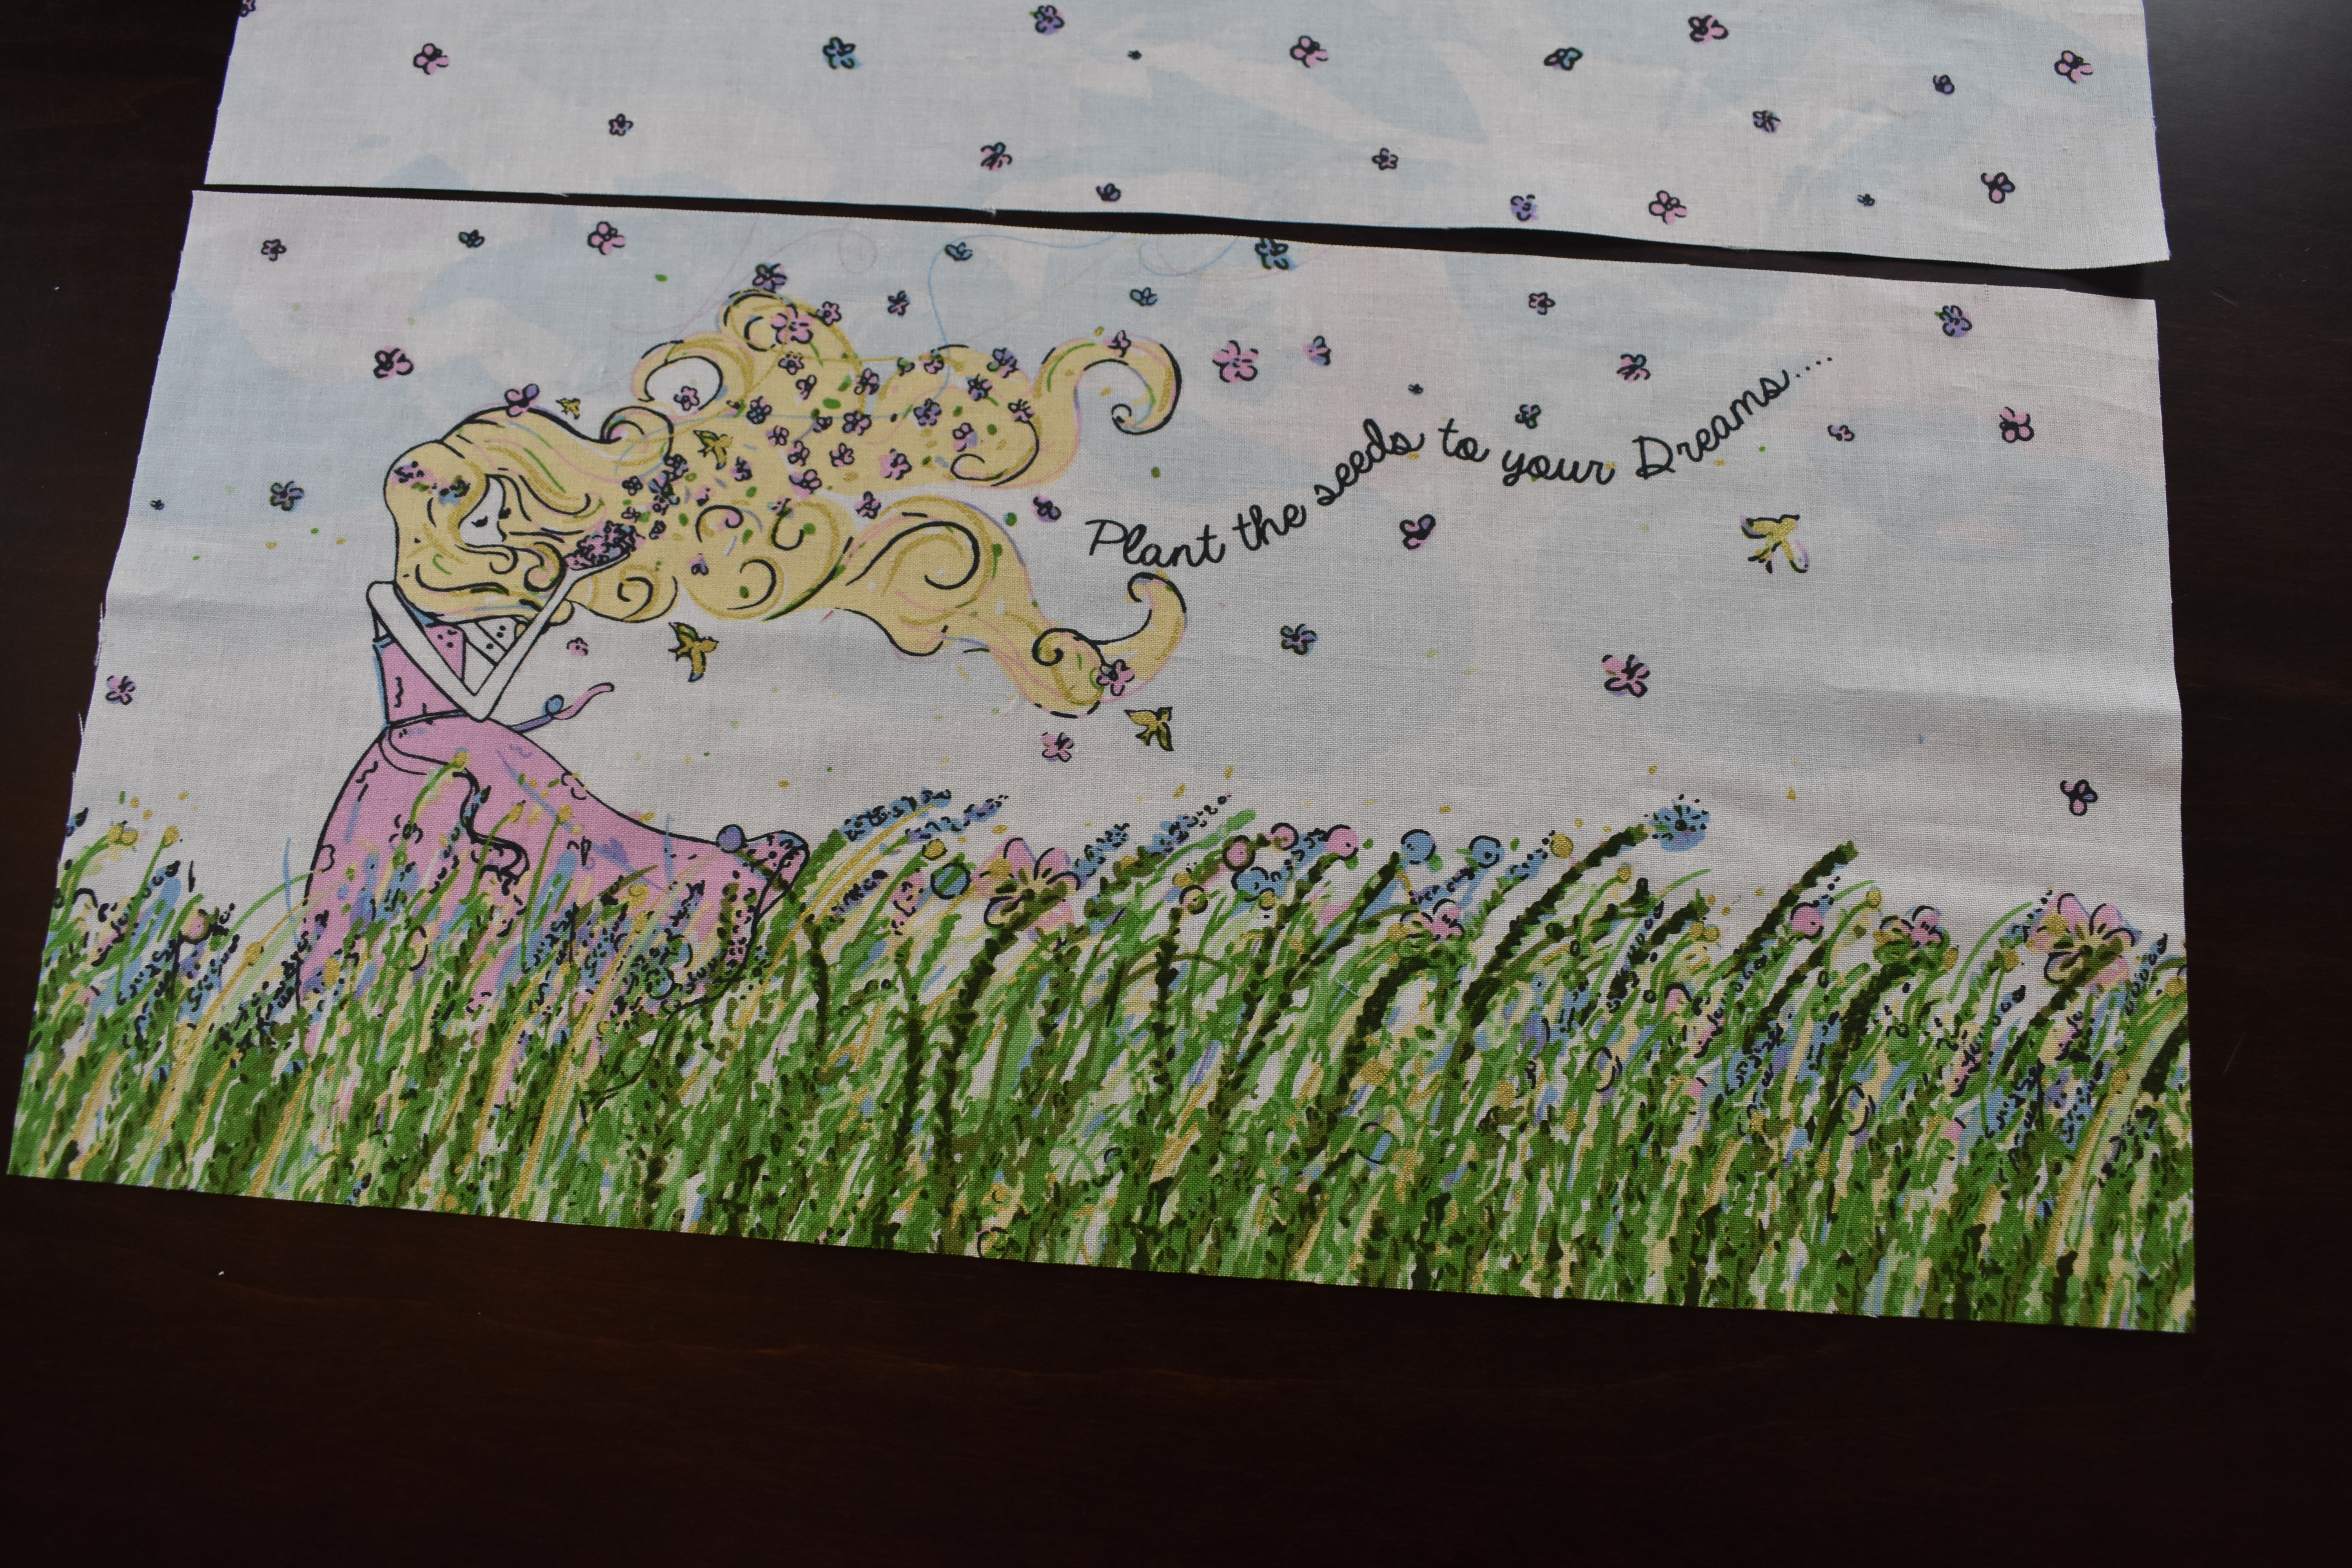
Isn’t it just beautiful!
So, did you know that the site MyBluePrint.com is offering free classes right now? I have a subscription but I noticed they are allowing people to watch classes for free while we are all trying so social distance. I watched THIS class on tote bags and it is what I based my pattern for this bag around. If you are not familiar with making bags it will be very helpful to you.
Supplies
- Five Fat Quarters
- Fusible Interfacing (recommended)
- Basic Sewing Supplies
Cutting
- 2 Fat Quarters for lining fabric – cut each to 14″x18″
- 2 Fat Quarters for Quilted Exterior Bottom of bag
- from 1 fat quarter cut 12 squares 4″x4″ and one handle 5″x17.5″
- from 1 fat quarter cut 12 squares 4″x4″ and one handle 5″x17.5″
- 1 Fat Quarter for exterior top panel – cut 2 pieces 8″x15″
- If using fusible Interfacing
- cut 2 for quilted exterior bottom – 13″x17″
- cut 2 for exterior top panel – 9″x17′
- cut 2 for handles – 6″x18″
Draw Grid On Interfacing
On both pieces of interfacing for the quilted exterior bottom of the tote bag draw a grid of 4×4” squares. The grid should be 3 row x 4 columns.

After drawing your grid you will place your half of your cut 4×4” squares in checkerboard pattern on the interfacing (make sure you are on the side with the “glue”… it should feel a little bumpy) and fuse them in place with your iron. Make sure to place a piece of parchment paper over the fabric squares and interfacing so you don’t get any glue on your iron.
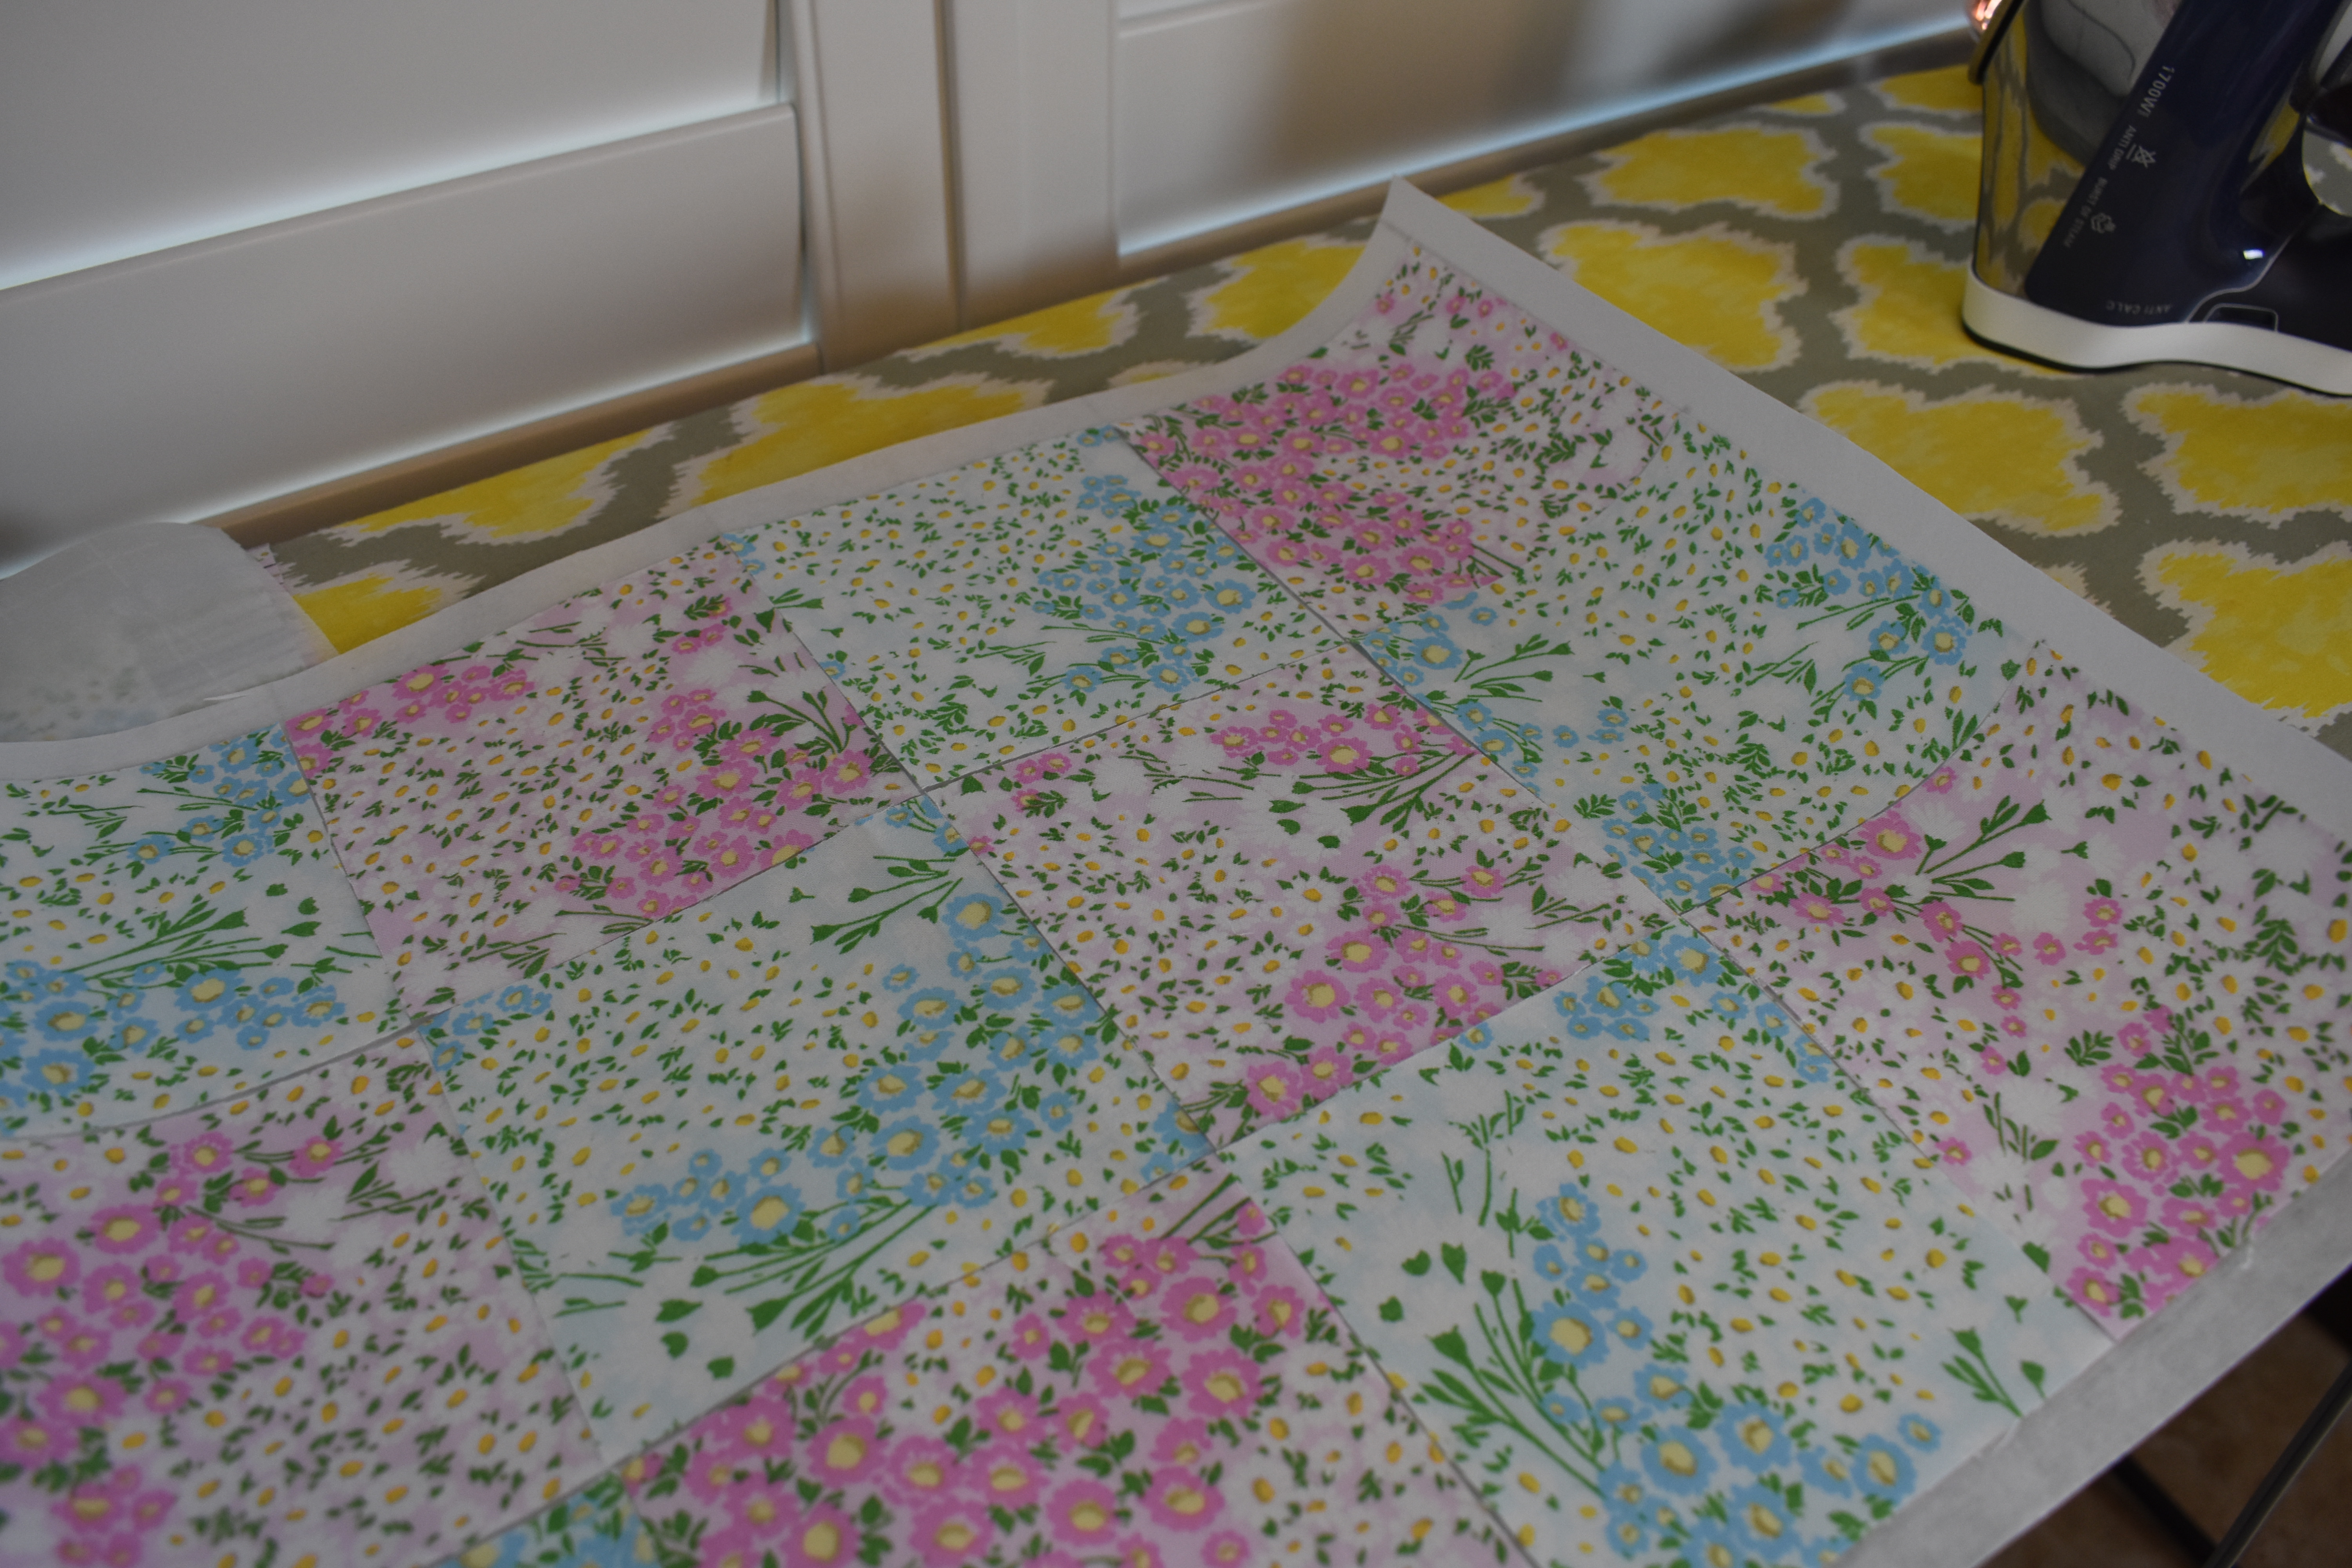
Complete this step with the front and back quilted panels.
Sewing your Quilted Tote Panels
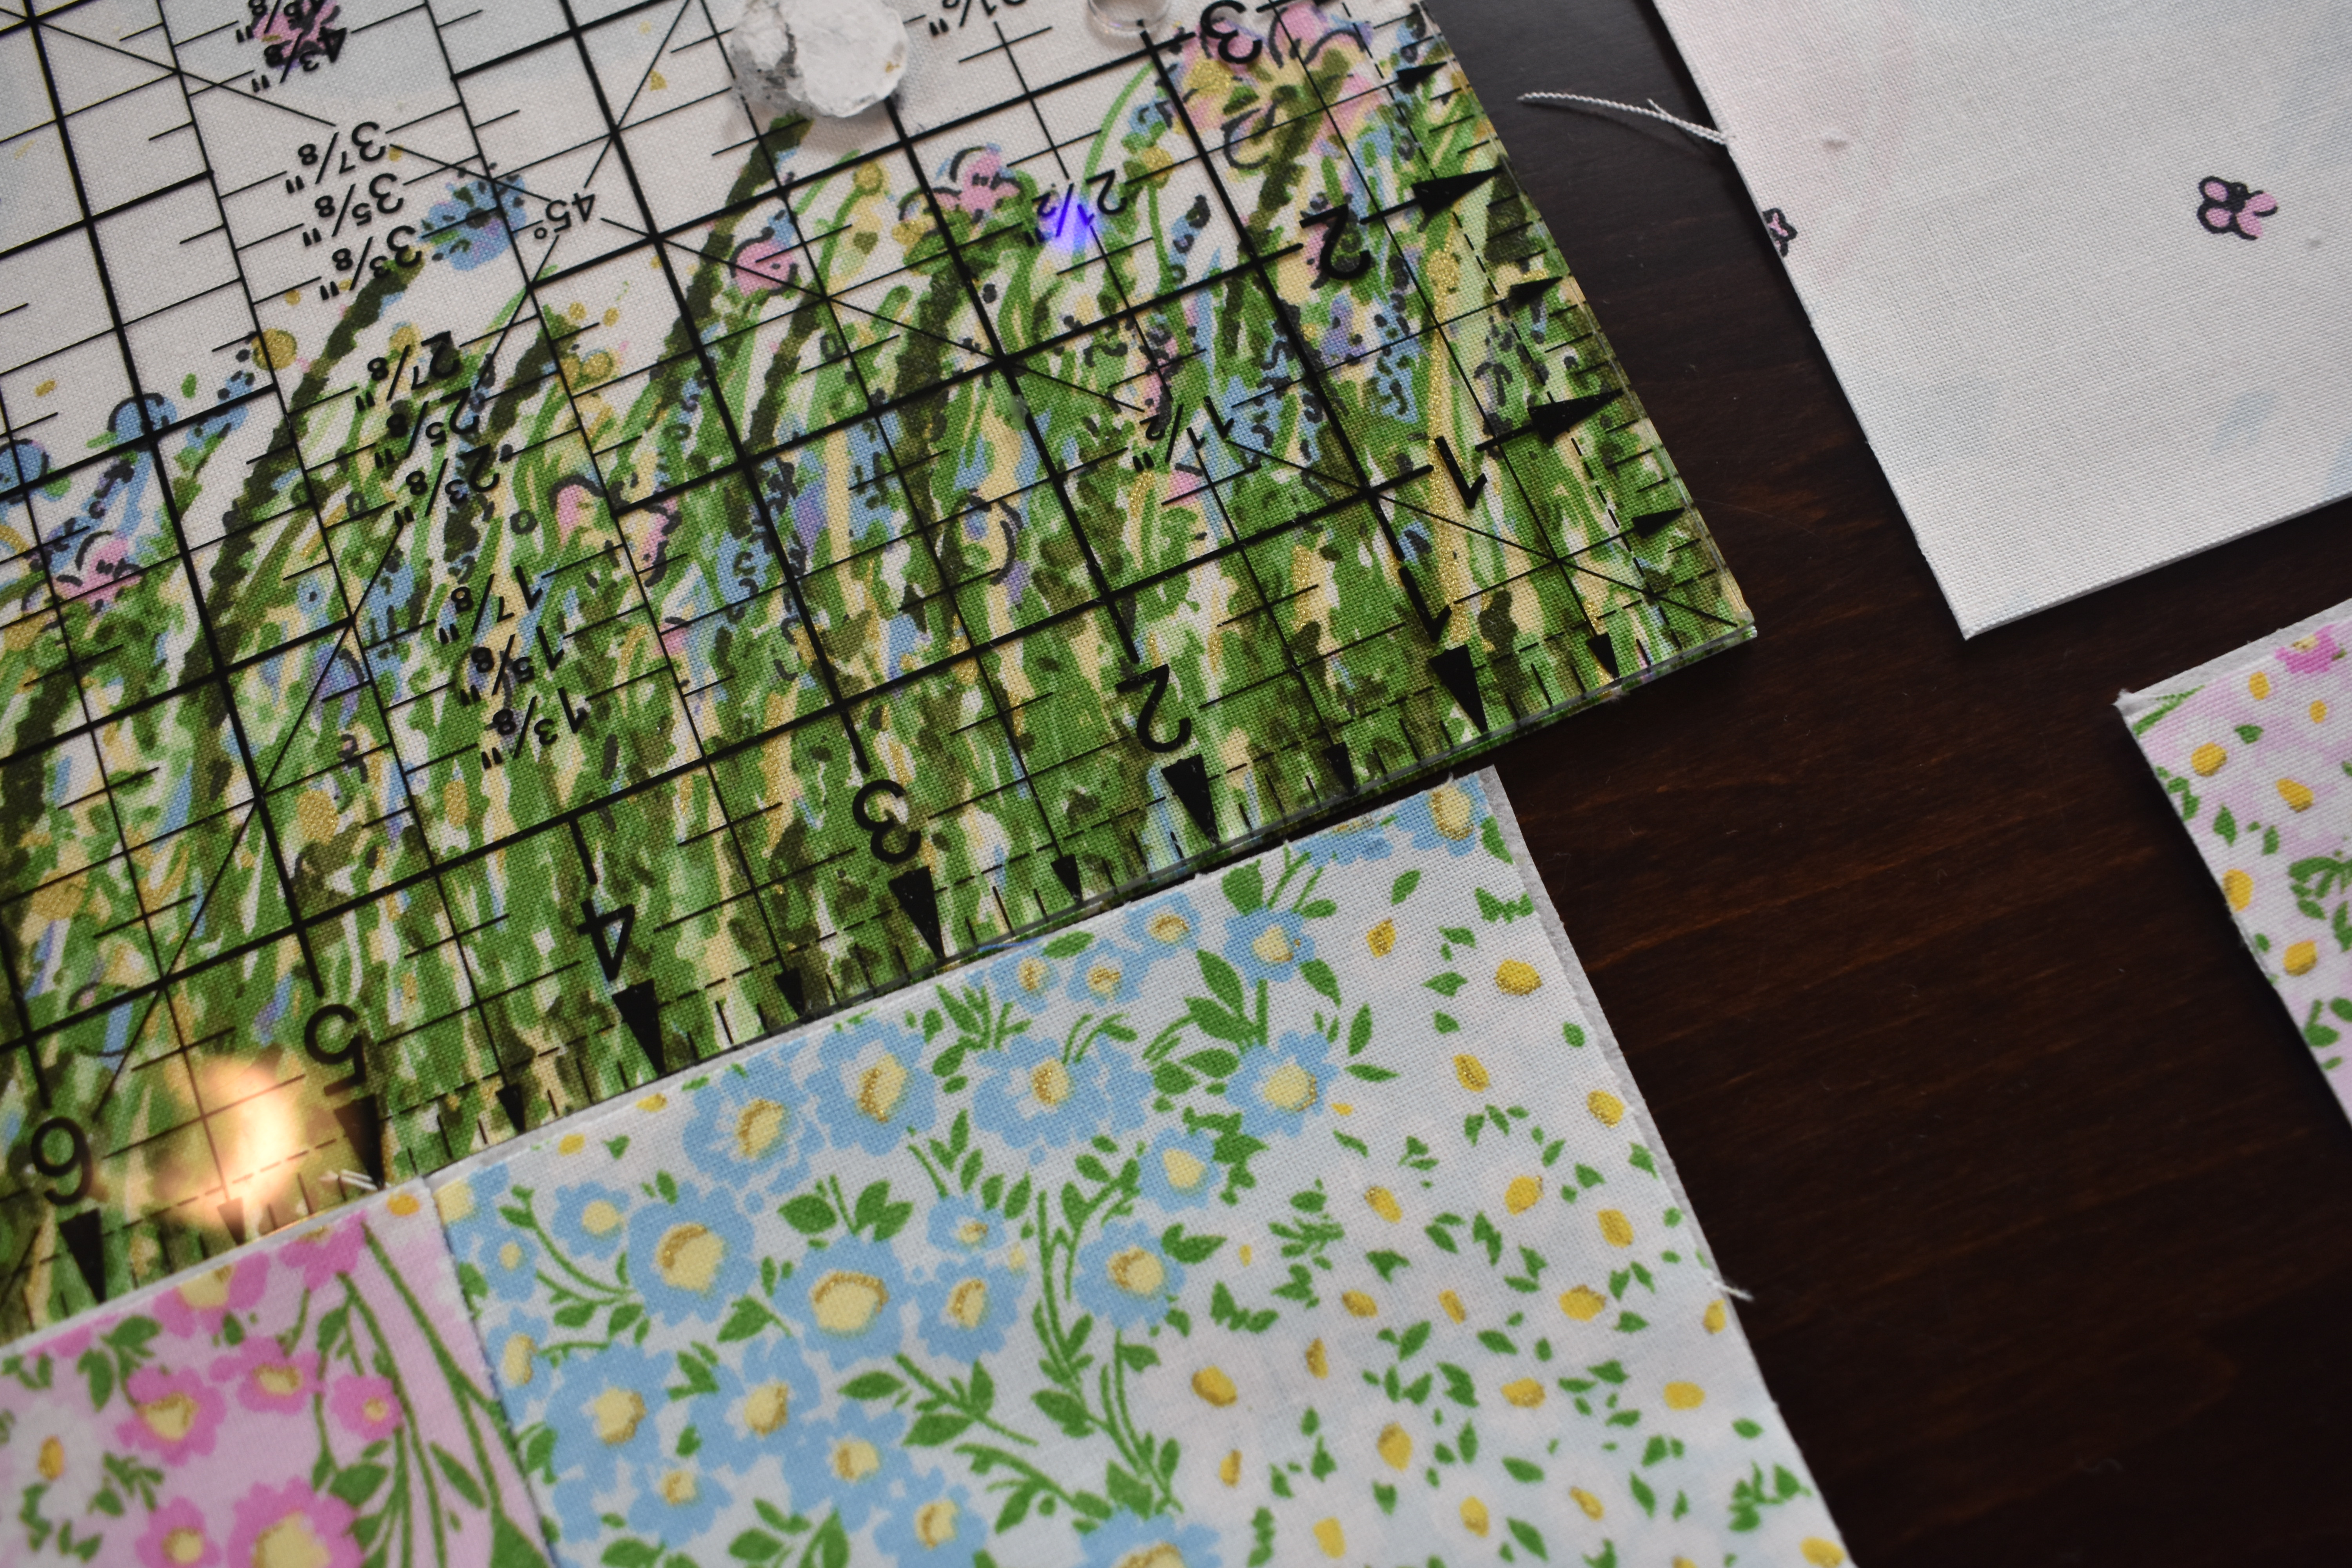
Trim off any excess interfacing.
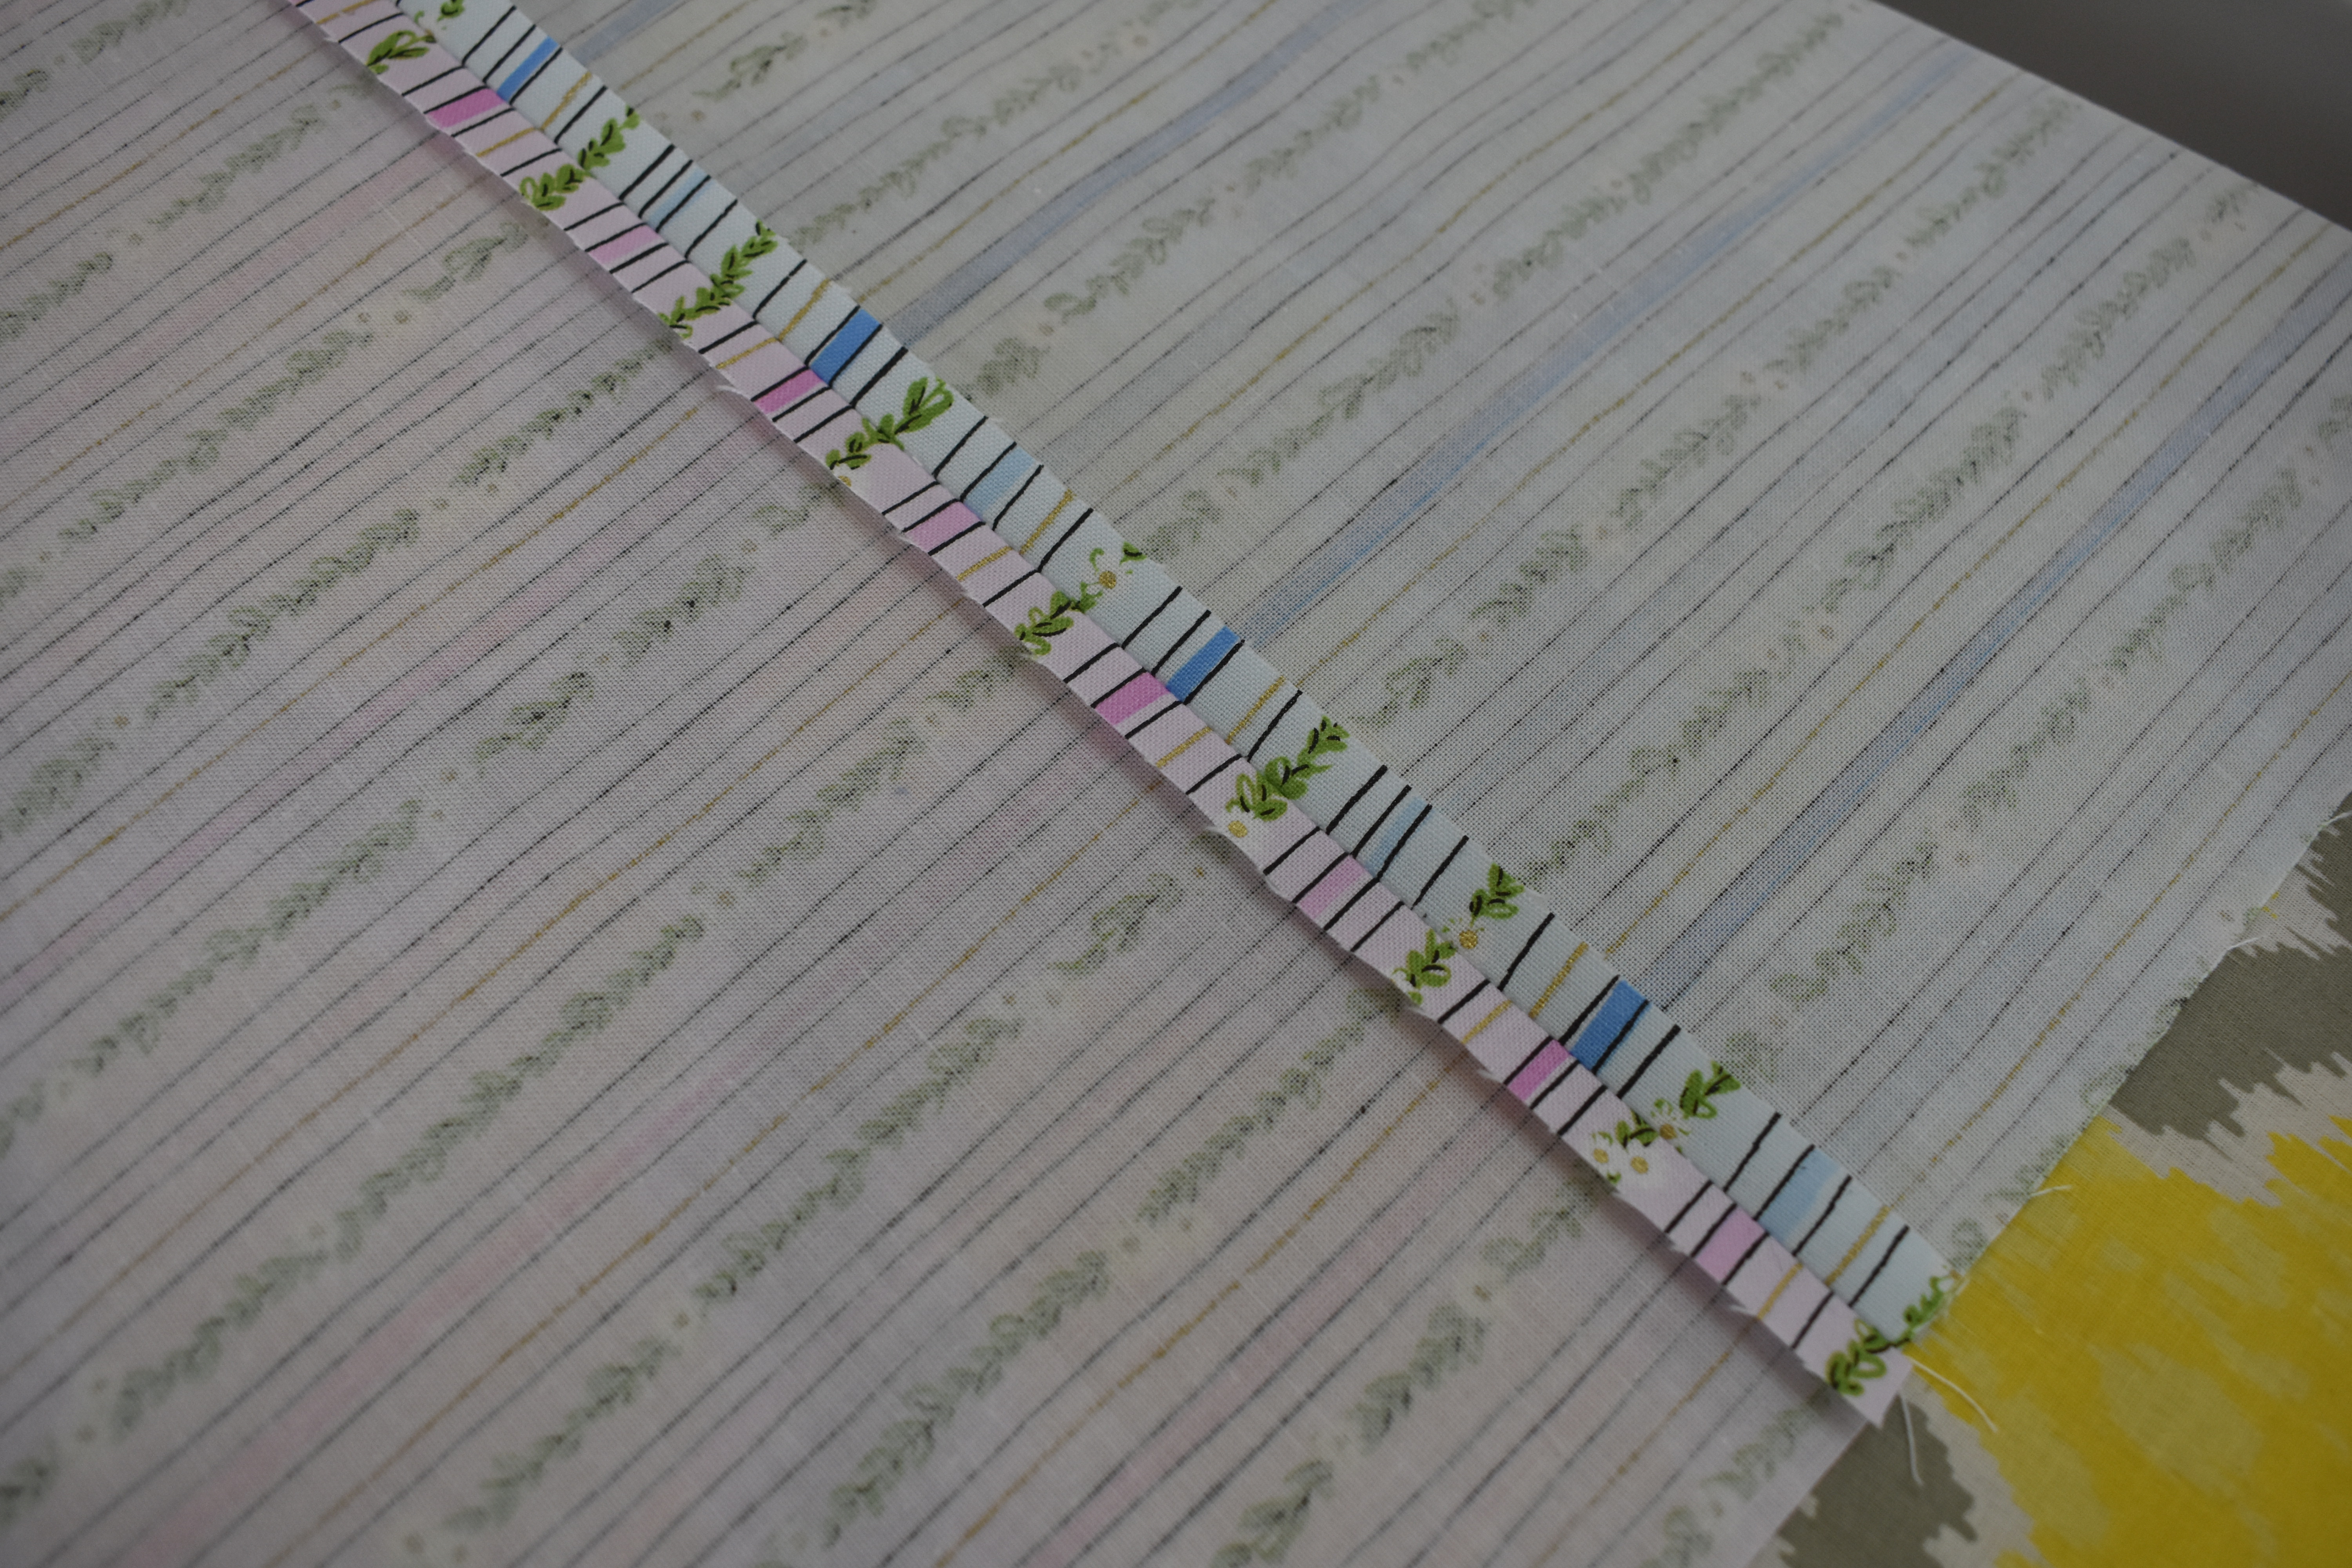
Fold the patchwork unit along the horizontal seam and sew with a 1⁄4″ seam allowance. Clip the seams at the intersections between each fabric square. Fold the patchwork unit along each vertical seam and sew with a 1⁄4″ seam allowance, nesting the seams as you work Repeat Steps above above with the second patchwork unit.
Press the patchwork units from both sides. Use a press cloth when pressing from the back if using interfacing.


Iron the interfacing for the Top Exterior panels in place and trim off excess interfacing.
Sew one exterior top to one exterior bottom along the 15” edge. Press and square up by trimming if needed.
Pin assembled exterior pieces right sides together. Sew sides and bottom with 1/2” seam allowance.
Press seams open.
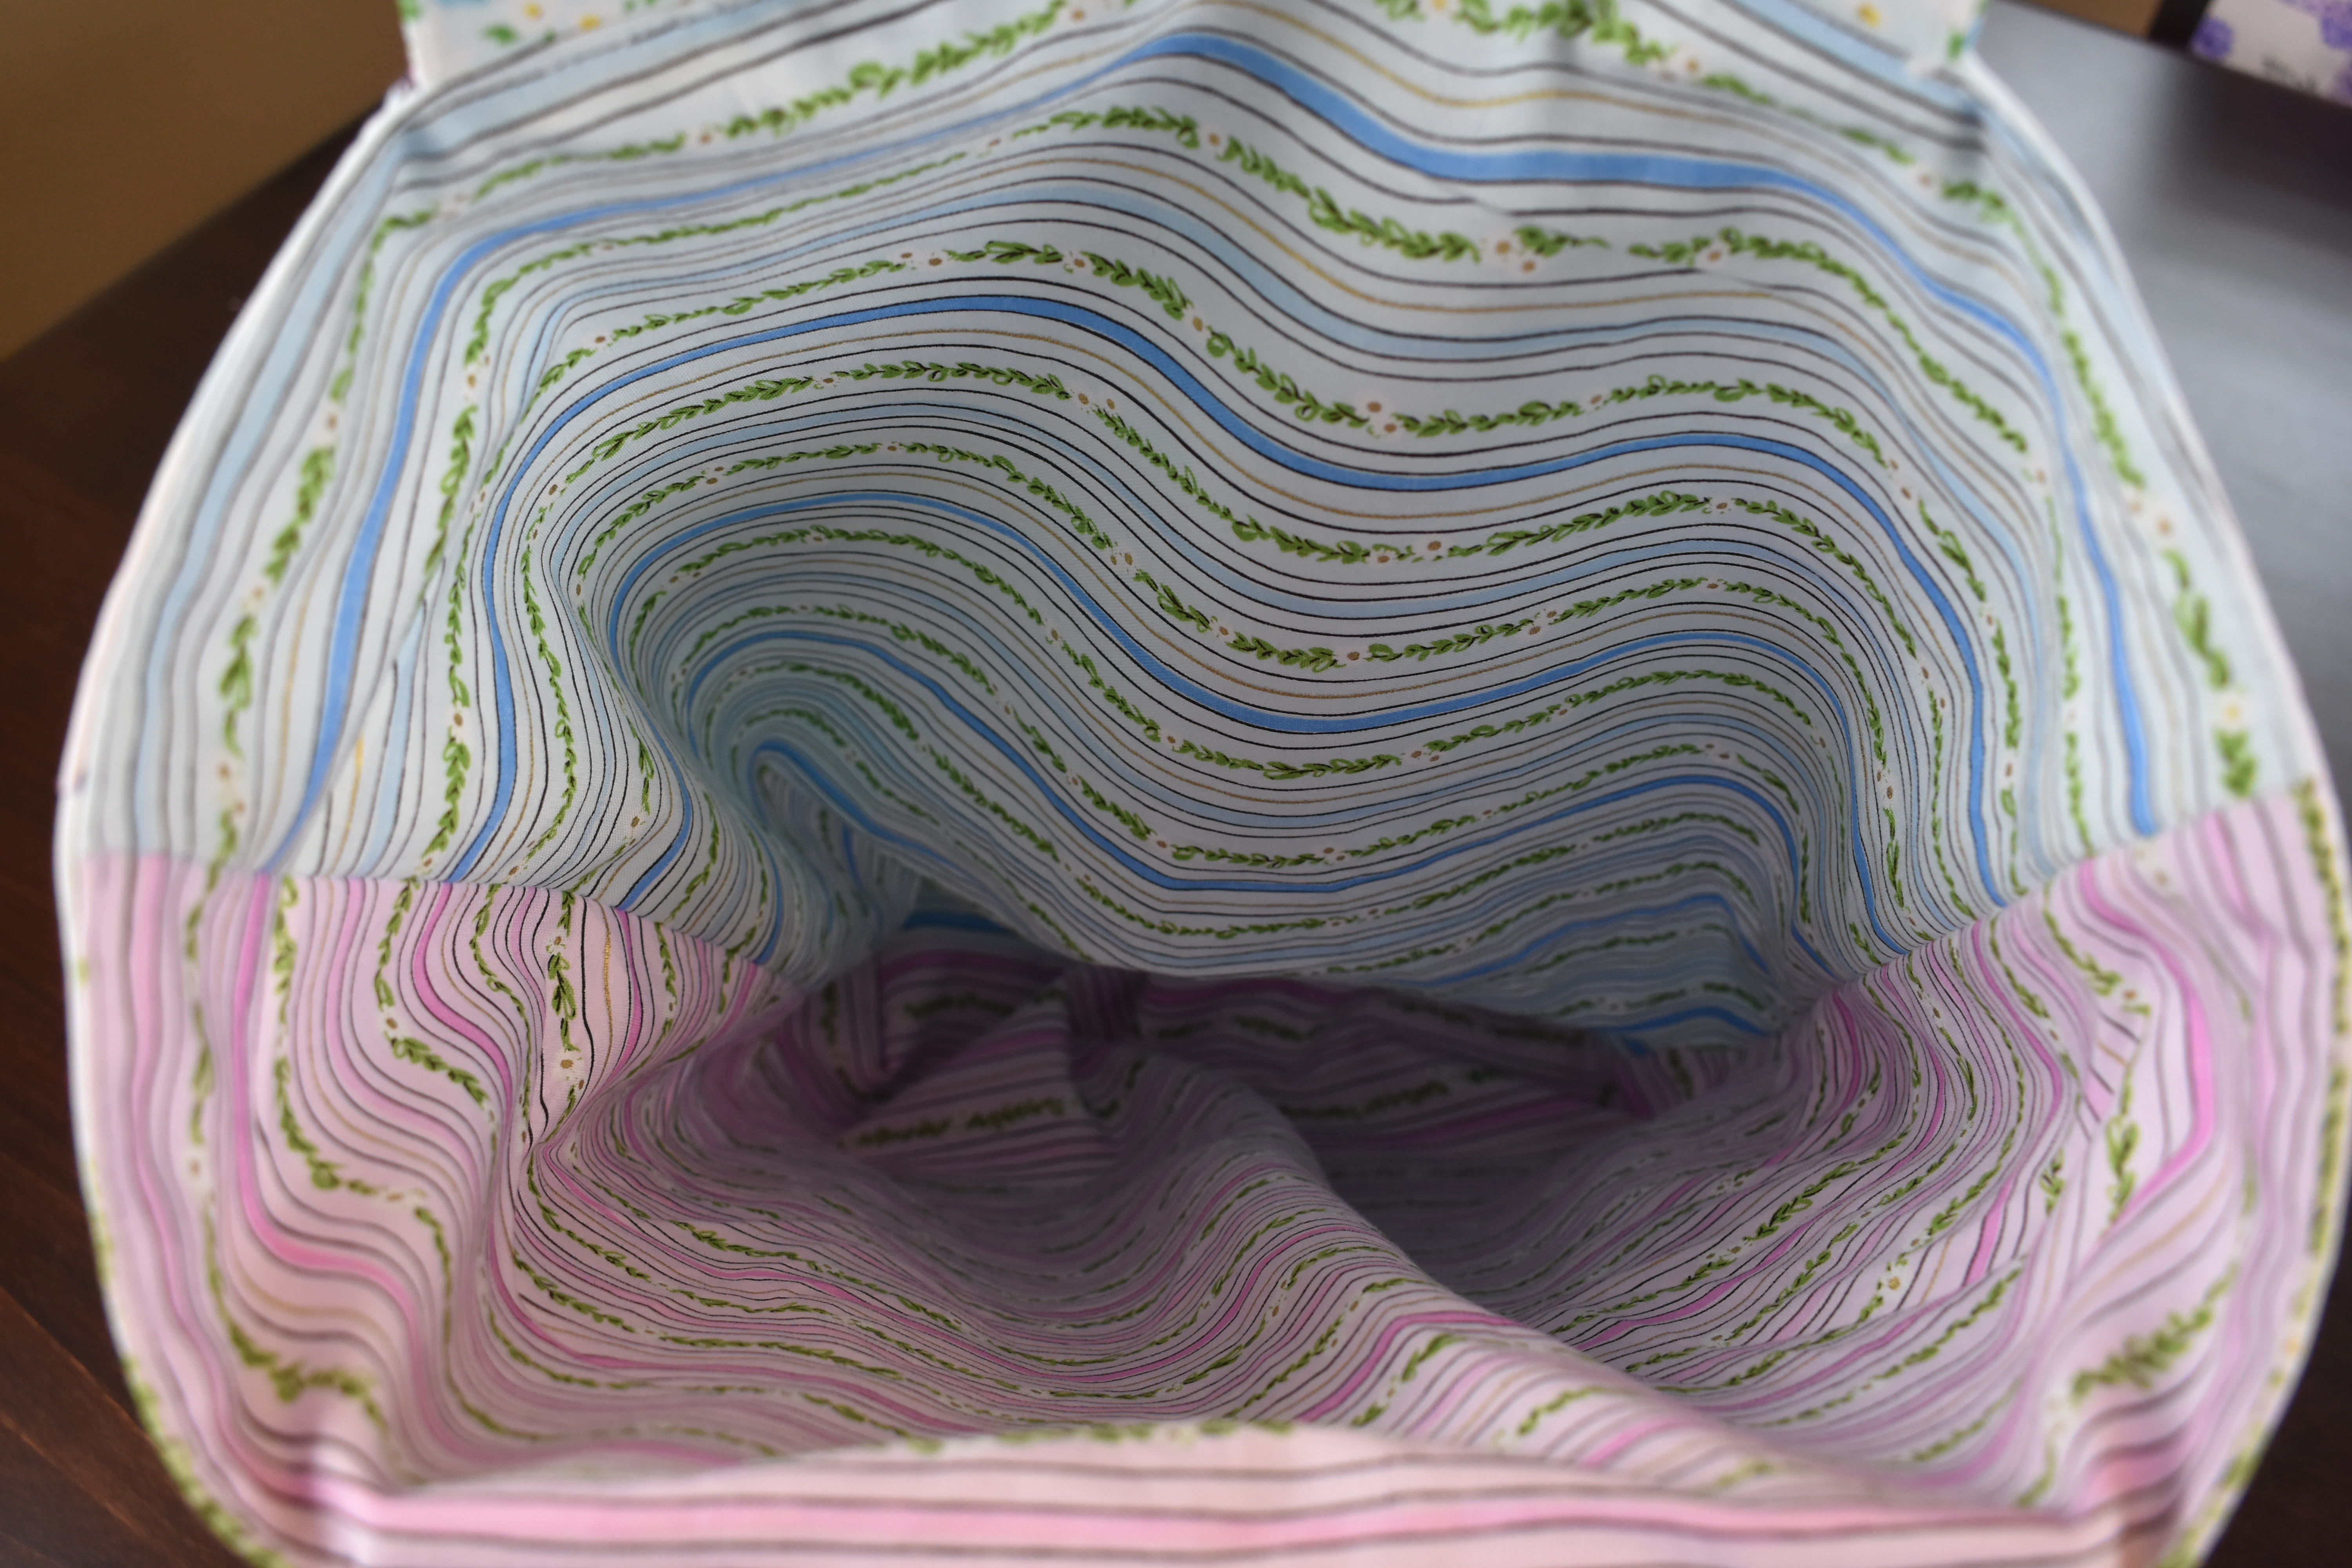
Sew Interior Lining
Pin lining pieces right sides together. Sew along both sides and bottom of bag.
Press seams open.
Box the Bottom of the Exterior and Interior Lining of Bag
Pin bottom seams of interior and exterior of the bag to one side seam to create boxed bottom. Measure in 1.5” from corner and mark. Sew across, creating a triangle at the corner. Repeat on the other side. Trim the corners to 1/2” from stitch line.


Iron the interfacing to both handles if you are using and trim off any excess interfacing.
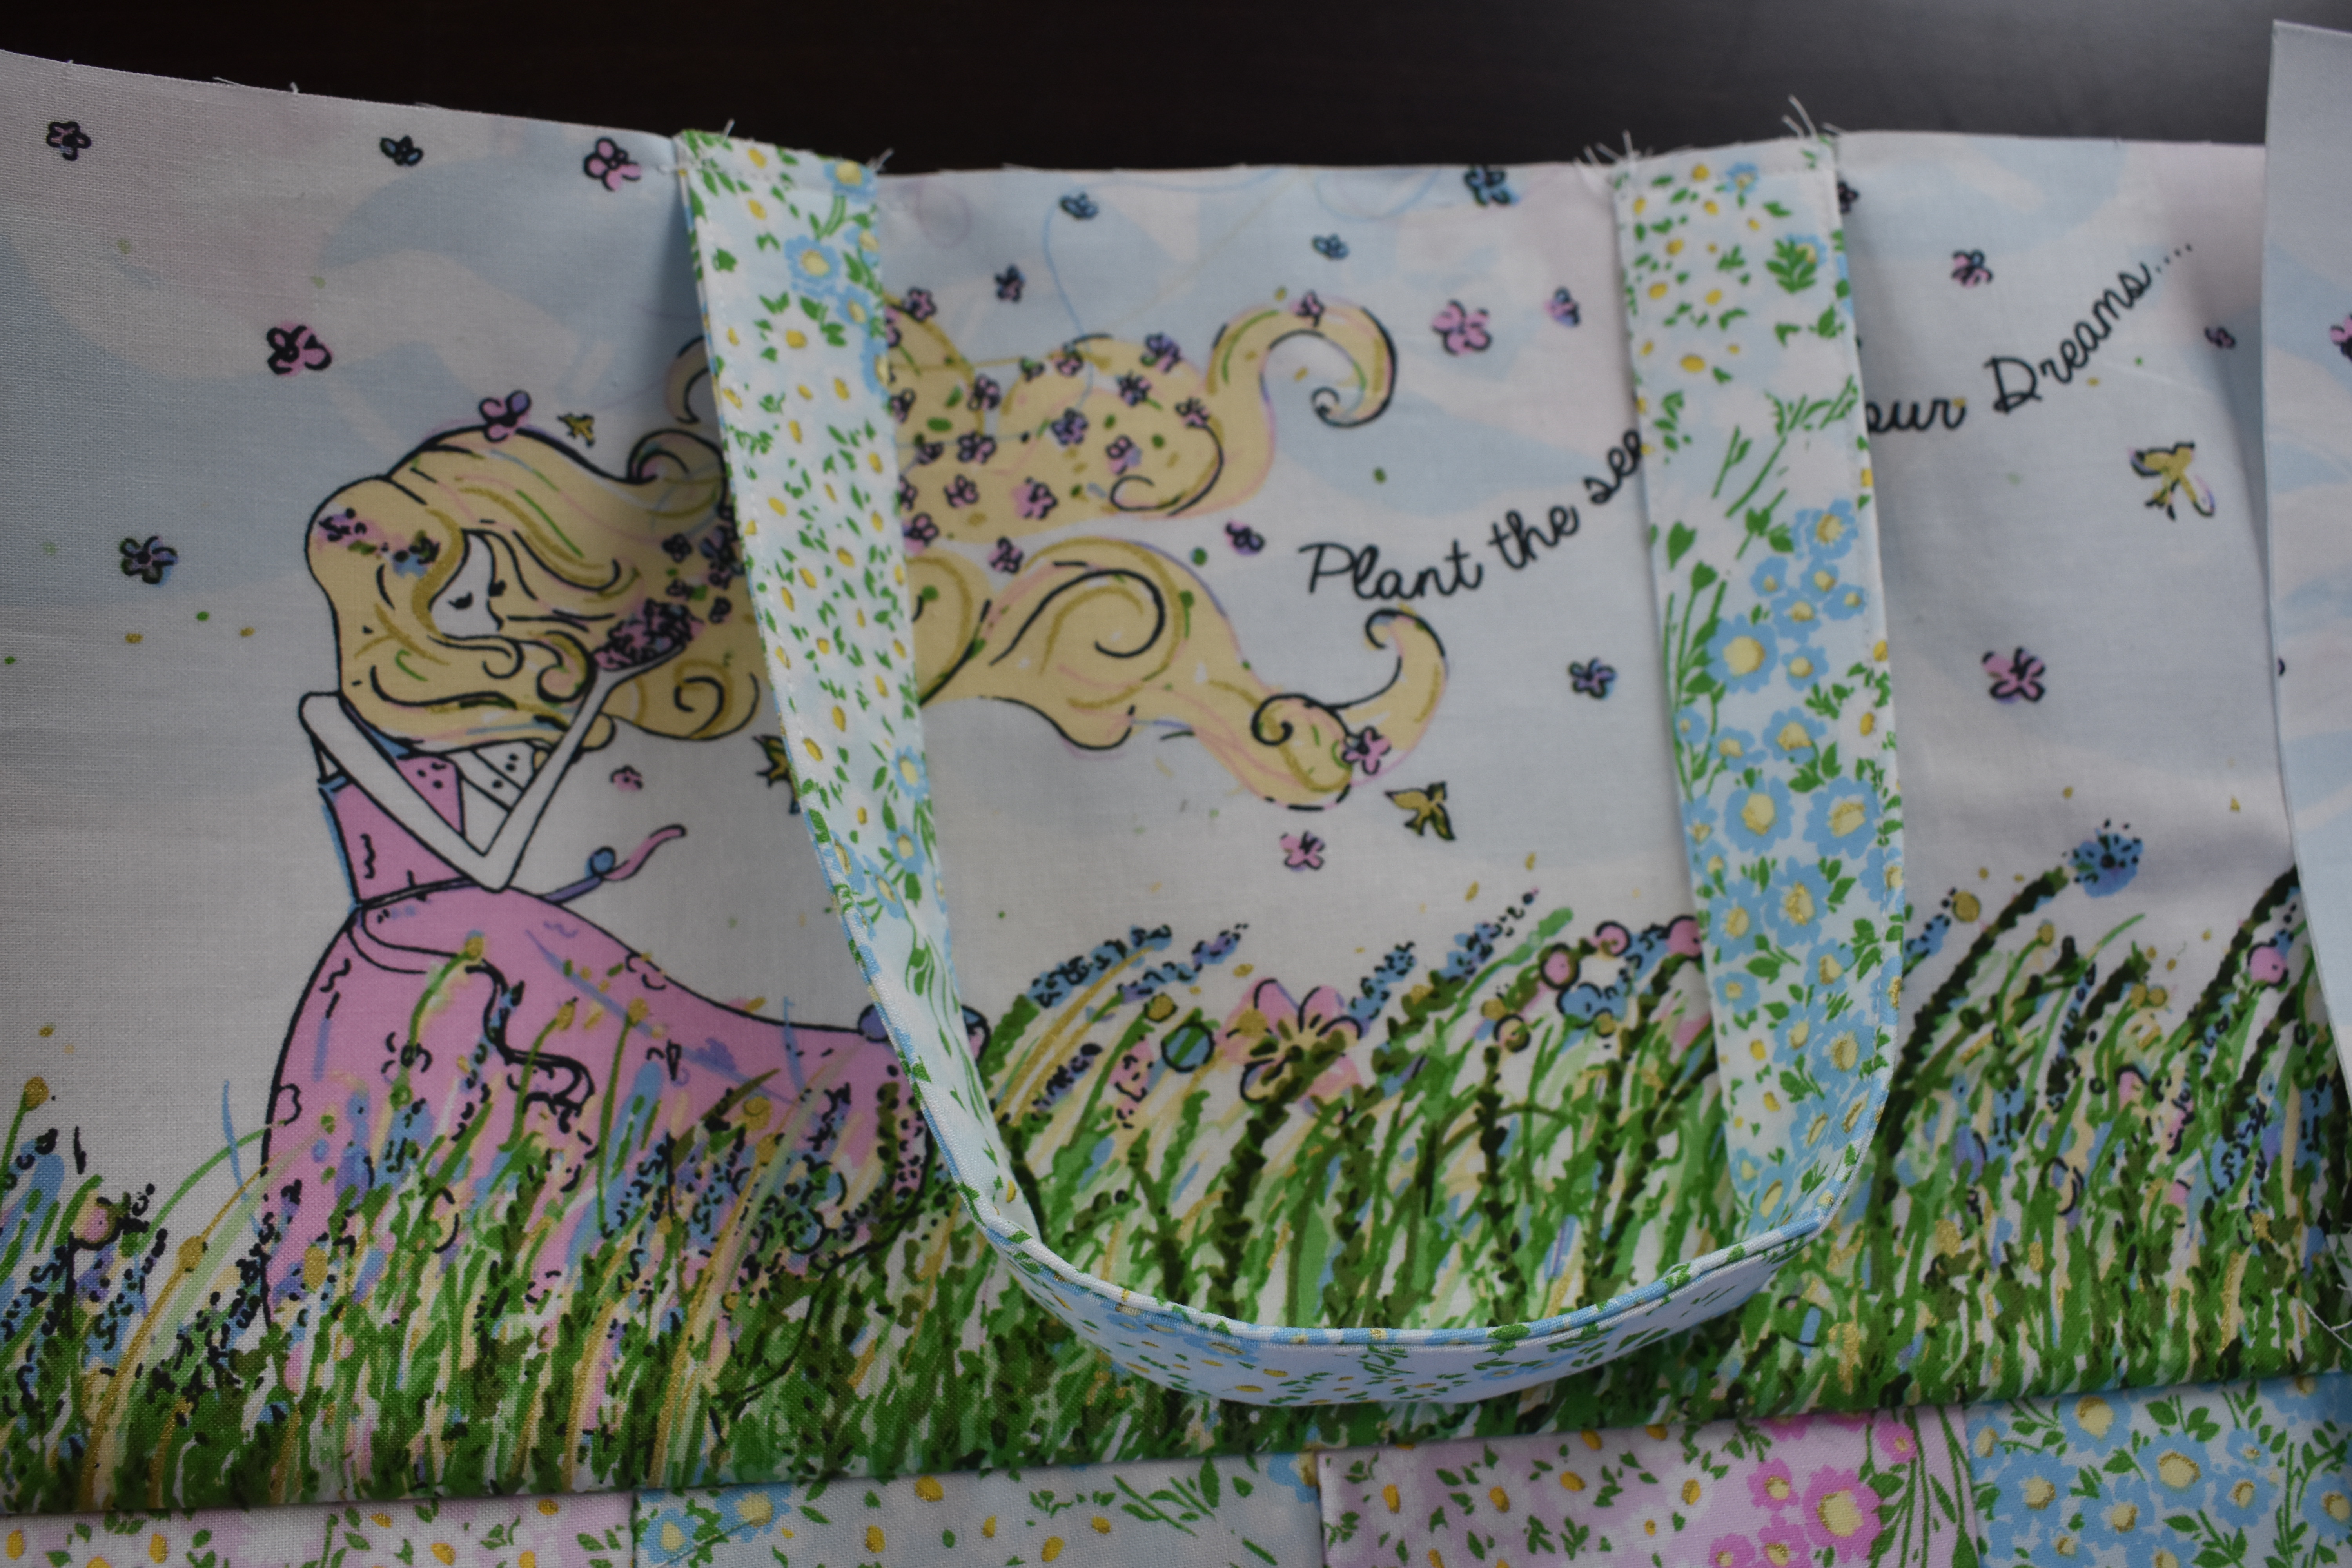
Fold one handle in half lengthwise, wrong sides together, and press. Open, then fold both long edges toward the center crease and press. Refold along center crease and press. Use pins or wonder clips to hold in place until you sew. Repeat with other handle.
Edge stitch along both long edges of the handle.


With exterior bag right side out, measure 4” in from each side seam and mark. Repeat with the back of bag as well.
Center shop edges of handles over marks, with raw edges aligned, and pin in place. Sew in place using a 1/4” seam allowance.
Sew Lining to Exterior
Turn exterior inside out.
Turn lining right side out.
Place lining inside exterior so right sides are together and pin along the top, matching the side seams. Mark at least a 3” opening between the handles on the top of the bag so you can turn the bag right side out after sewing. Sew around the top edge of the bag using a 1/4” seam allowance leaving the marked gap unsewn.
Turn the bag right side out through the opening you left unsewn.
Tuck the lining inside the bag and press the seam allowance into the opening you left unsewn. Press the top edge of the bag nice and even.
Edge stitch all the way around the back to complete.


I am so happy with how this tote bag turned out! It is absolutely adorable and I really feel like this design suits the fabric so much.
If you have any questions about the pattern please leave me a comment! I would be happy to help!
Here is a PDF version of this Pattern in case you would like to print it! Enjoy.
Bye for now.

5 responses to “Easter Tote Bag”
Super cute totebag…I love using grid interfacing, I’ve never drawn my own grids though — I’ll definitely check out that class! Have you ever tried QuiltSmart products? All of their quilty projects are based on grid interfacing — I’ve done several — there was a bit of a learning curve for me but once I got the hang of it I was hooked ♥♥
LikeLike
My fabric was so light I was worried the lines on the interfacing would show through, and I didn’t want to go to the store for just some interfacing with everything going on right now.. I will look at QuiltSmart. I never thought to use grid interfacing this way until I watched the class!
LikeLike
Let me know what you think of QuiltSmart — I recently purchased the clamshell quilt project to use with a layer cake.
LikeLike
Absolutely love this bag!!!
LikeLike
Thank you Christina! I love it too!
LikeLike