
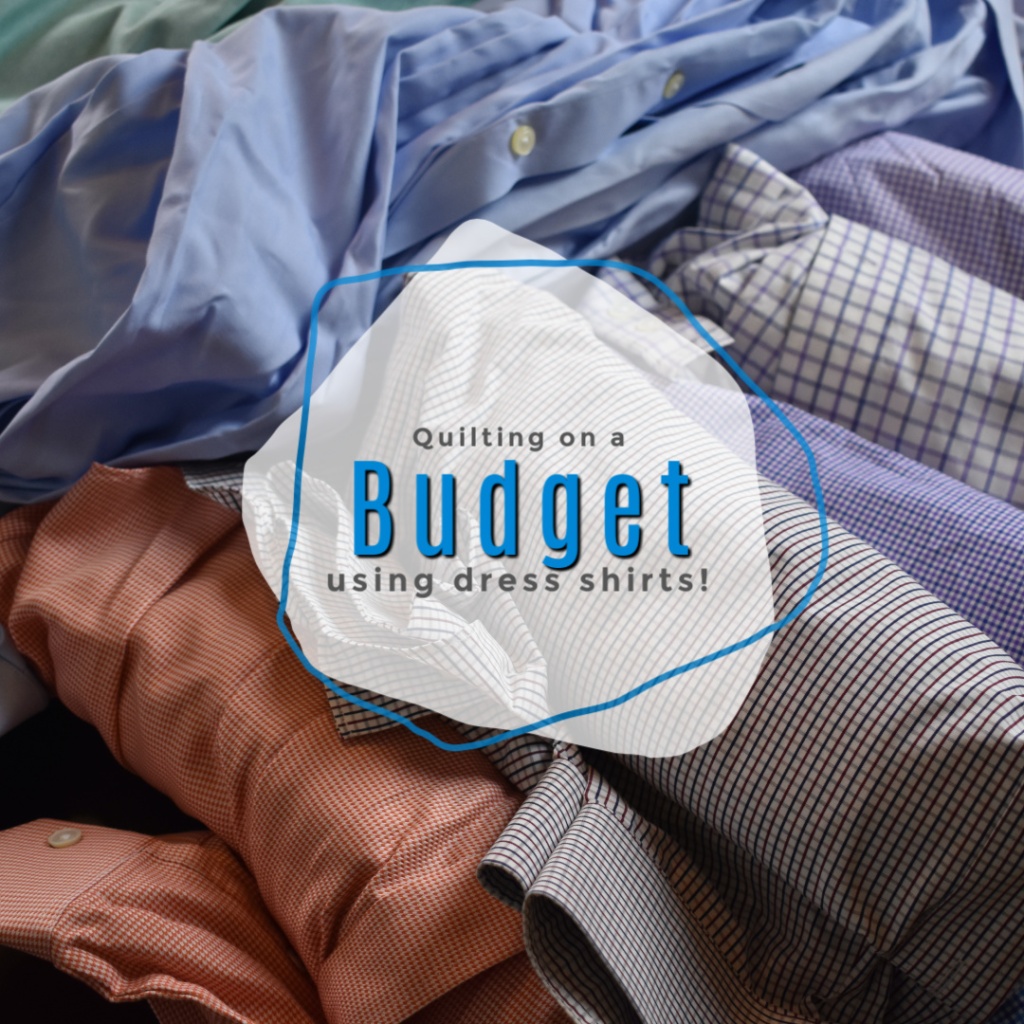
Using repurposed men’s dress shirts
I really love repurposing items I already have. I hate waste and I love saving money. Right now is the perfect time to source fabric from items I already have since I can’t go out and shop because of Coronavirus!
We have actually been taking this time at home to clean and purge our closets. My husband found a ton of dress shirts shoved in the back of his closet. He had them in a donate pile, but I snagged them to use in a quilt.
My husband seems to really love blues. Most of the shirts are blue along with a ton of white. However, I did find some great outliers in that mix that I think will add a touch of fun to this quilt I designed.

This budget quilt that I designed is made up of only two blocks that will be sewn together in rows, and then those rows sewn together to make the quilt top. The finished blocks will be about 14″, so keep that in mind if you would like a larger or smaller quilt than what I am putting together.
Here is the design I have in mind for the shirts that I will be repurposing:

A few things to keep in mind.
- The colors I used in this graphic mean absolutely nothing. I just like to create a layout that I can visually see so that I know if the design I see in my mind may work or not.
- The colors in this graphic are more for shades. I need to cut shirts that fall into 4 categories. Light, Medium, Dark, and patterned (striped).
The fabric and cut size you need for Block One is as follows:

You will need 15 Block One’s if you would like to make the same size quilt top that I am making. Keep in mind that you won’t need all of your dark, medium or light fabrics to be from the same shirt. I am planning on 8 blocks from the same shirts and the last 7 blocks from the same shirts. Split them up however you like.
The fabric and cut sizes you need from Block 2 are as follows:

Again, you will need 15 block two’s if you are going to make the same size quilt top that I am making. I will be using two different striped shirts and 4 different solid shirts which comprise of two light colored shirts, and two dark colored shirts to complete these quilt blocks.
Breaking Down Dress Shirts For Fabric
Ok, so you have your shirts picked out… Now what?
You will need to break down your shirts so that you can iron them and easily cut your blocks. To do this I first cut off the sleeves right along the seam. Then I cut off the cuff. I remove the cuff because it releases the pleats along the cuff. You will need to iron out the pleats to get accurate cuts and you can do this with the cuffs attached. You will then cut the sleeve open by cutting along the seam.
After you have removed and opened each sleeve you will cut the front panels of the shirt off. Cut along each sleeve on the sides of the shirt right through the collars. You can cut off the collar as well.
Once the front panels of the shirt are removed you will have just the back of the shirt remaining. You will likely think all you have to do now is just cut off the collar, but, if you look closely you will notice the yoke of the shirt. And the yoke on the back of the shirt likely has some pleats tucked into it as well. This creates the fitted shape and a nice drape for dress shirts. You will need to cut the yoke off at the bottom seam as well so that you can release those pleats.
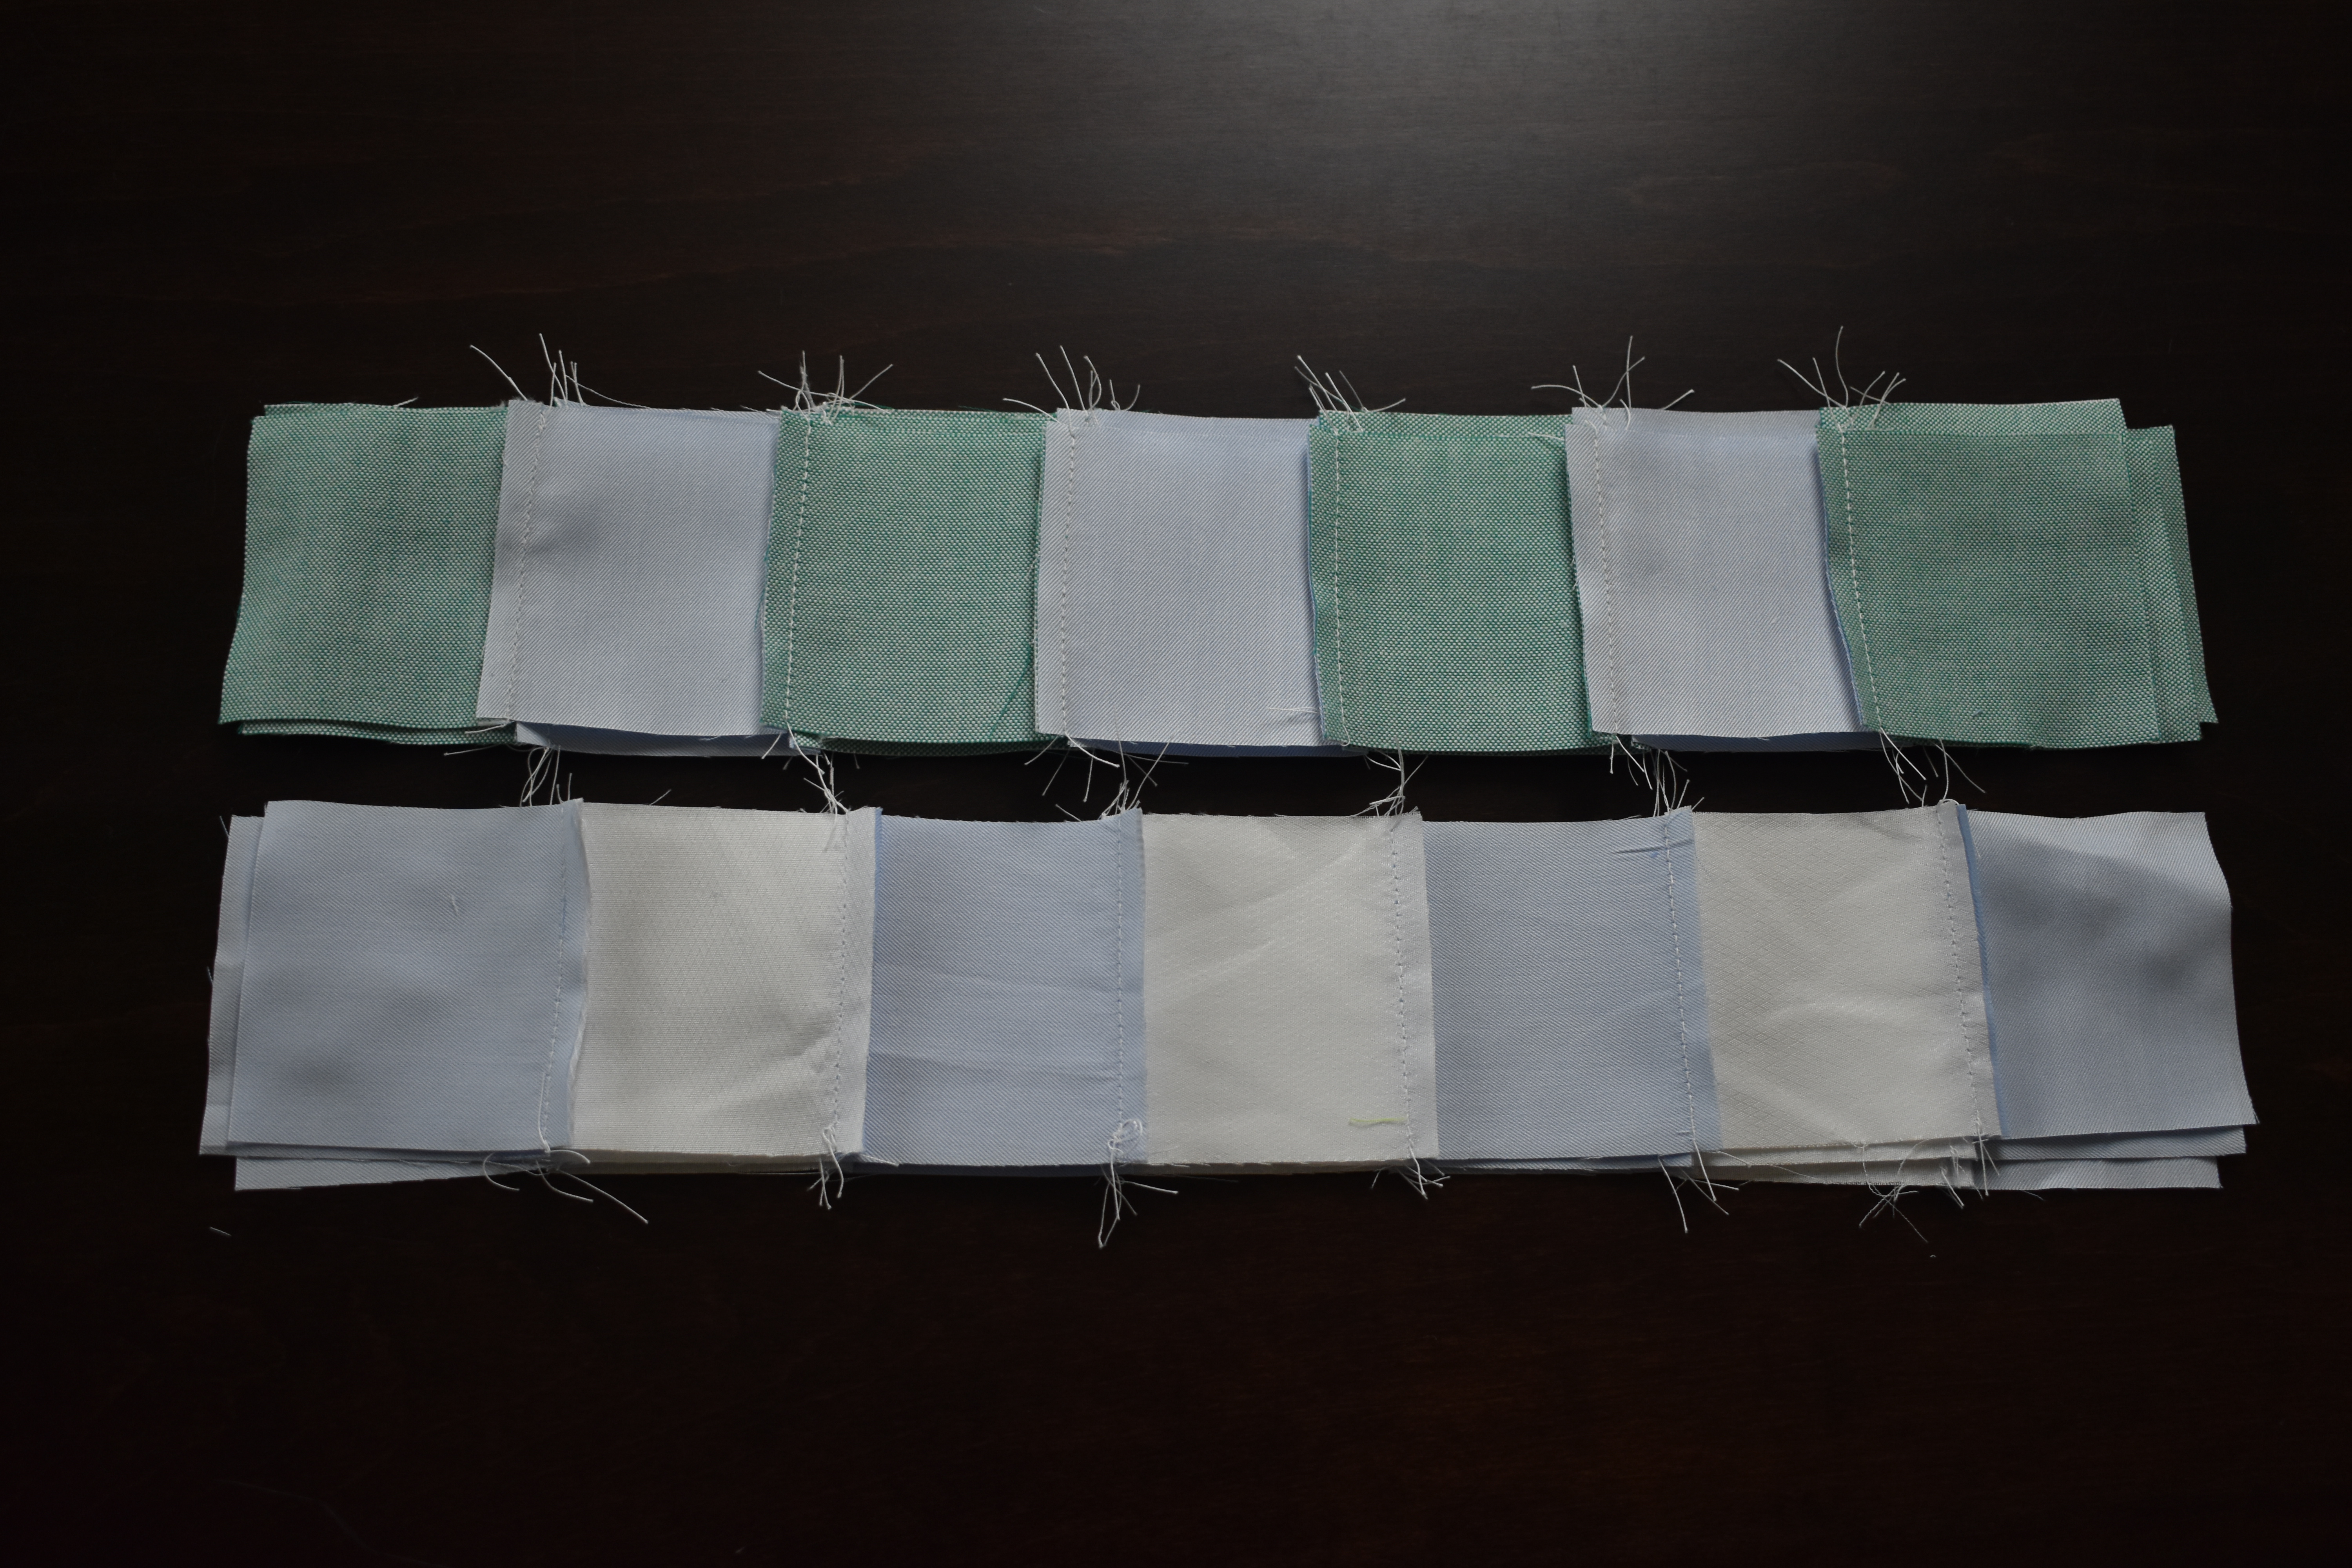
Once you have broken down your first shirt you will be left with five piece of fabric to iron. Isn’t it pretty impressive how much fabric you can source from just one shirt!


Prepping and Cutting
After you break down all the shirts you plan to use it is time to iron and cut!
By the way… you may want to check your tags before ironing as you may not have all cotton shirts!


I found that the easiest way to cut these shirts was to fold the piece I was working with, square it up, then cut into strips per the cut diagram above. Then I made sub cuts along the strips to get the size I needed.
Here is what I ended up with!


I will have 2 versions of each block for this quilt!
I am a little worried that block 2b will stand out too much! The oranges blend a lot allowing the green to really stand out. But, we shall see!
Sewing The Blocks Together
This design is really easy to sew together.
I started with the Buffalo Plaid style blocks.
You will need three rows with a pattern as follows: medium, light, medium, light, medium, light, medium.
You will need four rows with a pattern as follows: dark, medium, dark, medium, dark, medium, dark.


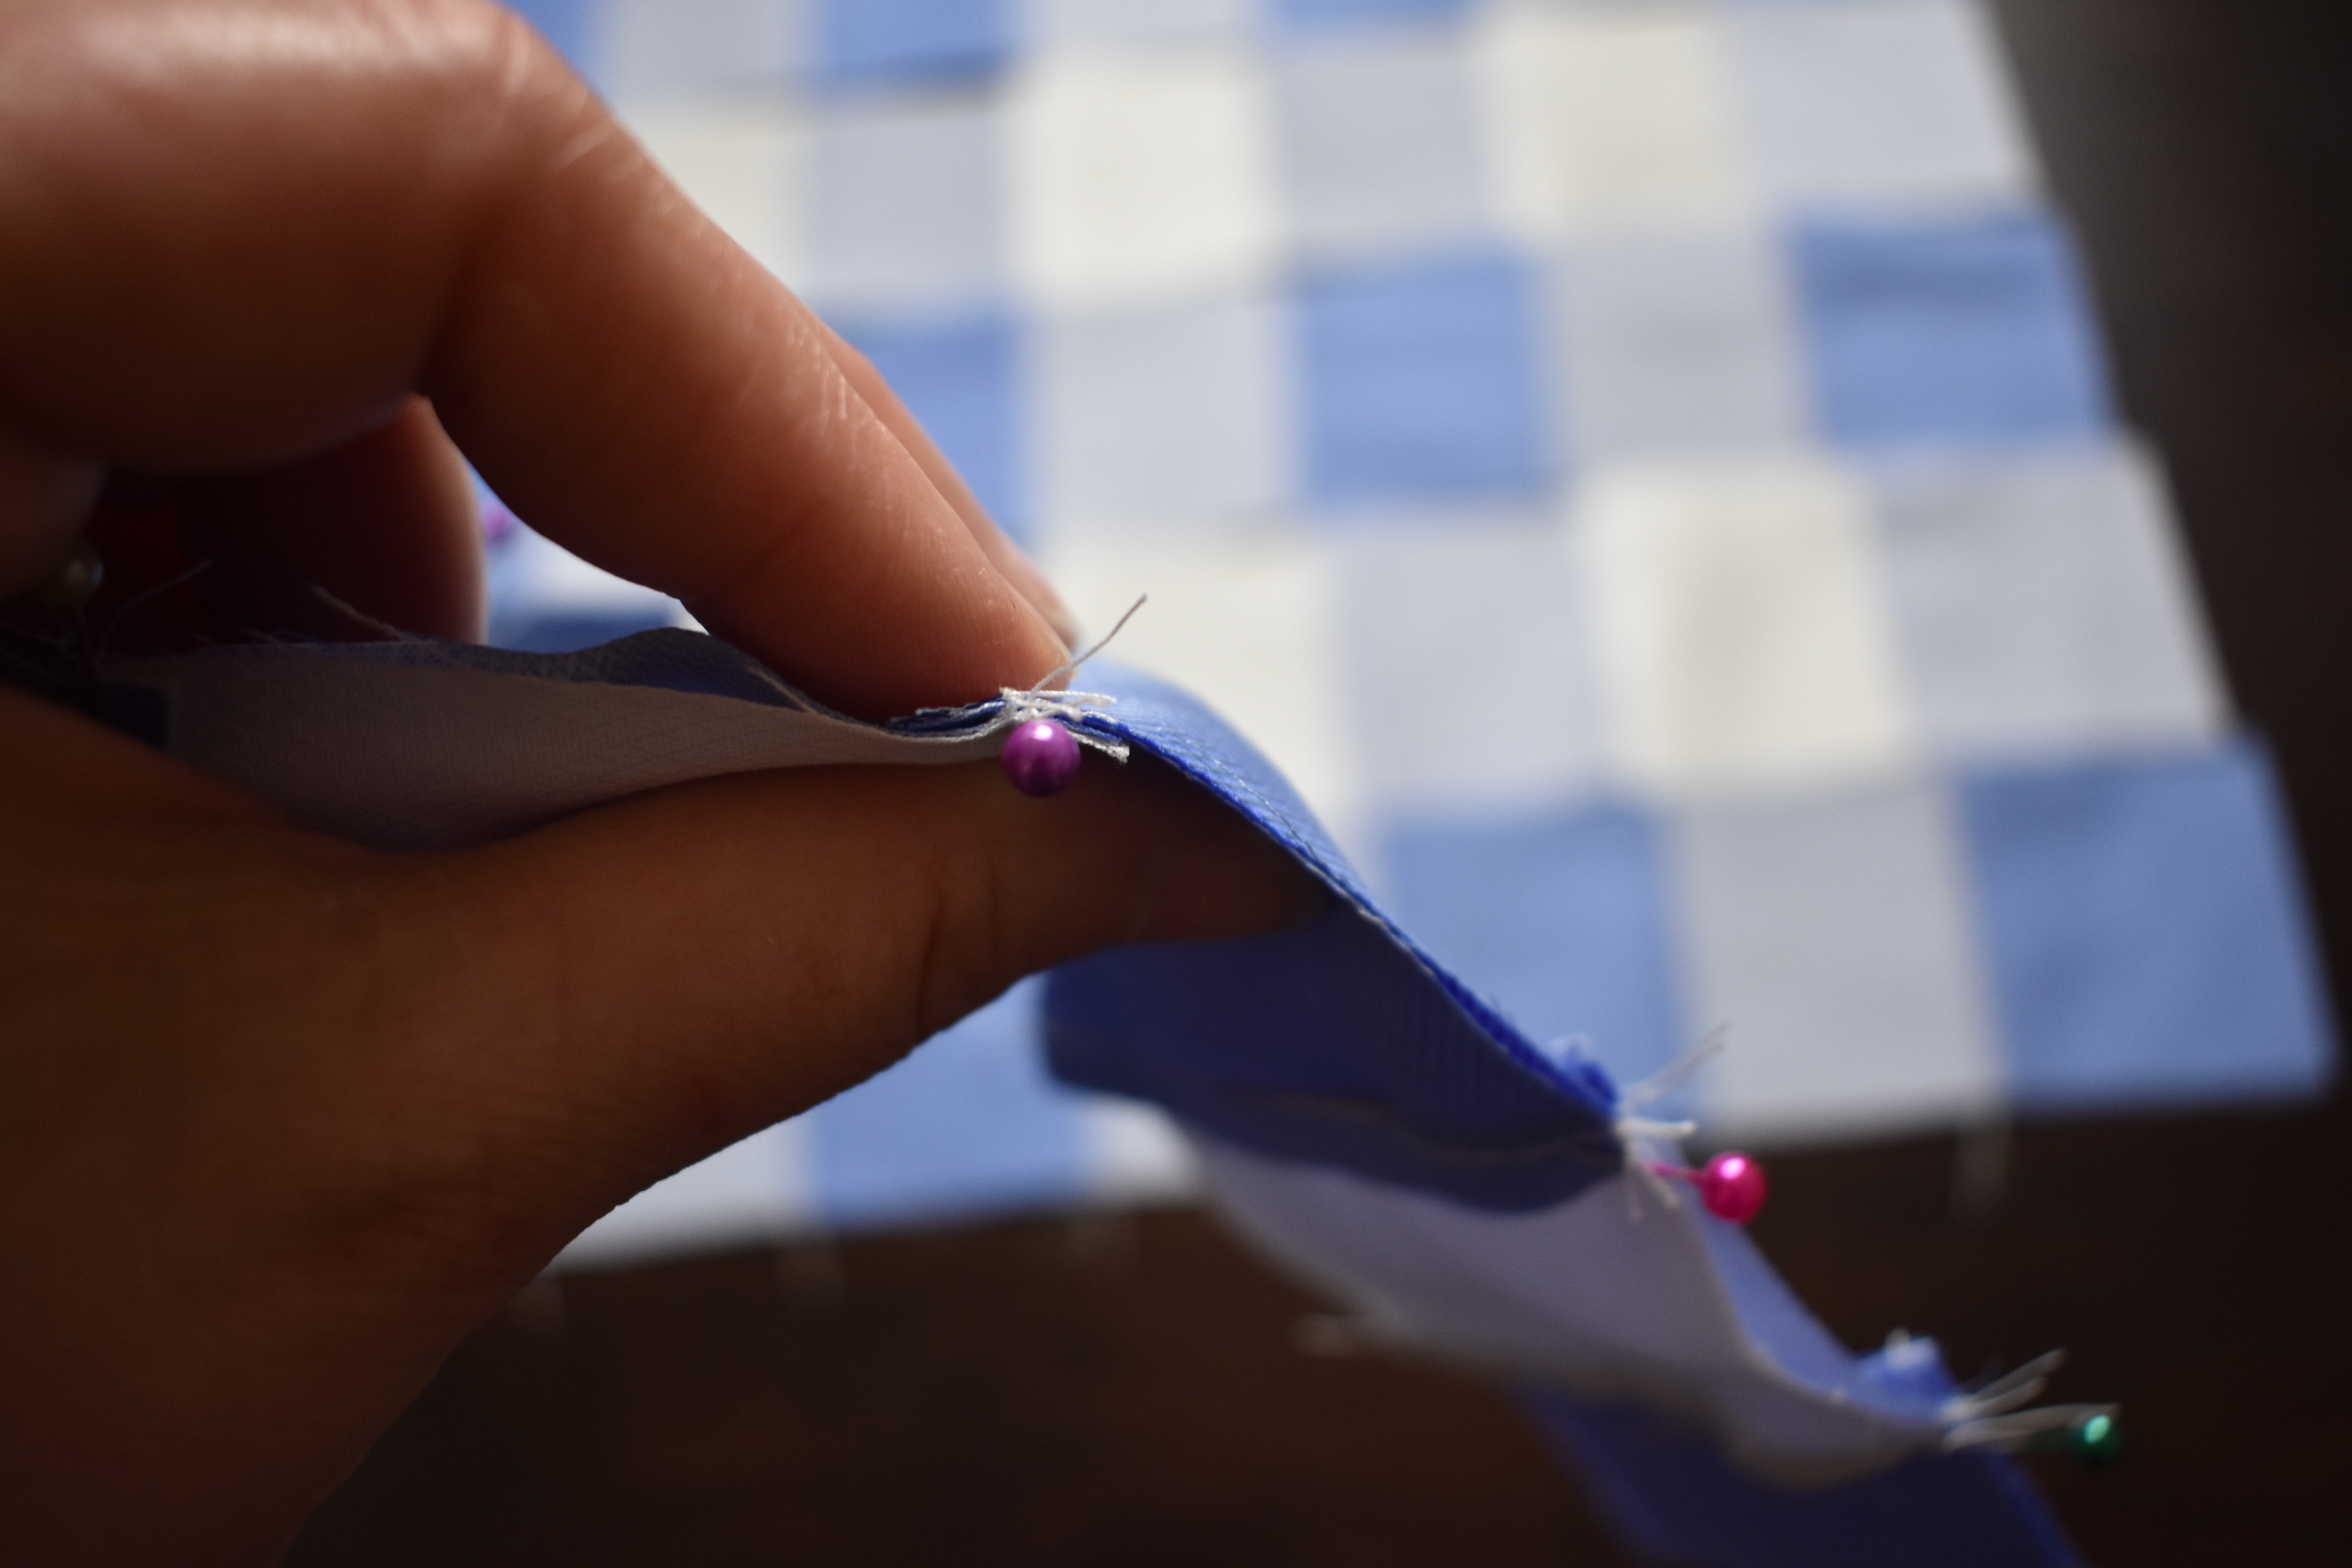
I like to nest my seams to help reduce bulk and line up my seams. If you would like a more detailed post about nesting seams you can check out my blog post HERE.
To nest my seams I press all my “dark” rows to the left and all my light rows to the right.
Then, you are ready to sew all of your rows together. You will start and end your quilt block with a “dark” row. Pin your seams to keep them from shifting as you sew!
Here is how my two Block 1 designs turned out!


I am seriously loving the Buffalo plaid look!
Now, I am going to work on Block 2
This block is really a breeze. Sew a solid rectangle on both sides of the striped rectangles.


For these blocks I pressed all the seams toward the striped blocks.


Sew the rows together, press your seams and then sew the rows together and press again.
Here is how the first 4 blocks turned out!
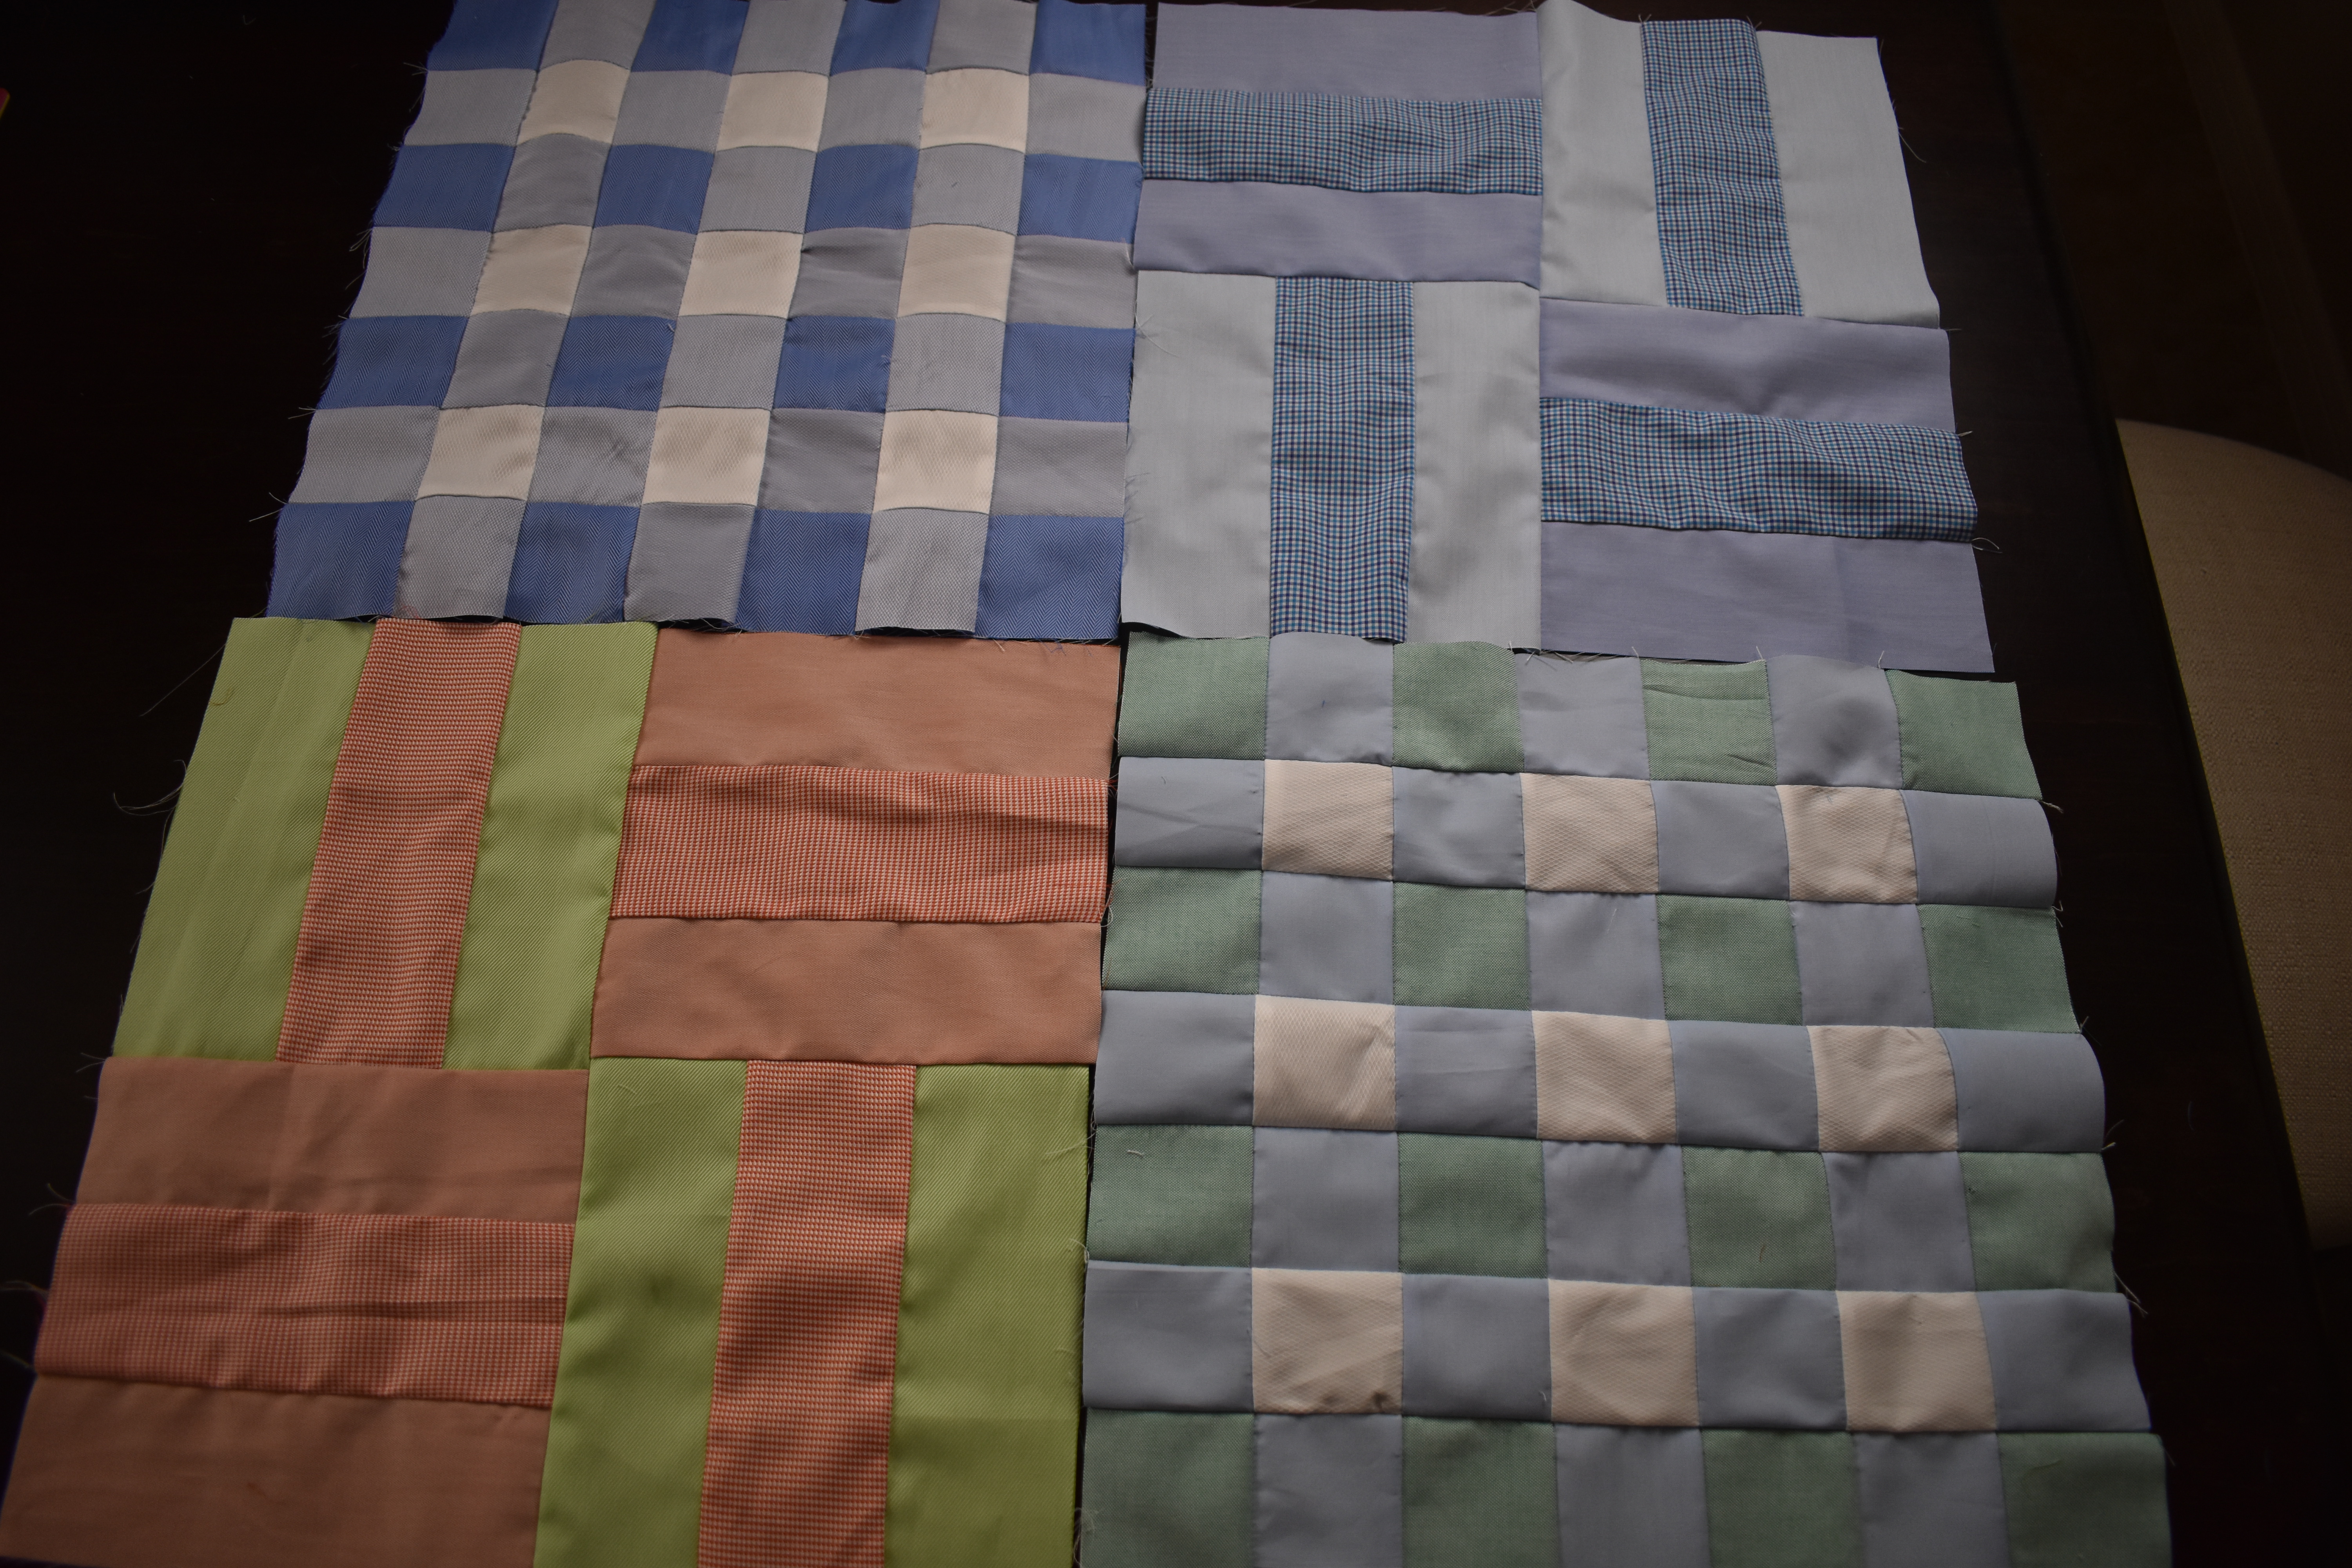
I am loving the buffalo plaid blocks! I actually like the other blocks as well, however, the block with the orange stands out so so much!
I may like it more once I have more completed, but we will see. If I don’t grow to love it I will just cut some more shirts that have blues in them.
What do you think so far?
I will share my progress later as I sew more!
Be sure to follow my blog if you would like to see the updates!
Bye for now.

4 responses to “Easy Budget Quilt”
Great idea and very good pattern! Can’t wait to see the finished quilt!
LikeLike
Thank you! It’s getting so close!
LikeLike
I love this idea! And you are making it come together so well! Love it! And I also can’t wait to see it finished!
LikeLike
Thank you! I am still questioning the orange and green blocks! I’m hoping it all comes together!
LikeLike